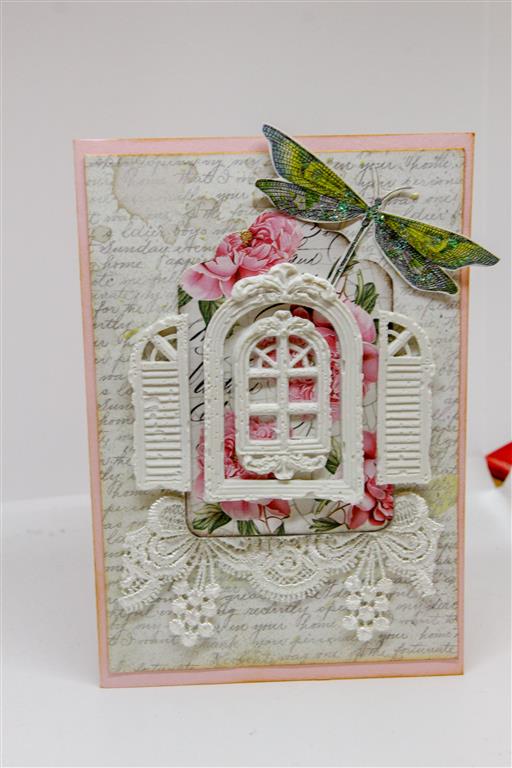
 Todays card showcases a new range of papers to paper Flourish which I just couldnt resist,and something else I have been doing – making my own embellishments! First the paper…it is by a company called Stamperia and this range is called letters and flowers. I fussy cut the dragon from a piece of the paper, and the tag was printed on the paper so just had to fussy cut that out too. I added a little gorgeous lace,, but the main item on this card is the window.. I made it!! I know! I have a few silicone molds,and this is one of them , I used No More Gaps… you know those long tubes of gap filler from the hardware shop – one of those – and filled my mold, smoothed it with an old credit card and left it to dry for two days. It came out of the mold as you see it here although I have had good fun painting some of my frames with Prima sparks paint . It is a really cheap way of making frames and It is great fun. I didnt buy the most expensive brand, my tube cost just $2-25, and I have made so many with that one tube. I am off now to paint a few more ready for cards so you will see more as i use them… Til tomorrow….
Category: Birthday female
Not so Shabby Chic…
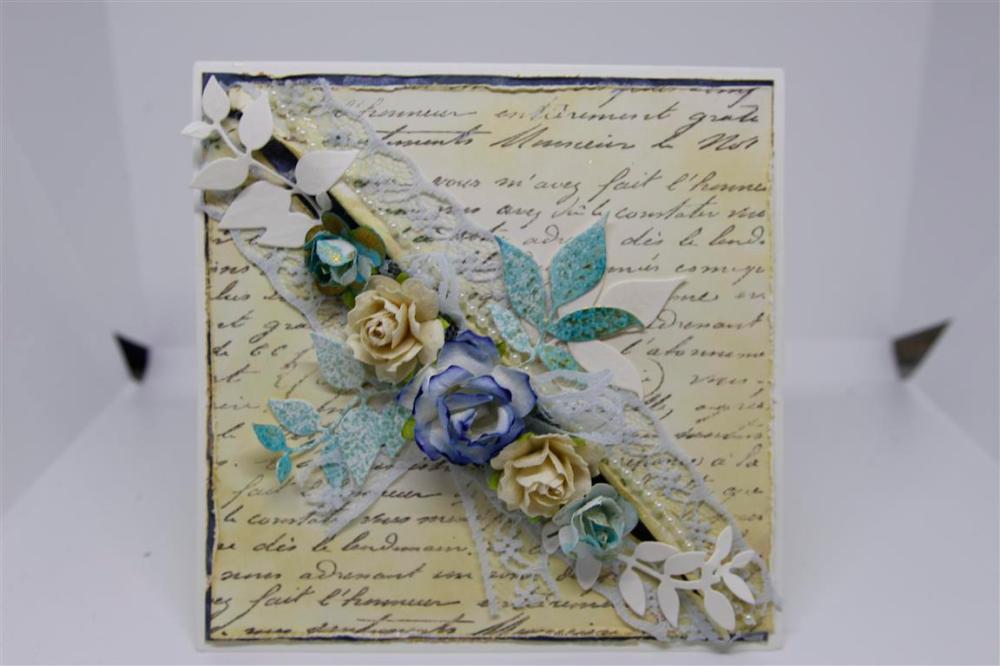 I have been experimenting with Shabby Chic, and although I really still haven’t mastered the whole “rip the paper” technique ( too fond of paper to willfully rip it!)I have been teaching my experiments every month at Paper Flourish.This card is one of two we did a couple of months ago. I will pop up its partner next post.For this one we took a white sheet of cardstock and coloured it with Antique Linen distress oxide ink and stamped over it with a Darkroom Door French script background stamp, distressed the edges and inked with tea dye ink. Cut diagonally and roll those inner edges in and ink again.Add lace, string of pearls,flowers and die cut leaves. Some of the leaves and flowers are coloured with a spray we made with Tumbled glass re-inker ( just a drop in a spray bottle topped up with water) and a small scoop ( just a smidgeon!) of gold mica powder .Give it a good shake before use. Today is going to be a crafty day… I am working on a technique to teach in september and continuing on with cruise card ideas, and of course my mind is starting to drift towards Christmas card ideas! Til tomorrow…..
Graphic 45 Floral Shoppe cards
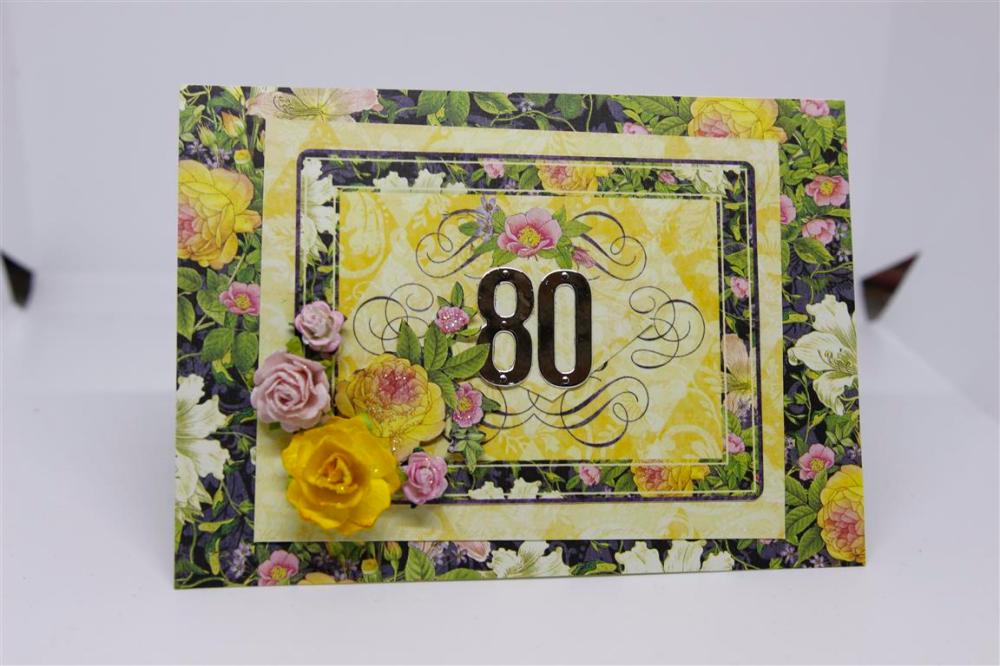
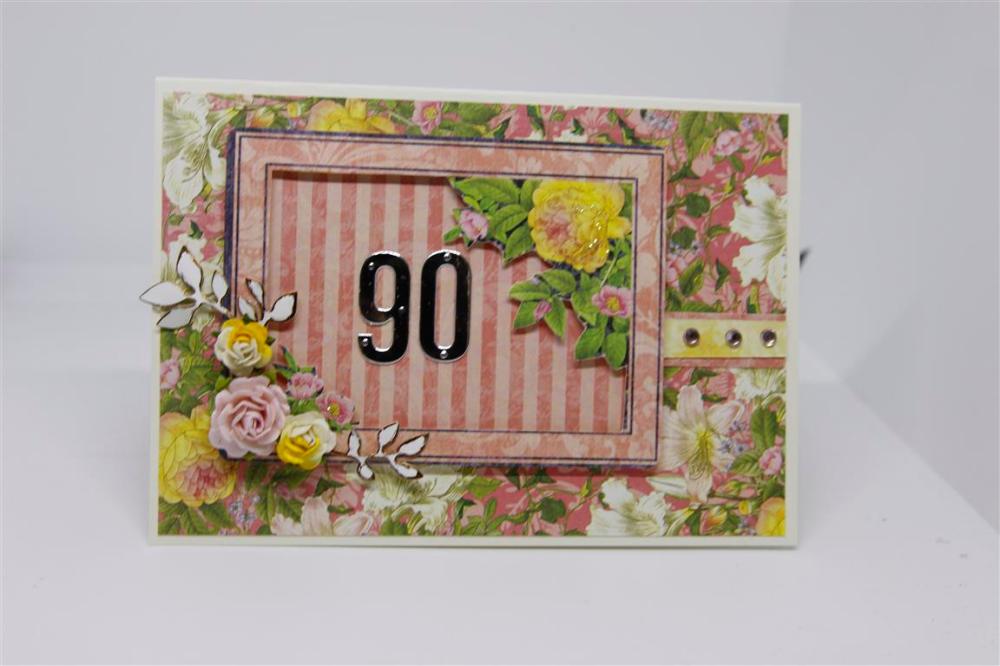 Todays cards are made with the gorgeous Graphic 45 Floral Shoppe designer papers, and journalling cards. I have done a little fussy cutting,and I added some pre made flowers. I did these for my Fair stall..I always get asked for age birthday cards and try to have just a few of each significant age to choose from. You may notice on the 90 card I cut a frame from the journalling card and put some striped paper behind it to put the die cut 90 onto. Now I am off to the shops, so..Til Tomorrow…..
Another lesson card….
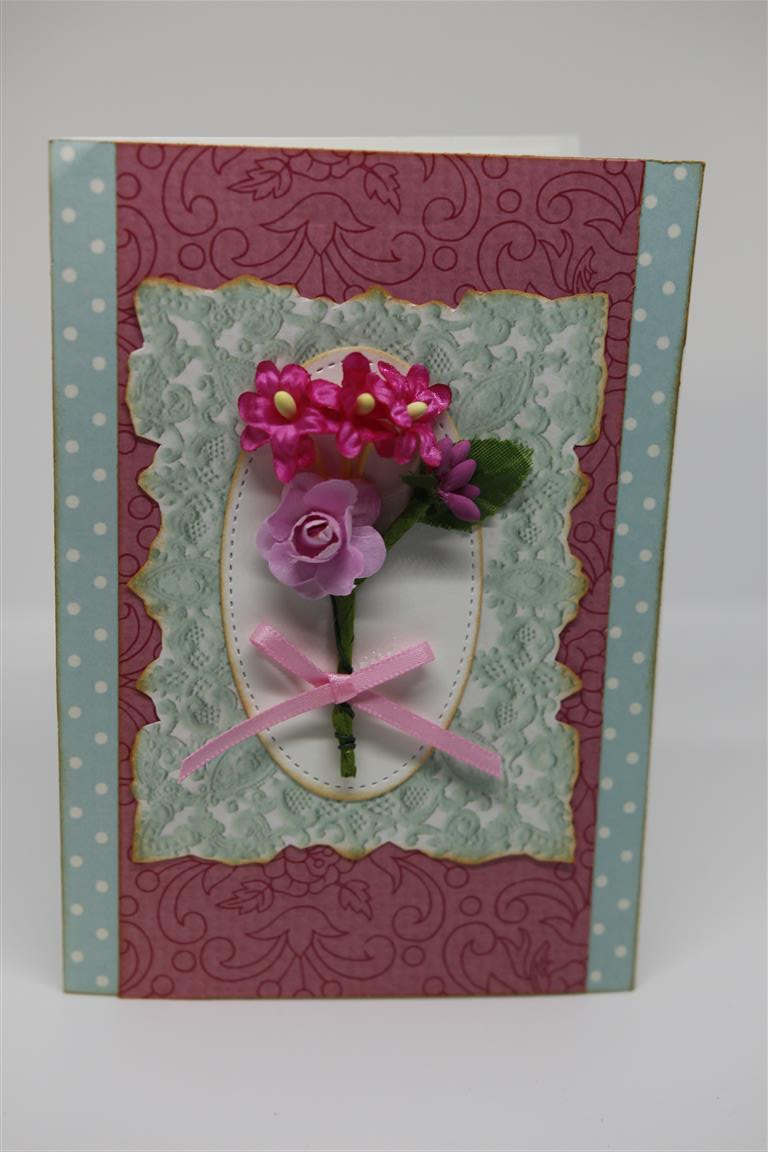 To finish off this group of photos is another card I designed for a lesson. We used Kaisercraft Miss Betty paper, layered it all up, die cut an oval and added a bunch of flowers and a ribbon bow. All the edges were inked with tea dye ink.I will be back tomorrow with some cards I made using Graphic 45 floral shoppe papers – absolutely gorgeous papers! It has been so cold here this week, my sister knitted us some fingerless gloves so that we can keep warm but keep crafting! I have made a little headway on designing the cards that I will teach on the cruise, and I have sorted all my August lesson cards, so maybe this week i will get to play with all my new Pion and Maja designs papers which are sitting in the craft room teasing me with their beauty! Til tomorrow…..
Neat and Tangled Unicorn stamp
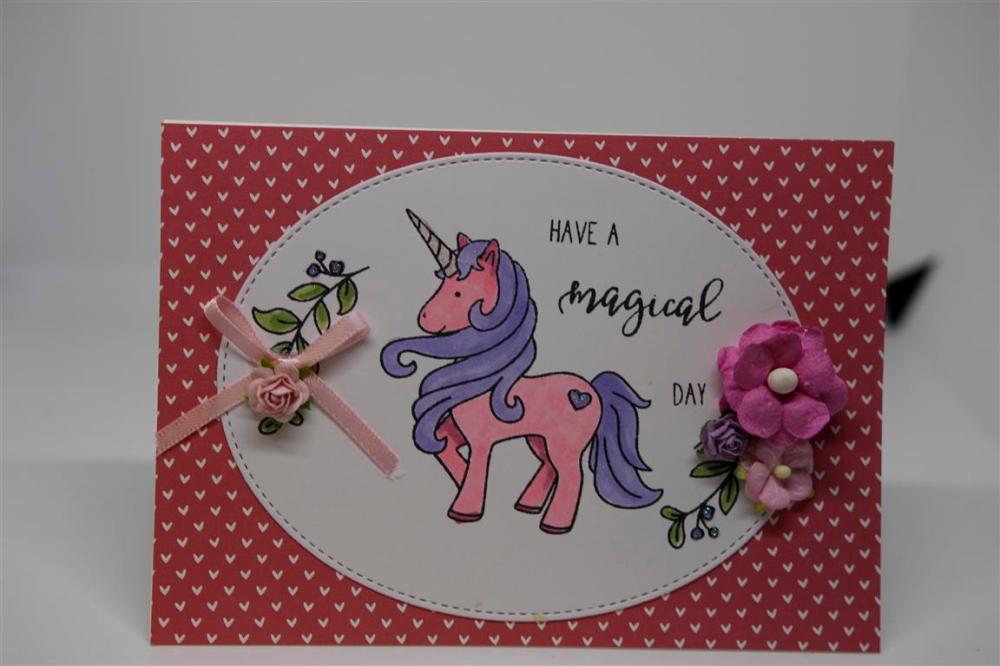
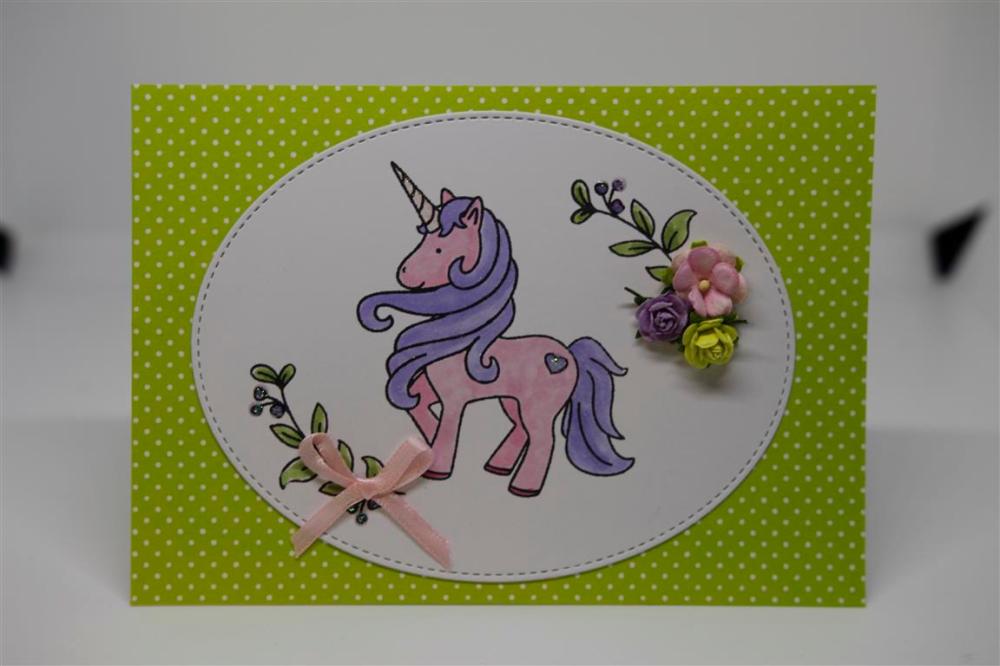 I couldn’t resist this cute little Unicorn stamp set by Neat and Tangled. After stamping i coloured with Copic markers, and added flowers and ribbon . The background paper is a from a 6″ pad by lawn fawn. My Puppy Daisy is recovering well from her operation yesterday, she was very sad and sorry for herself last night but seems to have forgotten all about it today and now the challenge is to stop her from jumping up on everything until the wound heals.Meanwhile I have been busy in the kitchen this morning making a big pot of vegetable soup for tea as it is so cold here, and also some lemon butter spread to use up some of our lemon crop. Til tomorrow….
Making good use of my Die cutting machine!
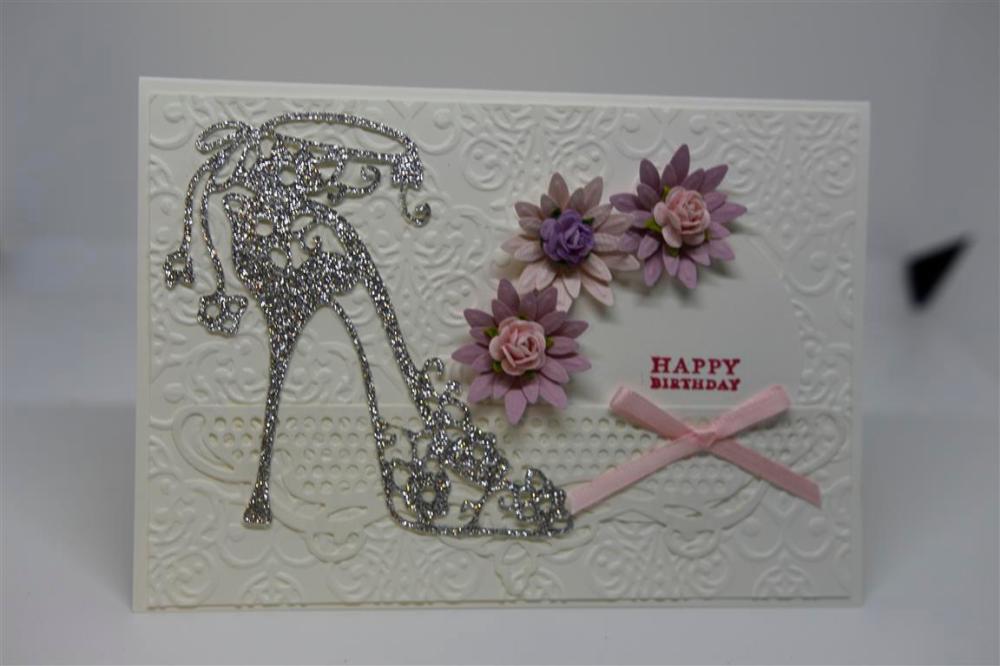 Although this one looks like a lot of work it is actually deceptively simple..I dry embossed the first layer with a stampin up embossing folder through my big shot machine, and die cut a border, still in white, using a Kaisercraft die . The shoe was also die cut with silver glitter cardstock. Tucked in behind the die cut border is a white die cut circle which I stamped with the birthday sentiment. I die cut some flowers with a Uniquely creative die, and layered pre-made roses in the centres.A pink bow , and finished! I had a great time at the craft fair last weekend catching up with familiar faces and making new friends. I sold a lot of my cards and now I can start filling my boxes all over again, but the next month or so will be concentrated on planning the cruise cards. Til tomorrow…..
Another cute Panda card…
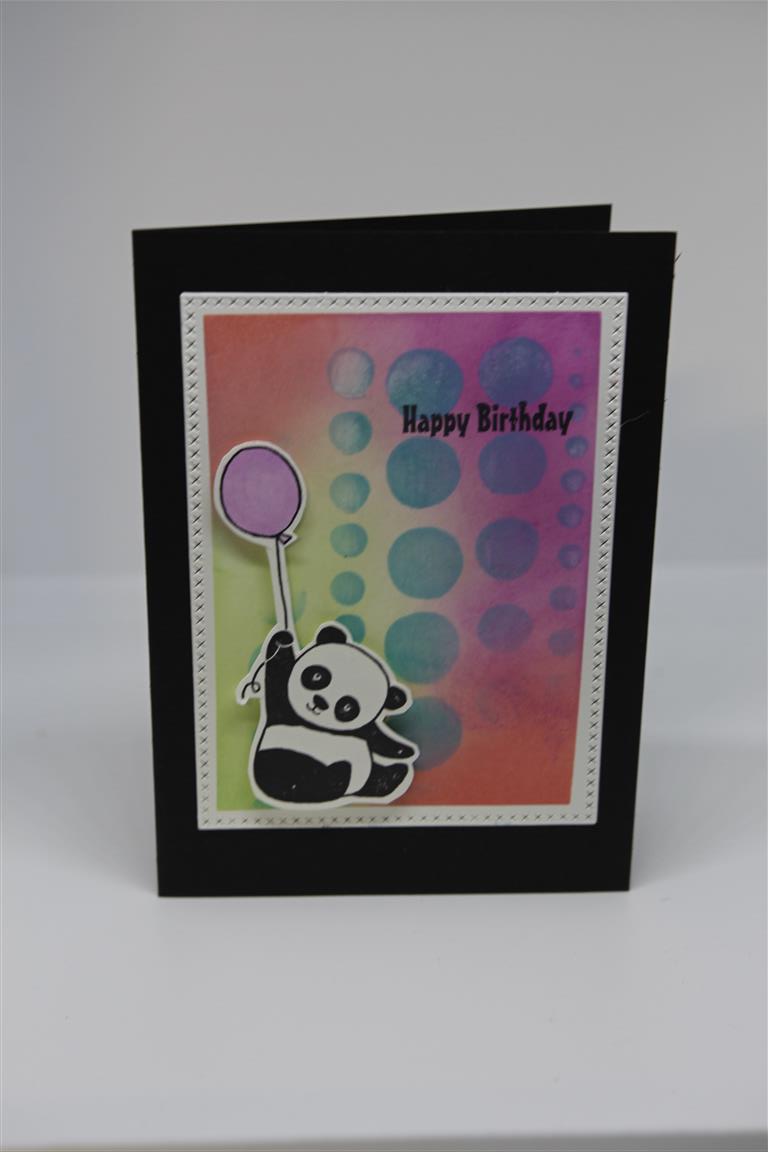 Hello! I am sorry I am not posting as often as usual, but I have been busy in the shop,we opened our Paper Flourish On Line store last week, and things have been hectic!I am finding minutes here and there to create, but not as much as I would like. In the meantime, todays card is made with Stampin Up Party pandas stamp set, which I stamped and fussy cut, and the background is inked with Distress oxide ink pads and a circle stencil. The rectangle cross stitched die is a Seven Paper Dolls Die. Til tomorrow…..
Cute Pandas!
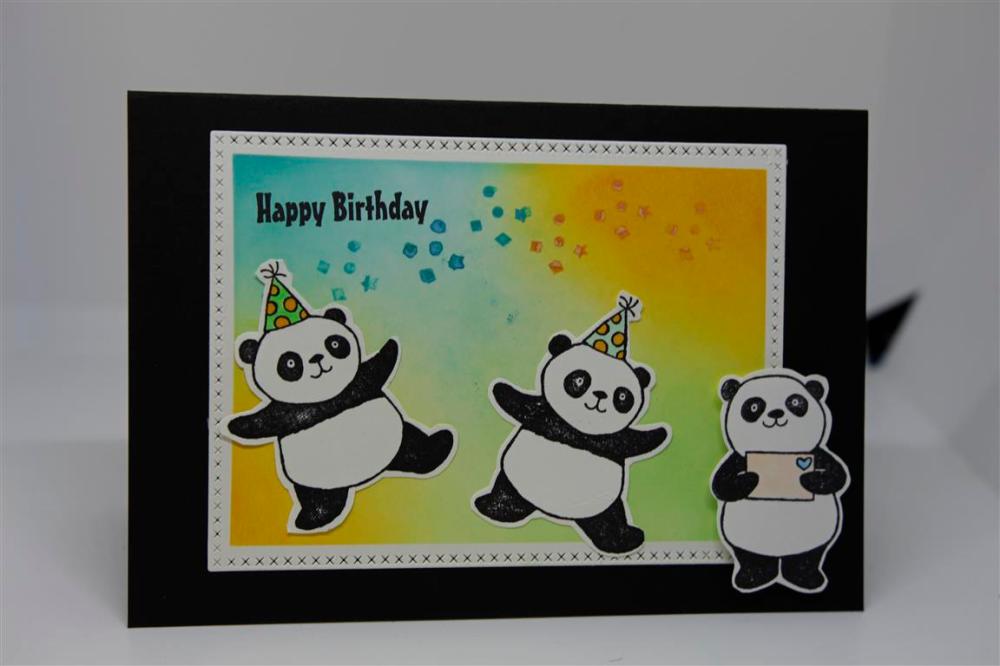 These Pandas are so cute! they are from a stamp set by Stampin Up (party pandas),and I stamped them and fussy cut them out,doing a little colouring with copic pens. I prepared a background piece by using Distress oxide ink pads, and die cut the rectangle with a Seven Paper Dolls cross stitch die. Such a simple card to make and a favourite of mine…Til tomorrow….
Mums Birthday card..
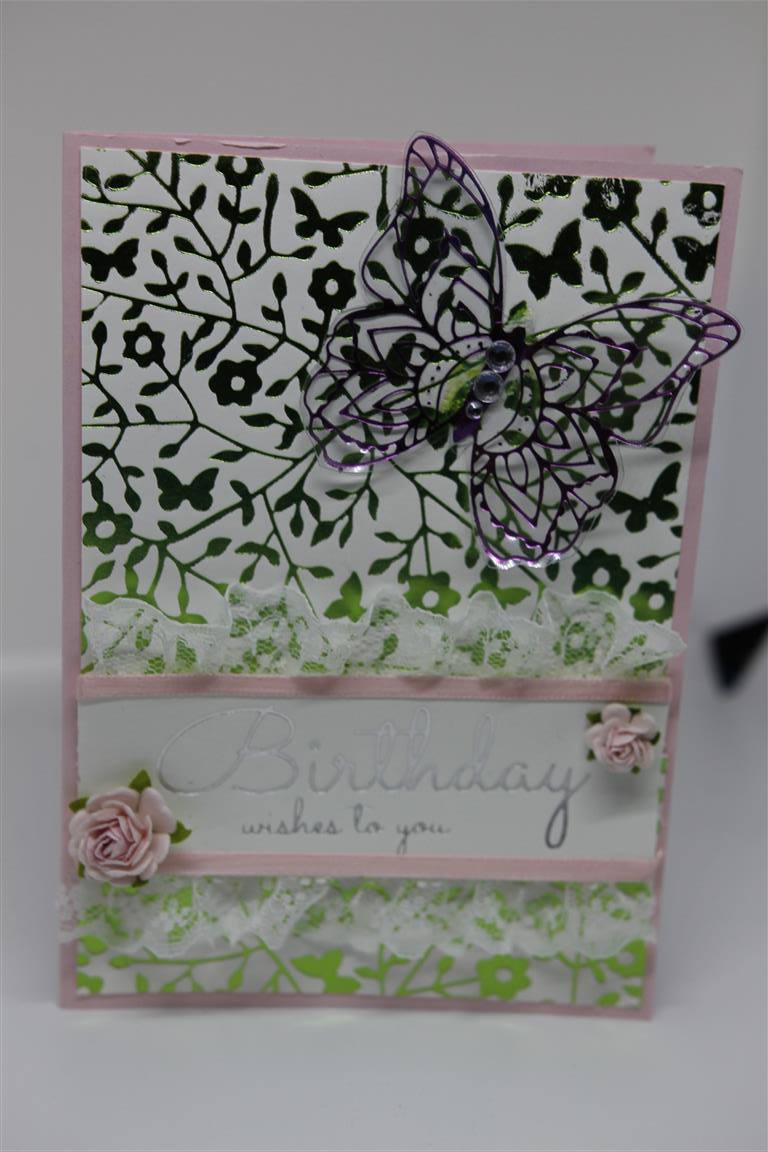 It is my mums birthday, and this is the card I have made for her, although to be completely open and honest, once this photo was taken I added a couple more flowers ( in white) in the left hand bottom corner!It is all done with my Go Press and Foil machine,including the foiled embossed background. The butterfly is foiled on acetate, and I foiled the sentiment as well. a bit of layering and lace, ribbon and flowers and this one is ready for giving to Mum today. Yesterday was spent ( after a two hour trip to Bunnings to purchase various garden items for Nathan and house paint for me) in the craft room preparing all of June lessons. Glad they are organised because I really have to concentrate on the craft fair in June now. I am looking forward to an enjoyable afternoon at Paper Flourish ( where our on line shop goes live on Tuesday!) with my craft and chat group. til tomorrow…..
Embossing ( and just a die cut)
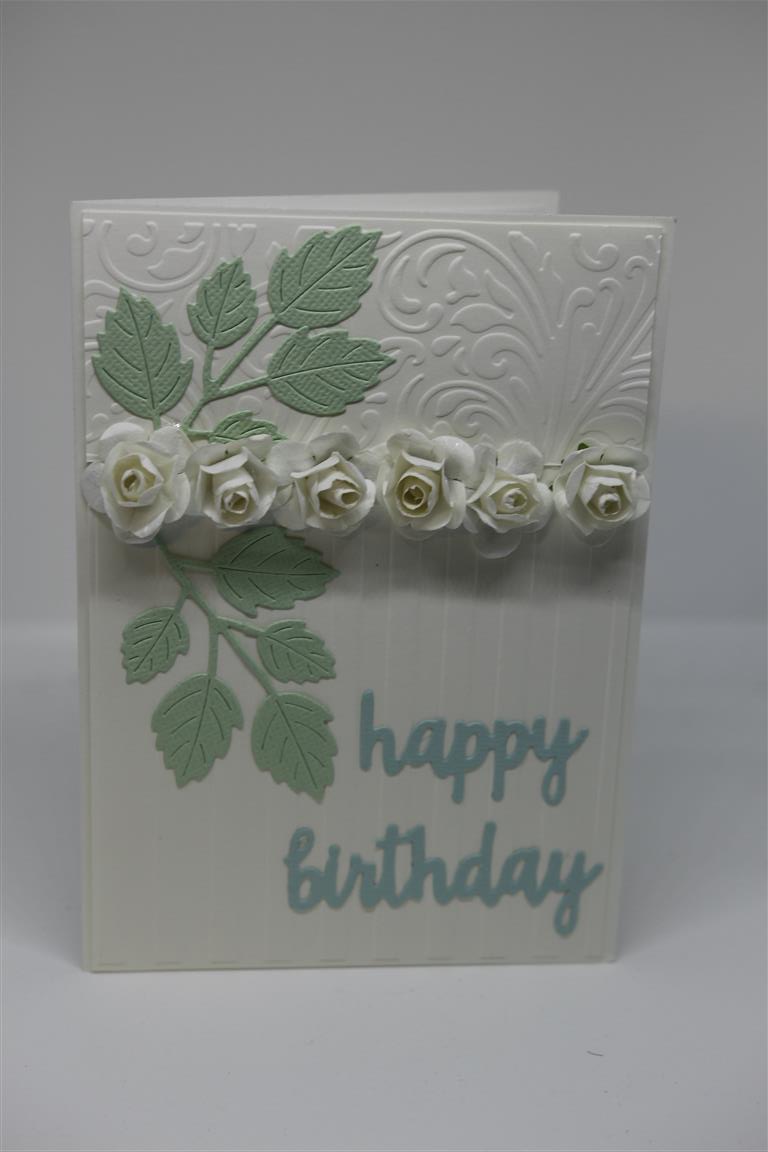 This is a card that I taught at paper Flourish a couple of months ago. We did a set of three cards all relying on embossing and die cutting with pastel colours. The die I have used is a Seven paper Dolls die which will be available to purchase from our webstore when it has it’s grand opening on the 1st of May. It has been a busy and exciting time getting the web store up and running and we see the finish line in our sights! The sentiment die is from kaisercraft as are the embossing folders I used. I stuck a row of flowers across the join I had created by combining two different embossed pieces of cardstock. I have always loved pastel colours and the three cards we created in class are favourites of mine. I have rediscovered embossing folders recently, they are an undervalued piece of cardmaking equipment in my opinion! I have spent a little time today in the craft room creating some June lessons, but really it has been a lazy and relaxing day off. Til tomorrow…..
