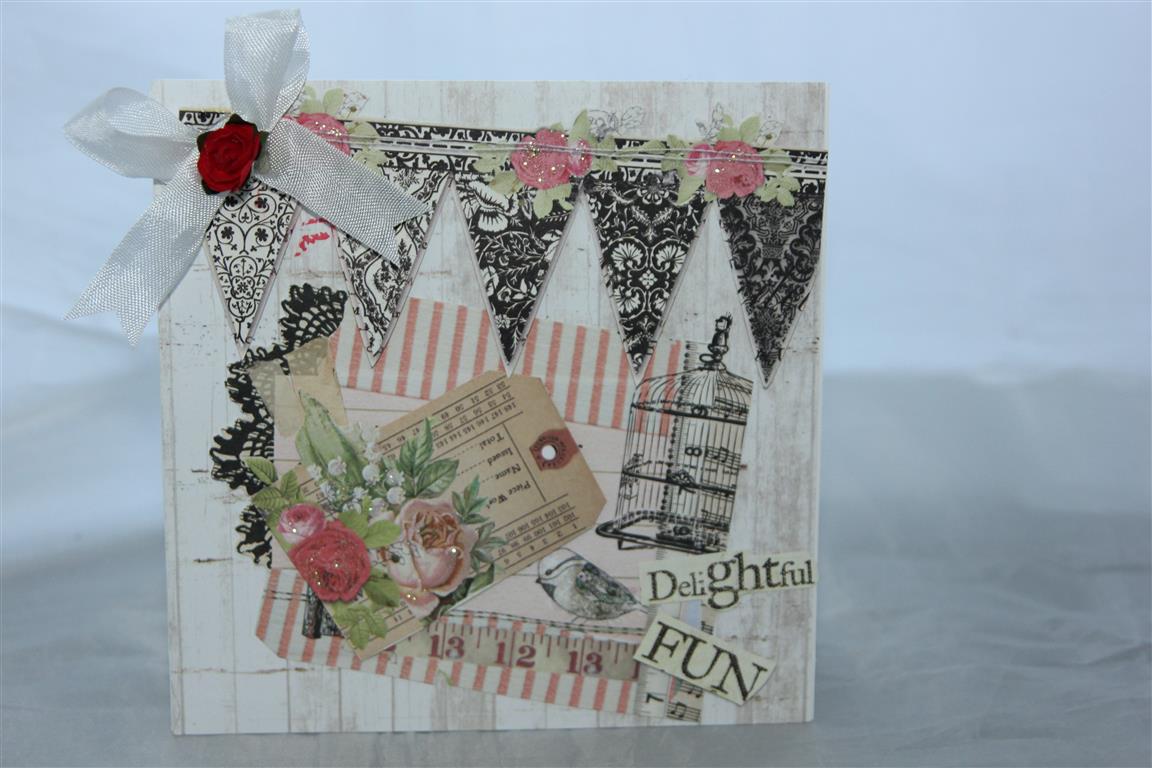
 Again, Prima Lyric paper(A4 pad) with a bit of fussy cutting, seam binding and a flower. There are a couple of layers of fussy cut flowers on this one which doesnt show up in the photo.Another caold week here, but I have been busy while sitting in front of the heater in the evenings – i have been fussy cutting with some new papers which I hope to turn into cards this weekend, and I have also stamped and coloured some images as well, so lots of projects ready to go when the craft room warms up a bit! Til tomorrow….
Category: Birthday female
Prima Lyric number 2
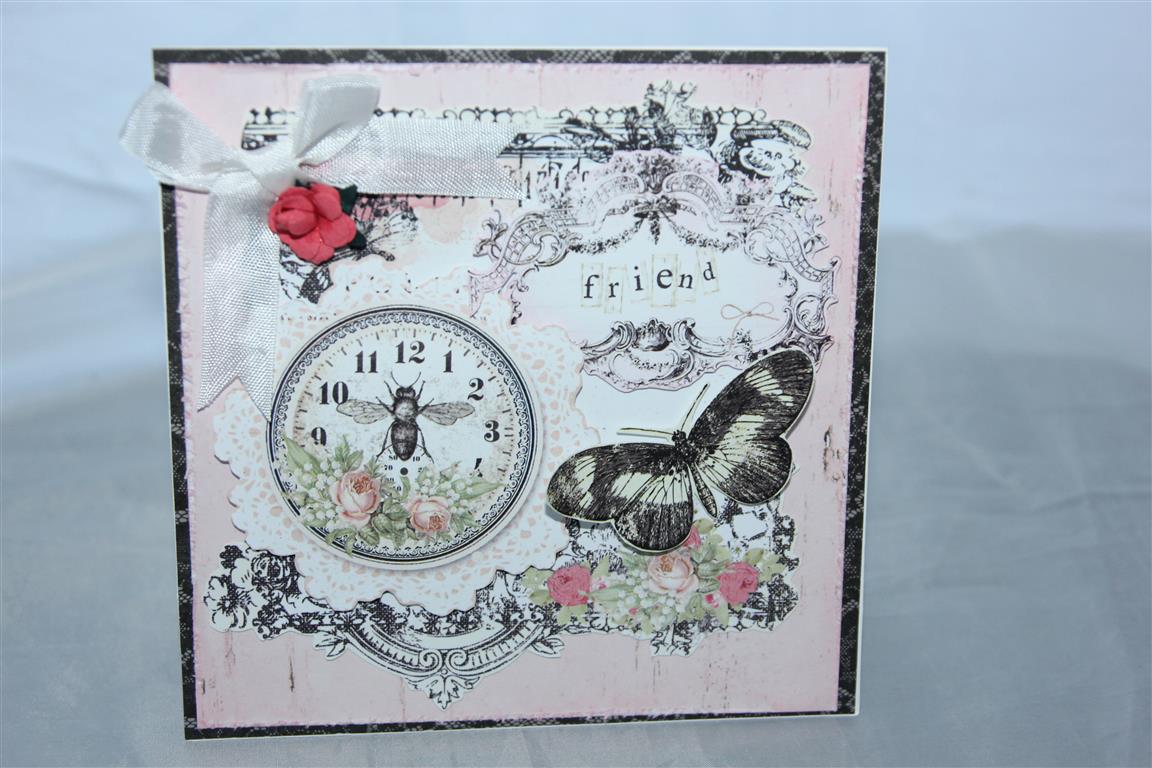 There were lots of great images on this paper ( prima Lyric) to fussy cut, and I have used a few of them on this card.I layered a couple of pieces of the patterned paper, and added a flower and seam binding bow to finish.I bought some new christmas paper today, so I will be in the craft room if anyone needs me! Til tomorrow….
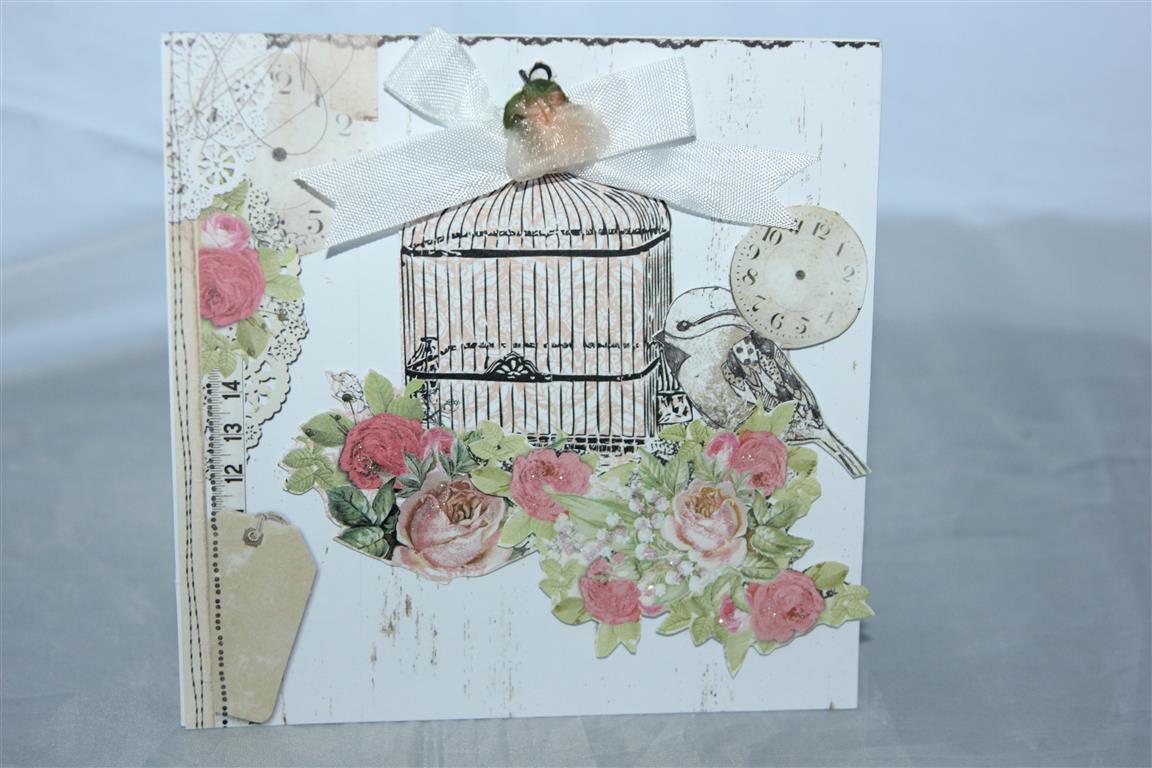
1000th Post – Prima Lyric
 I took some time to think about todays post as it’s amazing to me that I have been posting on here long enough to reach 1000 posts, so I wanted a card that reflected my crafting style and conveyed what card making means to me. I settled on this card which I made using Prima Lyric patterned paper ( a4 pad) because I have done a lot of fussy cutting here which is my favourite way of making cards. I took that pad apart and fussy cut just about everything as you will see over the next few days. I just added a seam binding bow ( ribbon also features on most of my cards) and a flower and kindyglitz. The words down in the right hand corner explain what crafting means to me! Til tomorrow….
Madison Avenue and hearts a flutter
 Tonights card uses much the same supplies as last nights post – Stampin up cardstock – tangerine tango and island indigo, chevron embossing folser, ribbon and button, but I added some banners in the corner die cut with stampin up hearts a flutter dies. Tomorrow is a special post for me – my 1000th post! i will have to find something special for that one. Today has been spent finishing off a few projects, and making a few xmas cards. Tomorrow will be a focus on Fathers day cards. Til tomorrow….
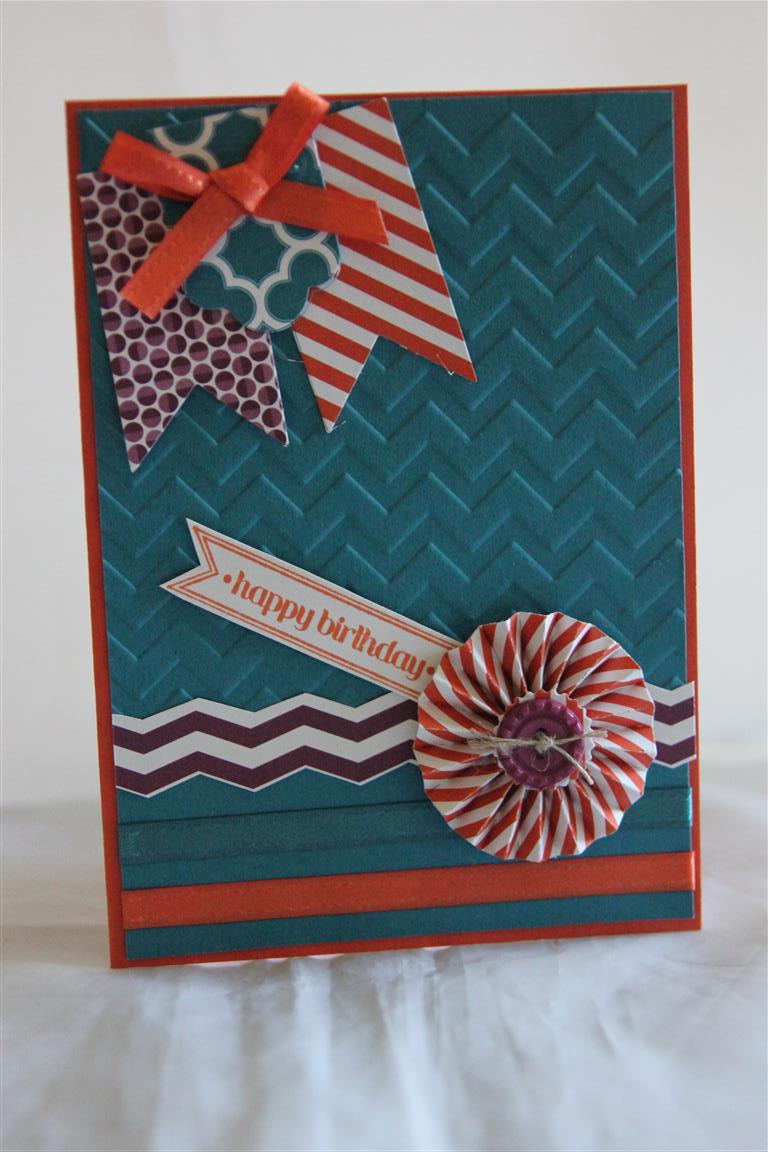
Bold and Bright!
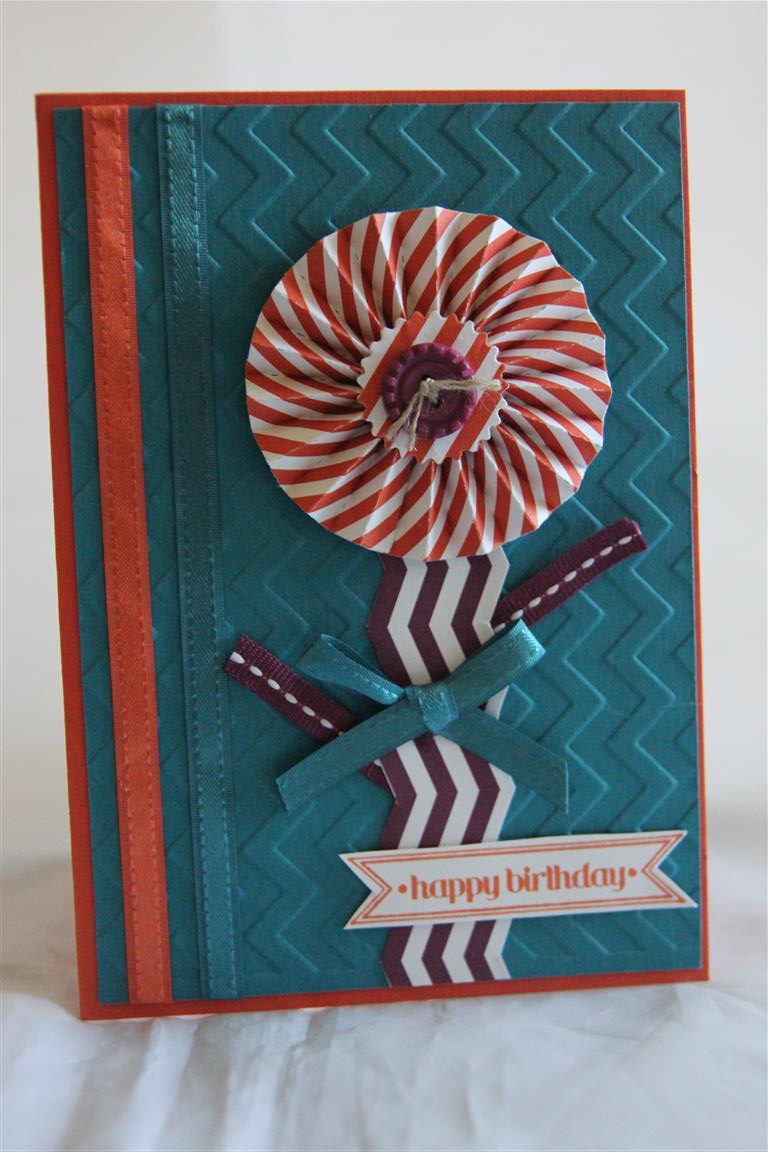 Today we leave behind the stamping, but stick with the bold andd bright colours! The scrap of paper I used for the flower stem is from Stampin Up Madison Avenue, and I used stampin up cardstock and matching ribbon – Tangerine tango and island indigo.The die used is sizzix tim holtz rosette, and the embossing folder is stampin up chevron folder.I stamped my greeting with a stamp from the itty bitty banner set from stampin up in tangerine tango ink. This afternoon I have been busy making a new home card for an order, and I have some things laid out on the craft table ready to go for an ideas I have, but this weekend has to be about Fathers day cards ( just a few more to do) and xmas cards. Til tomorrow….
More stamping!
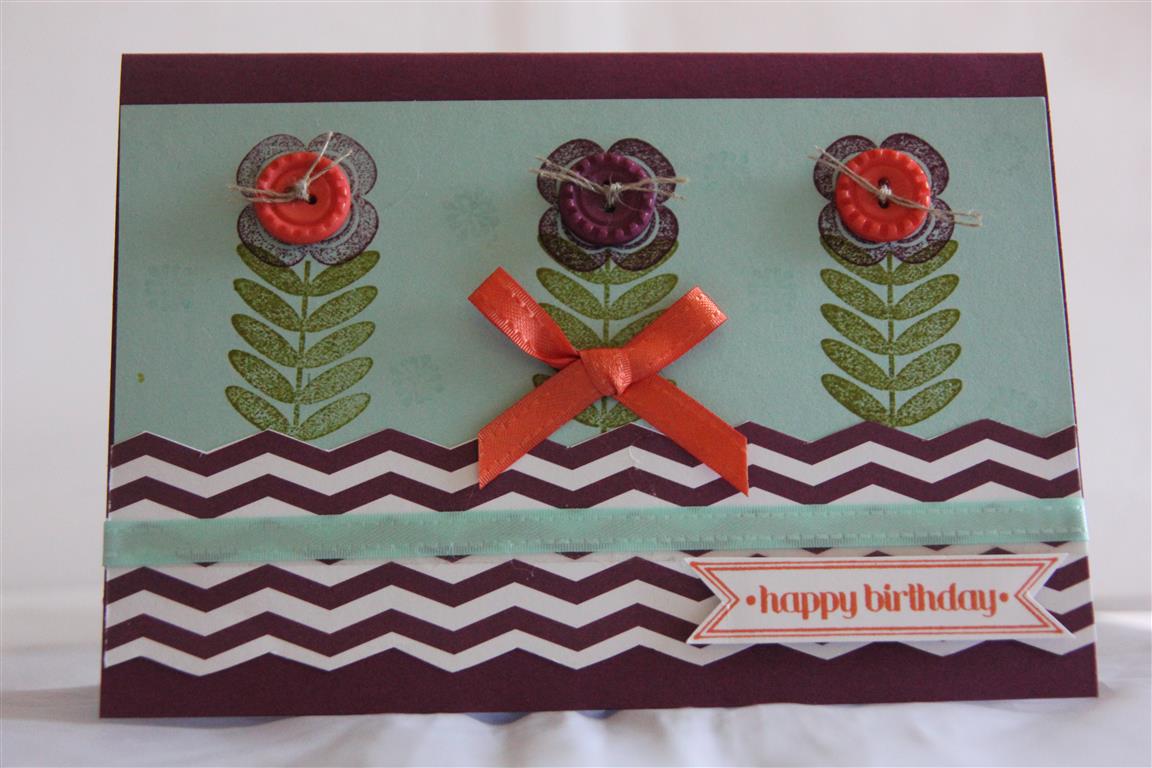 Similar layout to last nights card, with the Stampin Up madison Avenue stamp set, but a few different colours( rich razzleberry and pool party cardstock, and gumball green, tangerine tango and rich razzleberry ink pads) and I used a little designer paper as well. The trims are also Stampin up – Buttons, linen thread and ribbon. Its so cold and wet here today, I have turned on the heater, will cook some tea, and then I am not moving from my chair! Til tomorrow….
Stamping with Madison Avenue
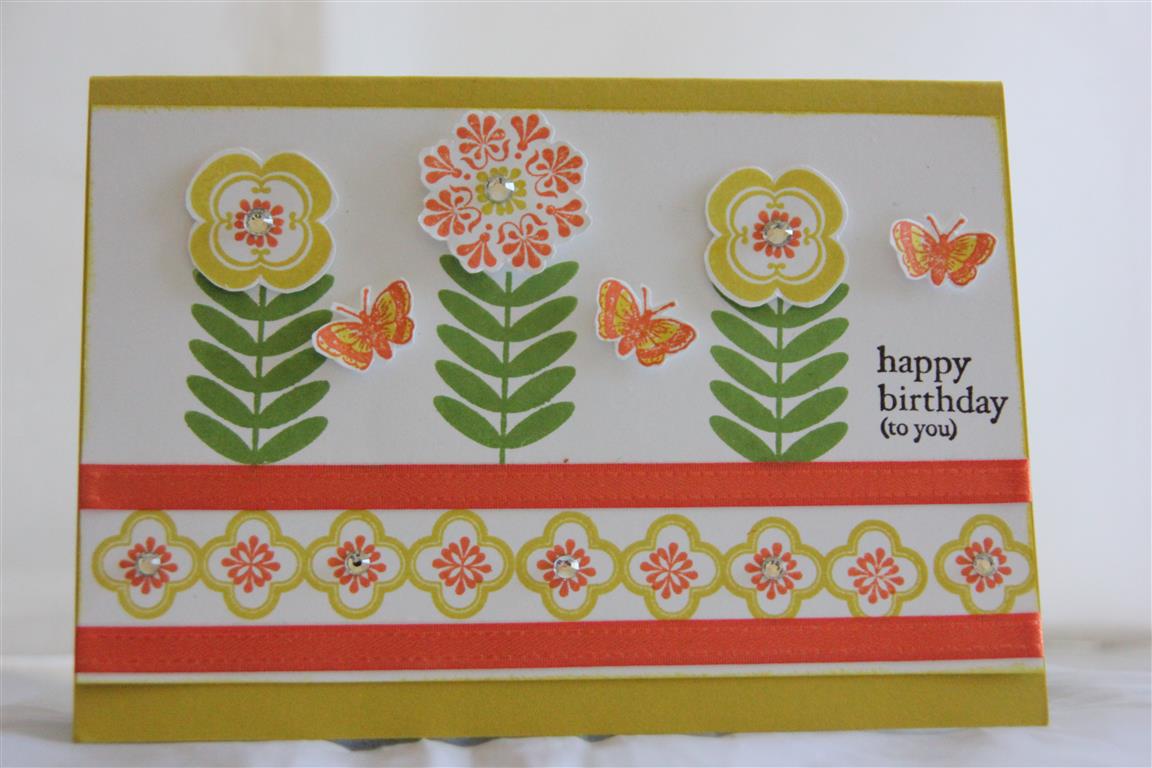 This is a nice bright card for a change! All supplies are from Stampin Up – the stamp set is Madison Avenue, and the butterflies were stamped with a stamp from Clearly for you stamp set. The cardstock is Summer Starfruit and whisper white, and the stamp pads I used were gumball green,tangerine tango and summer starfruit. I added a little bling and some tangerine tango ribbon to finish.I stamped the flower heads separately and fussy cut them so that I could mount them with foam pads for a bit of dimension.I have a baby card to make for an order tonight, then feet up in front of the tv! Til tomorrow….
Stamping fun..
 Todays card is similar to yesterdays – same colours, and stamp set ( serene silhouettes from stampin up). I also used the same free embossing folder, and the ribbon and sentiment are also from stampin up. The chalk ink I used is Prima brand – I like them for colouring my stamps if I want to use more than one colour in the one stamp as they are a little stamp pad and I have more control over where the colour is going on the stamp. The flower is also Prima.Today I found some neglected paper so I have been making some retro 50’s style cards – lots of buttons and ric-rac. Til tomorrow….
serene silhouettes
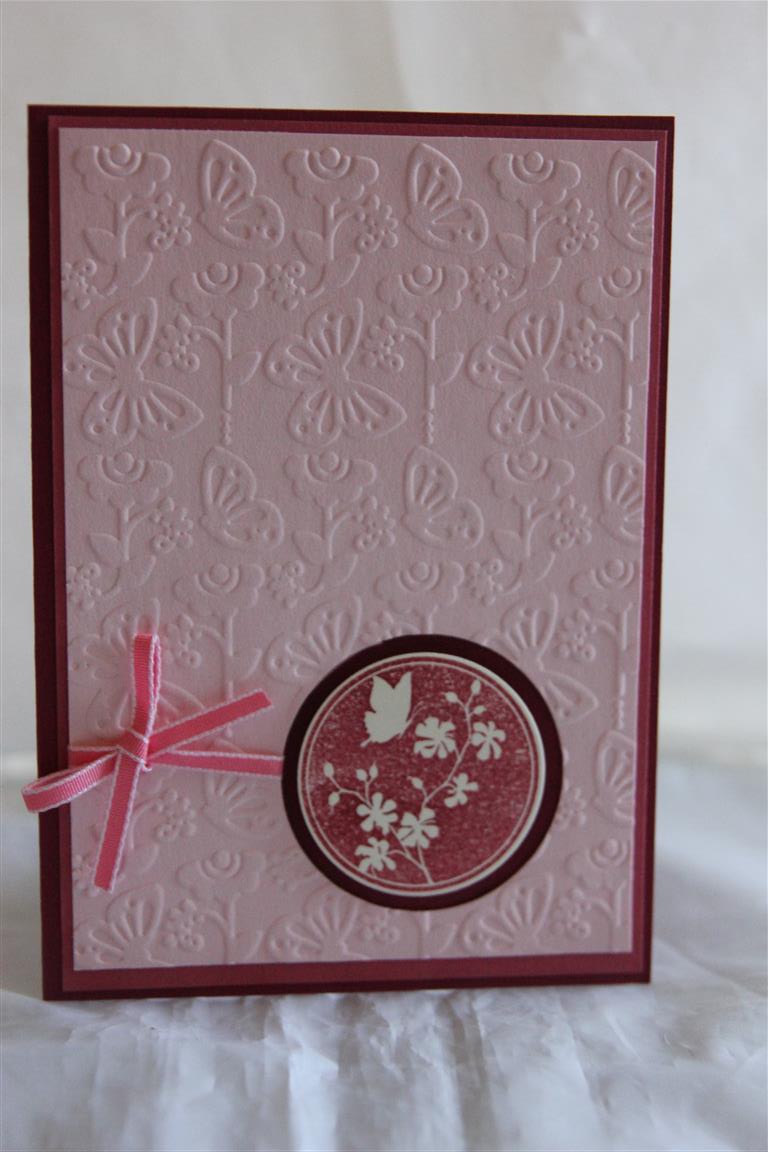 Now and again I get out my inks and stamps, and go to town! For the next few days we will have a stamping special where I will show you what I have been working on lately.This one uses all stampin up – cardstock – pretty in pink,raspberry ripple and primrose petals. The stamp is from Serene Silhouettes stamp set and stamped in Raspberry ripple ink, and even the ribbon is stampin up! I die cut a circle through the top two layers of cardstock so that the lowest colour showed through, and I have just realised the embossing folder I used was not stampin up – it was a freebie off the front of a magazine. Had a lovely crafty afternoon with some other like minded ladies, swapped tips, saw what each other were working on, and enjoyed afternoon tea together – it was lovely after doing lessons back to back this week to just sit, craft and relax! Til tomorrow….
Stampin Up cottage Window
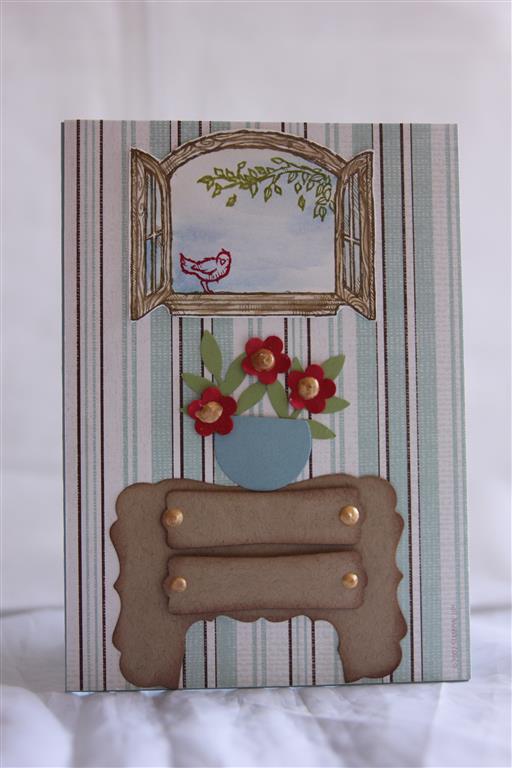
 I named this post after the stamp set I used to create this card, but there is so much more going on! After I had fussy cut out the window I stuck it onto my card base which i had covered with a scrap of paper – it reminded me of wallpaper… then I made my chest of drawers using spellbinders label seventeen dies, and for the drwaers Modern Label punch ( stampin Up) and added liquid pearls for the drawer handles.I inked around all parts of the drawers with brown ink Then it was time to move on to the vase of flowers – a circle punched out with a 1 inch punch, and trimmed off top and bottom, and flowers and leaves punched out with various punches. I do like creating these type of scenery cards, and this one was a retirement village lesson, which all the ladies enjoyed! Tonight I plan to tackle some male themed cards, I have rediscovered my motorcycle stamp, and have some ideas…Til tomorrow….
