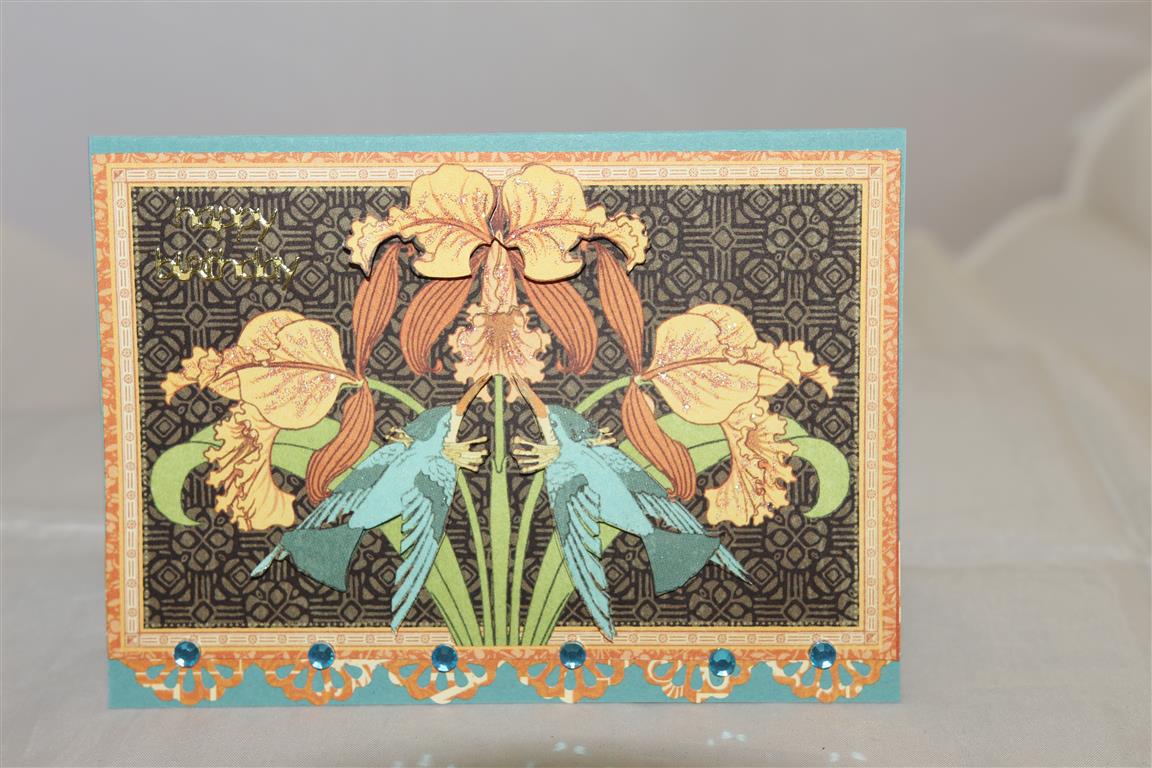
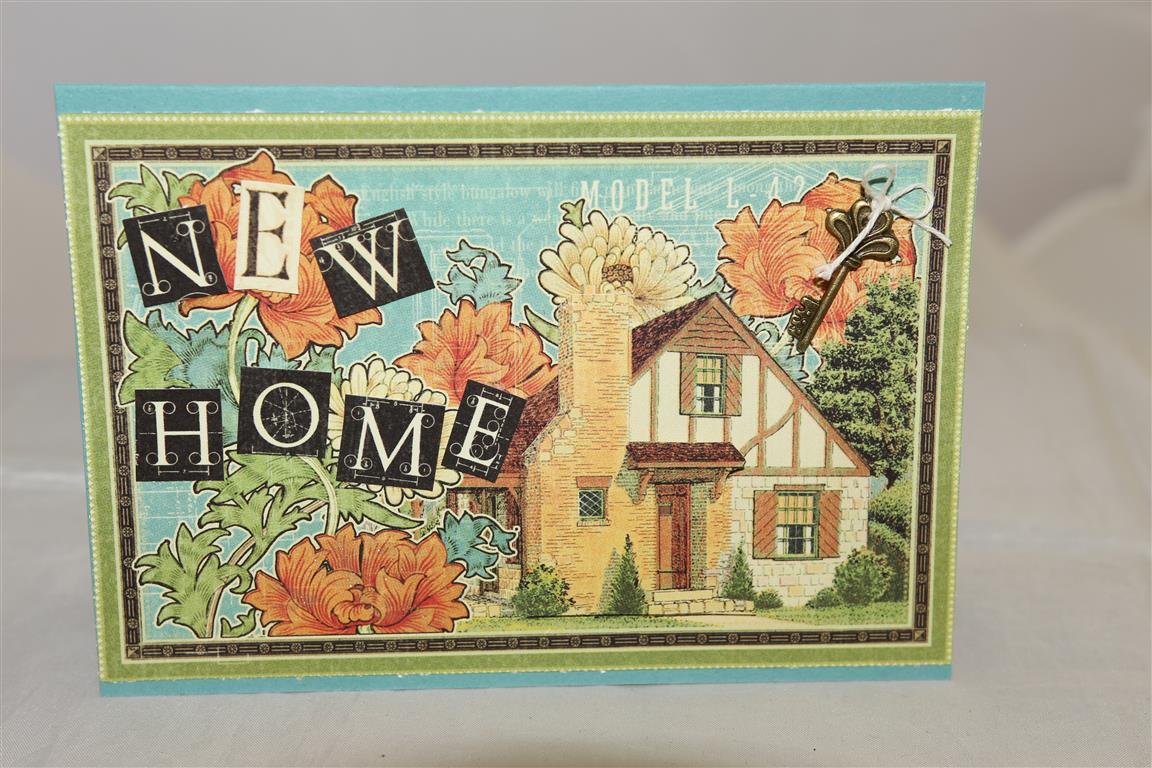
 Two more cards made with graphic 45 Artisan style. I didn’t use too much embellishments with this paper – it really didn’t need it – there is so much going on -. I had two pieces of the paper I used on the top card so I fussy cut small elements of the flower and popped them on top with 3d foam pads, and did the same with the bottom card – the chimney and front door is a second piece over the top held on with foam pads. I cut some letters out of anther piece of paper from the same collection for the new home wording, and stuck on a key embellishment. A nice relaxing weekend , very cold here though, so not too much happening in the craft room – very cold through there!! til tomorrow….
Category: Birthday
Graphic 45 Artisan Style 1
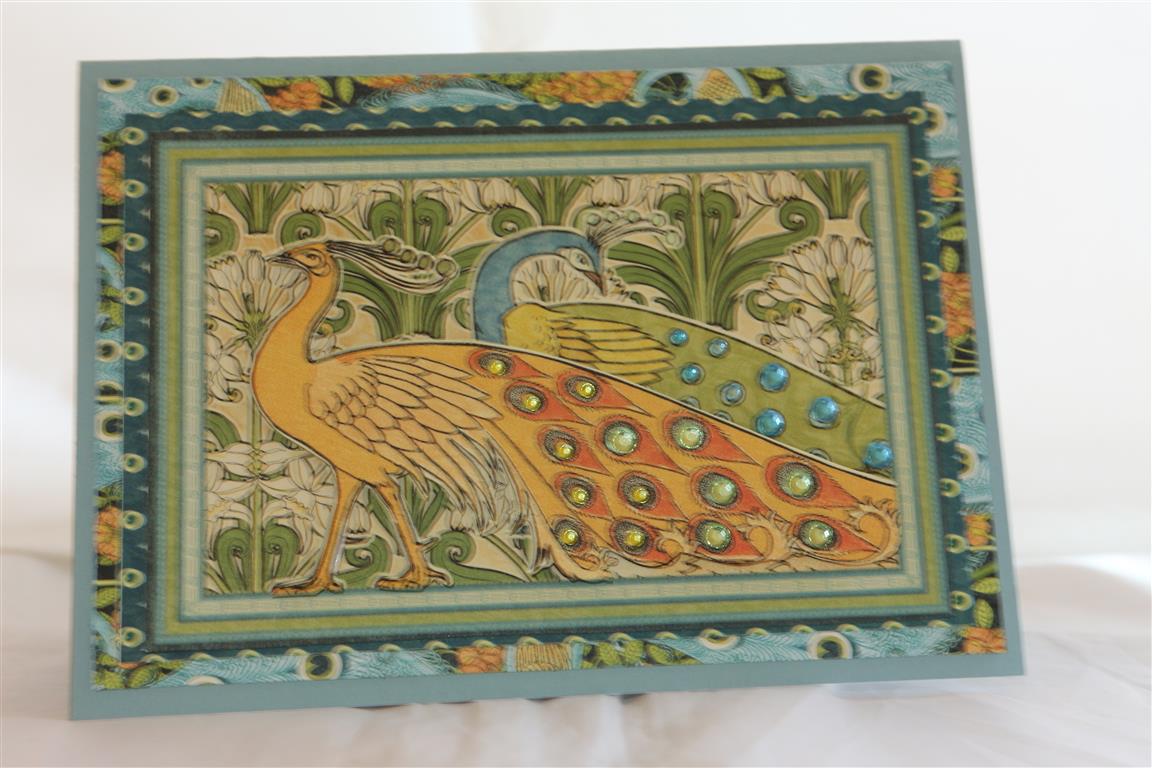 This is the card I made for my sister’s recent birthday,( because she loves peacocks) and the first card I made with Graphic 45 Artisan style. A very simple card – just lots of layering and bling! Over the next few days i will show you all what i did with the rest of this paper! glad it’s the weekend, and I am up to date with all my lessons, so Will be able to spend an amount of time in the craft room just creating. til tomorrow…..
Last 3 Kaisercraft secret Garden cards
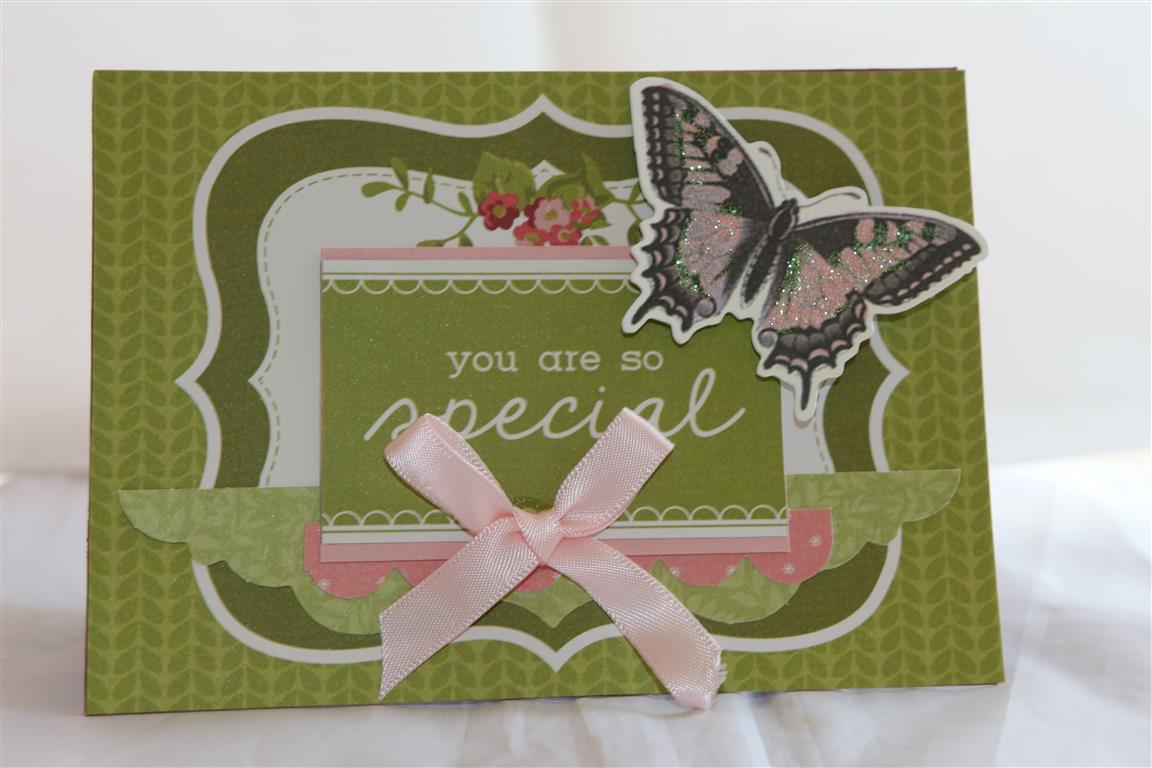
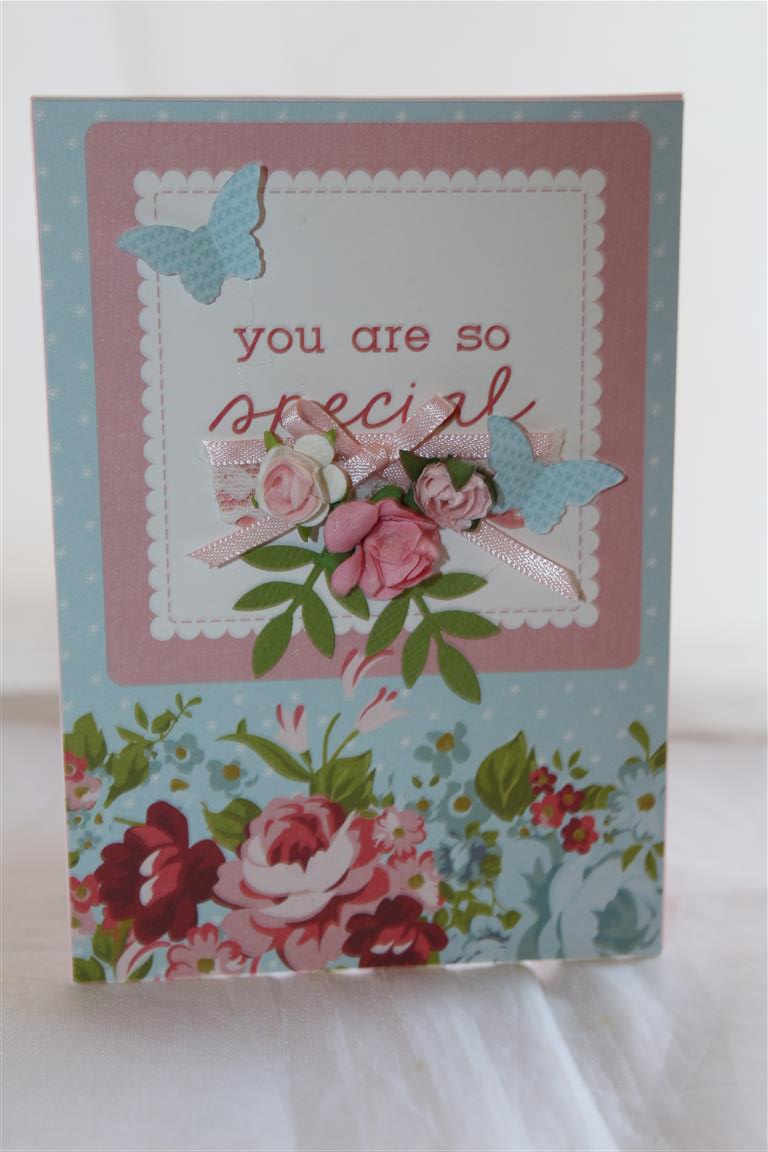
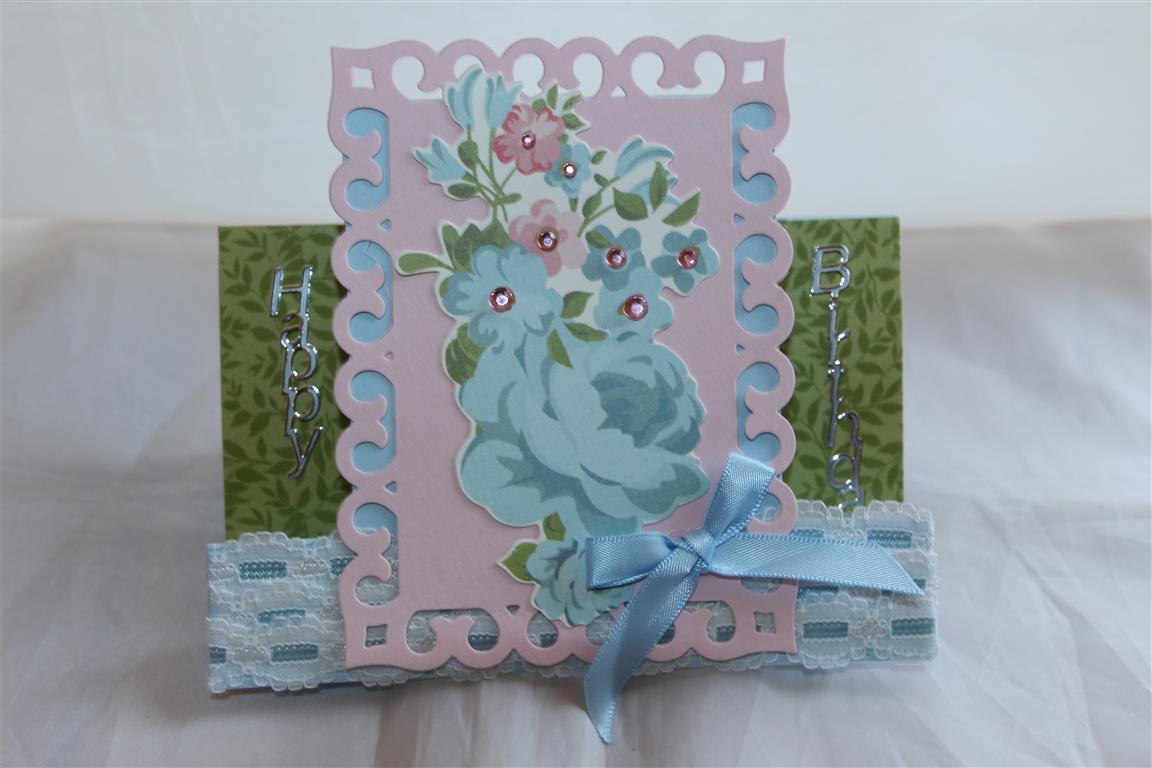 Here are the last 3 cards from my Kaisercraft Secret garden series. From the top..Pink and blue stampin up cardstock,layered flowers and leaf kaisercraft dies,collectables and the 6″ pad. Middle card..A piece of 12 x 12 paper, the die cuts from the paper pad,ribbon and a butterfly collectable from the secret garden collection. Bottom card…I made a centre step card ( I must do a video for these..will talk to Nathan to organise a time)paper from the 6″pad,a collectable,layered lace and ribbon. The fancy label is a spellbinders die but i am not sure of the name as Mum die cut it for me. Anyway, must go now as I have a class this morning and I am so looking forward to seeing my ladies! til tomorrow…..
Kaisercraft secret garden 11 and 12
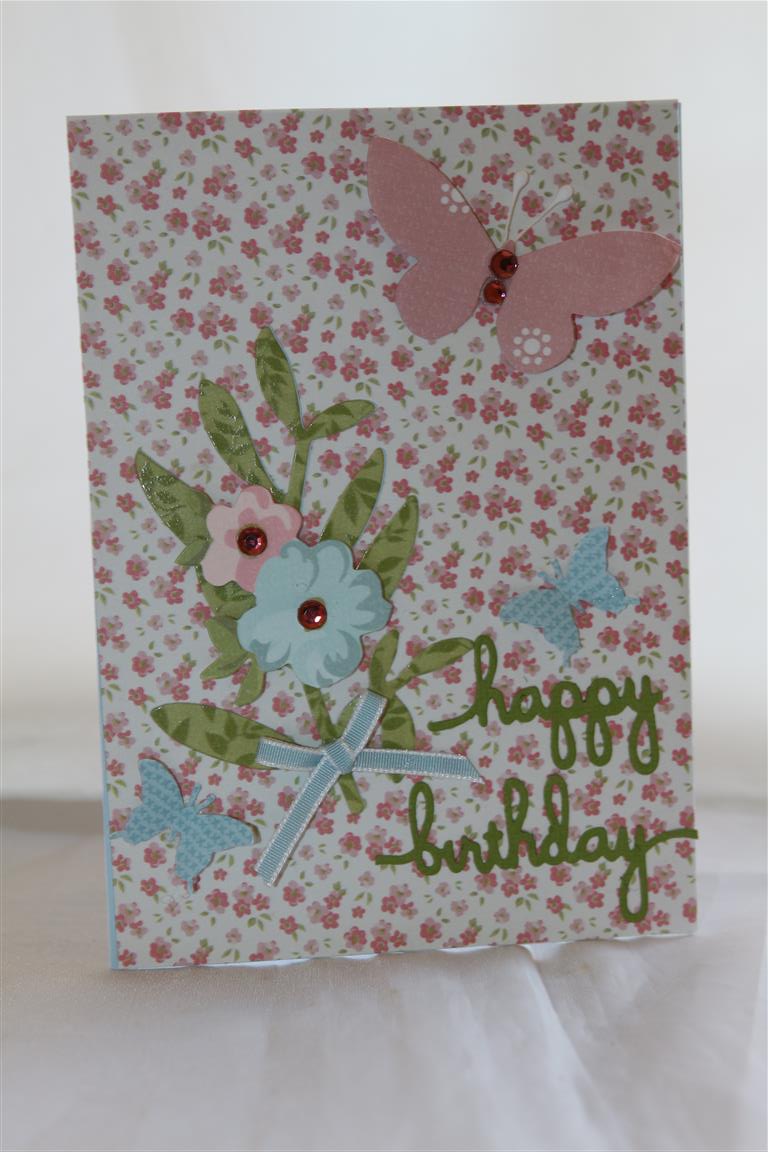
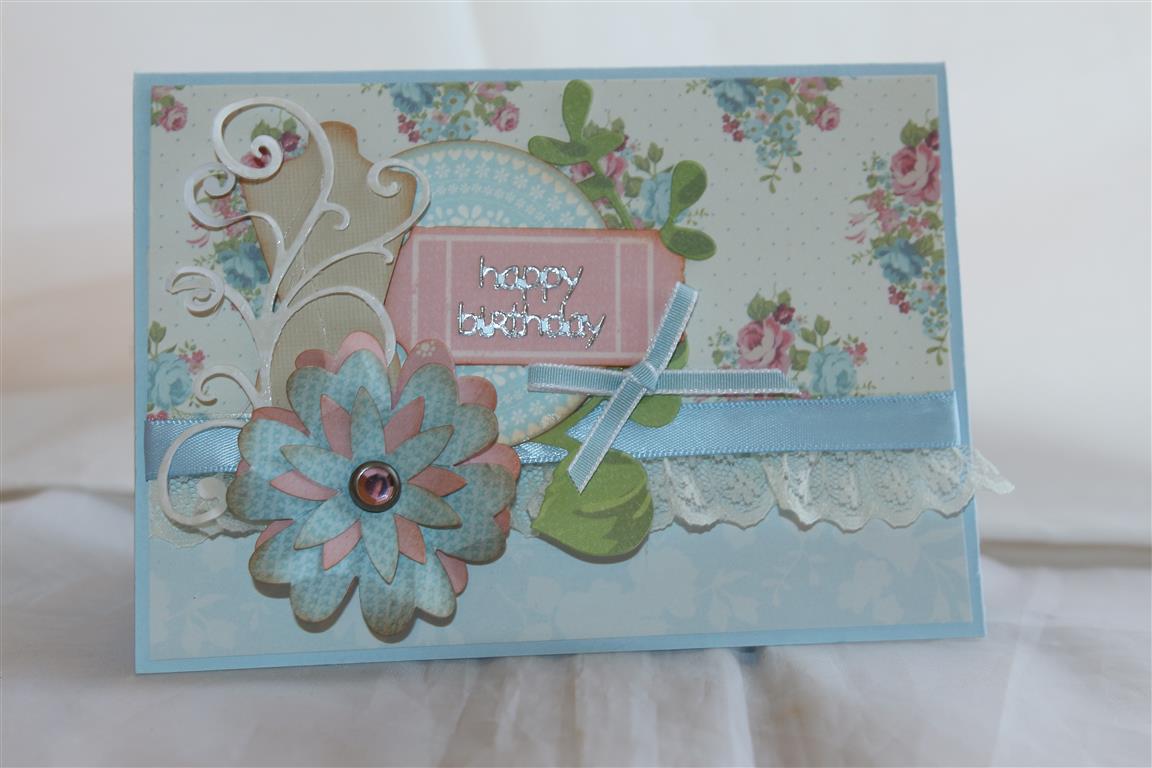
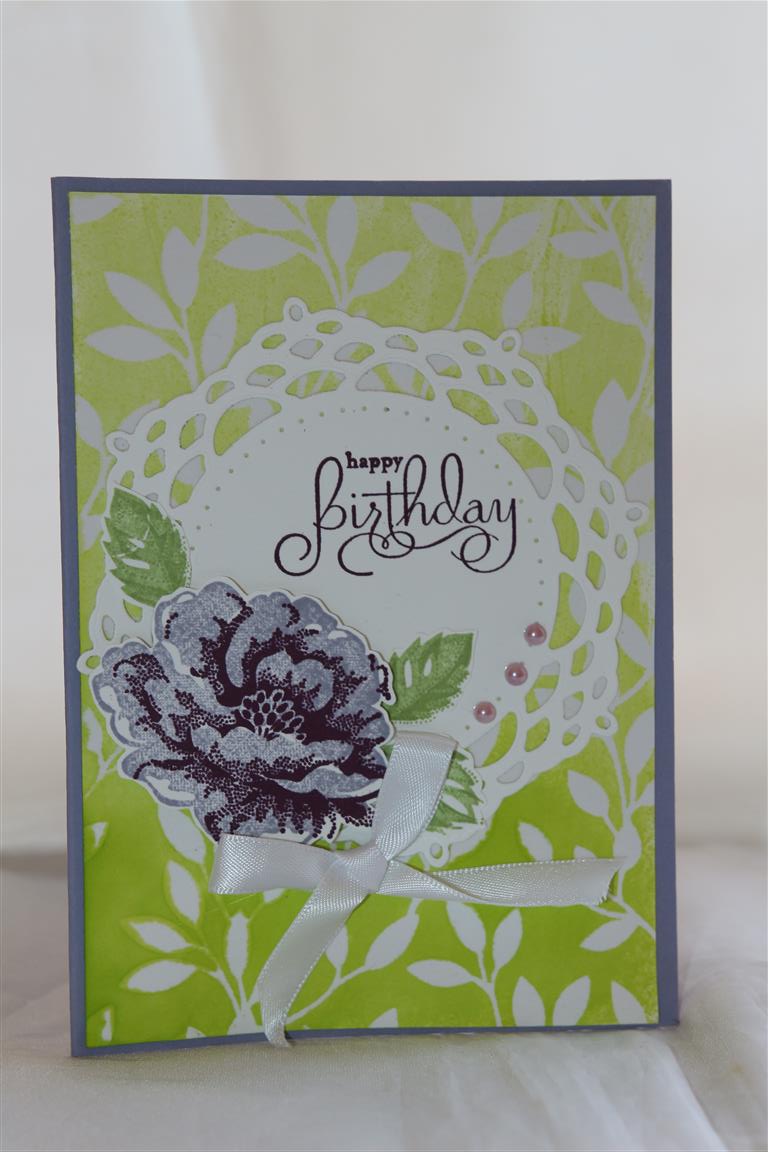
 we are coming to the end of my secret garden series – only one more after these two I think!Top card – kaisercraft secret garden 6″ pad,collectables and a kaisercraft leaf die, spellbinders happy birthday die,and assorted butterfly dies and punches. For the bottom card I used a piece of 12 x 12 paper – In all kaisercrafts’ ranges now they have a couple of 12 x 12 sheets with what they call card fronts on them. I don’t think I have used one without changing it but that is half the fun! I covered a couple of the words on this one with some lace and ribbon. Some lovely flowers and punched butterflies to finish! started work at 6 am this morning, the good thing about that is finishing early, but I am off now for a bit of a nanna nap!Til tomorrow….
kaisercraft secret garden 9 and 10
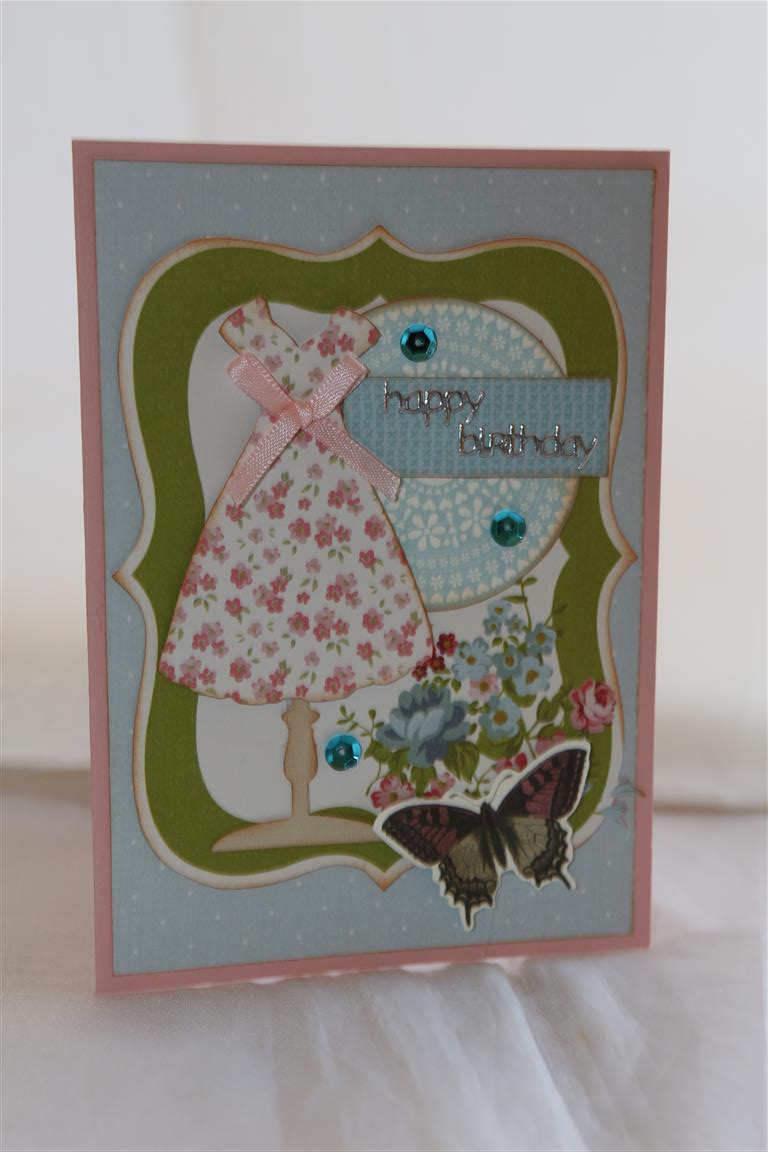
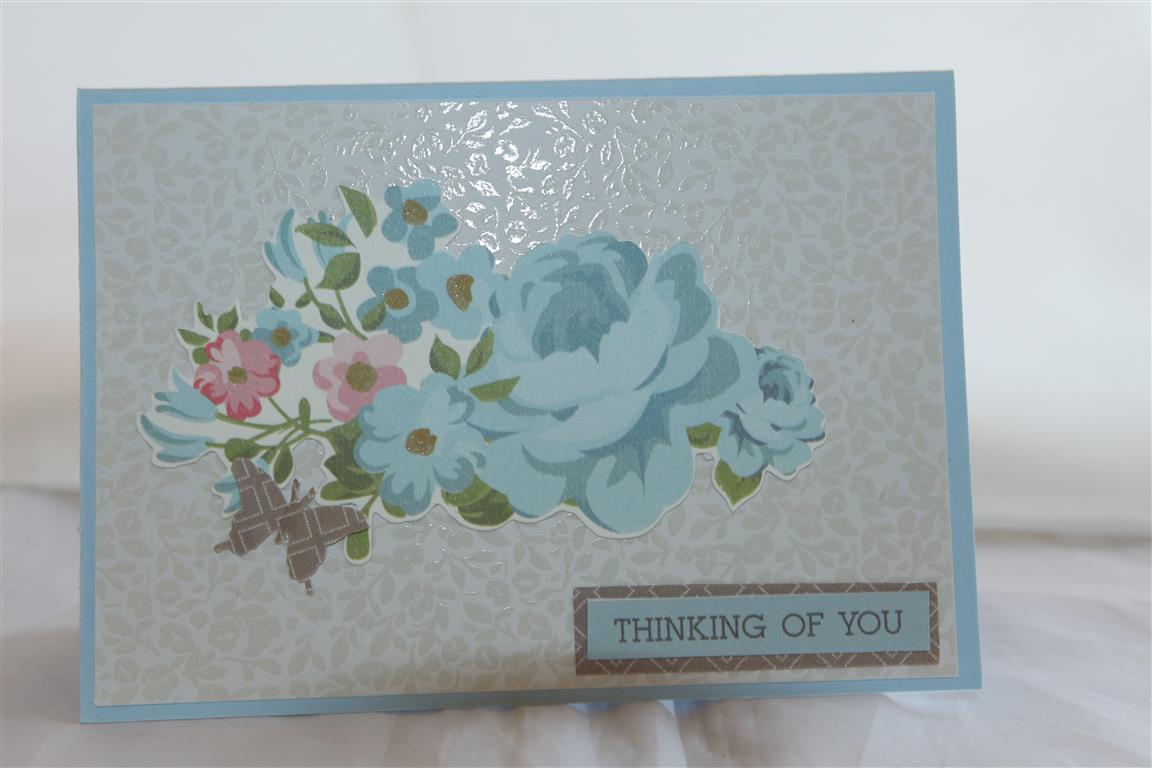 Kaisercrat secret garden. The top card has a piece 0f the 6″ pad as the background, and a piece from one of the 12 x 12 card fronts trimmed down. I used a kaisercraft mannequin die and hand cut a dress from a piece of the 6″ pad.Added a collectable and some sequins to finish this one. For the bottom card – so simple – a piece of the 6″ pad and a collectable is all this one needed!punched butterfly, and sentiment and done. Freezing day here today, far too cold in the craft room, so after a visit to Mum and dad’s this afternoon, it will be tea in front of the heater and Tv! til tomorrow….
Kaisercraft secret garden 7 and 8
 I have taken a short break from the craft room, where I am planning out August/september lessons, to post a couple of new cards. We are back to my Kaisercraft secret garden series, and for both of these cards I have used lots of lovely lace and ribbon, along with some dies , mainly kaisercraft – they are my new favourite brand of die as they cut through so easily, and both cards use paper from the 6″ pad.Of course I have also used the matching collectables.it’s very cold here today – I am not sure we have even reached double digits, so I don’t know how much longer I will be in the craft room before I retire to the seat closest to the heater!Til tomorrow….
last 2 irresistably yours cards
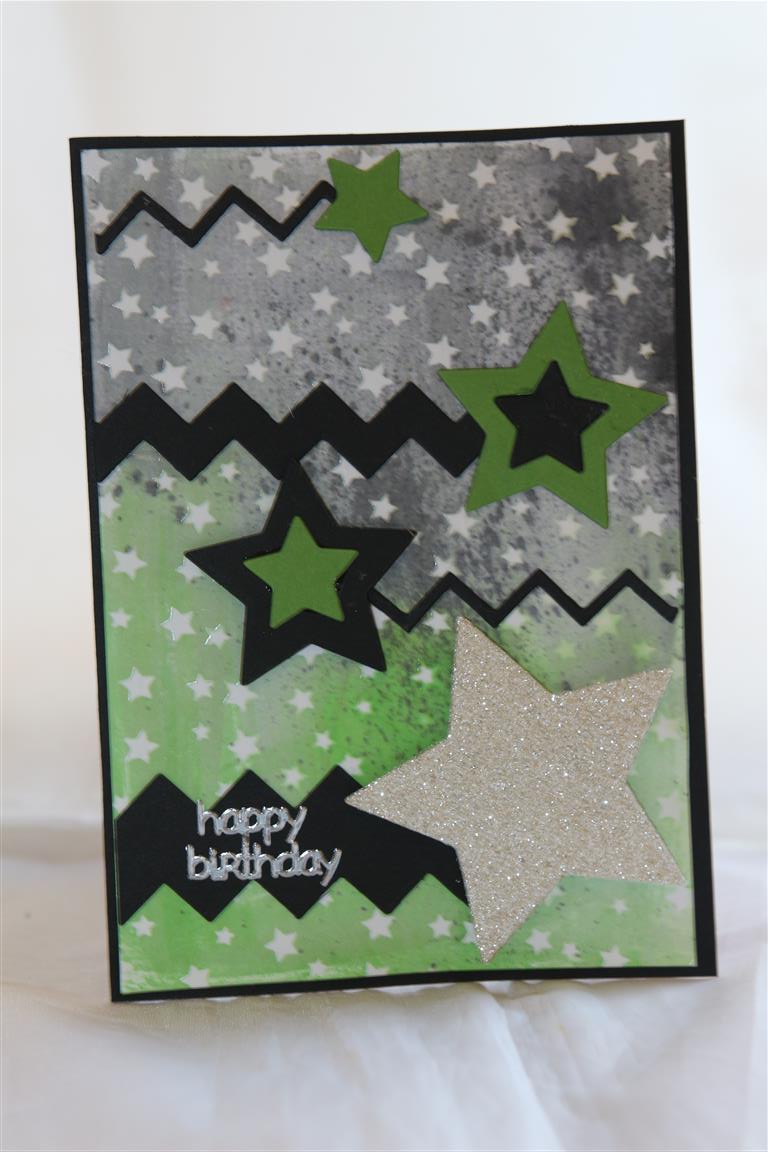
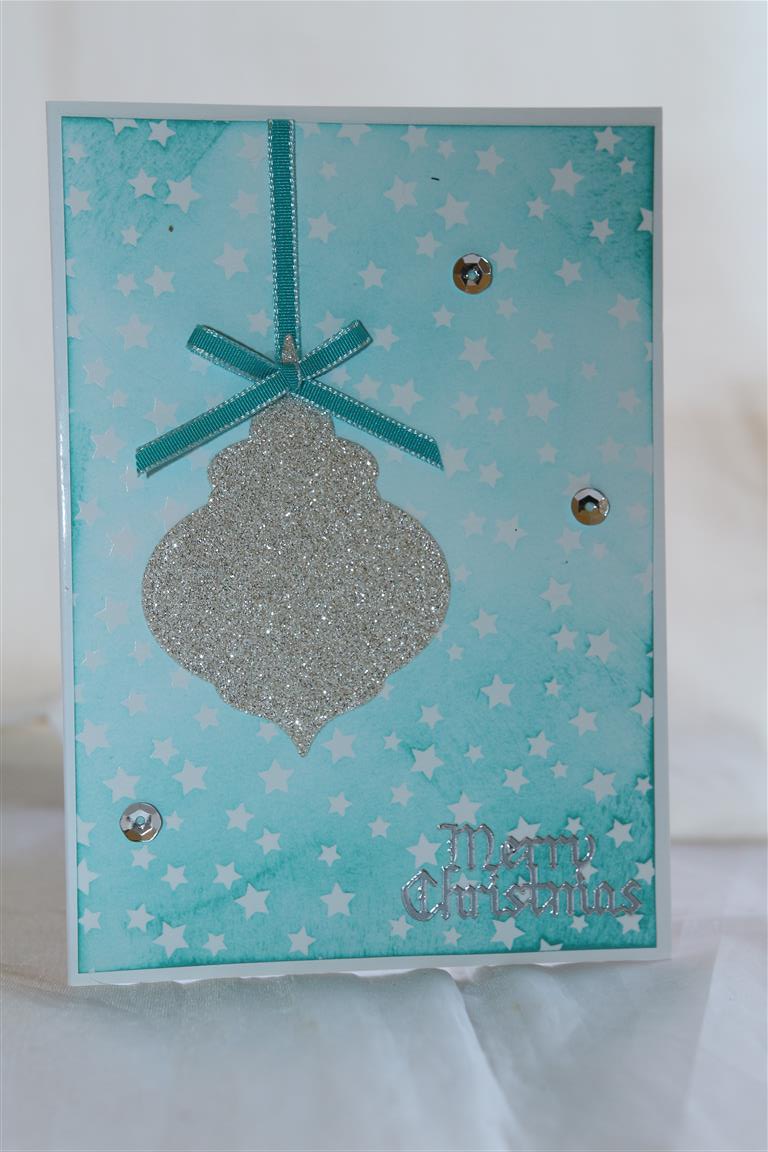 These two cards were made with the same sheet of Stampin Up irresistably yours cardstock, but look so different. for the top card I sprayed the cardstock with dylusions sprays ( A tip – wait for one colour to dry before spraying the other colour – I learnt that one the hard way and ended up with a mud coloured mess!). then it was just a matter of some die cutting to finish. the bottom card is my first Christmas card for the year! I sponged this one with ink, and added a spellbinders die bauble and some sequins. I headed over to paper flourish today to get some papers for my next few classes, so will be busy this weekend coming up with some new cards and while I was there also managed to get the new range of graphic 45 gilded lily – it is gorgeous and I can’t wait to make some cards with it – classes first, then some palying. Thats my weekend sorted!Til tomorrow
Stampin Up irresistably yours …
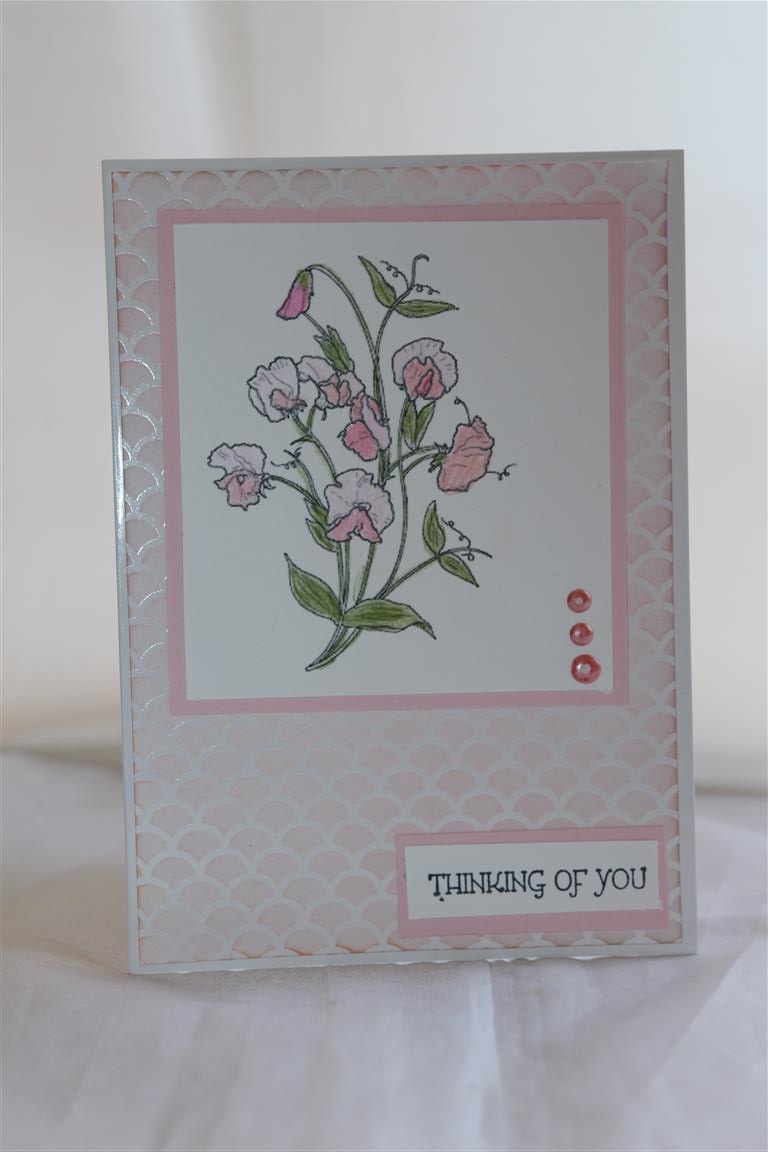
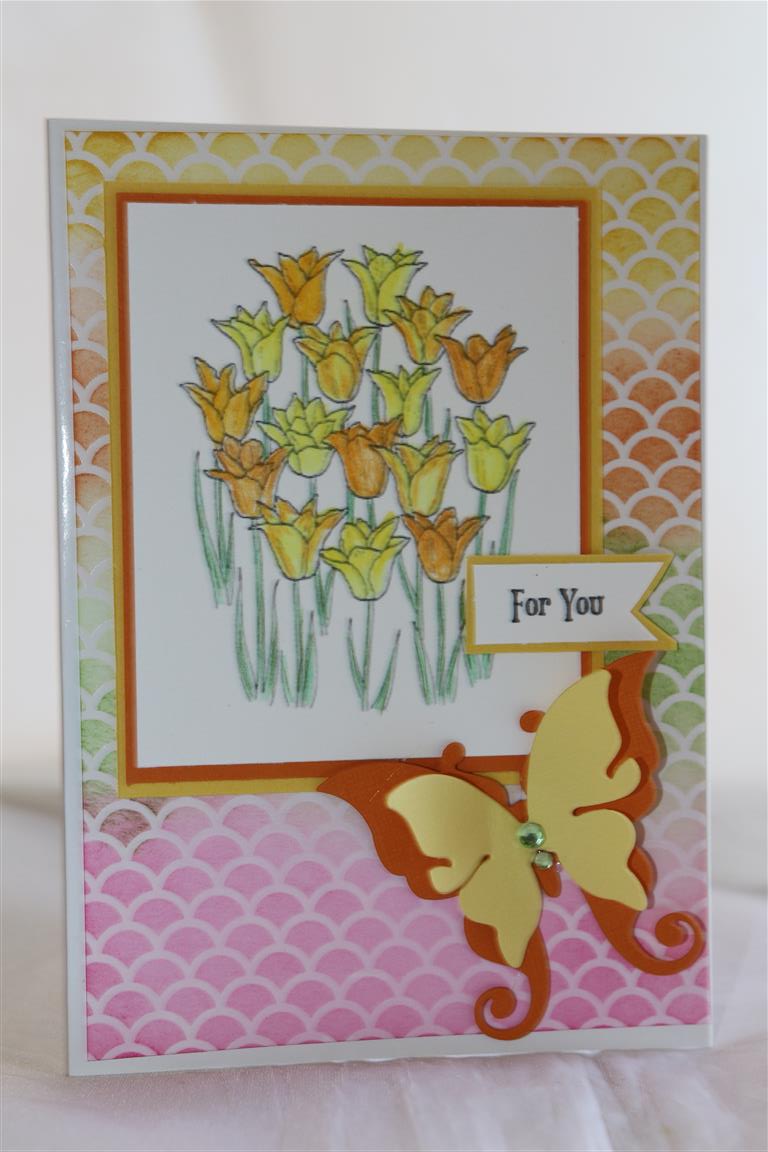 Another two cards made with the backgrounds I created out of the Stampin Up irresistably Yours cardstock. For these two I used inkpads and a sponge to create the colour., then just added some images that I had previously coloured – so the good thing about making my own background paper was that I could exactly match up all my layers.Quick post today, as it’s off to work I go! Til tomorrow….
Stampin Up Irresistably Yours
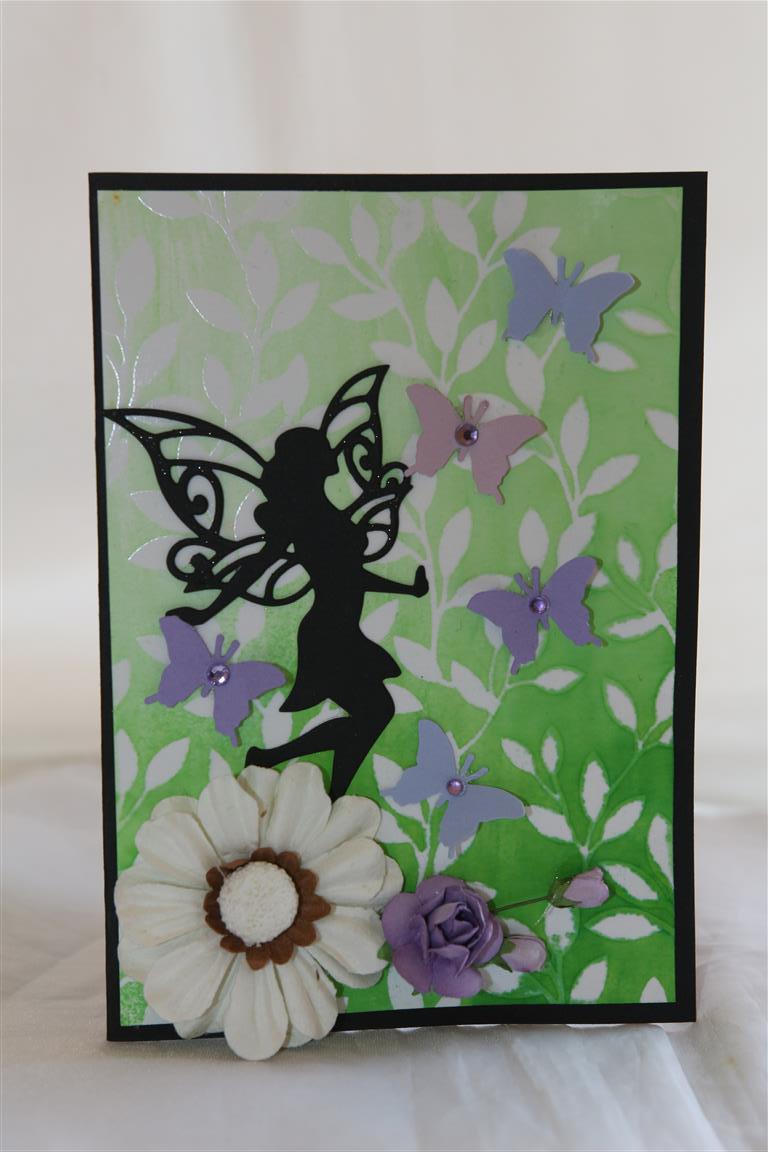
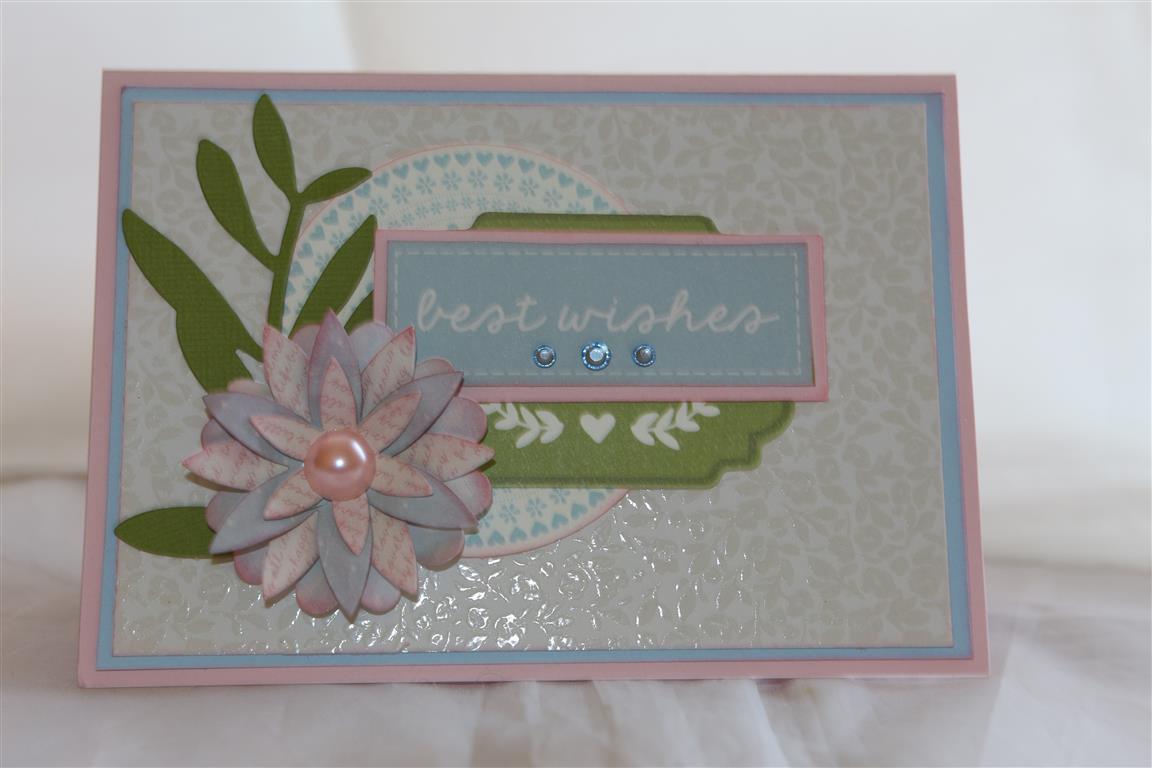
 A little while ago my sister gave me some sheets of 12 x 12 cardstock which at first glance looked just white , but on closer inspection I noticed they had a clear embossed design on them, and Oh, what fun I have had adding colour to these plain sheets of paper! they are called Irresistably Yours by Stampin up, and for these first two cards I experimented with dylusion sprays. as the cardstock accepts the colour the embossed pattern resists it… it’s like magic! On cards I will post later I used inks, and then of course I had all this cardstock to turn into cards. The top card – Spellbinders fairy die. and punched butterflies and a prima flower. The bottom card – stampin up stippled blossom stamp set , ribbon and pearls.Til tomorrow….
Stampin up cherry on top and zoo babies stamp set
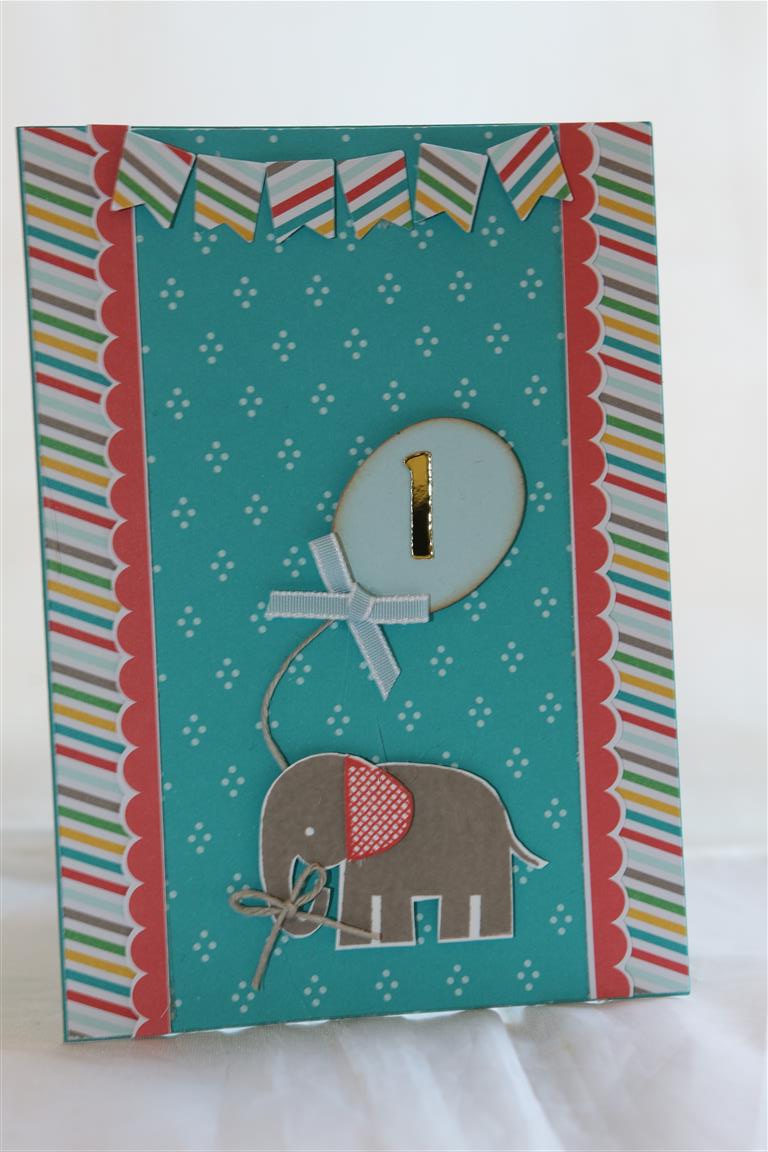 A quick break from secret garden.. here is a quick card I made for my great nephew’s birthday. The paper is Stampin up 6″ pad Chery on Top, and I stamped an elephant from stampin up zoo babies stamp set. I added a die cut balloon ( kaisercraft) and some ribbon and string to finish.The banner across the top was punched with an E K success punch. My sister Kay was showing me this paper, and the bits I used here were offcuts she had in her pad. I immediately saw what I wanted to do with them so I begged them from her, and then ended up purchasing a pad of my own!Til tomorrow…
