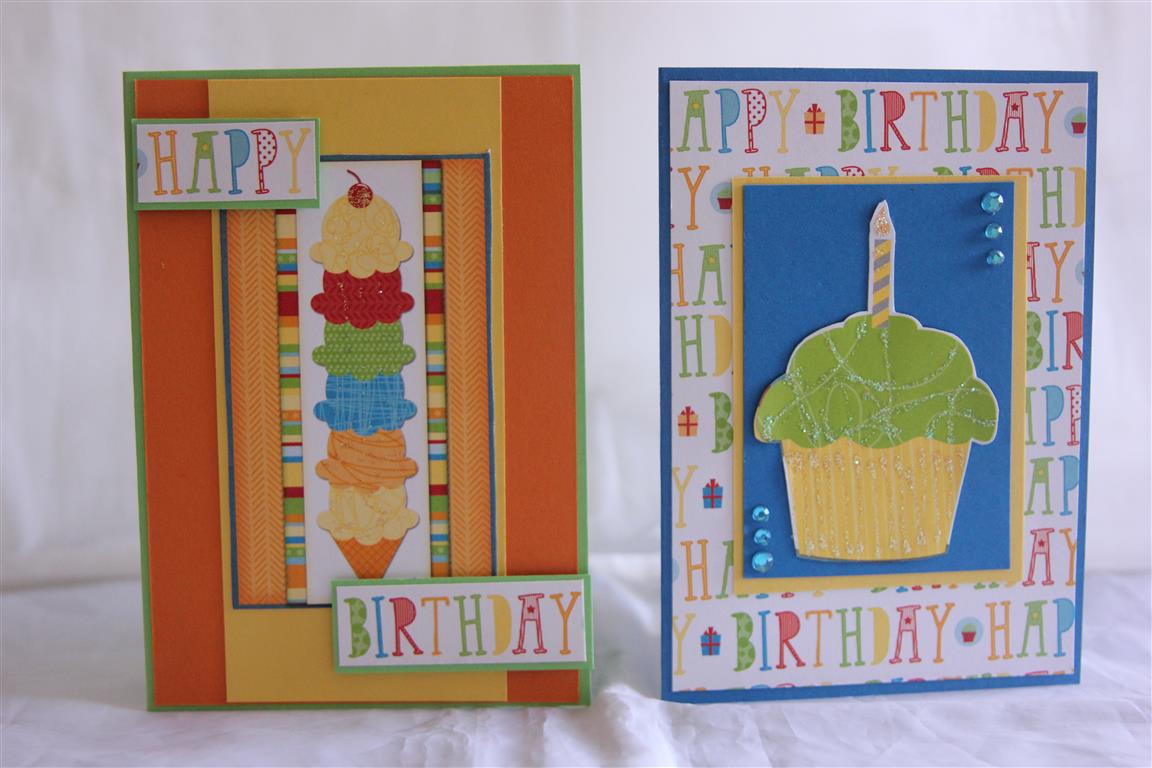
 Hi, and welcome to all my new subscribers. Today I am starting a new group of cards, made using Bo Bunny Surprise papers. I only purchased 5 of the 12 x 12 papers in this collection, but have made So many cards with it – and all different! I love the bright colours, perfect for young people, and one sheet ( the cut out sheet) had all the images that I have used for the focal points of my cards. I teamed the papers up with a selection of Stampin Up cardstock, did some fussy cutting and/or matting and these cards were all made in an afternoon. For these two I added a little glitter and rhinestones.After a long week the weekend is finally here, 3 days off and I am so looking forward to spending some quality time in the craft room. I bought some dylusions spray today, and a new stamp set so I am looking forward to experimenting – I will let you know how that goes! Til tomorrow….
Category: Birthday
Another party animals card
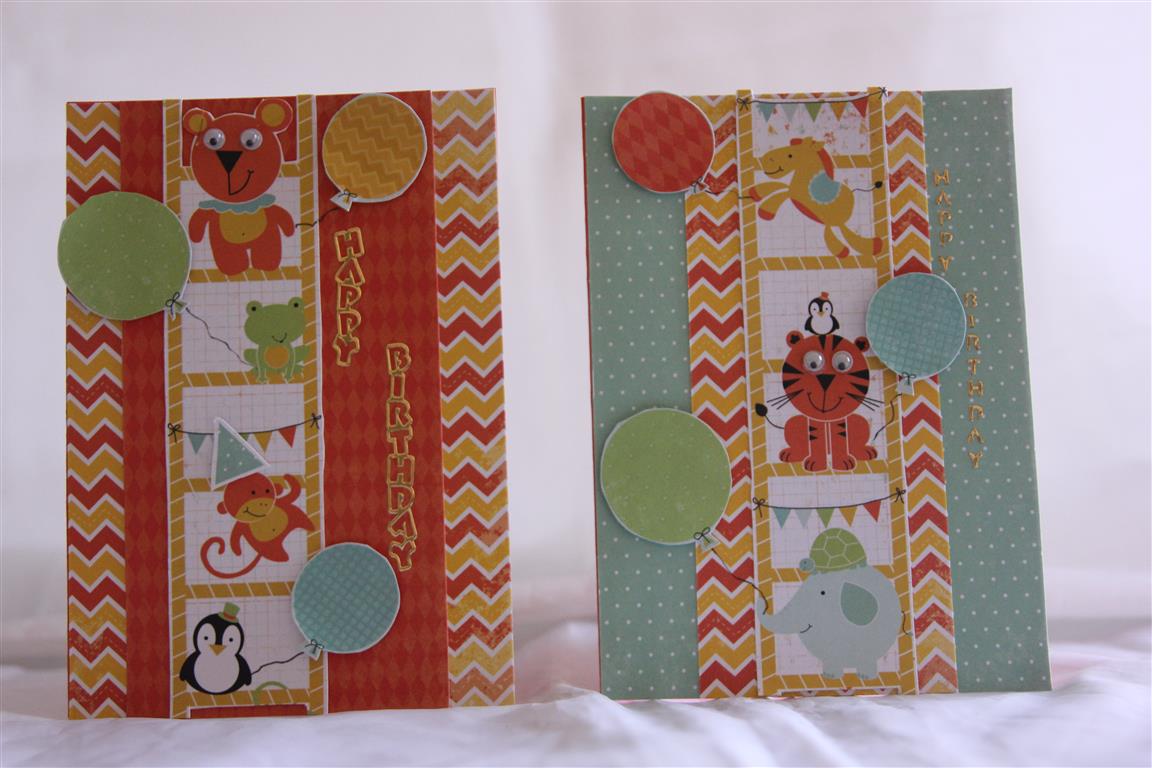 Here are the other two cards I made while I had the Kaisercraft Party Animal collection out – The background papers are from the 6″ pad,and I fussy cut the ladder, balloons and a bit of bunting from another sheet of paper. This is great paper for kids cards! I just added some googly eyes to a couple of the images. Til tomorrow….
Kaisercraft Party Animal
 I revisited Kaisercraft party Animal patterned paper collection to make a few animal themed cards – this first one is a favourite – any excuse to use googly eyes! I did a lot of fussy cutting on this one – all the animals, balloons and the bunting across the top. the cardstock is Stampin Up Certainly Celery and the sentiment stamp is also stampin up. Til tomorrow…..
Retro card
 I was asked to make a retro card for a lady who was turning 40 – this is what i came up with – the colours and large simple flowers were reminiscent of the era to me – I used mustard, navy and red cardstock, some kaisercraft flowers, and the papers were from the My Minds Eye Unforgettable range.The brad was also from my minds eye. Well that 3 days off went by very quickly,and its back to work tomorrow. Still got some crafting done,and a bit more preparation for my 3 day craft fair stall which is coming up very quickly now – 3 weeks away I think…Til tomorrow…..
Exploding box with graphic 45 French Country
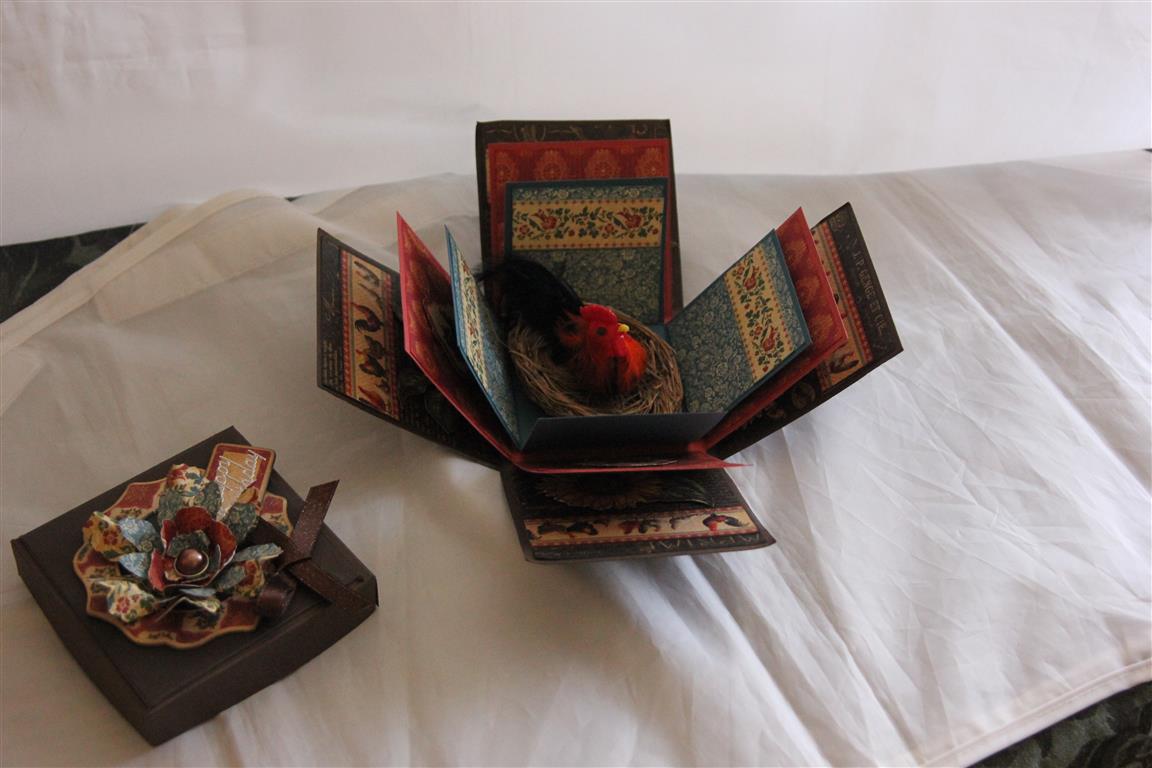 I made this exploding box for my Mum for her birthday. She loves roosters ( I don’t know why) so it was easy to decide what to put inside it, and Graphic 45 french Country papers were a perfect match to decorate the panels inside the box. I used Sizzix tattered florals for the flower on the lid, and the only other thing I needed for this project was 3 1/2 12 x 12 sheets of bazzil to construct the box with. I repeated this project for a class, and everyone passed with flying colours! It truly is a simple box with lots of wow factor. I have done a youtube clip with all the measurements and a step by step guide to show you how to do it yourself. You will be able to access this here, and it will always be available by clicking on the youtube icon over there on the right of my blog! Til tomorrow….
Teen boys card
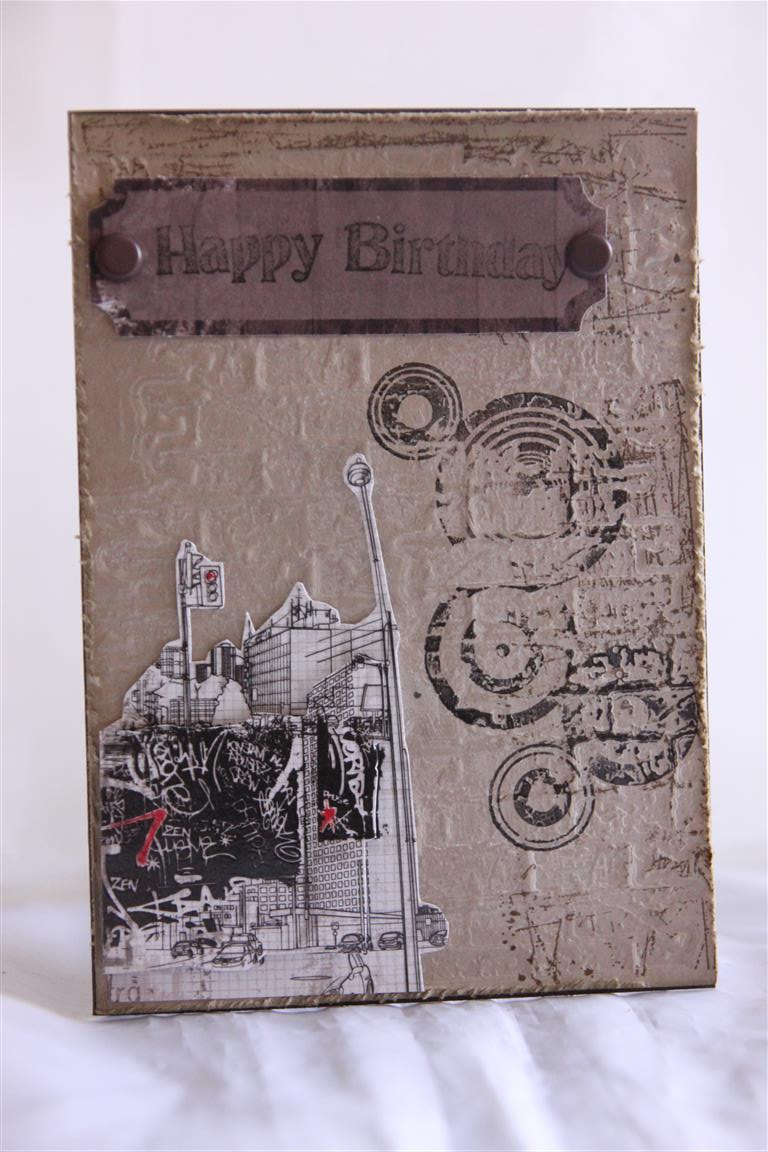 Here is a teen boys card I made using a scrap of paper from Kaisercraft Attitude 6″ paper pad, a tim holtz sizzix embossing folder – Bricked, and a mix of stamps from Bitty grunge set by stampers anonymous.I distressed and inked all the edges and added a sentiment to the top with brads.It tickled my fancy that the shape of the paper piece I used for the greeting looks a little like those old fashioned street signs! I’m off into the craft room and looking forward to unwinding in there! Til tomorrow…..
Male card – Parkers patterns
 Here is a card I made for my brother-in laws birthday. Everything here is from stampin up – the cardstock is Not quite Navy, and the paper is from the Parkers patterns collection. the sentiment is from the itty Bitty banners stamp set, and the flags in the left hand corner are stamped and die cut using Hearts a flutter dies and stamps.Another set of papers I haven’t had enough time to play with – lucky I have some holidays scheduled in a couple of weeks and will hopefully get to it all then! Til tomorrow….
Prima fairy rhymes number 4
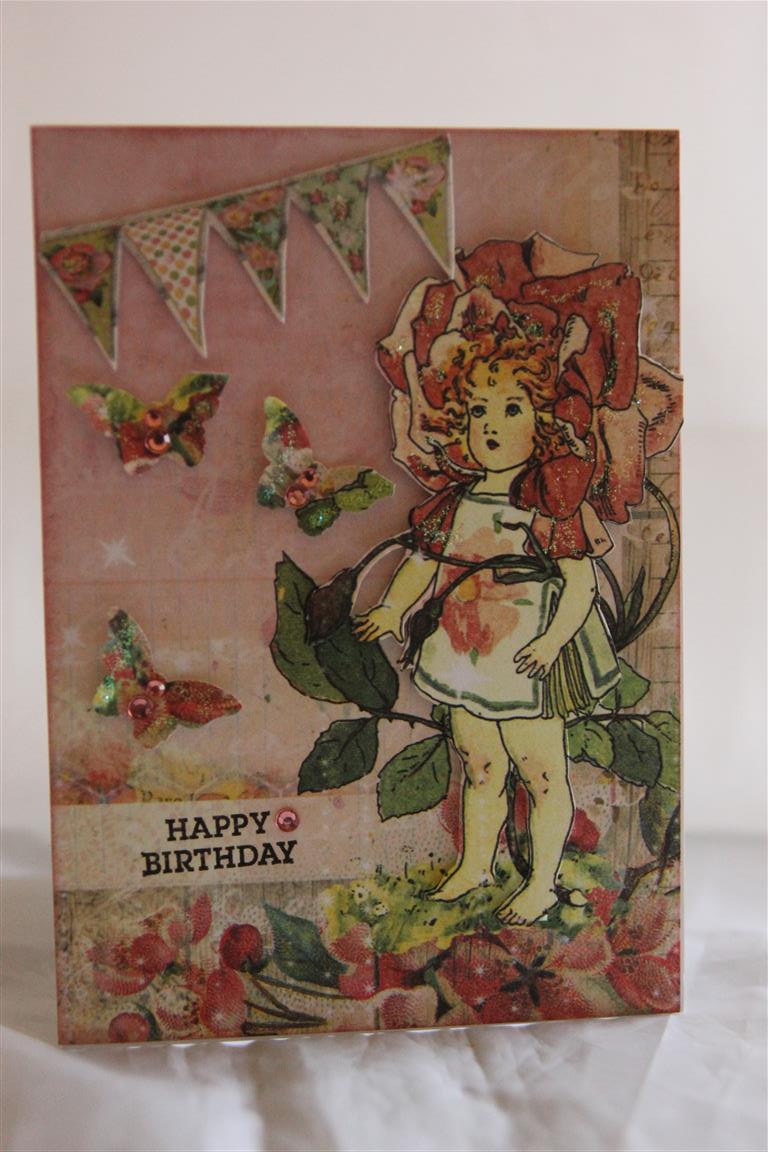
 Here is the last in my Prima Fairy Rhymes series, I have layered one piece of paper cut from the a4 pad straight onto my card and layered a second with the girl image on top, fussy cutting around some of the imagery. Also fussy cut a butterfly, a banner( which I stamped with a hero arts stamp) and added rhinestones, kindyglitz and a ribbon bow to finish.Tomorrow something new. In the meantime I am making good progress with my order – only 3 more to do, then a challenge card, and then hopefully some time to play with some new purchases! Til tomorrow….
Prima Fairy rhymes number 3
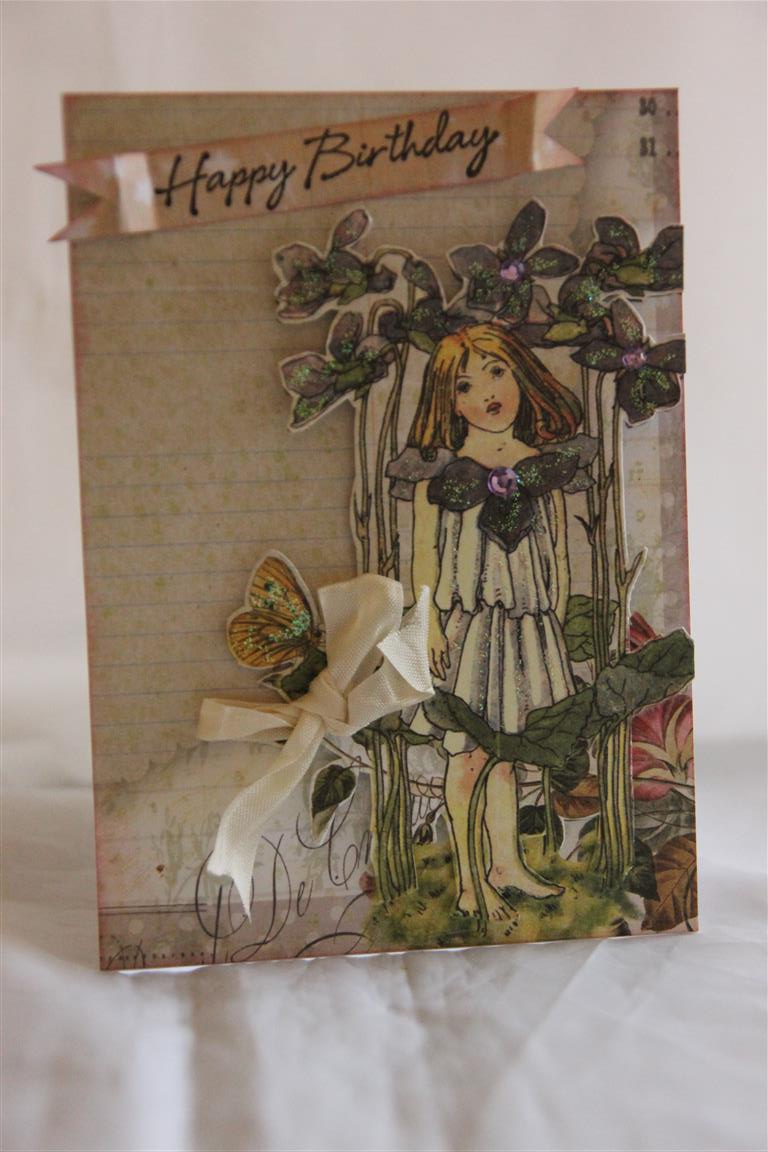 Prima fairy Rhymes paper pad ( a4 size) once again, and the same ideas as the previous card, where I covered a card blank with a corner of the paper, and then fussy cut a second image and placed it on top with foam mounting squares.i cut a banner shape and stamped a sentiment with Hero arts happy birthday stamp,and just added a seam binding bow, rhinestones and kindyglitz.One more left in this series before we move on. I taught a lovely class of ladies this morning ( although all my ladies are classy….) – we did an exploding box, so this weekend I am going to get Nathan busy with the video camera and make a you- tube clip of how I made it. While I have him busy with the camera we will take some photos of the new cards I have been making, and I have just opened an e-mail with an order for 8 cards, so thats my weekend sorted! Til tomorrow
Prima Fairy Rhymes number 2
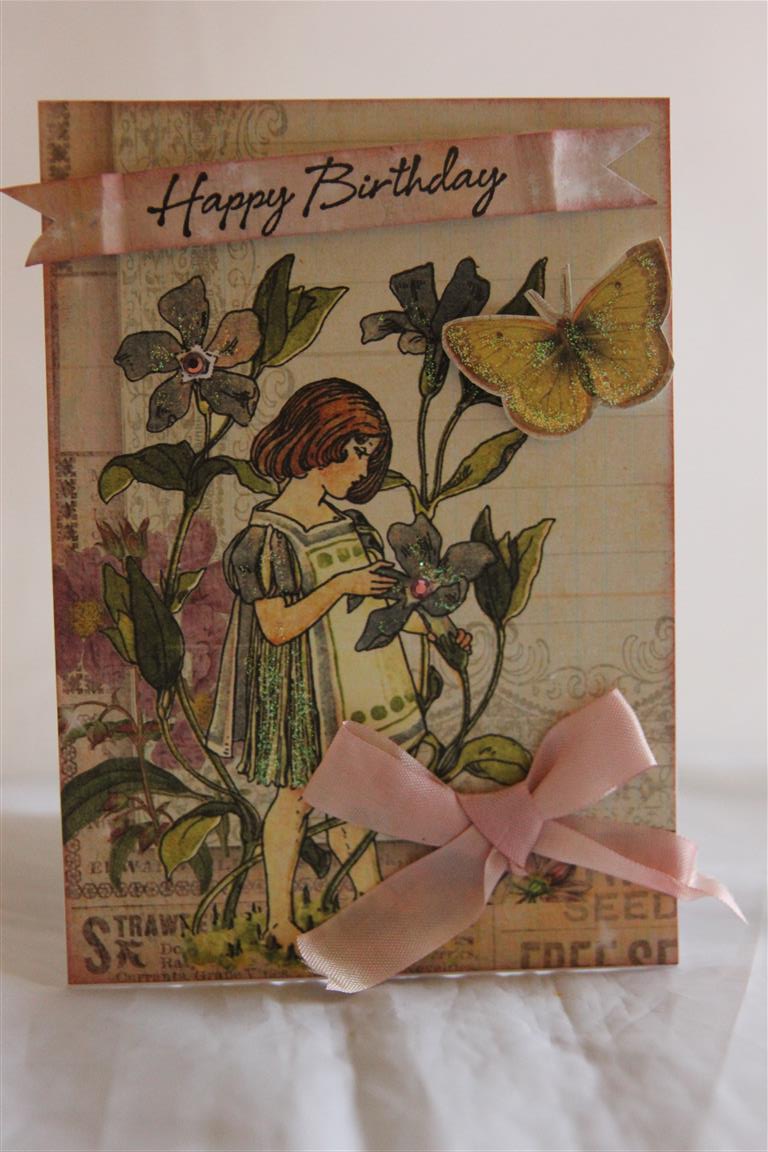
 Number 2 in our Prima Fairy Rhymes patterned paper series. I covered a card blank with a piece of paper from the a4 pad, and fussy cut a second image from some of the same paper, and mounted it on the first with sticky foam pads. the banner strip on this card and yesterdays card were cut from some more paper from the pad, and then I just stamped a sentiment, punched out a few butterflies and added some kaisercraft rhinestones.Another quick card! Til tomorrow….
