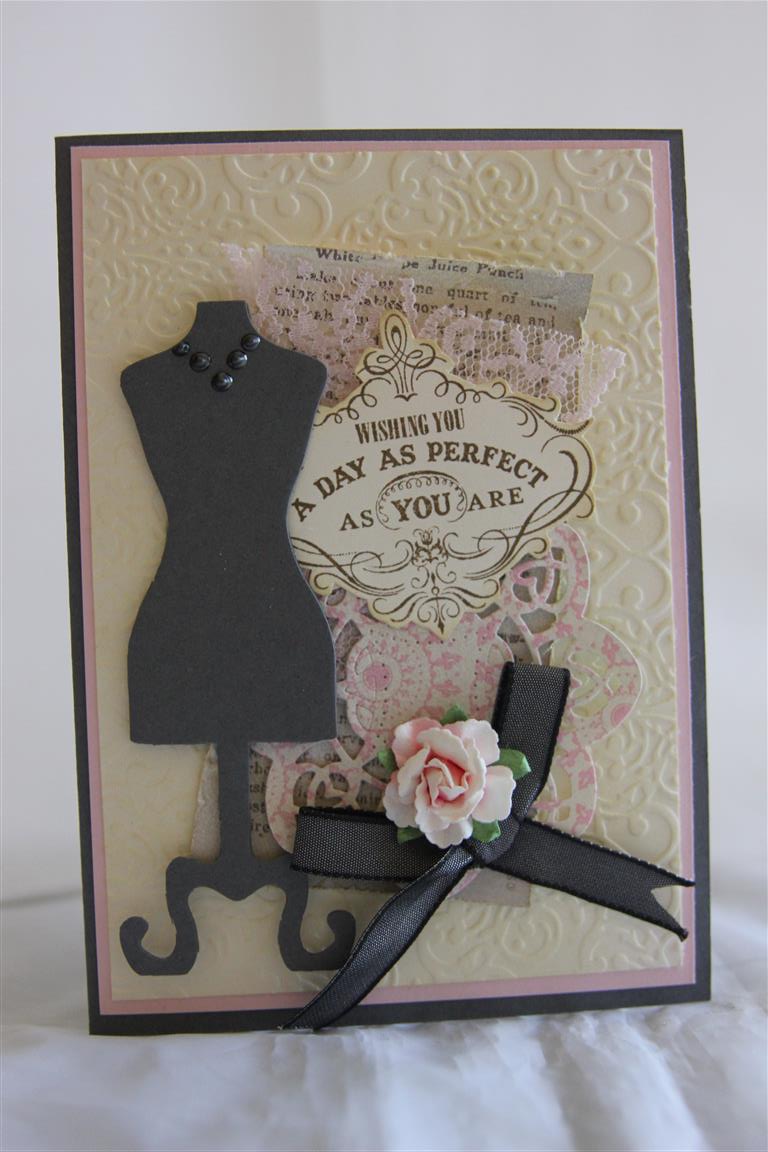
 This is the last card using Tea for two designer paper ( stampin Up) for just now, and here, I have used very vanilla, basic grey and pink pirouette cardstock, ( embossed the vanilla with Stampin Up lacy Brocade embossing folder) and a couple of dies – spellbinders D-lites medallion four, and stampin up Dress up framelits.The sentiment is from my stampin up vintage verses set, and I added lace, ribbon,liquid pearls and a prima flower to finish.Today I bought up a storm buying lots of new release papers, and tonight I am going to spend some time going through them all, and fussy cutting some of them ready to use. Its still hot here, and it’s not good weather for crafting as the glue dries before you get it where you want it to go! Til tomorrow….
Category: Birthday
Stampin Up tea for Two number 3
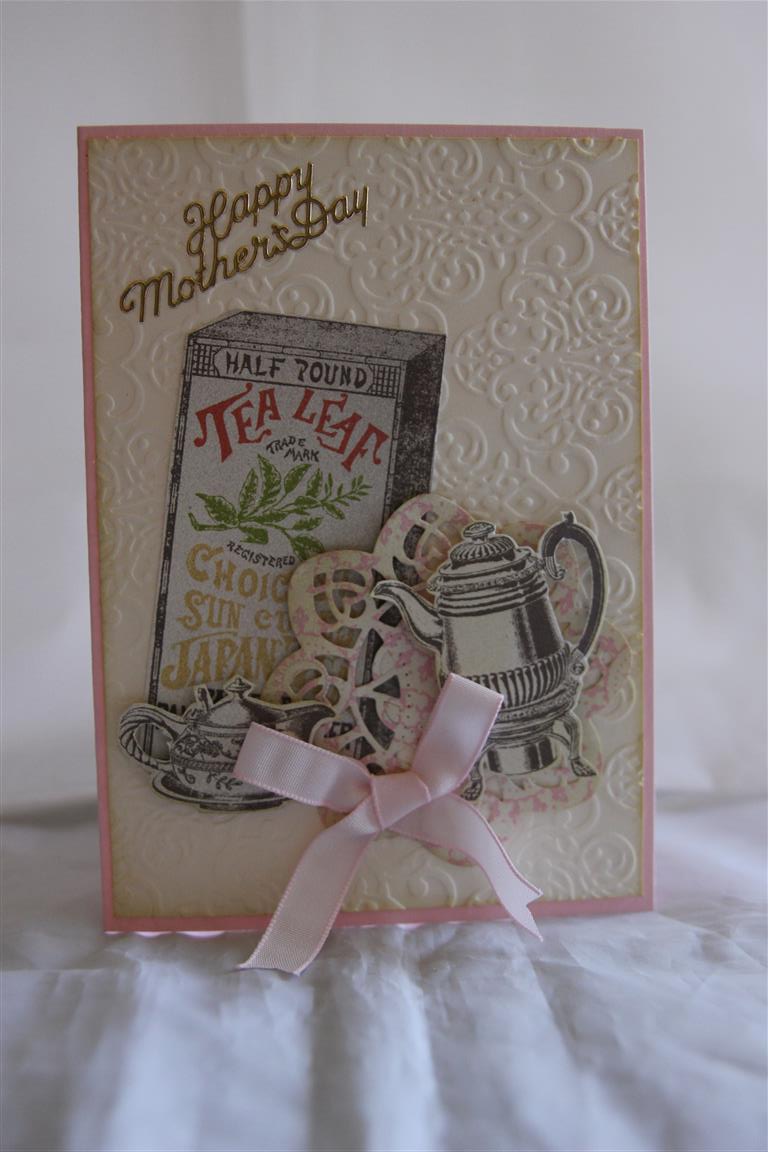 I fussy cut some images for this card, using the Tea for Two designer papers from Stampin Up.The doily is die cut from more of the paper from the same range using a spellbinders D- Lites die – medallion four, and the embossing folder used with the very vanilla cardstock is stampin up lacy brocade. The card base and ribbon are stampin up pink piruoette.I am planning tonight to spend a little time in the craft room, but we will see – it’s still very hot here, til tomorrow….
Everything Stampin Up today!
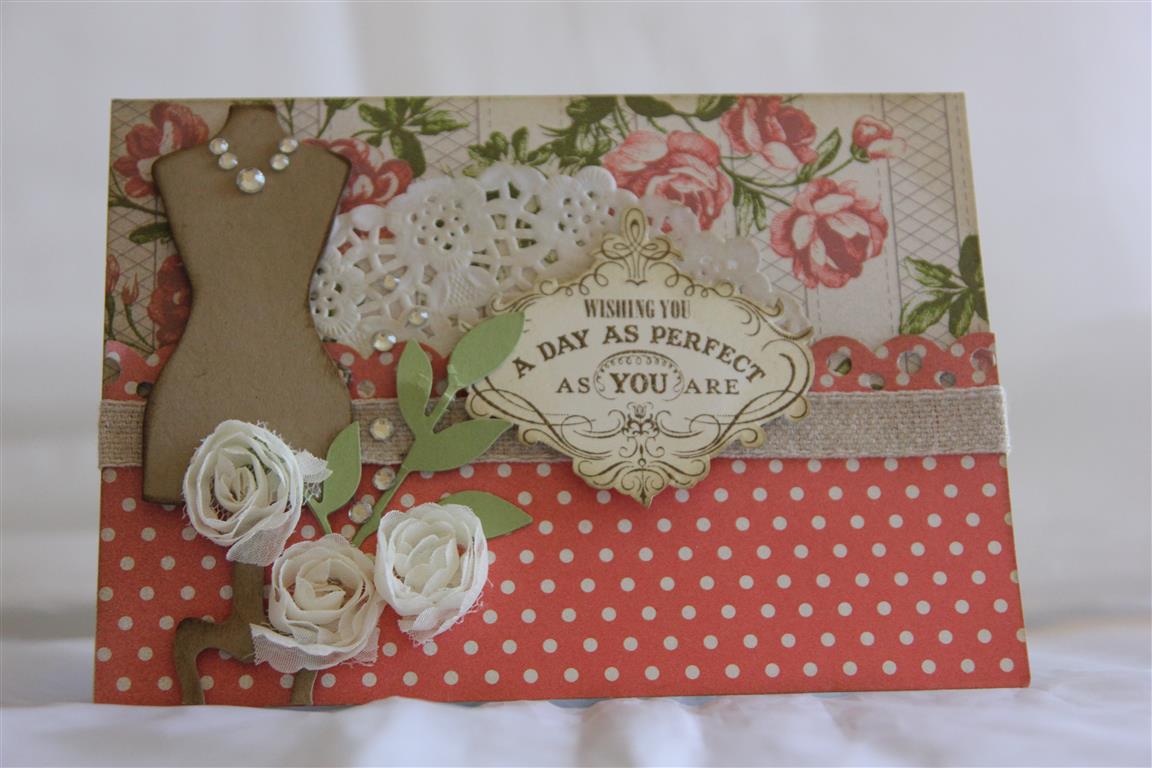 Todays title says it all – everything on this card ( except the doily and the martha stewart punch that I used) is Stampin Up. The designer papers ( which I love and went back and bought another pack) is Tea for two.The stamp (sentiment) is from the Vintage verses set, and I used the stampin up sizzix die for the leaves, and the dress form( Dress up framelits) the trim is flower trim and natural trim ribbon. Even the bling is from stampin up!Tomorrow more creations using this gorgeous vintage style paper. As for today, I have been busy making a sewing box for my niece – something off the page for me today1 Til tomorrow….
Prima tea Thyme number 9
 This card is my favourite, made with prima Tea thyme 6″ pad, and matching collectables. I made the box to match ( you can see how to make this simple box on a you tube video I made titled card i9n a box box) and I added some flowers, ribbon and bling to decorate. Nathan and I have spent the morning taking photos of my most recent makes, so we will have something new to look at once he has put the photos on my computer.With Mothers day only a couple of months away, I will be concentrating on these cards this week, and I have a lesson to set up as well, so thats this week sorted! Til tomorrow….
Prima Tea Thyme number 7
 When I use 6″ paper pads, I always end up with 2″ strips left over, so for this card I used 2 of the strips, and ran some lace down the join. The paper , flowers and chipboard are all from the Prima Tea Thyme range, and I added a little bling flourish.I am making good headway sorting through my old papers, making the occasional card as I go, and collecting a little pile to give to my sister ( who has just started making cards) and my mum. I will have a little break tonight as I bought some gorgeous wool today, have dug out my knitting needles, and am going to start on a scarf ready for winter! Til tomorrow….
Prima Tea Thyme number 6
 We are revisiting Prima Tea Thyme paper collection, made using the 6″ pad. I have matted the paper onto black cardstock, and added some prima flowers and a bling swirl. the sentiment is stamped with a stampin up stamp.Very quick and easy card!I have made great inroads into my mens cards today, and can now pack up the browns, greys and blues and break out some lilacs, pinks, and pastels tonight. I am going to go back to some previously underused papers, and clear a little room in the craft room, to make room for all the lovely papers coming through from CHA….Til tomorrow….
Spellbinders nested tea cups number 3
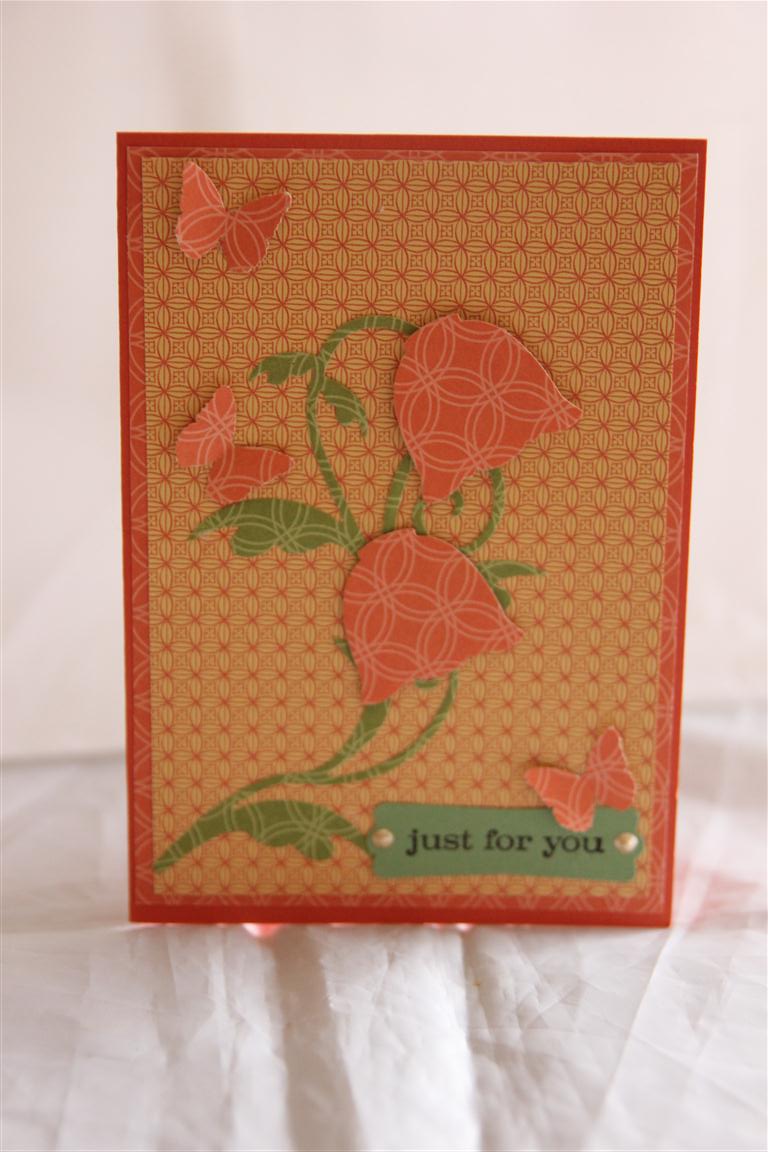 Here is the third village card, made using the spellbinders nested dies. I can’t take credit for this particular design – I saw something very similar in a magazine, which actually prompted me to buy these dies!The tea cups are turned upside down and used as flowers, and a Cheery Lyn tropical flourish acts as our flower stem. I just added a few butterflies punched with a Martha Stewart punch, and a greeting and window punch for the greeting ( both from stampin Up) . The cardstock is stampin Up Tangerine Tango.I have some projects on the go in my craft room, but once again the hot weather is holding me back! Til tomorrow….
Spellbinders nested tea cup dies number 2
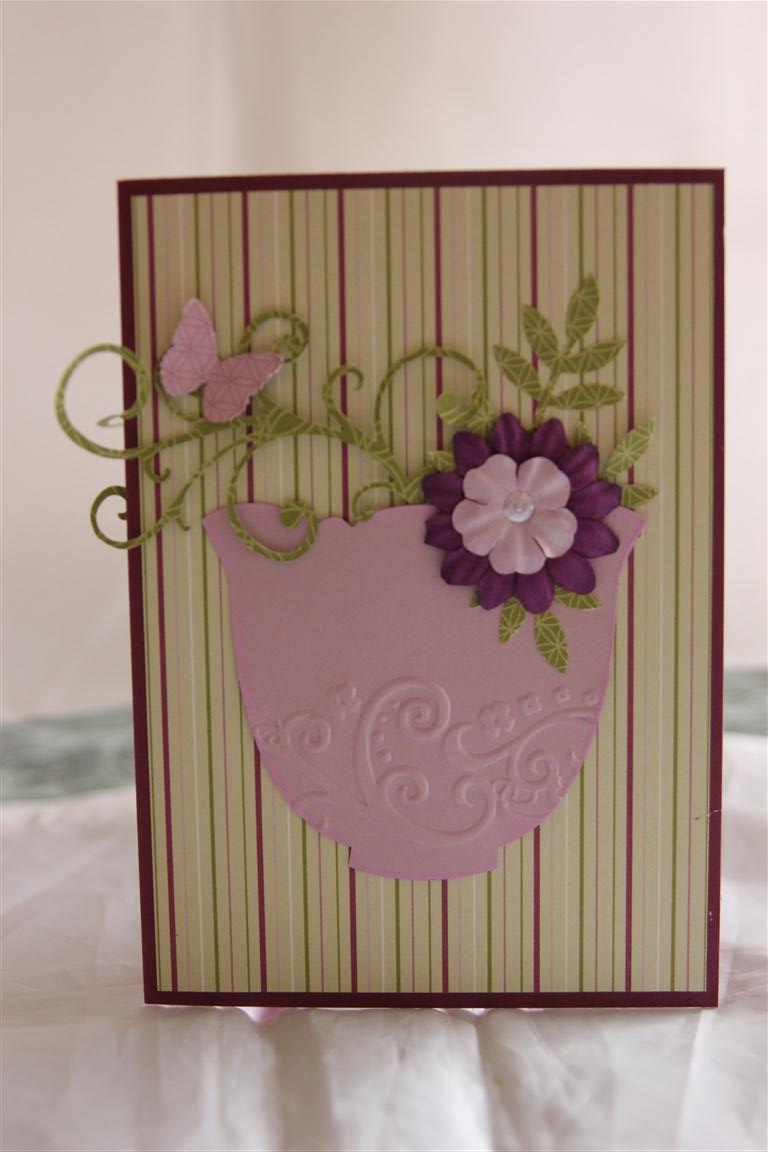 This is the second card we made over at the retirement village on the weekend . I used the largest nested tea cup die as a vase for the kaisercraft flowers, and some punched fronds(Martha Stewart punch) and Die -namic fancy flourish die. I embossed the bottom of the vase with a border embossing folder, and the cardstock used was Stampin Up rich razzleberry and perfect plum. I have spent some time today making cards with the new graphic 45 secret Garden, and will get Nathan to photo them this weekend so that I can show them next week, and now I have moved on to some mens cards.Til Tomorrow….
Spellbinders nested tea cup card ideas
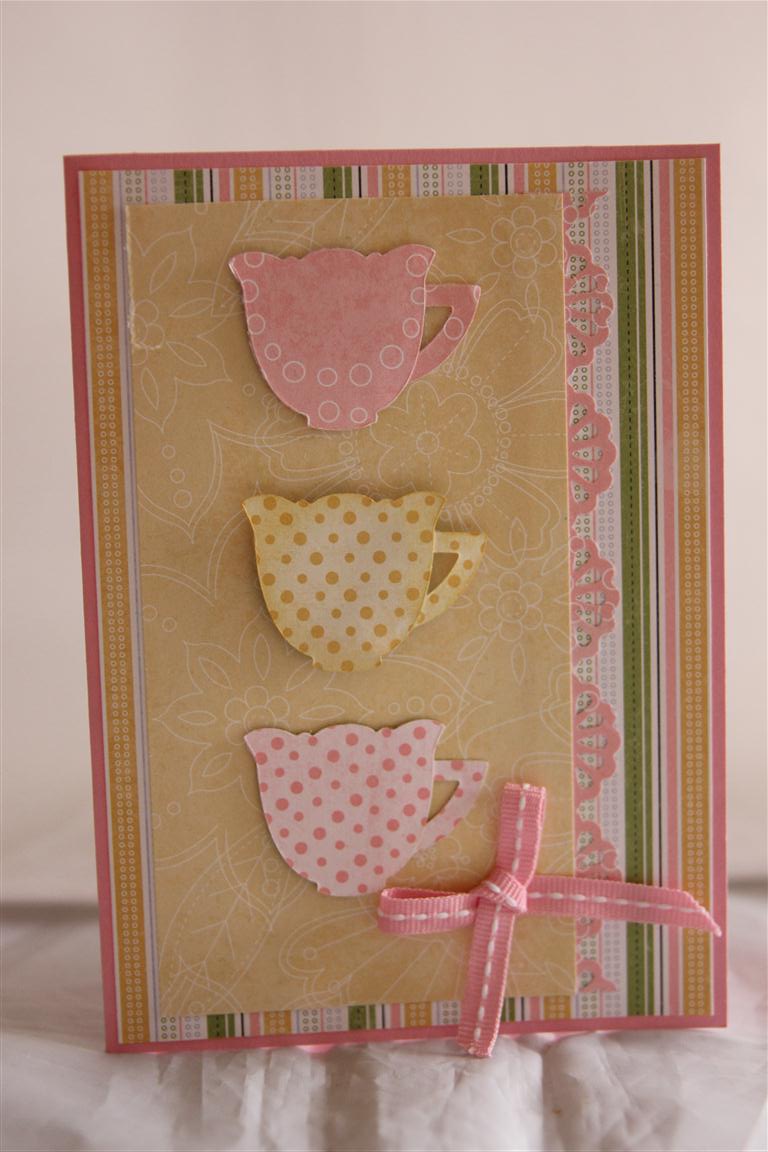 Yesterday I taught a class over at the retirement village, and we focused on finding different ways to use Spellbinders nested Tea cups dies. Here is the first card, using the dies as they were meant to be used – Tea cups! The cardstock is stampin Up Pink Pirouette, as is the ribbon, and the paper is also stampin up but sadly it is retired.I also used an EK success border punch.Good news – my comment button is fixed! see post below for instructions if you have difficulty, but it is straight forward now I believe.I will be in the craft room tonight planning out some lessons for April, then hopefully a bit of time to play with the new graphic 45 Secret Garden papers, which I can’t wait to cut into! Til tomorrow….
Graphic 45 Birdsong number 5
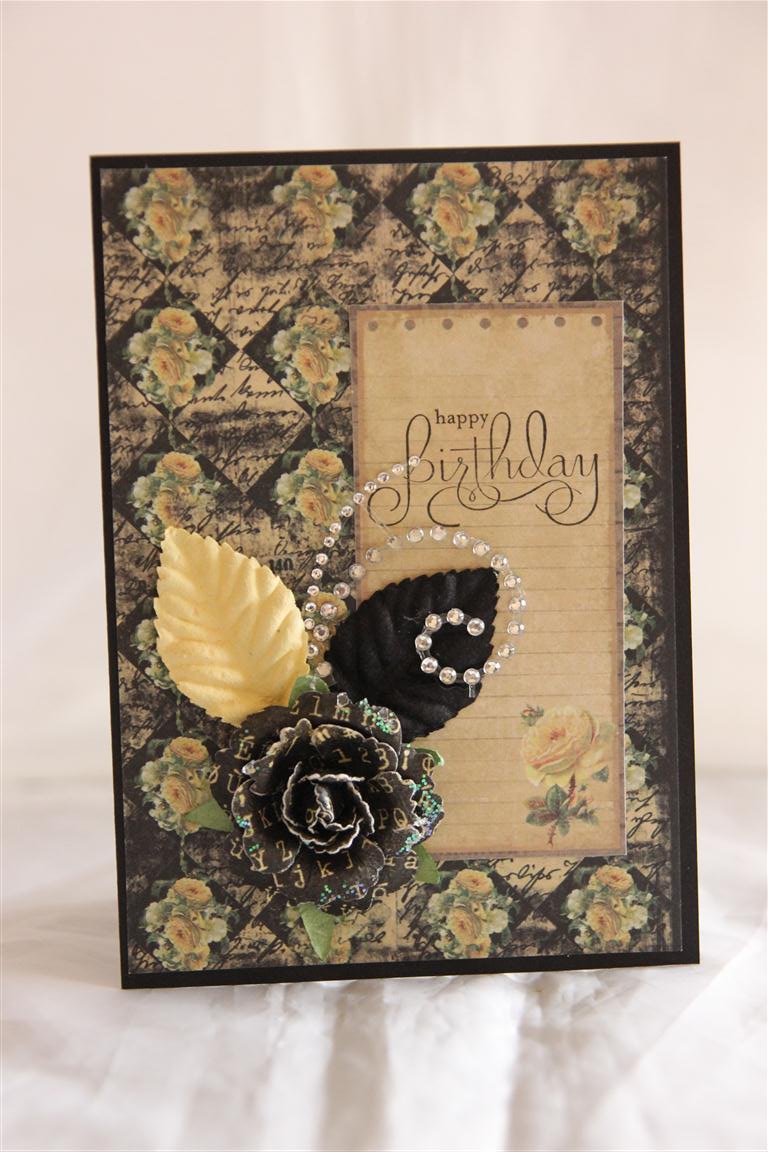
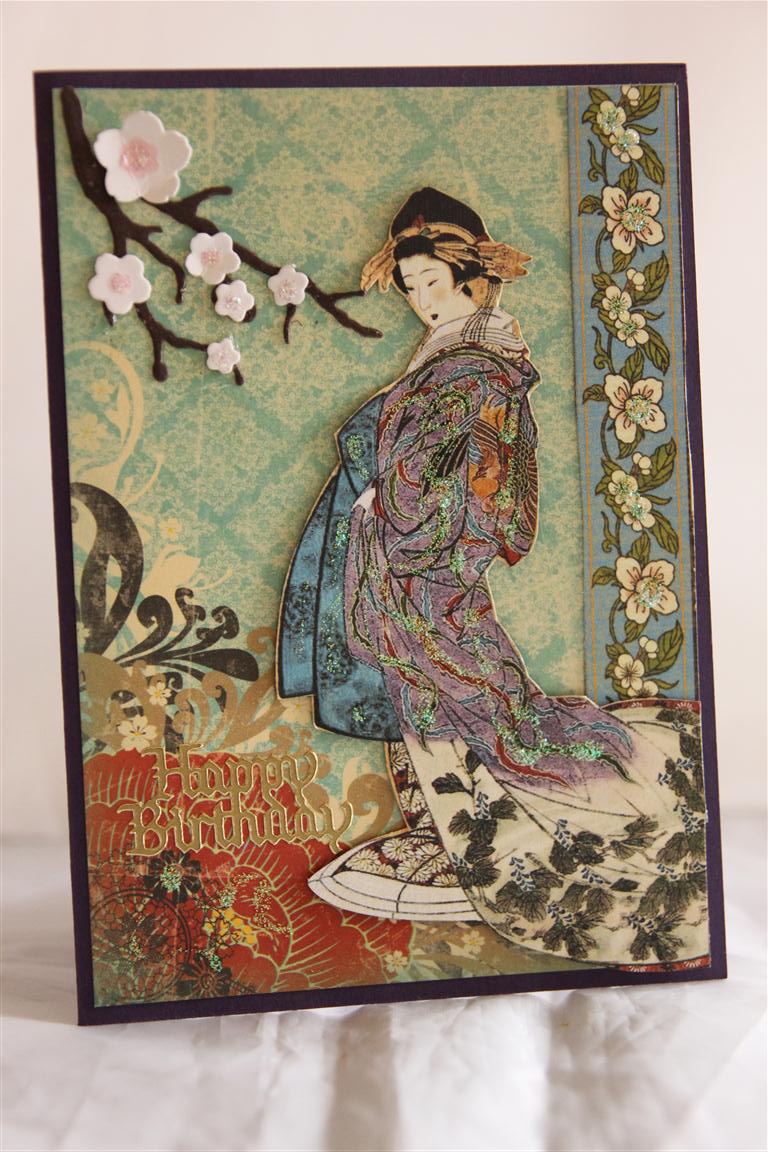 I have classed this card as a graphic 45 card, as the images that I fussy cut were from graphic 45 Birdsong papers, but the background paper that I used is actually a piece from my Bo Bunny Serenity 6″ pad.These two paper collections compliment each other perfectly. It’s very rare that I cross over like this – in fact I don’t think I have ever done it before. The only other thing on this card is some Cherry Blossom that I die cut using Spellbinders Cherry Blossom die. I hope all my Adelaide friends are surviving this terrible heat – I taught a class this afternoon over at the retirement village ( I will show the cards we made tomorrow) , and it was so very hot out there!I have had Nathan look at my blog to fix the leave a comment problem – and hopefully its fixed now – Above the photo is a speech bubble next to Leave a Comment. Click on this, enter your comment in the box, then under the box fill in the E-mail address requirement, and your name. The website bit is optional – don’t worry about filling this in, Then hit the Post comment button. I would appreciate it if someone could try it out for me to see if he has fixed the issue! Til tomorrow…
