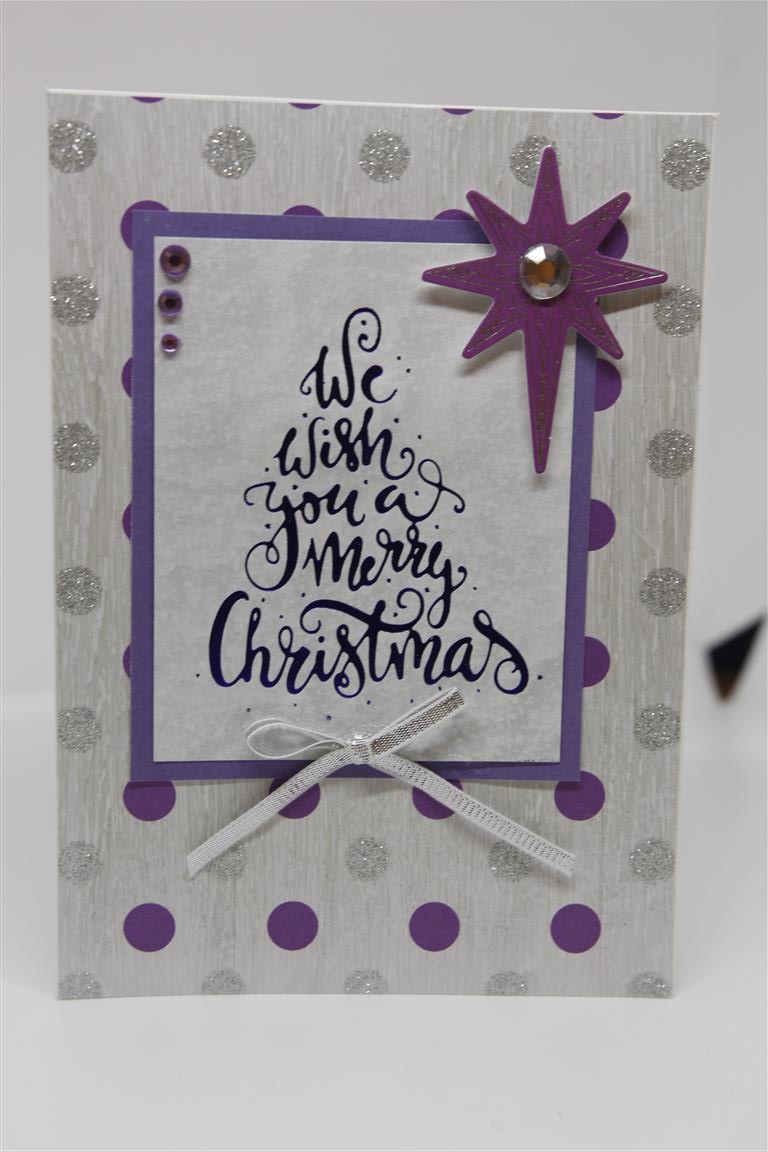
Some Kaisercraft Christmas Jewel paper collection today, and an experiment using a Go Press and Foils stamp on patterned paper. it worked a treat, and I will be doing this a lot more!The background papers are from the 12 x 12 papers in the Kaisercraft Christmas jewel collection, and I foiled a lovely purple foil onto the patterned paper for the sentiment. a matching collectable and ribbon bow to complete a very simple Christmas card. i have been foiling this morning…. I have been die cutting my own chipboard pieces and foiling them. The secret is in getting the shim correct. I have found that using a piece of the chipboard cardboard is just the right thickness for a shim on my die cutting machine, but everyone’s die cutting machine is different depending on how loose it is so experimentation is essential. If your first run through is patchy, you need a thicker shim and you can just foil over the top with another piece of foil.Til tomorrow…..
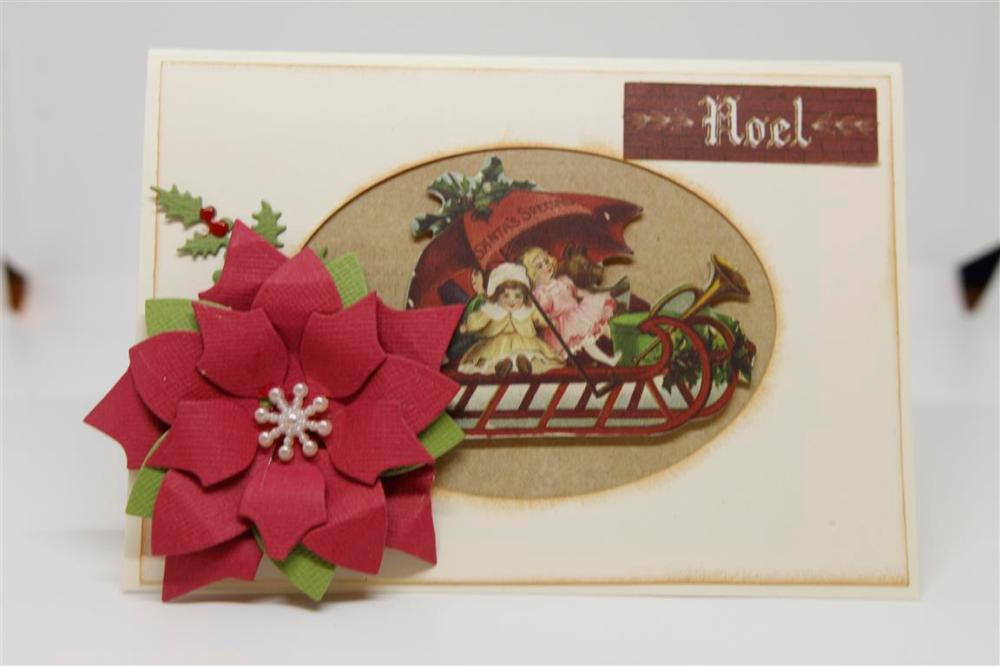 Another card made with Kaisercraft letters to santa, with the addition of a poinsetta die cut with paper Rose Poinsetta die, and a little branch of holly from a Kaisercraft die.I die cut an oval, edged it with tea dye ink matted some craft cardstock behind, and popped on a collectable from the kaisercraft letters to santa collection.The Noel sentiment is from the matching 6″ pad. It’s been a busy week and a busy morning, and I am aiming to clear the dining table of overspill projects from the craft room this morning, restore a bit of order! Til tomorrow….
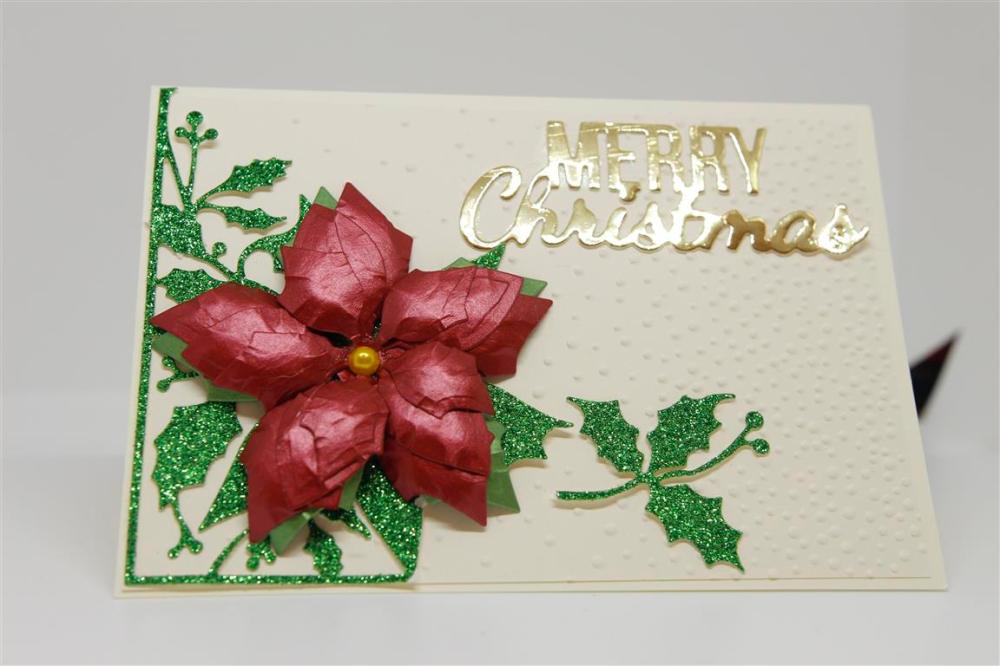
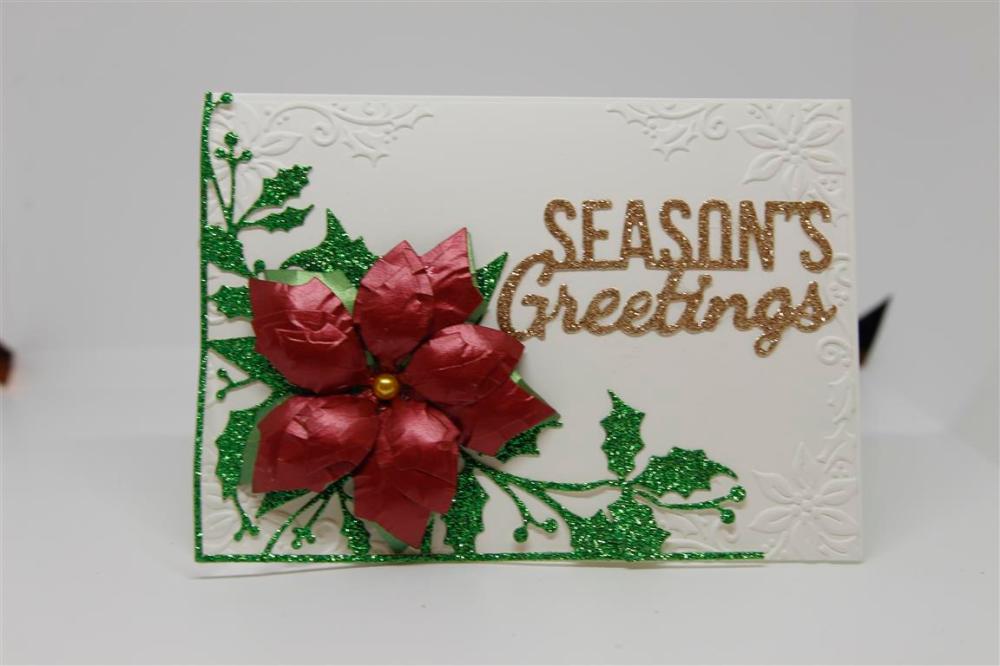 This next series of Christmas cards have one thing in common.. Poinsettas! These first two are very similar, the embossing folders used on the backgrounds are different, and the greetings are different too, but both Kaisercraft dies. The poinsetta dies and matching corner die are by paper Rose, and I really had fun shaping the flowers with my new paper flower tools by Mcgill…my new favourite toys! Meanwhile talking of favourite toys I have been die cutting chipboard shapes and foiling them in my Go Press and foil machine. A bit of experimentation, but i have it all worked out, and I am foiling up a chipboard storm to use on my cards the next time I have a crafty session in the craft room! Til tomorrow….
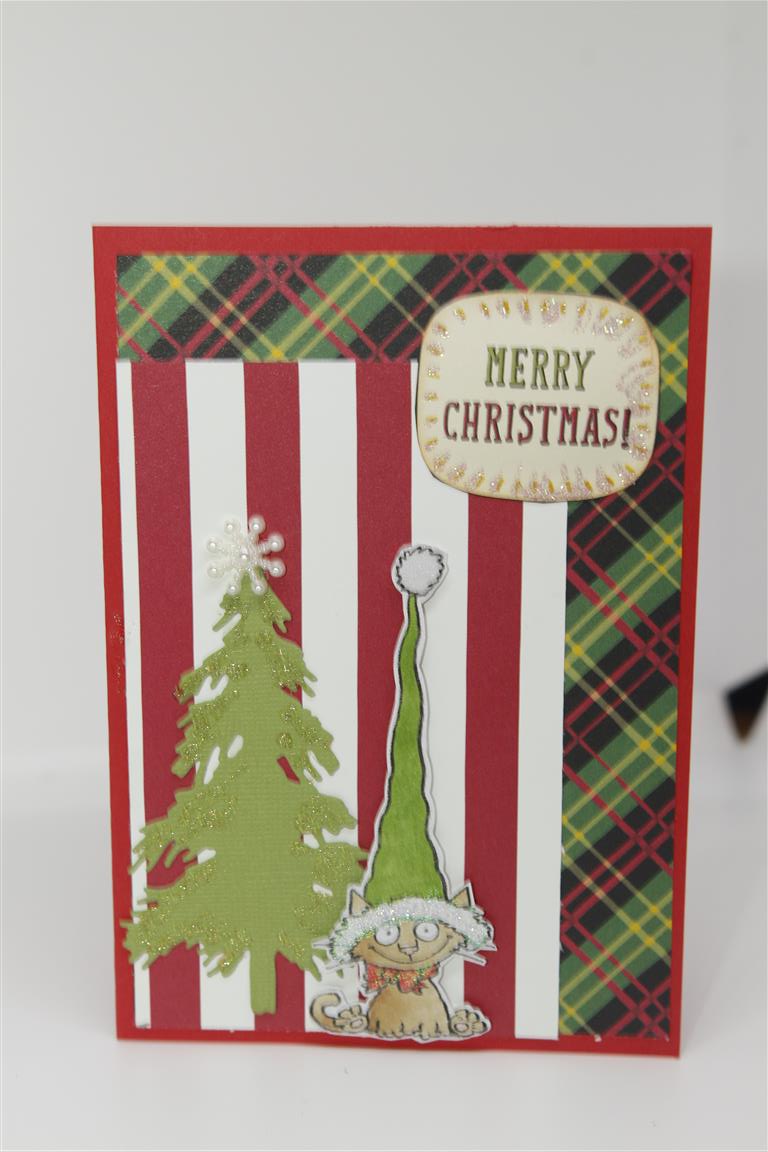
 Another two fun cards today, both cards have Stampin Up Designer papers…Christmas around the World,The images are images I have had for years, and I just printed them off on Copic colouring card,and coloured myself with copics. For the top card, the die cut Christmas tree was a kaisercraft die, and I used nuvo glitter drops to decorate. the bottom card has kaisercraft wooden pieces which I foiled with my Go Press and foil machine and added Nuvo drops in red on the little tree. Lots of glitter on both cards! Til tomorrow…..
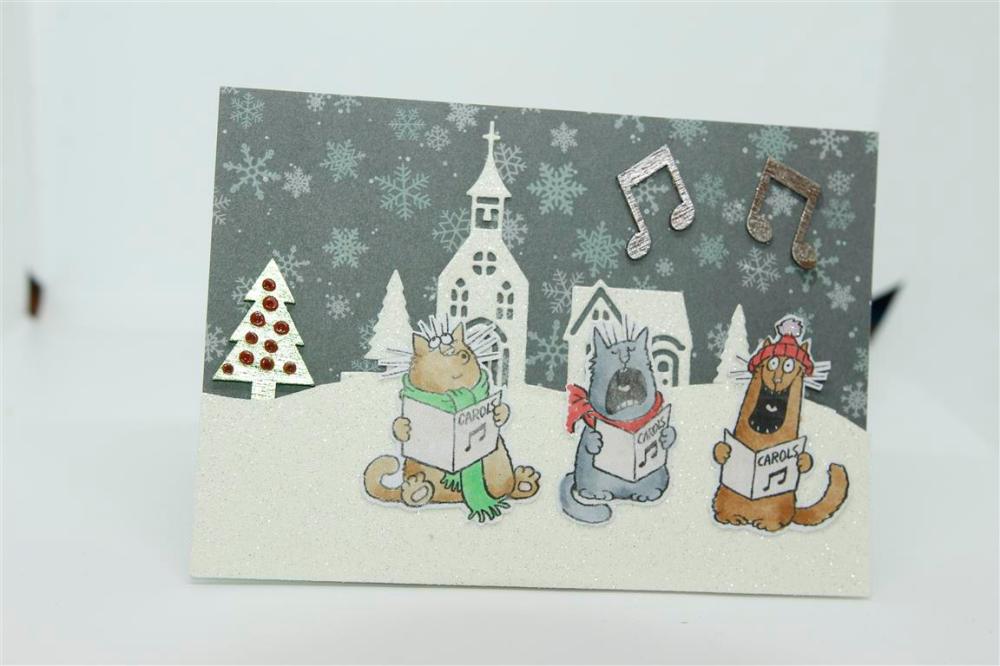
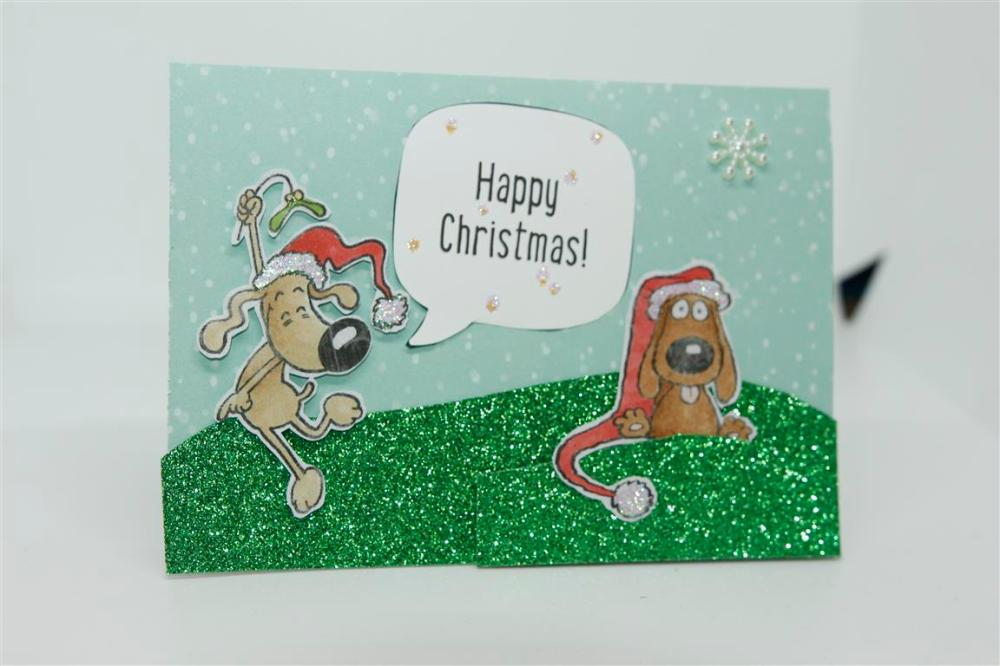 Time for some fun with Christmas cards and this one has a couple of images I have had for years , which I printed onto copic paper and coloured in , and fussy cut out. The background paper and sentiment is from Stampin Up Christmas around the world designer series paper. Tomorrow is my get together of our craft group, and the theme is animals, so this one covers the criteria! I haven’t been well this week, but recovering now, so will go and sit in the craft room for a little while, and finish off my December classes before doing some ” just for me ” crafting and generally taking it easy. Til tomorrow….
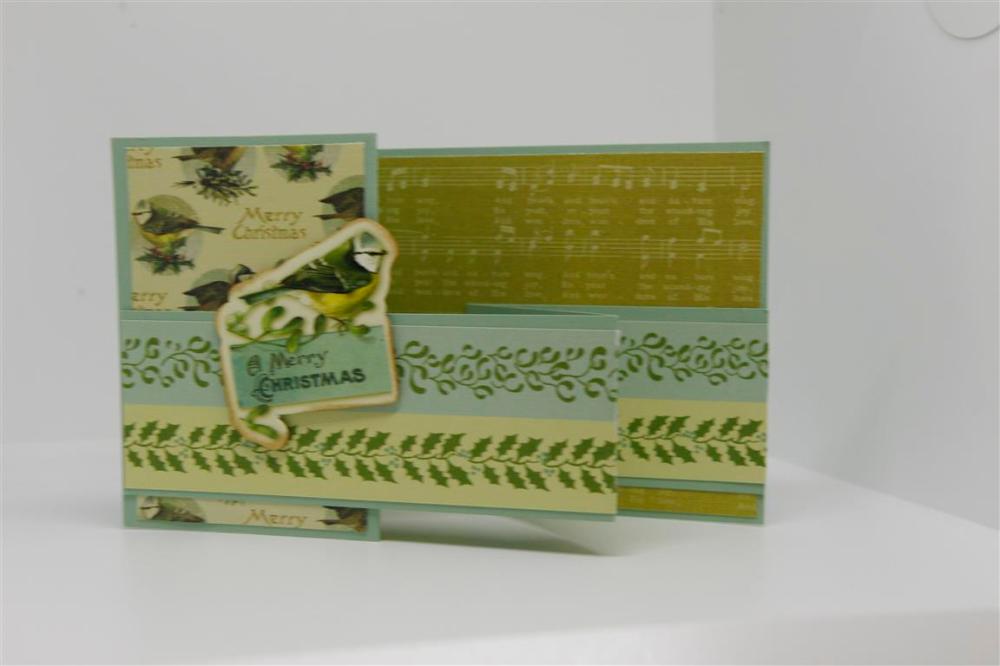
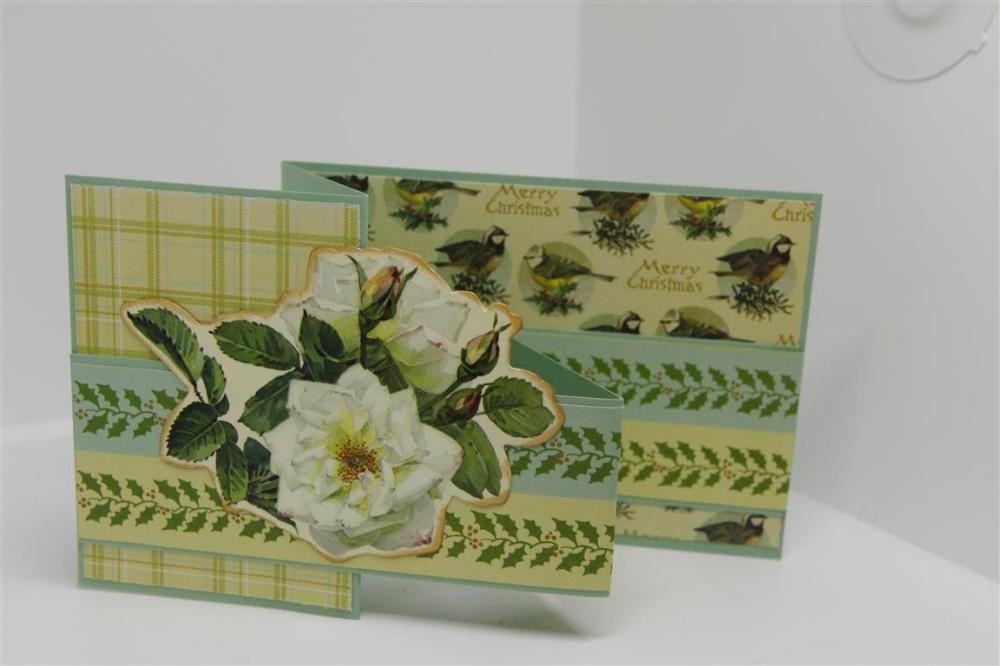 Here are the last two cards I made using the Couture Creations Let every day Be Christmas A4 pad. I have lots of this paper left, but it might be kept to start me off on next years cards now as I am starting to wind down the Christmas makes, although Nathan did some photos for me yesterday while I was at work and there are a few left to post yet, these last ones are “a lot of fun” Christmas cards and I can’t wait to show them to you!But back to todays cards….double zig zag fold design ( you tube clip on the way…)and just various matching pieces of patterned paper from the paper pad with a couple of toppers from the collectable pack that matches the range. I am still working on my large Christmas card order, putting the final touches on that, Cruise cards are on going, but I see a time now when I can play with all the non Christmas papers etc that I have been collecting and particularly can not wait to start cutting into the Kaisercraft rose avenue collection! Til tomorrow…..
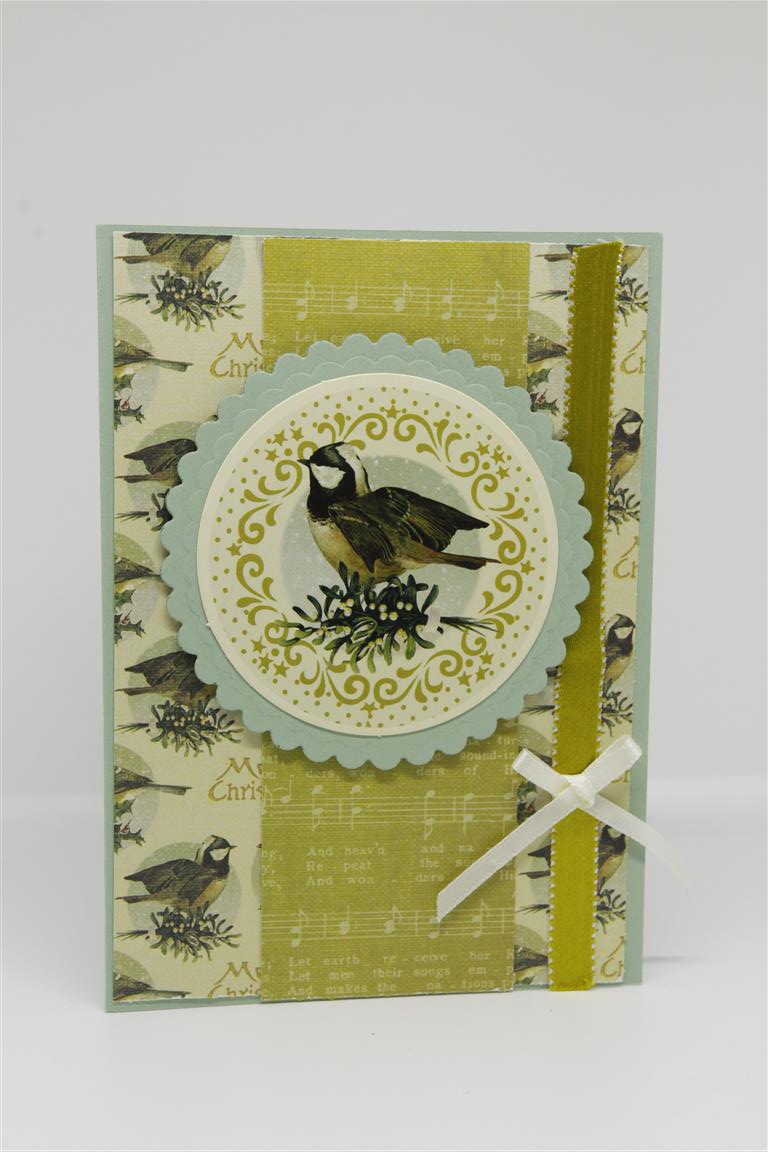 The second card I made with Couture Creations .. Let every day be Christmas..the A4 paper pad, a couple of different designs from it layered on top of each other, and one of the collectable die cuts from the matching pack. Some ribbon from my collection which matched perfectly and a white ribbon bow to finish! What with one thing and another it was a very hectic weekend with no crafting, and my desk has been buried under a pile of things which has just been stacked on it so now before anything happens in there I have to go and dig for my desk… That will keep me busy this afternoon! Til tomorrow…..
 I have a few more Christmas cards, this series made with Couture Creations Let Every day be Christmas A4 paper pad and matching collectables pack. I mounted the Bird collectable onto a spellbinders scalloped circle die cut, and added some Stampin Up trim ..Quick and simple! I am home now after a hugely busy morning in the shop, and I have been die cutting some Christmas trees for a large Christmas card order I have to fulfill, now that they are done I am going to sit down this afternoon and do some fussy cutting of baubles and presents to decorate, Til tomorrow…..
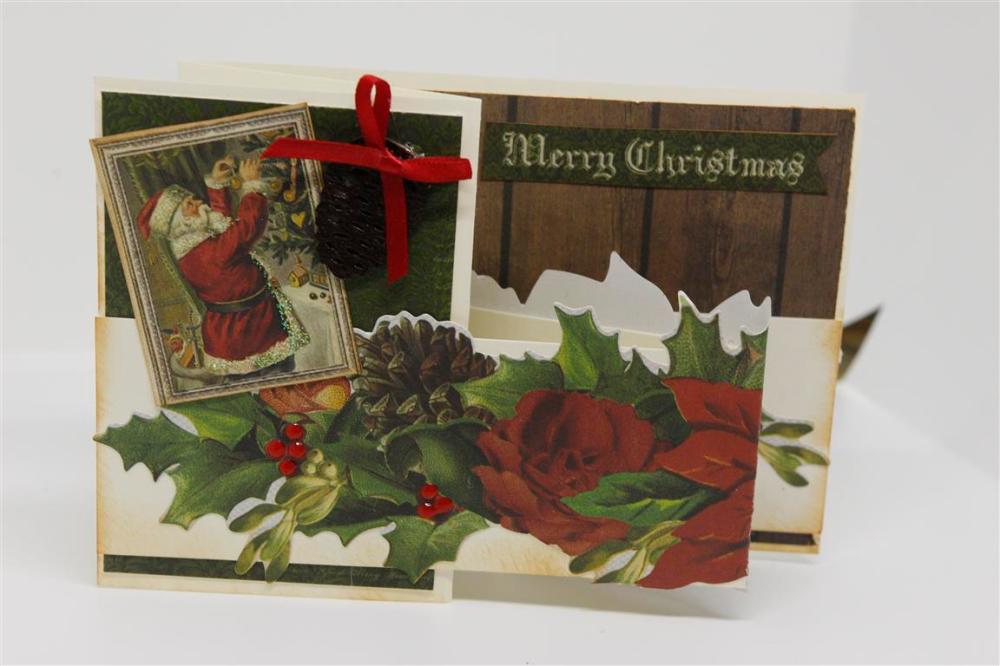
 Here we are at the final two Cards i have made with Kaisercraft letters to Santa collection, and what fun i have had with this paper!Both of these cards use the 12 x 12 papers in the collection for the background pieces, and the long stickers on the sticker sheet for the smaller z fold piece. There is a pine cone on the top card which I foiled with chocolate foil and my go press and foil machine, Nuvo drops were also used on both cards for the red berries. a bit of ribbon and bows and these were quick and easy! Til tomorrow….
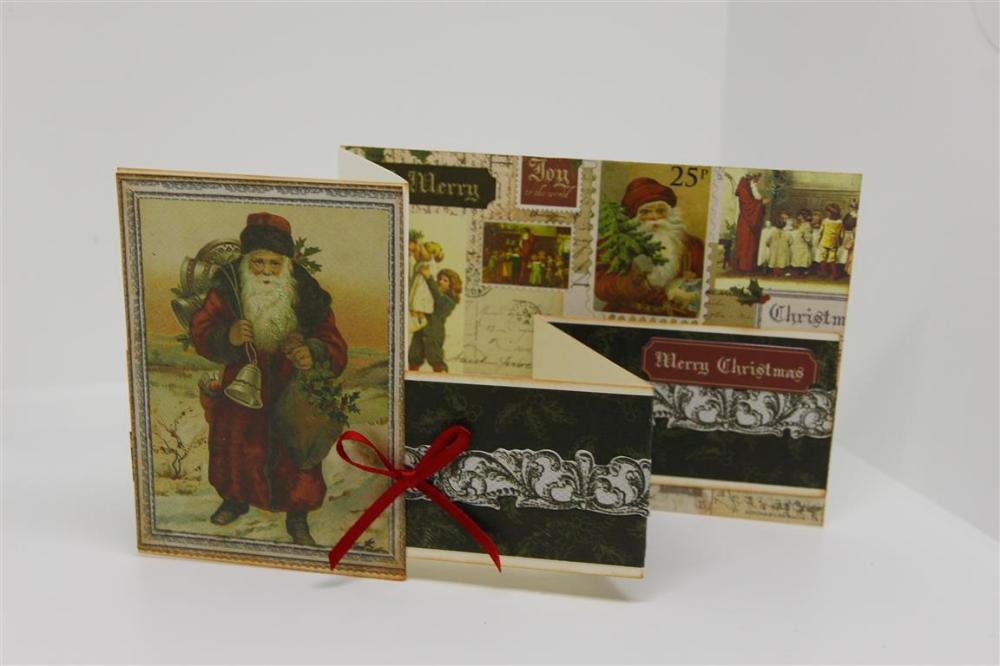
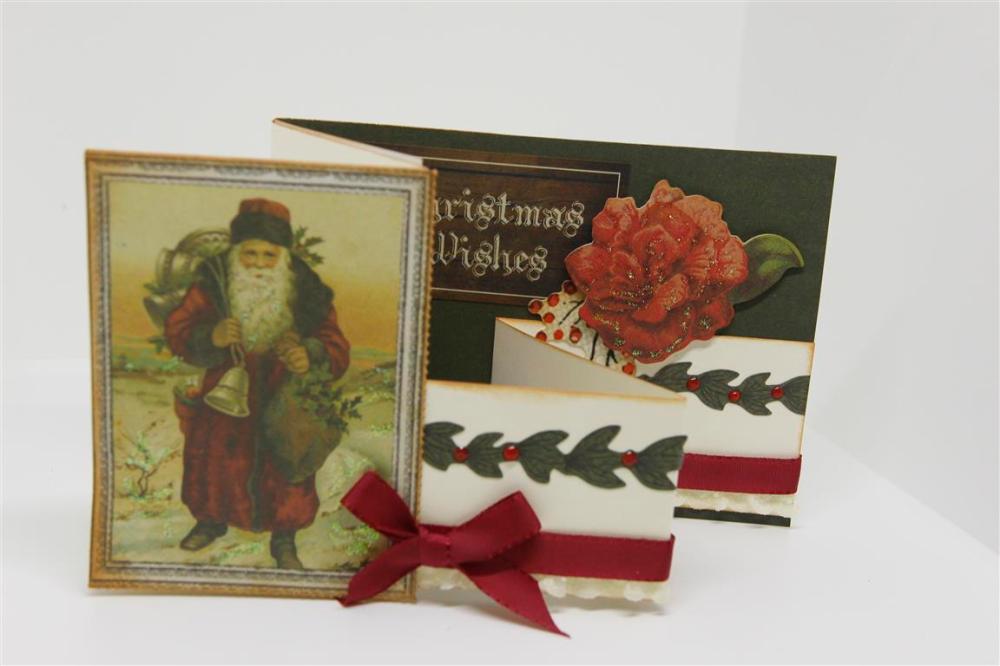
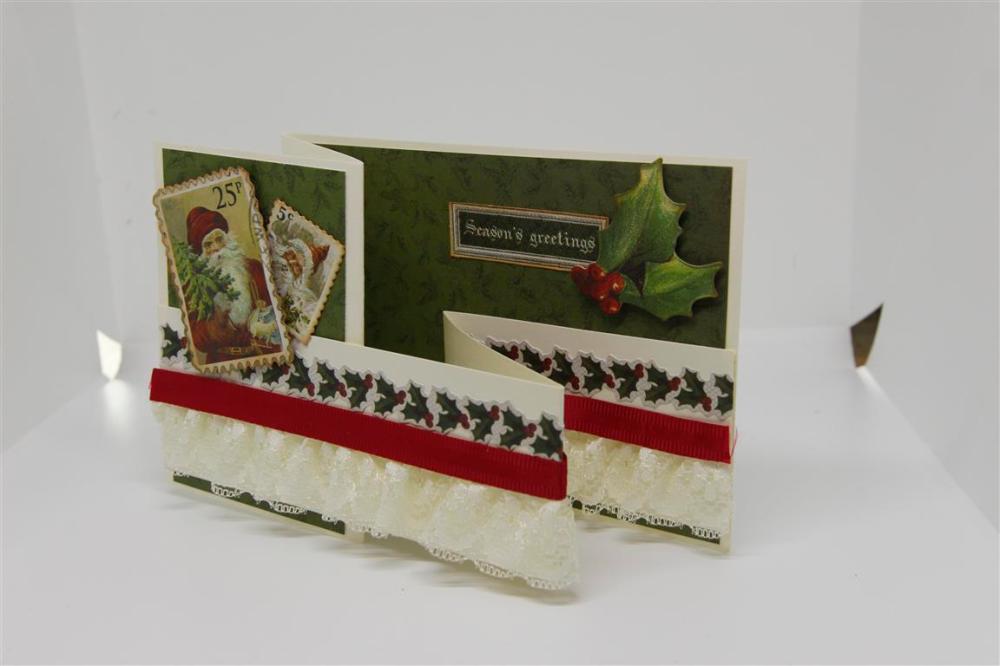 Both of todays Zig Zag cards use the 6″ pad from Kaisercraft Letters to Santa for the layers, and the long borders on the sticker sheet for the smaller zig zag piece. The top card has an image from the 12 x 12 pull apart piece, and a ribbon bow and the bottom card has some fussy cut postage stamps from a 12 x 12 piece of paper and some gorgeous gathered lace as well! I have had an interesting morning in the craft room experimenting with my Go press and foil machine for a December class. I have discovered that clear acetate foils beautifully, and I have been spraying some foiled die cuts as well, and now to decide which techniques will make the cut into the class! For now though it’s tea time! Til tomorrow….