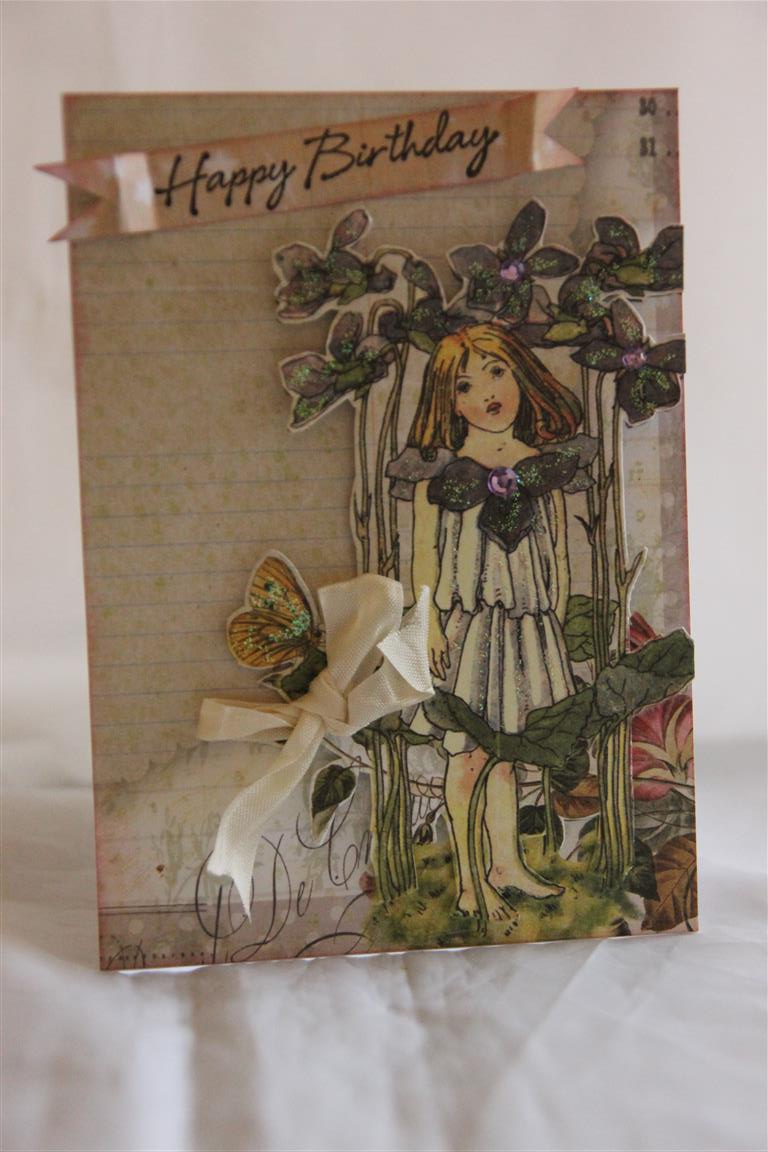
 Prima fairy Rhymes paper pad ( a4 size) once again, and the same ideas as the previous card, where I covered a card blank with a corner of the paper, and then fussy cut a second image and placed it on top with foam mounting squares.i cut a banner shape and stamped a sentiment with Hero arts happy birthday stamp,and just added a seam binding bow, rhinestones and kindyglitz.One more left in this series before we move on. I taught a lovely class of ladies this morning ( although all my ladies are classy….) – we did an exploding box, so this weekend I am going to get Nathan busy with the video camera and make a you- tube clip of how I made it. While I have him busy with the camera we will take some photos of the new cards I have been making, and I have just opened an e-mail with an order for 8 cards, so thats my weekend sorted! Til tomorrow
Prima Fairy Rhymes number 2
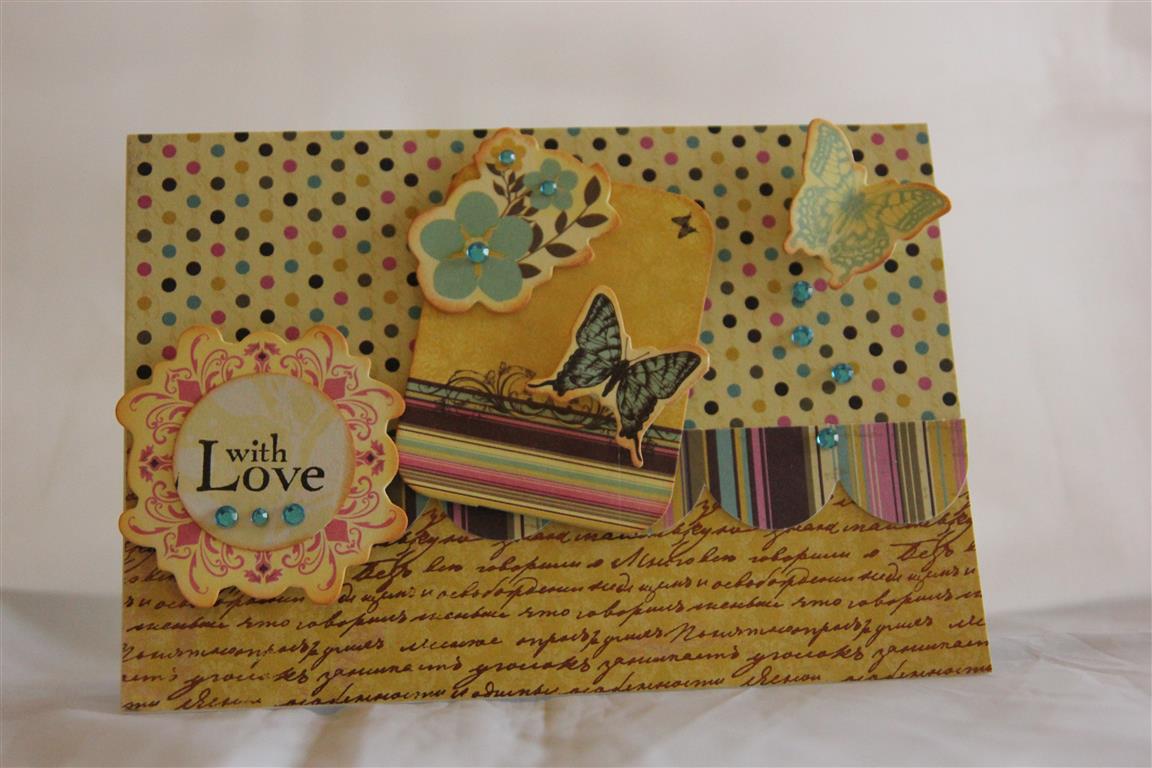
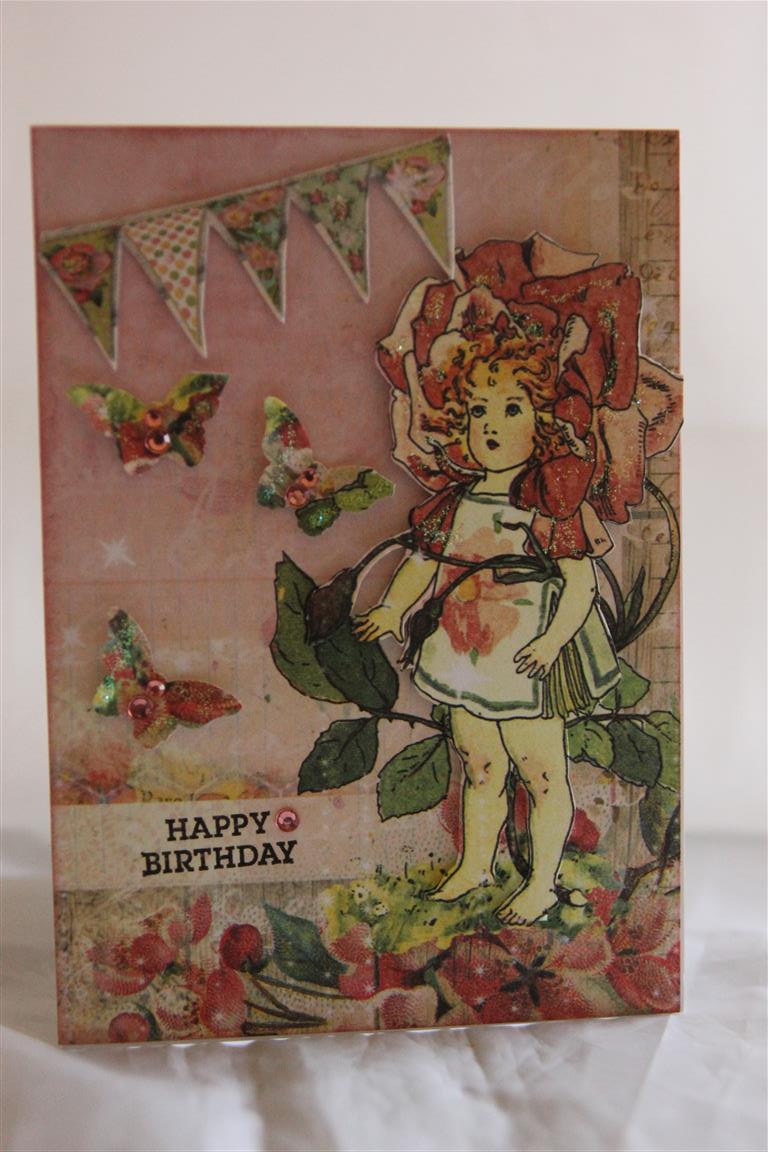 Number 2 in our Prima Fairy Rhymes patterned paper series. I covered a card blank with a piece of paper from the a4 pad, and fussy cut a second image from some of the same paper, and mounted it on the first with sticky foam pads. the banner strip on this card and yesterdays card were cut from some more paper from the pad, and then I just stamped a sentiment, punched out a few butterflies and added some kaisercraft rhinestones.Another quick card! Til tomorrow….
Prima Fairy Rhymes number 1
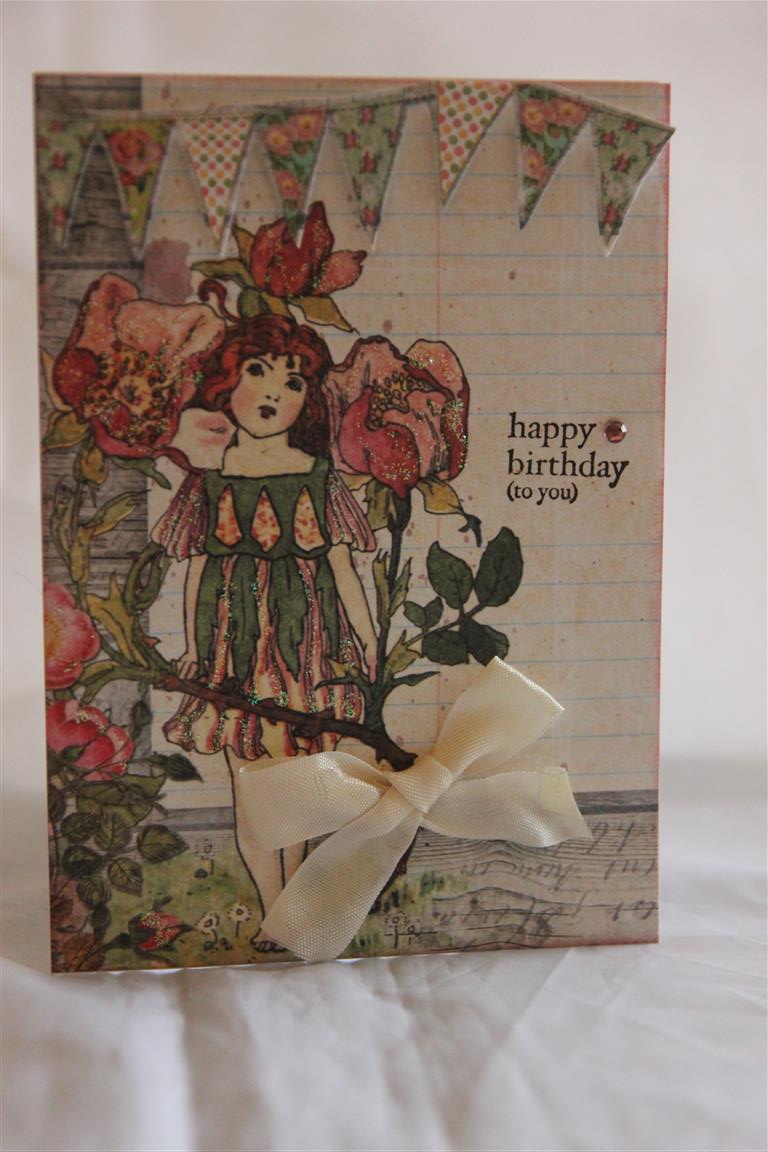 Today we start a new group – cards I have made with Prima Fairy Rhymes paper. I bought the A4 pad, and I haven’t had enough time to really create with it so only a few cards just now but we will return to it one day as it’s great paper.This first card is so simple. I just covered a card base with one corner of the patterned paper, it didn’t need anything else except a seam binding bow, kindyglitz and a stamped greeting!Great girls card done! Til tomorrow….
Double pocket card
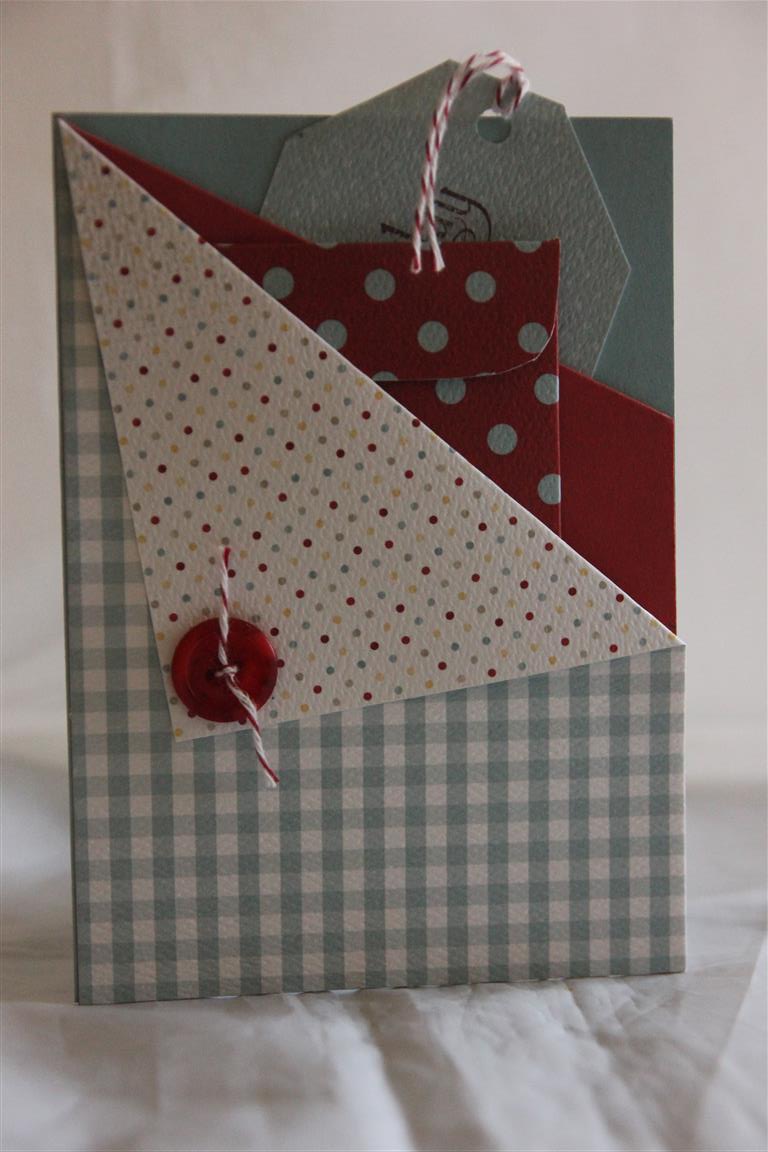 This card was the third one at last months village lesson. I have called it a double pocket card . We made a tag for the first pocket, and an envelope to hold gift cards for the second pocket. The pockets were easy to construct – two pieces of paper/cardstock the same size as the front of the card, one folded down a little further than the other, and stuck on three sides with double sided tape, but not across the top allowing us to tuck in our tag and envelope. Just a button and twine to finish this one!You could make a bookmark instead of a tag or envelope if you wanted – we put our greeting on the tag, but you could put the greeting on the front of the card, and maybe slip in a book voucher if you made the book mark….lots of potential for this design! Til tomorrow…..
Cuttlebug card with punches
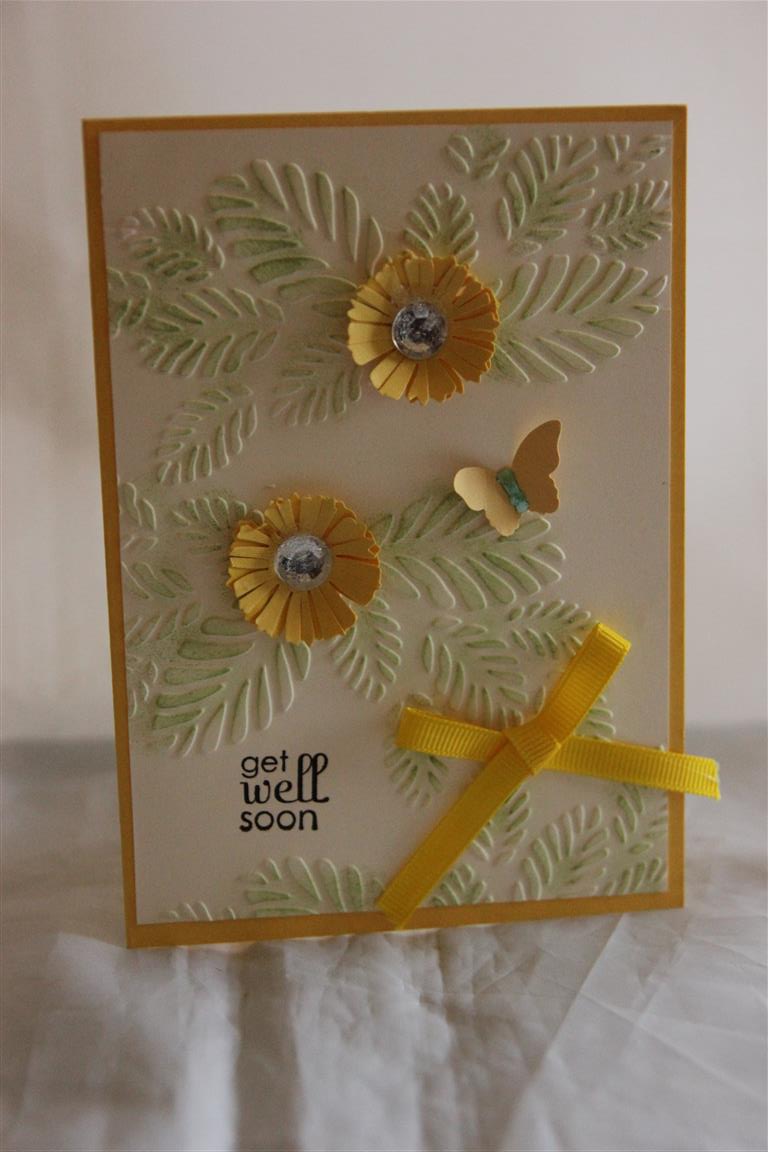 This is another village lesson card – the ladies gave me the embossing folder which they had purchased and asked for some ideas on how to use it.I embossed a piece of cream cardstock and then inked the raised areas with a green ink pad and sponge. The flowers were punched using a cosmos martha stewart punch and I added some bling and a ribbon bow, and mounted everything onto stampin up daffodil Delight cardstock.The butterfly was punched with a stampin up punch.I have been busy in the card room making some more class lessons,and preparing for my class later in the week, but when I go back in there later I will be creating with some new papers – can’t wait!
Cuttlebug card
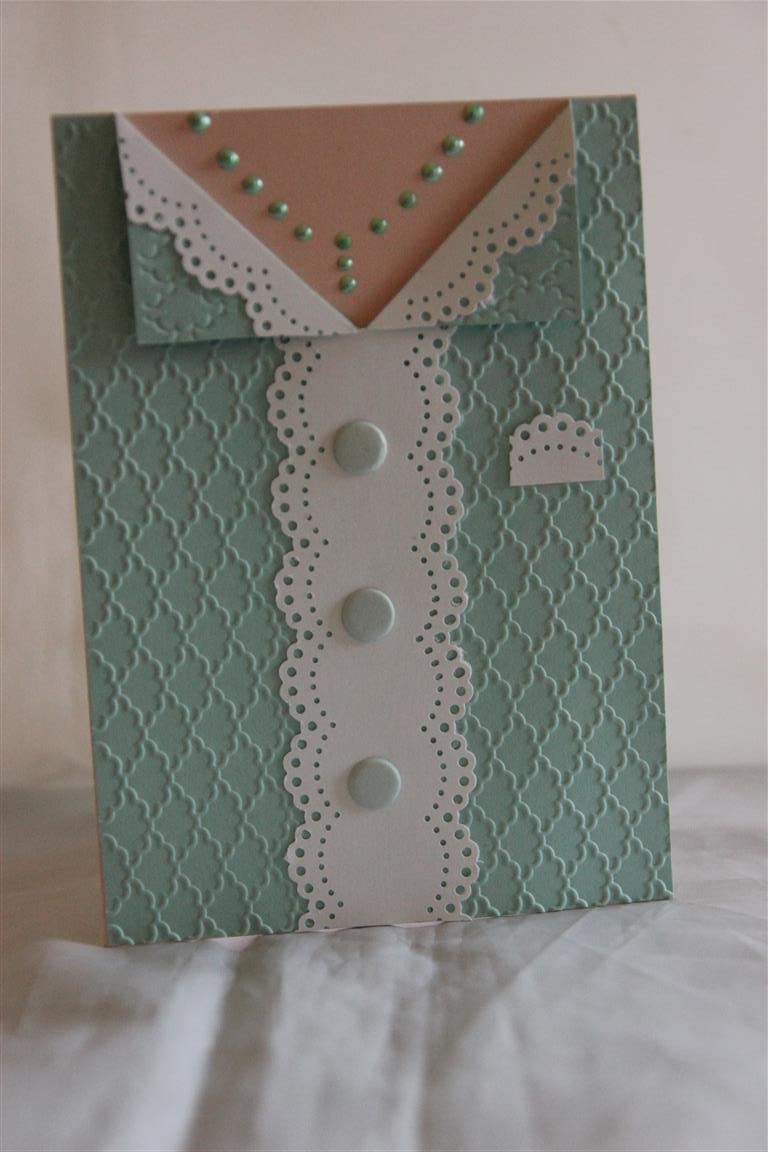 This afternoon I taught a class over at the retirement village which reminded me I didn’t show you all the cards I taught last month over there, so here’s the first one – very simple – cardstock is all stampin up – Pool Party, blushing bride( which is the card base) and whisper white. The embossing folder is Stampin up fancy Fan folder, and the border punch used is martha Stewart lace doily punch. I found the middle of the embossed piece of cardstock , cut down 4 cms, and folded each cut back to create the V necked sweater. The buttons are craftworks craft candii, and liquid pearls for the necklace. Have a look at your embossing folders – I’ll bet one of them would work for this design!A lovely evening last night spent in the craft room, and I am heading in there again this evening as all my lot are busy putting on a wrestling show…..peace…..Til tomorrow….
Great Southern land number 3
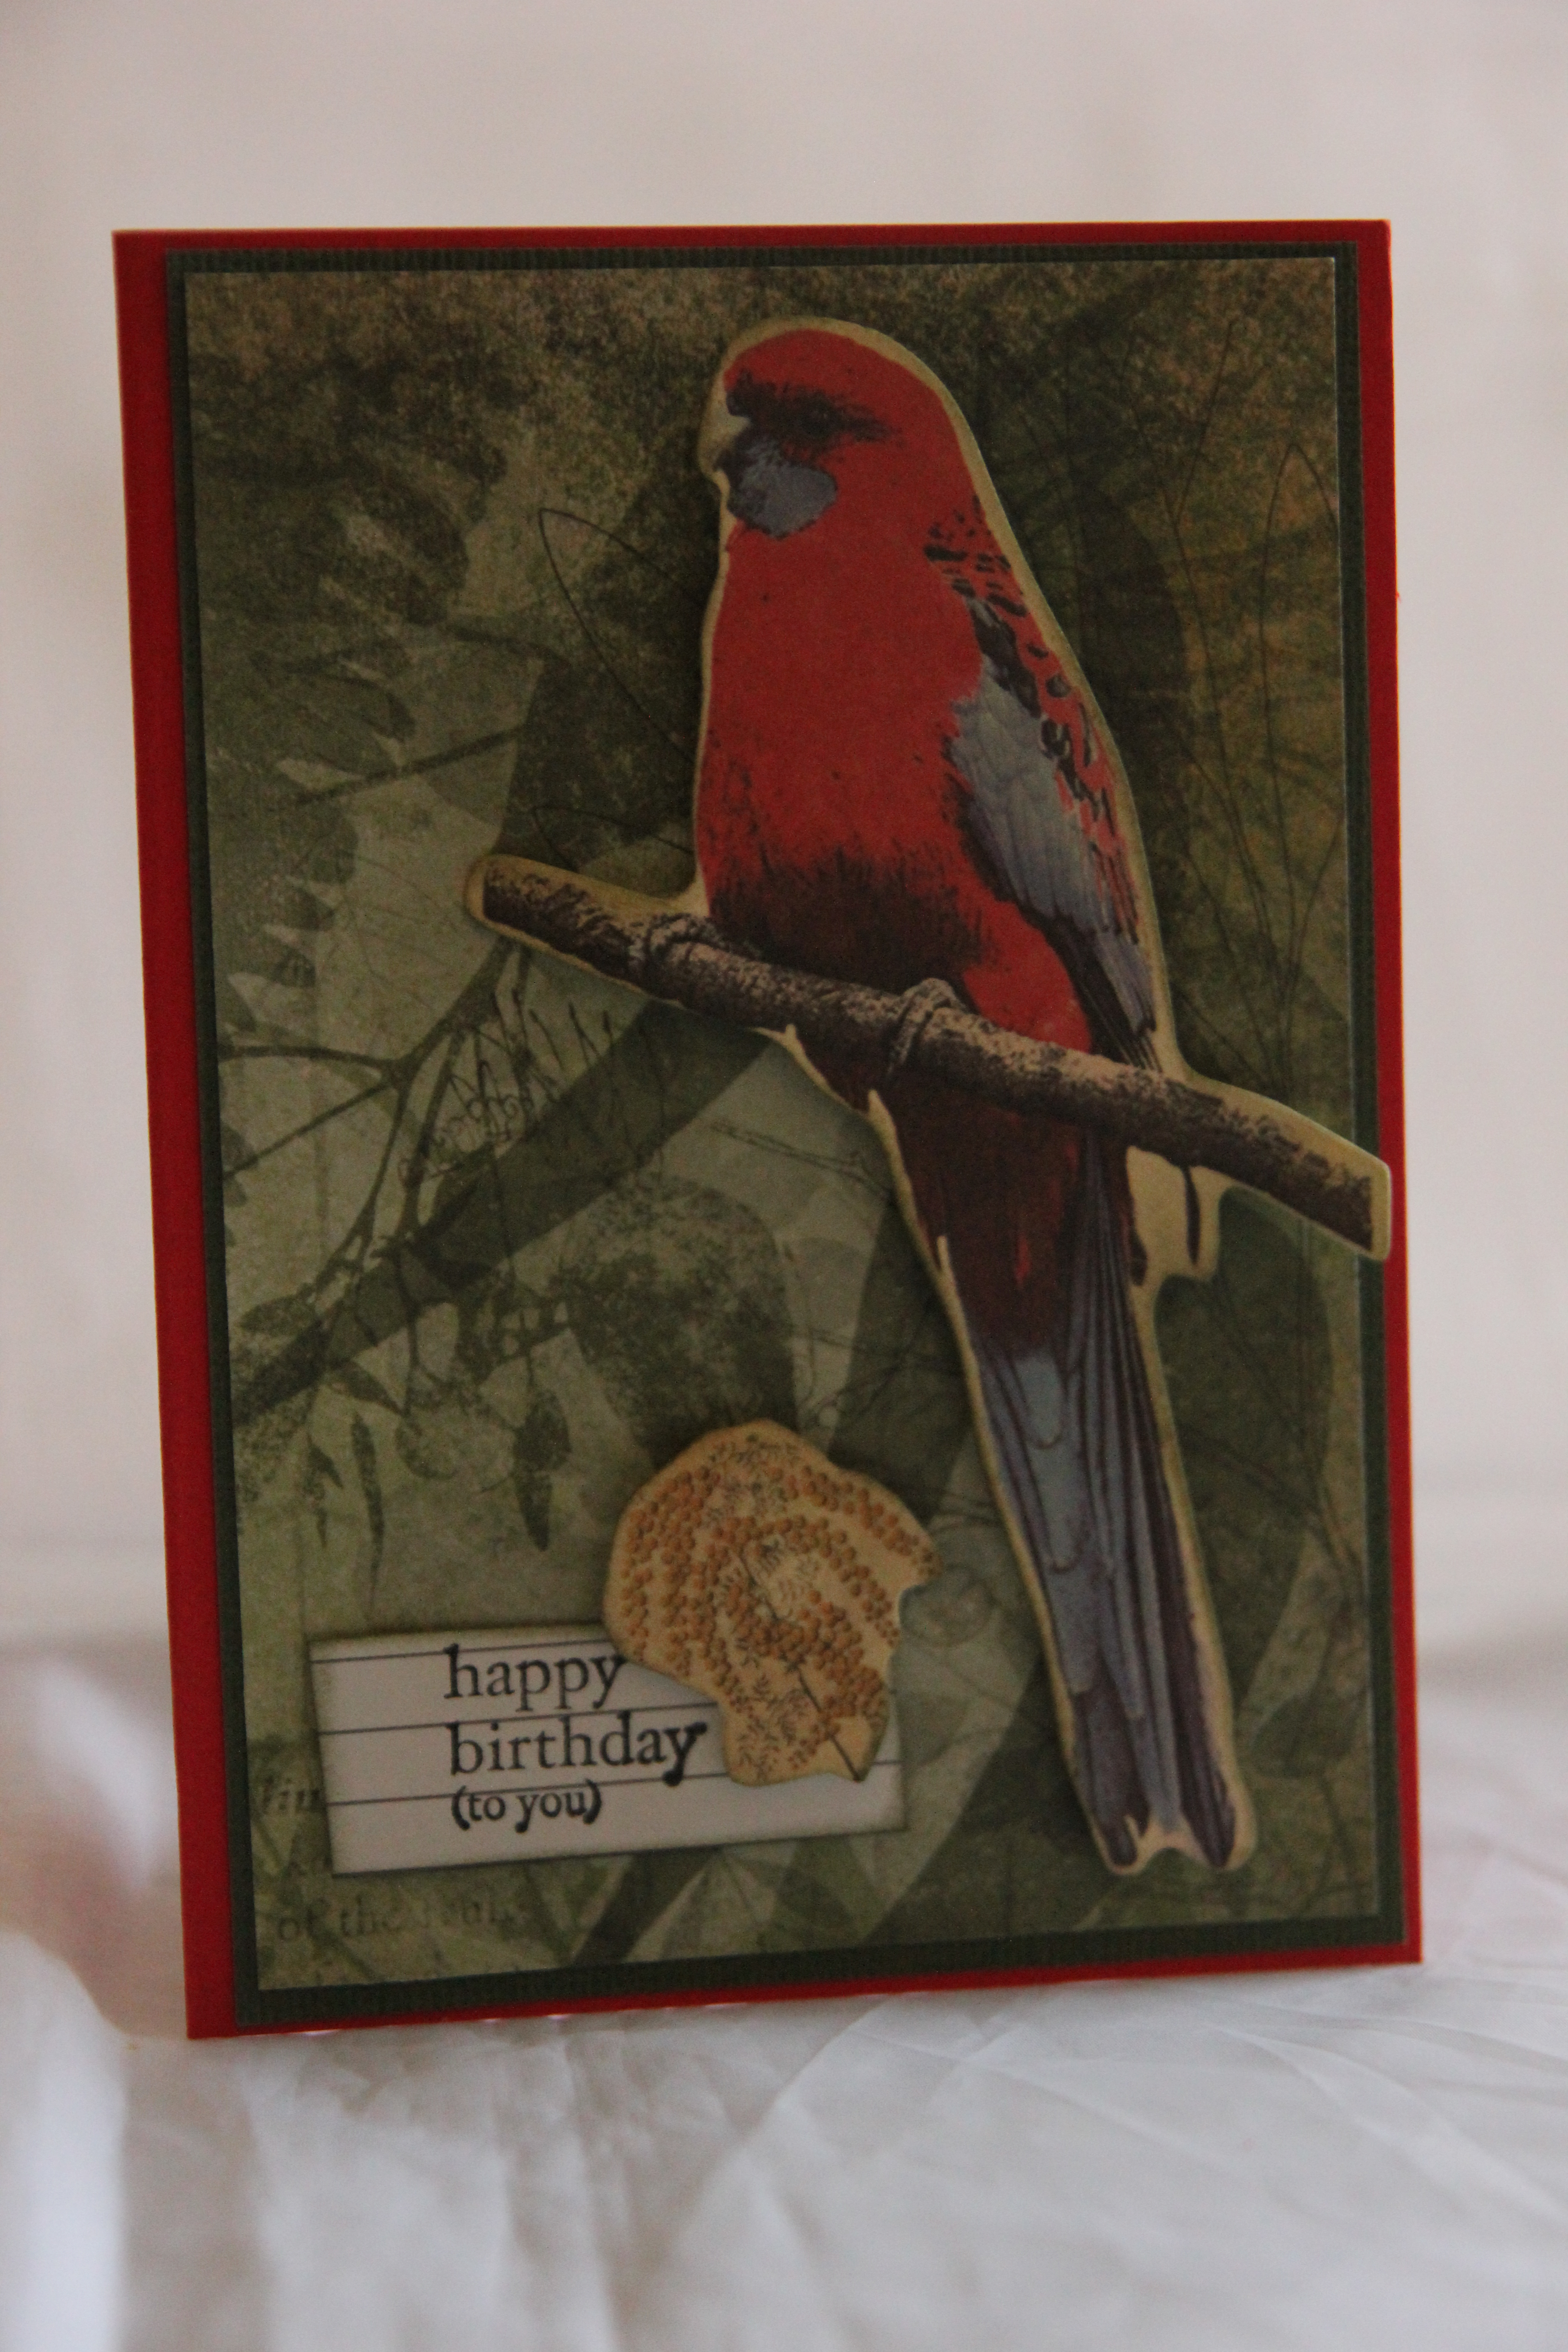 This is the final card in my Kaisercraft Great southern Land series – still a bit dark – sorry! The parrot is from the matching collectables pack ( isn’t it great?) and I used stampin Up cardstock and sentiment stamp.Tomorrow we will move onto something completely different. I had a lovely morning over at paper flourish, I was setting up my lessons, while a big group of ladies were enjoying the cardmakers club.Its always great to see what they come up with for each months challenge. This month the challenge ( which I always join in with) was Criss cross card – white on white. And it was amazing how different they all looked even though it was quite a narrow frame. All the cards were photograghed and will be up on the paper flourish facebook page soon, I urge you all to have a look – these cards are stunning!I picked up a great amount of new papers today, the new releases from Kaisercraft ate fantastic – I was spoilt for choice, so tonight and for the rest of the weekend I will be in the craft room creating. Can’t wait. Til tomorrow….
Great southern land 2
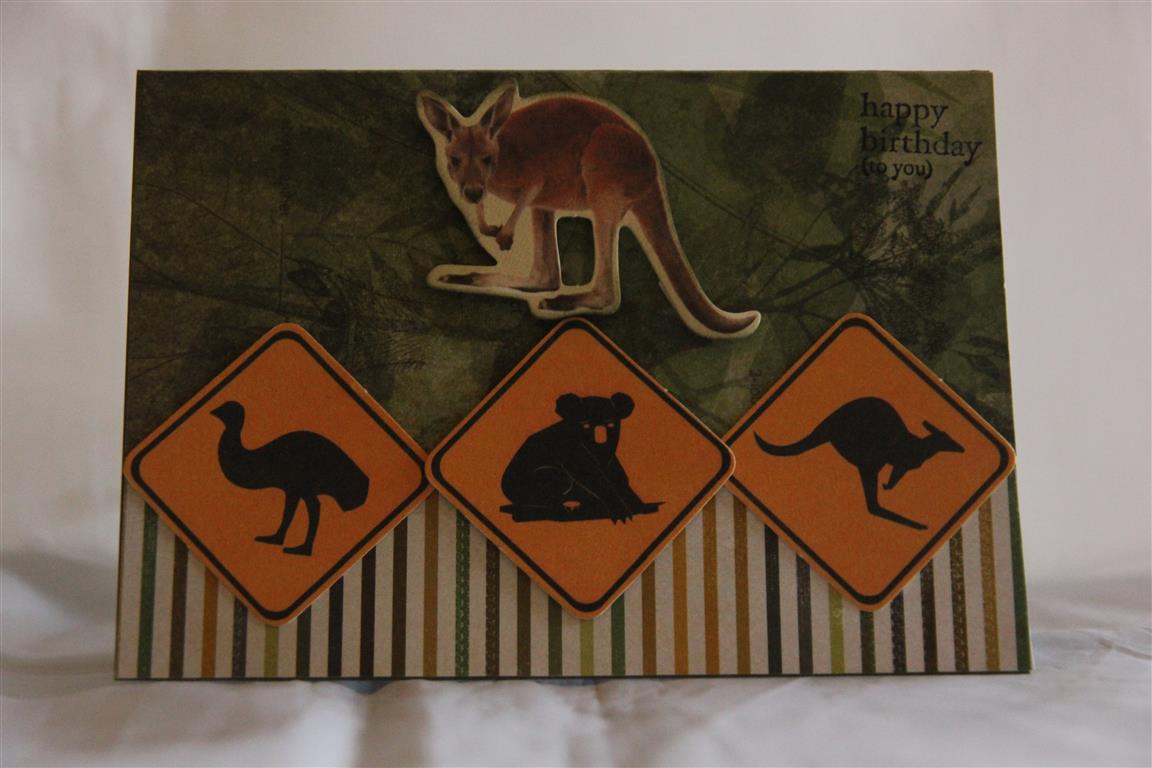
 Again, a little dark, not sure what happened there, but nathan would have an explanation for it!Paper and matching collectables are Kaisercraft Great Southern land, and i rounded the corners, and die cut an an oval for this one. the sentiment is a Hero arts happy Birthday stamp. More orders tonight – this time retirement cards, I’ve been kept busy this week with orders – it’s all good! Til tomorrow….
Great Southern Land
 This photo is a little dark – in real life the background isn’t quite so dark, the paper is from Kaisercrafts Great Southern Land collection and I used the matching collectables as well. This was a release in the second half of last year, but it should still ba available. I used it for a class last september, and we all thought it would be good for xmas cards to send overseas.this one though I have made into a birthday card stamping a stampin up sentiment stamp straight onto the paper.I will be found in the craft room tonight as I have a few orders to make including quite a few wedding cards! Til tomorrow….
Kaisercraft Botanical Odyssey number 5
 While browsing my files I found another Kaisercraft Botanical odyssey card which I havent shown yet. I used the 6″ pad, and collectables on this one and inked all the edges with Tea dye ink. I added some kaisercraft rhinestones, and the sentiment is a Stampin up stamp.Welcome to my new subscribers, I hope you all find something here to inspire you, and I love hearing from you all ! Til tomorrow….
