
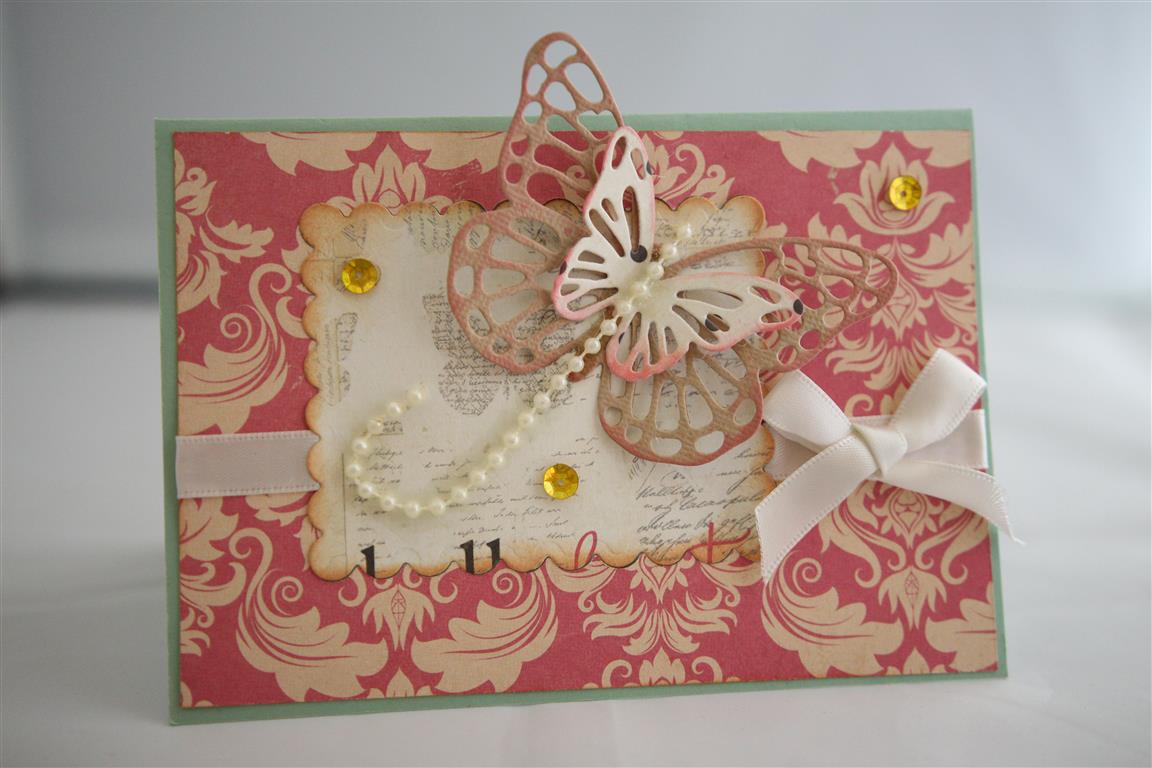
 Oops! I was all ready to move on to some christmas cards when I found one more card made with Julie Nutting Belle Vie paper (I only purchased 2 papers from this collection)This actually was the last one I made using up the last of the paper.I die cut a scalloped rectangle , and 2 butterflies,inked everything,and added the last of my bead string ( I have bought some more – Kaisercraft make it now, but the length that I have been using came off the dress of a vintage doll)ribbon,bow and sequins to decorate.Early finish from work today, so a bit of time to put my feet up! til tomorrow….
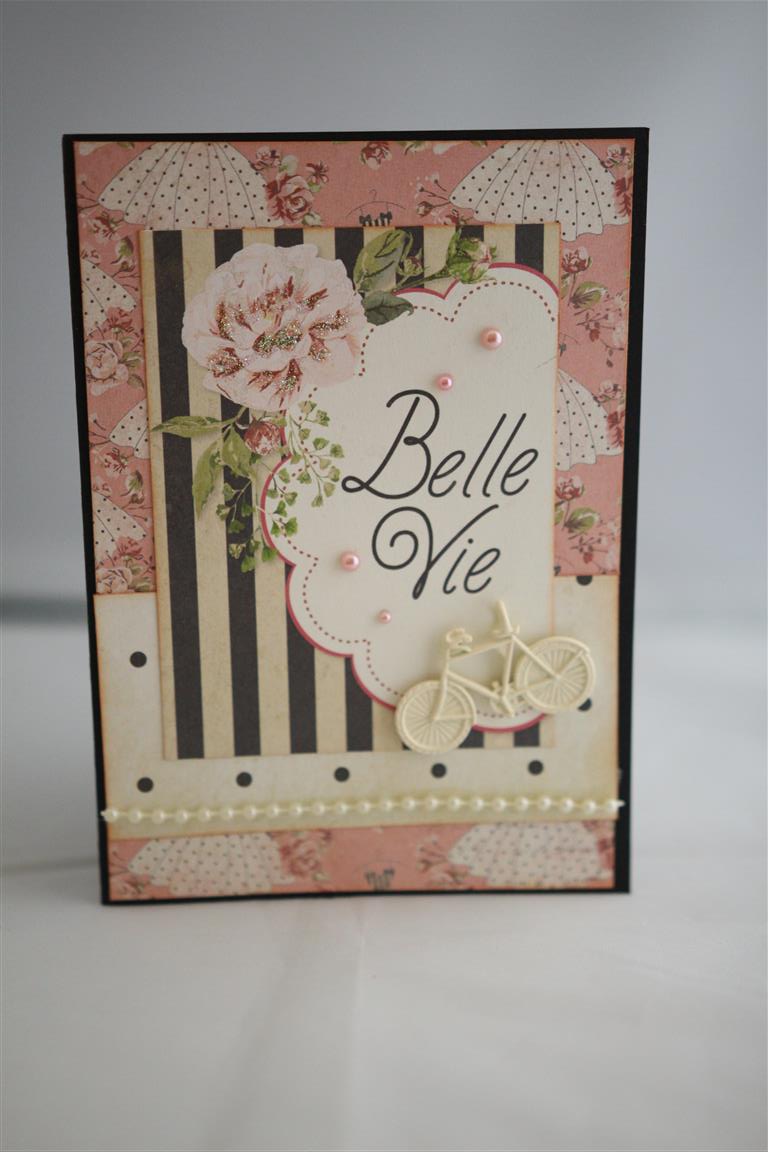
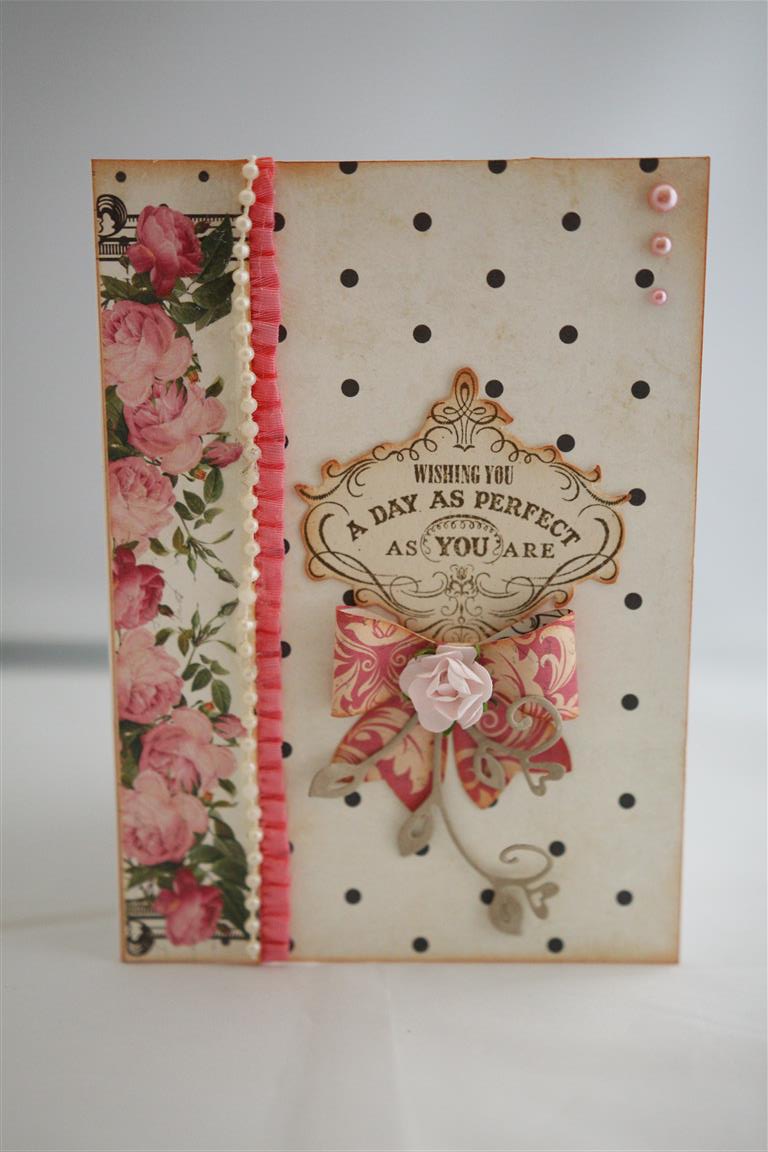
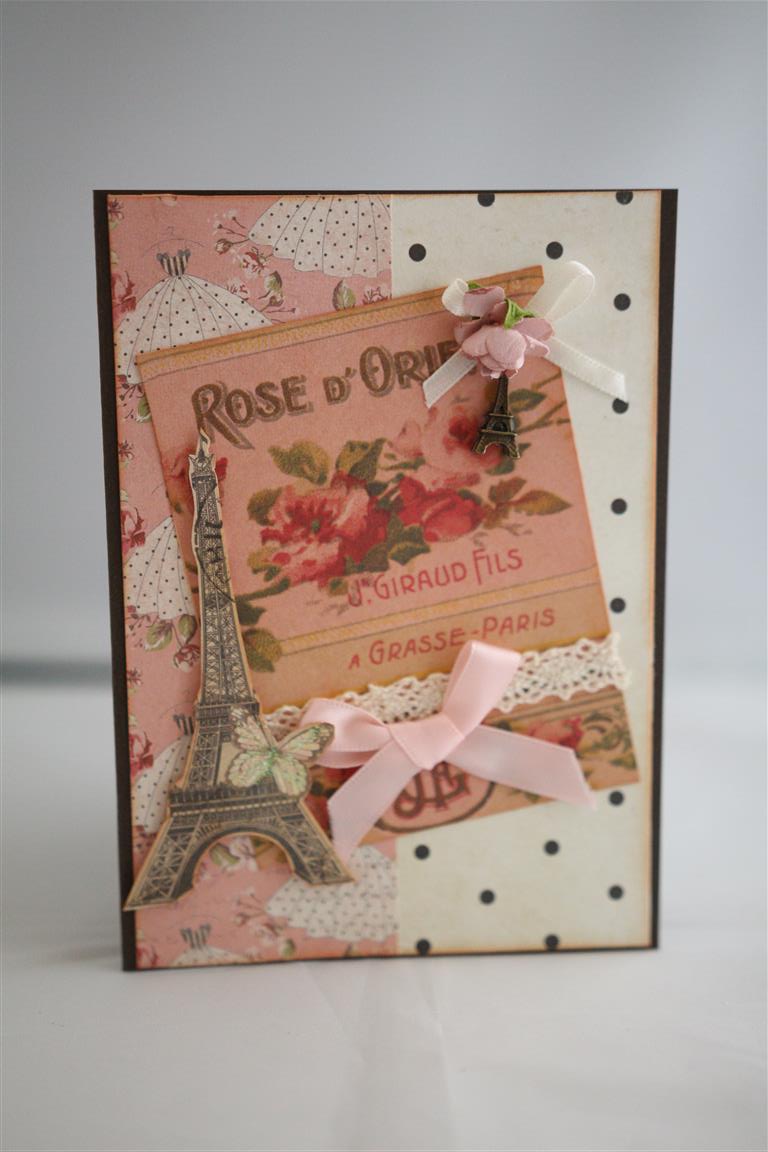
 Here are the last three cards I made with my 2 pieces of Julie Nutting Belle Vie paper.The bottom card ( which I have accidentally posted twice!)has a little fussy cutting on it and a metal charm as well,the second card has a paper bow made from a punch I bought from stampin up, and the top card has a little bicycle charm. I loved making this card series as I got to dig through forgotten boxes of bits and pieces to decorate them!I have a new plan – put one of those forgotten boxes on my desk and use them up that way!I have been busy today in the craft room fulfilling 3 orders, and working on a class which is coming together beautifully..til tomorrow…..
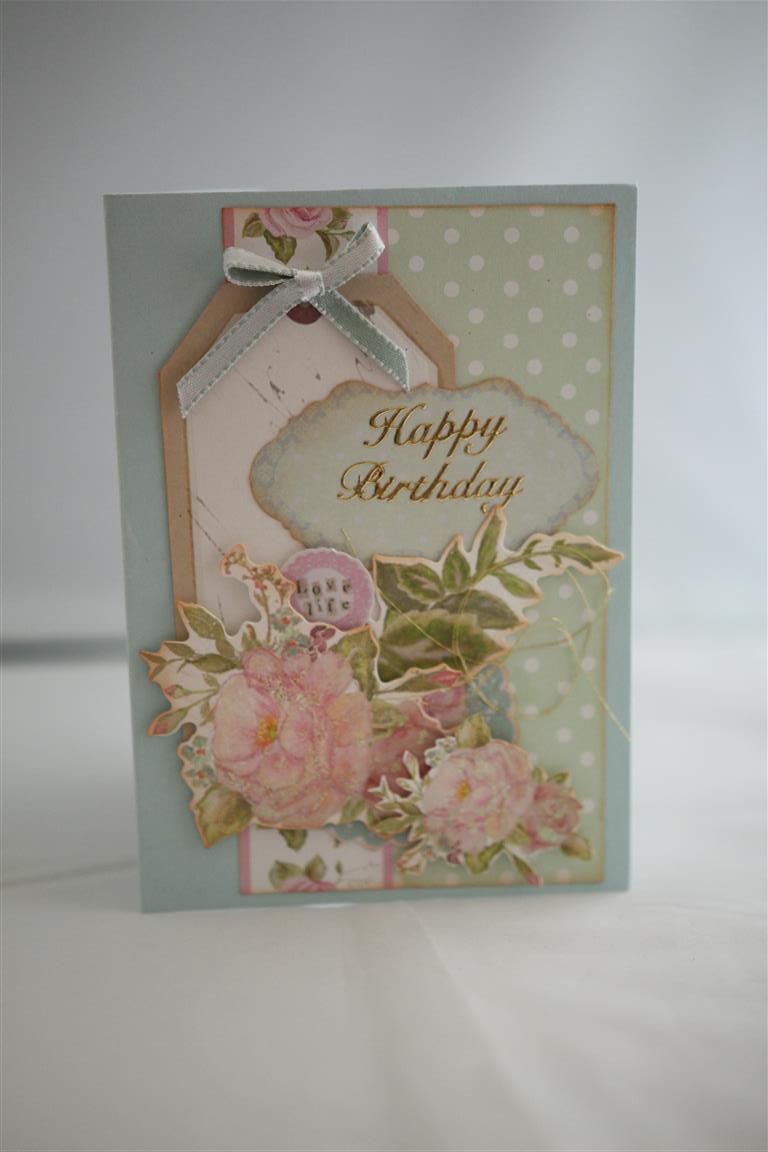
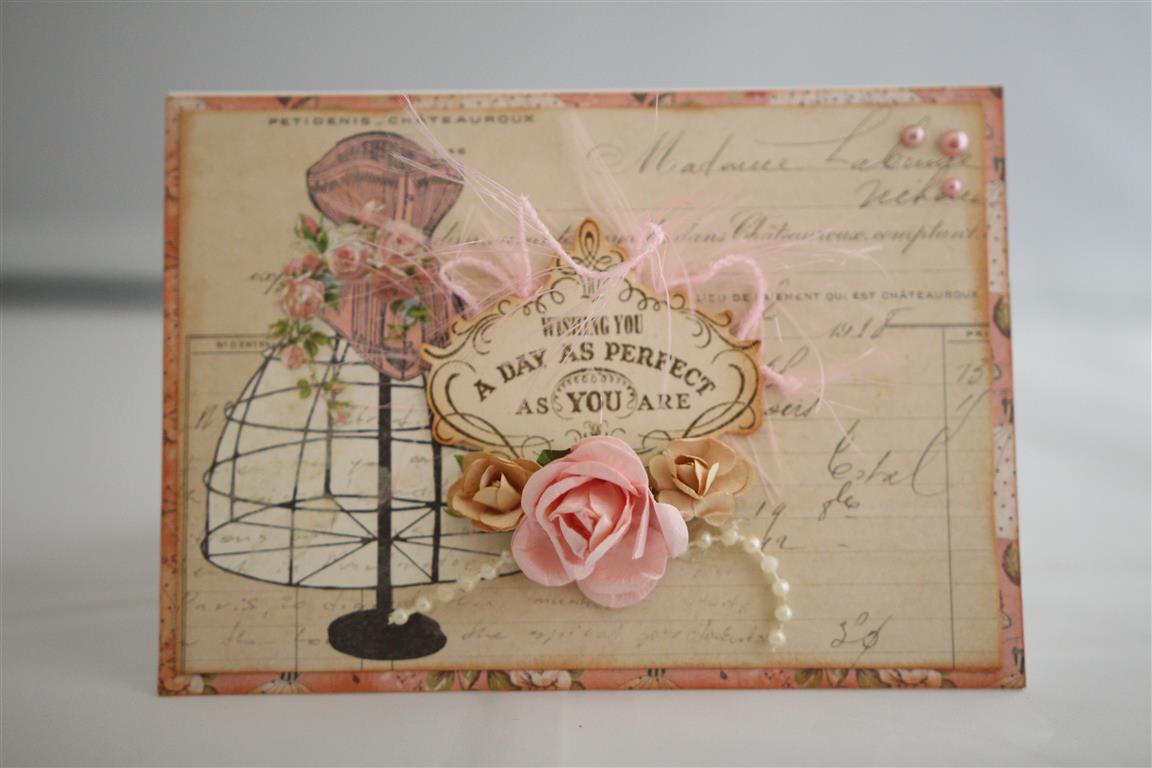 continuing on with the cards I made with a couple of sheets of Julie Nutting Belle Vie papers I layered the first paper, after swiping with Tea Dye ink around the edges, and popped a postcard print from the other sheet on top – It had a lovely image on the left so i just added my greeting ( stamped with a stampin up stamp and fussy cut) behind which i glued some fibre wool. a group of flowers and some old beading to finish! Busy day today, long overdue trip to the hairdresser, and a family picnic in the park thios afternoon – hope the weather holds! Til tomorow…
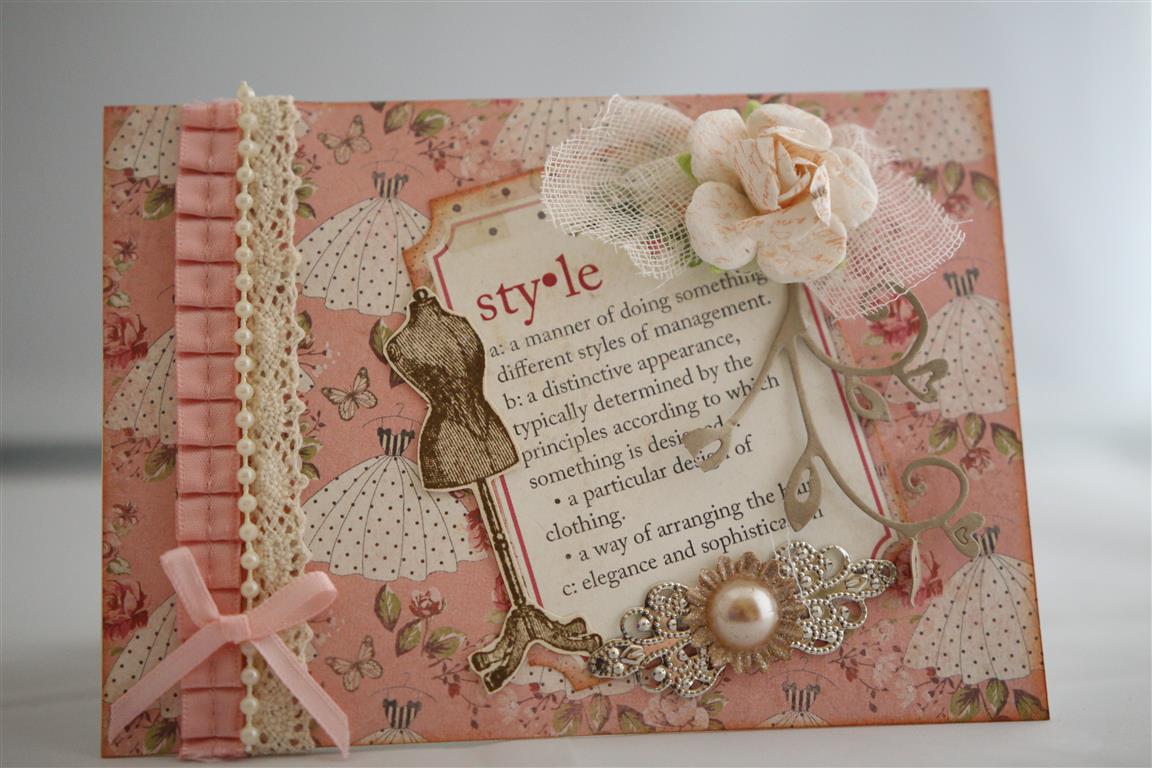 I purchased just a couple of sheets of this collection – Julie Nutting Belle Vie,and this was the first card I made with it. I covered the card blank with a piece of patterned paper and Inked the edges with tea dye distress ink.Using a stampin up stamp and ink I stamped the dress form and fussy cut.All the trims on this card were out on my desk – just bits and pieces and scraps so it was good to use them all! The ribbons were stampin up, the lace and flower prima and some old beading and gauze.A day off today, but busy running errands, and thinking about upcoming classes.I have a few ideas buzzing around and look forward to some time in the craft room this weekend to start them all! til tomorrow….
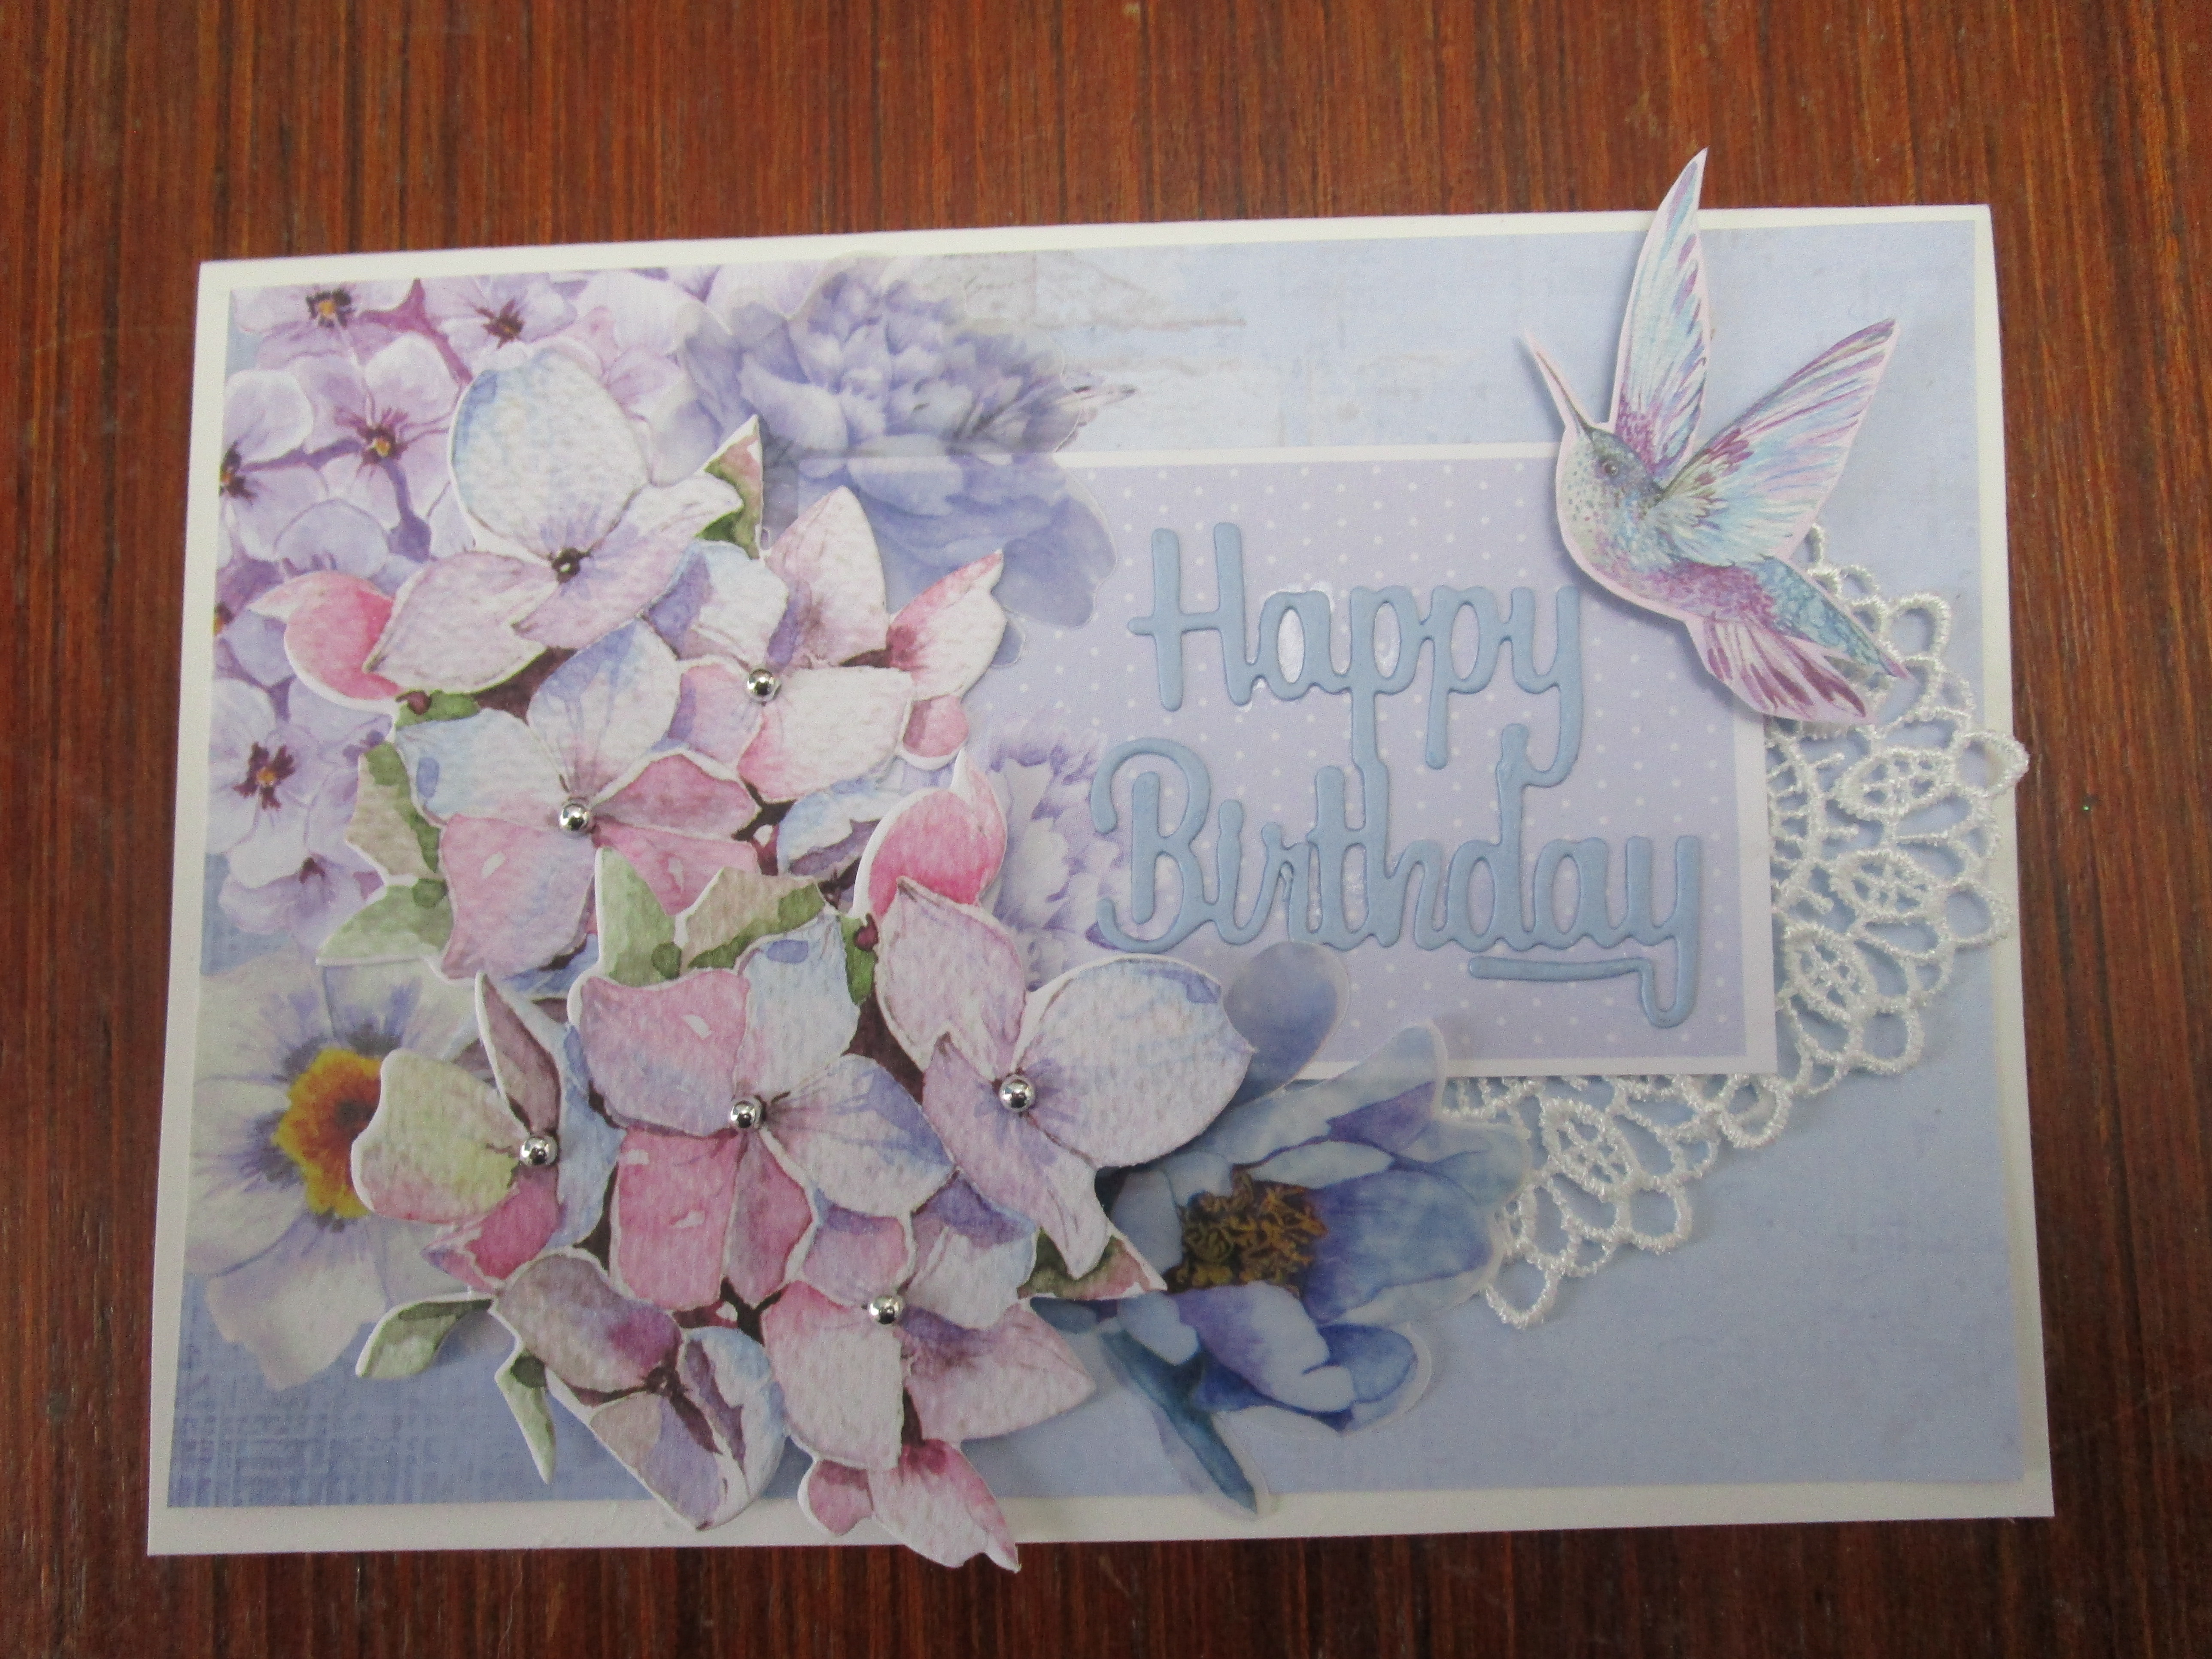
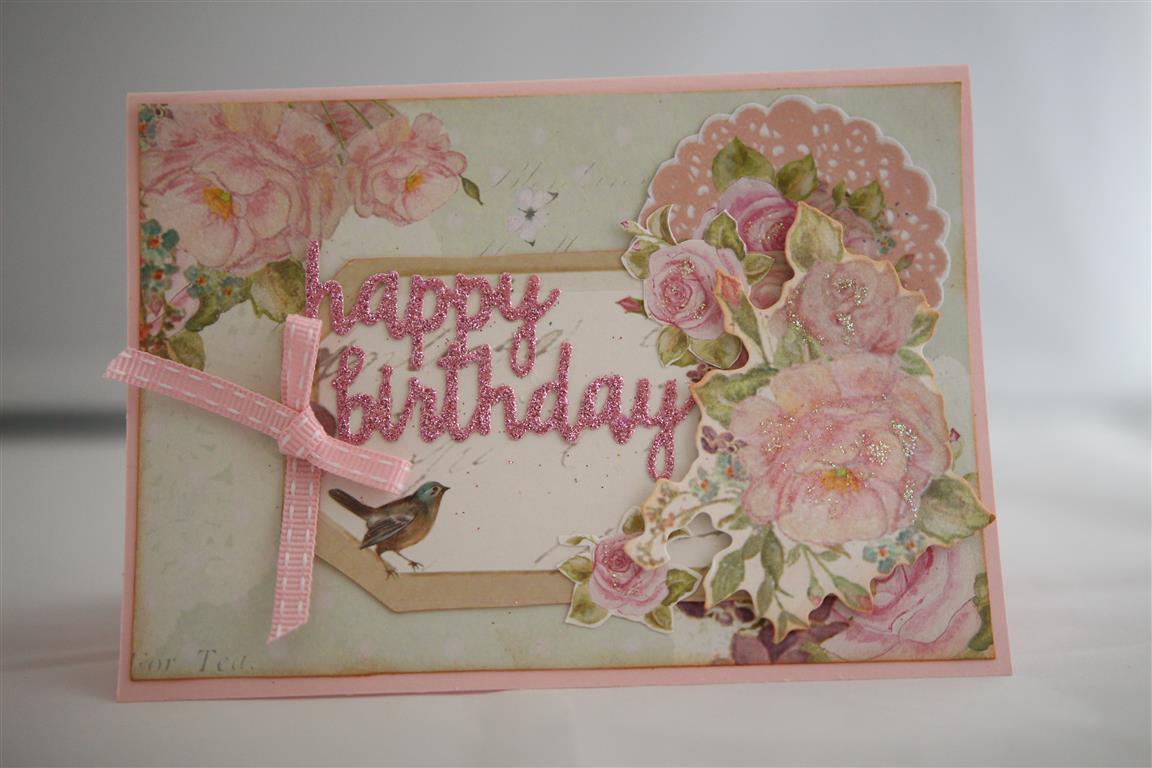 This is the last Kaisercraft True romance for a little while, next in the queue are some Christmas cards made with some new release papers.This card still relies heavily on layers, and inking each piece with tea Dye ink.There is some fussy cutting as well as a collectable from the range.The sentiment was die cut with Kaisercraft occasions Dies on glitter cardstock..(Also from Kaisercraft).Kaisercrafts glitter cardstock from this year doesn’t shed its glitter..which is fantastic!I purposely trimmed the paper background so that the flowers were in opposite corners. Til tomorrow…
 As I started with the revisit to Kaisercraft True Romance paper collection yesterday we will continue on with the cards I made before I created the rectangle aperture card.This card uses some of the 12 x 12 paper,a couple of the collectables and some fussy cut flowers. There were lots of tags in this collection so I have done a lot of layering here, with the tags and the doilies that are also in this collection. This is another collection that I have lots of so it will take a few revisits before I have used it all! I have inked around the edges of everything with tea dye ink. Inking around edges is a good idea when you are doing lots of layers as it defines each layer.Tea dye distress ink is always my go-to ink pad for this job. Til tomorrow….
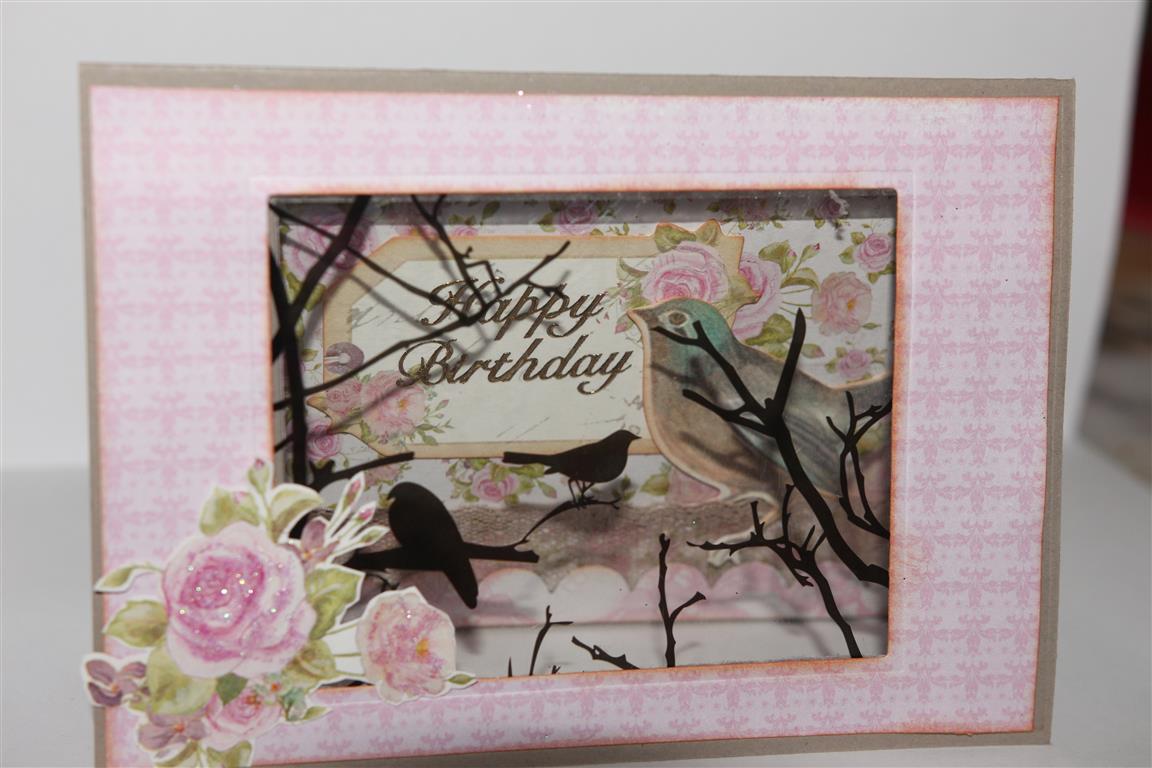
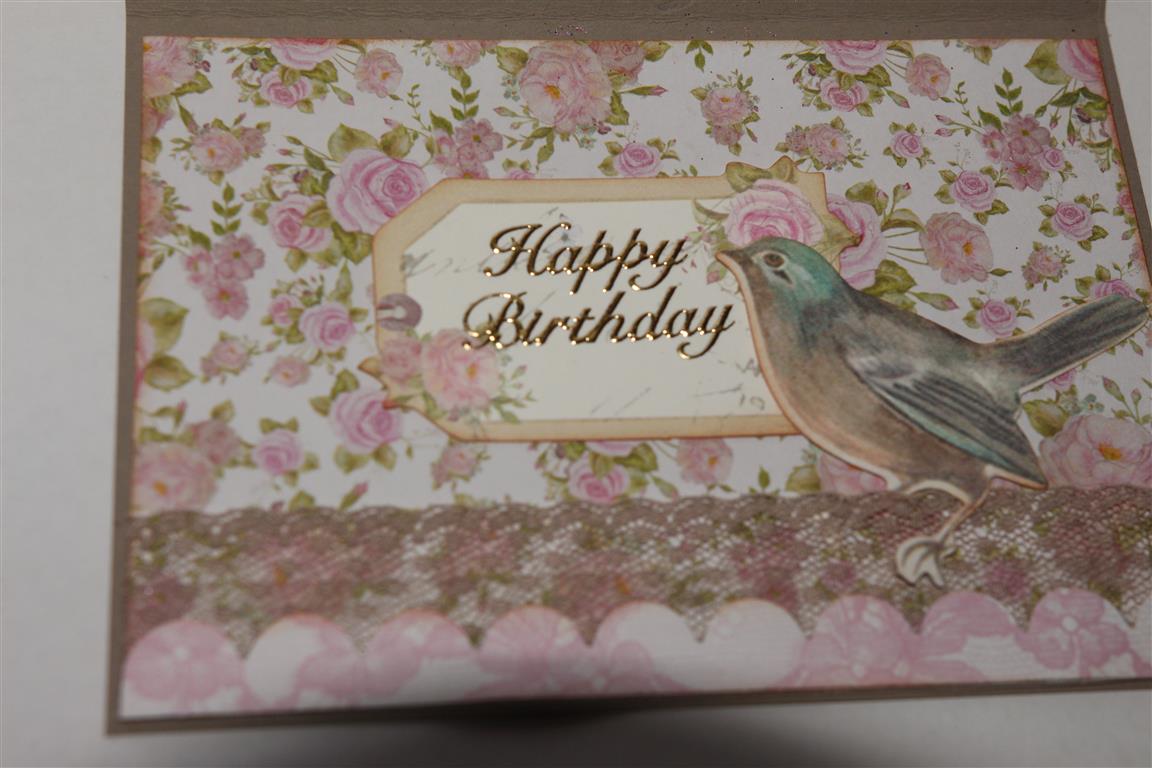 For one of my lessons at paper flourish a little while ago I showed my ladies how to make these quick and easy rectangle aperture cards. The trick is to cut the paper to size, place on the card without gluing down and run the whole card front and paper through the die cutting machine at the same time, that way everything lines up perfectly when you come to stick it all down. I find it is easier to hold die , paper and card in place with a little repositional tape when running through the machine. For my card today i went one step further and slipped some acetate in between the paper and card before sticking everything down. I found this lovely printed Kaisercraft acetate while looking for my plain acetate and thought “perfect”! The second photo is the inside of the card. Some lovely stampin up lace, a collectable and tag , scalloped border from the paper pad…oh…This paper is Kaisercraft true Romance and another old favourite..you can see I am trying to work my way through all my papers…i am off to make another one of these because I really like the way it has turnedout, and may want to keep this one! Til tomorrow…
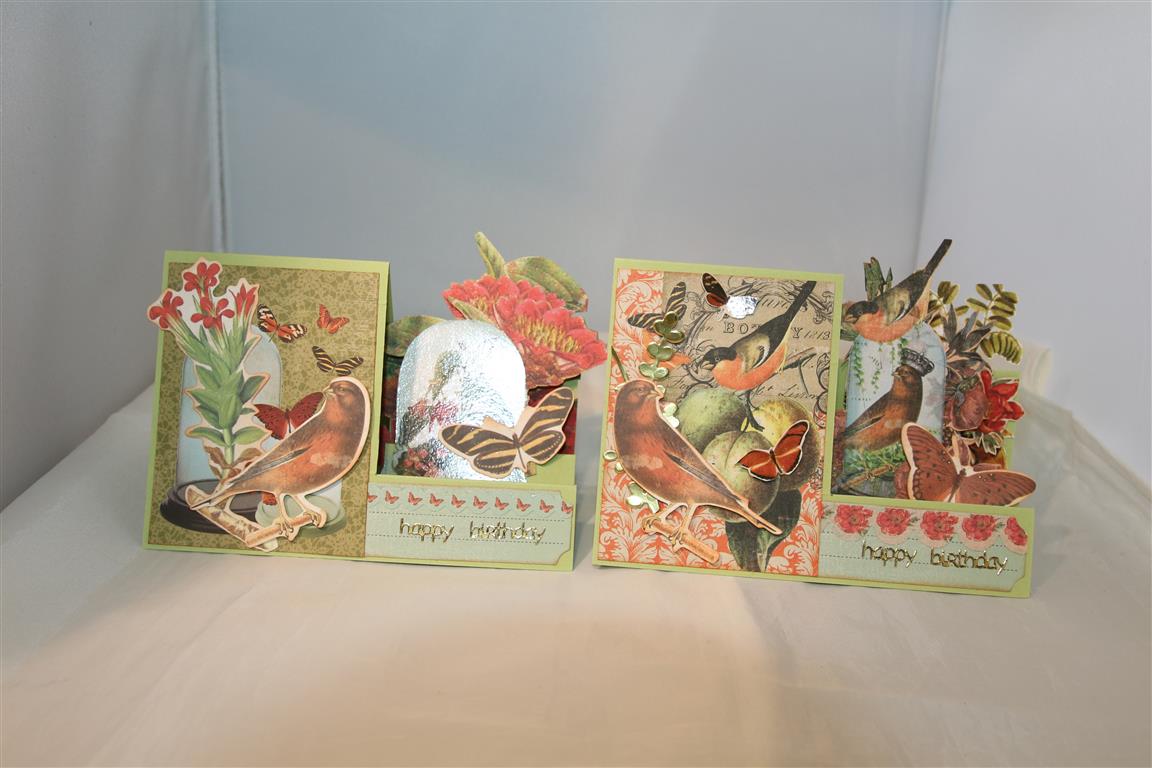
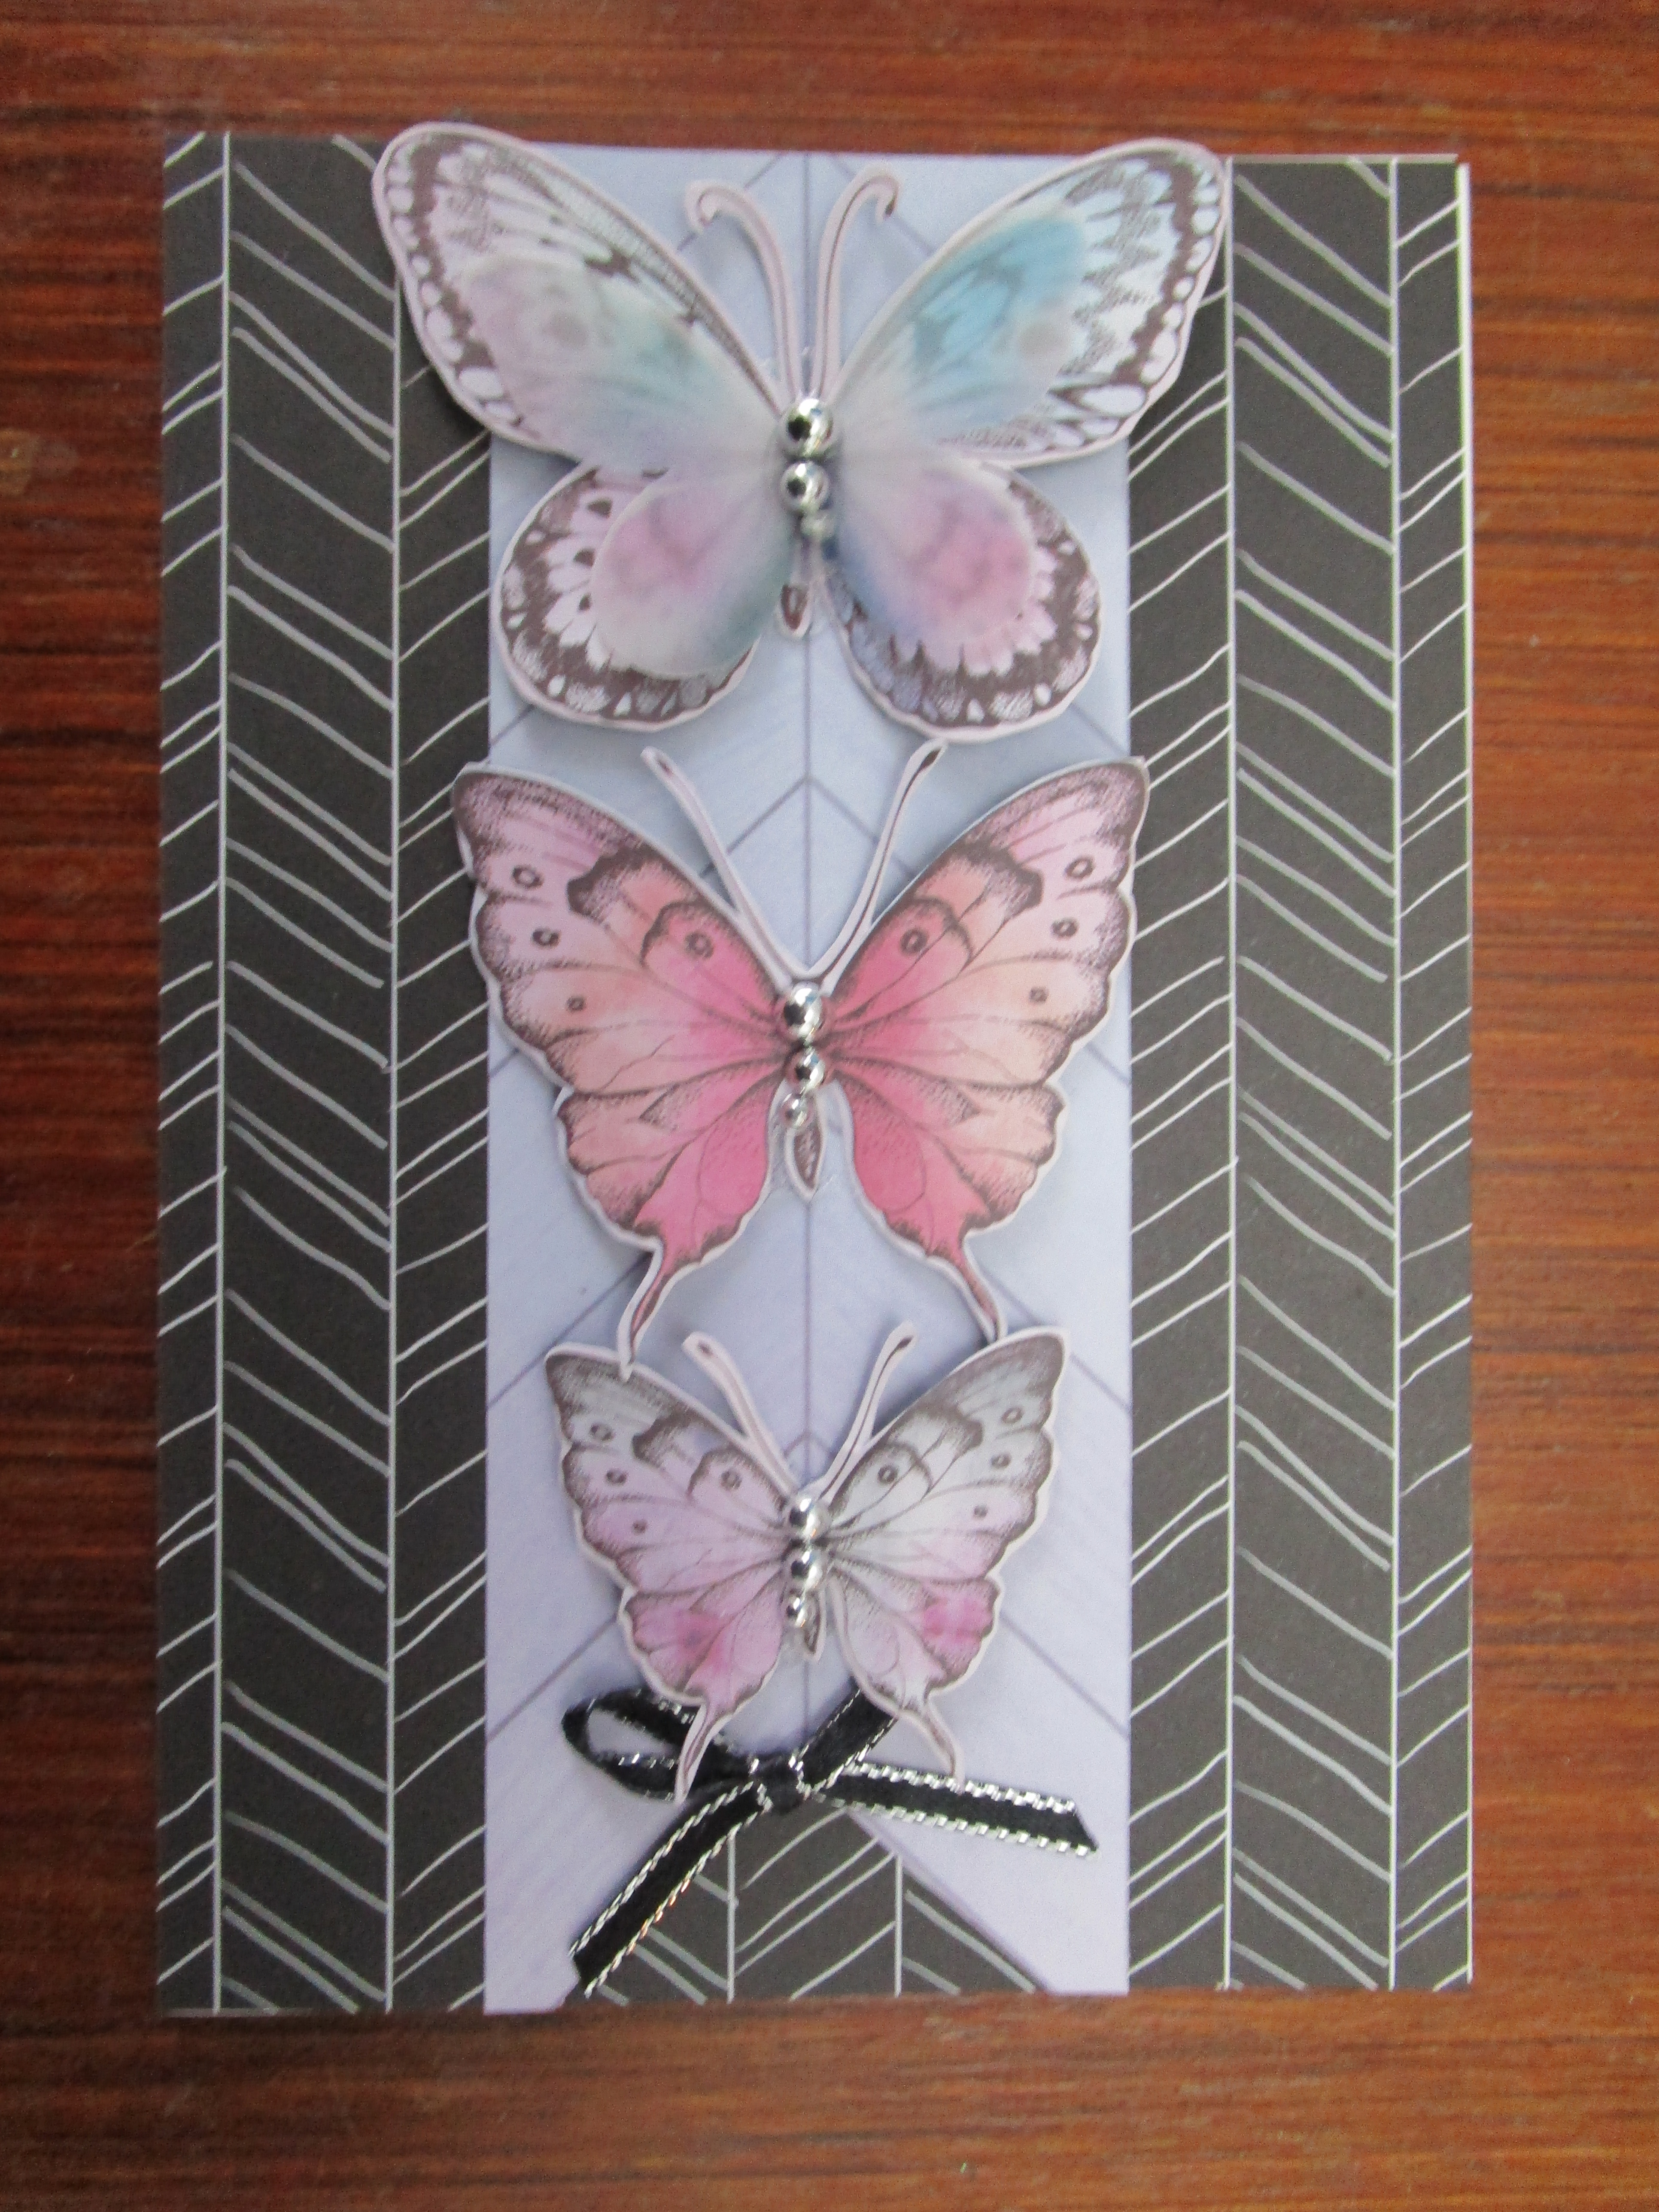
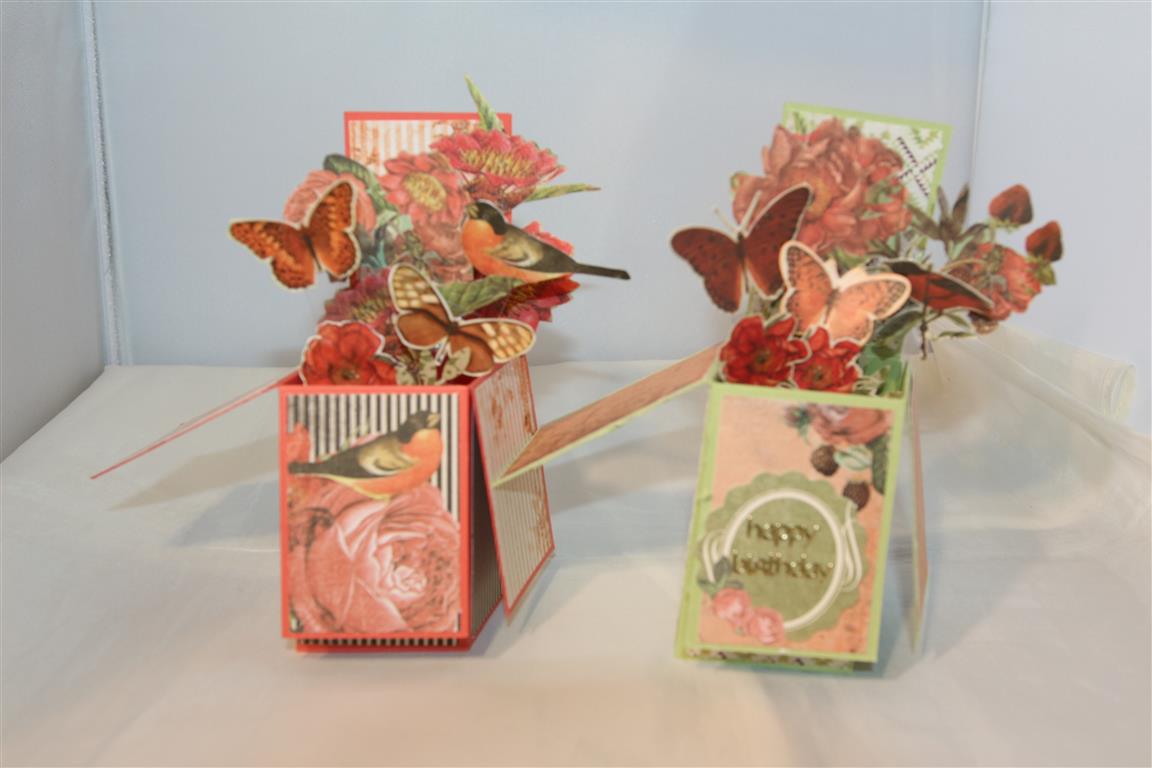 Every now and again I pull out an older paper range, in this case Kaisercraft Curiosity and do something a little different with it, or team it with new stamps and inks. For this group of cards I made shaped cards. I have done a you tube clip for the box card shape – I fiddled with the measurements so that it will fit in a standard envelope for posting. The link to the clip is on the right hand side of my blog. I think I have done one for the stepper card as well… must check,if not I will get on to that! For the decorating, all was done with just the papers with a bit of fussy cutting and a couple of the matching collectables.A day off today, but a very busy morning, looking forward to a couple of hours relaxing in the craft room! til tomorrow….
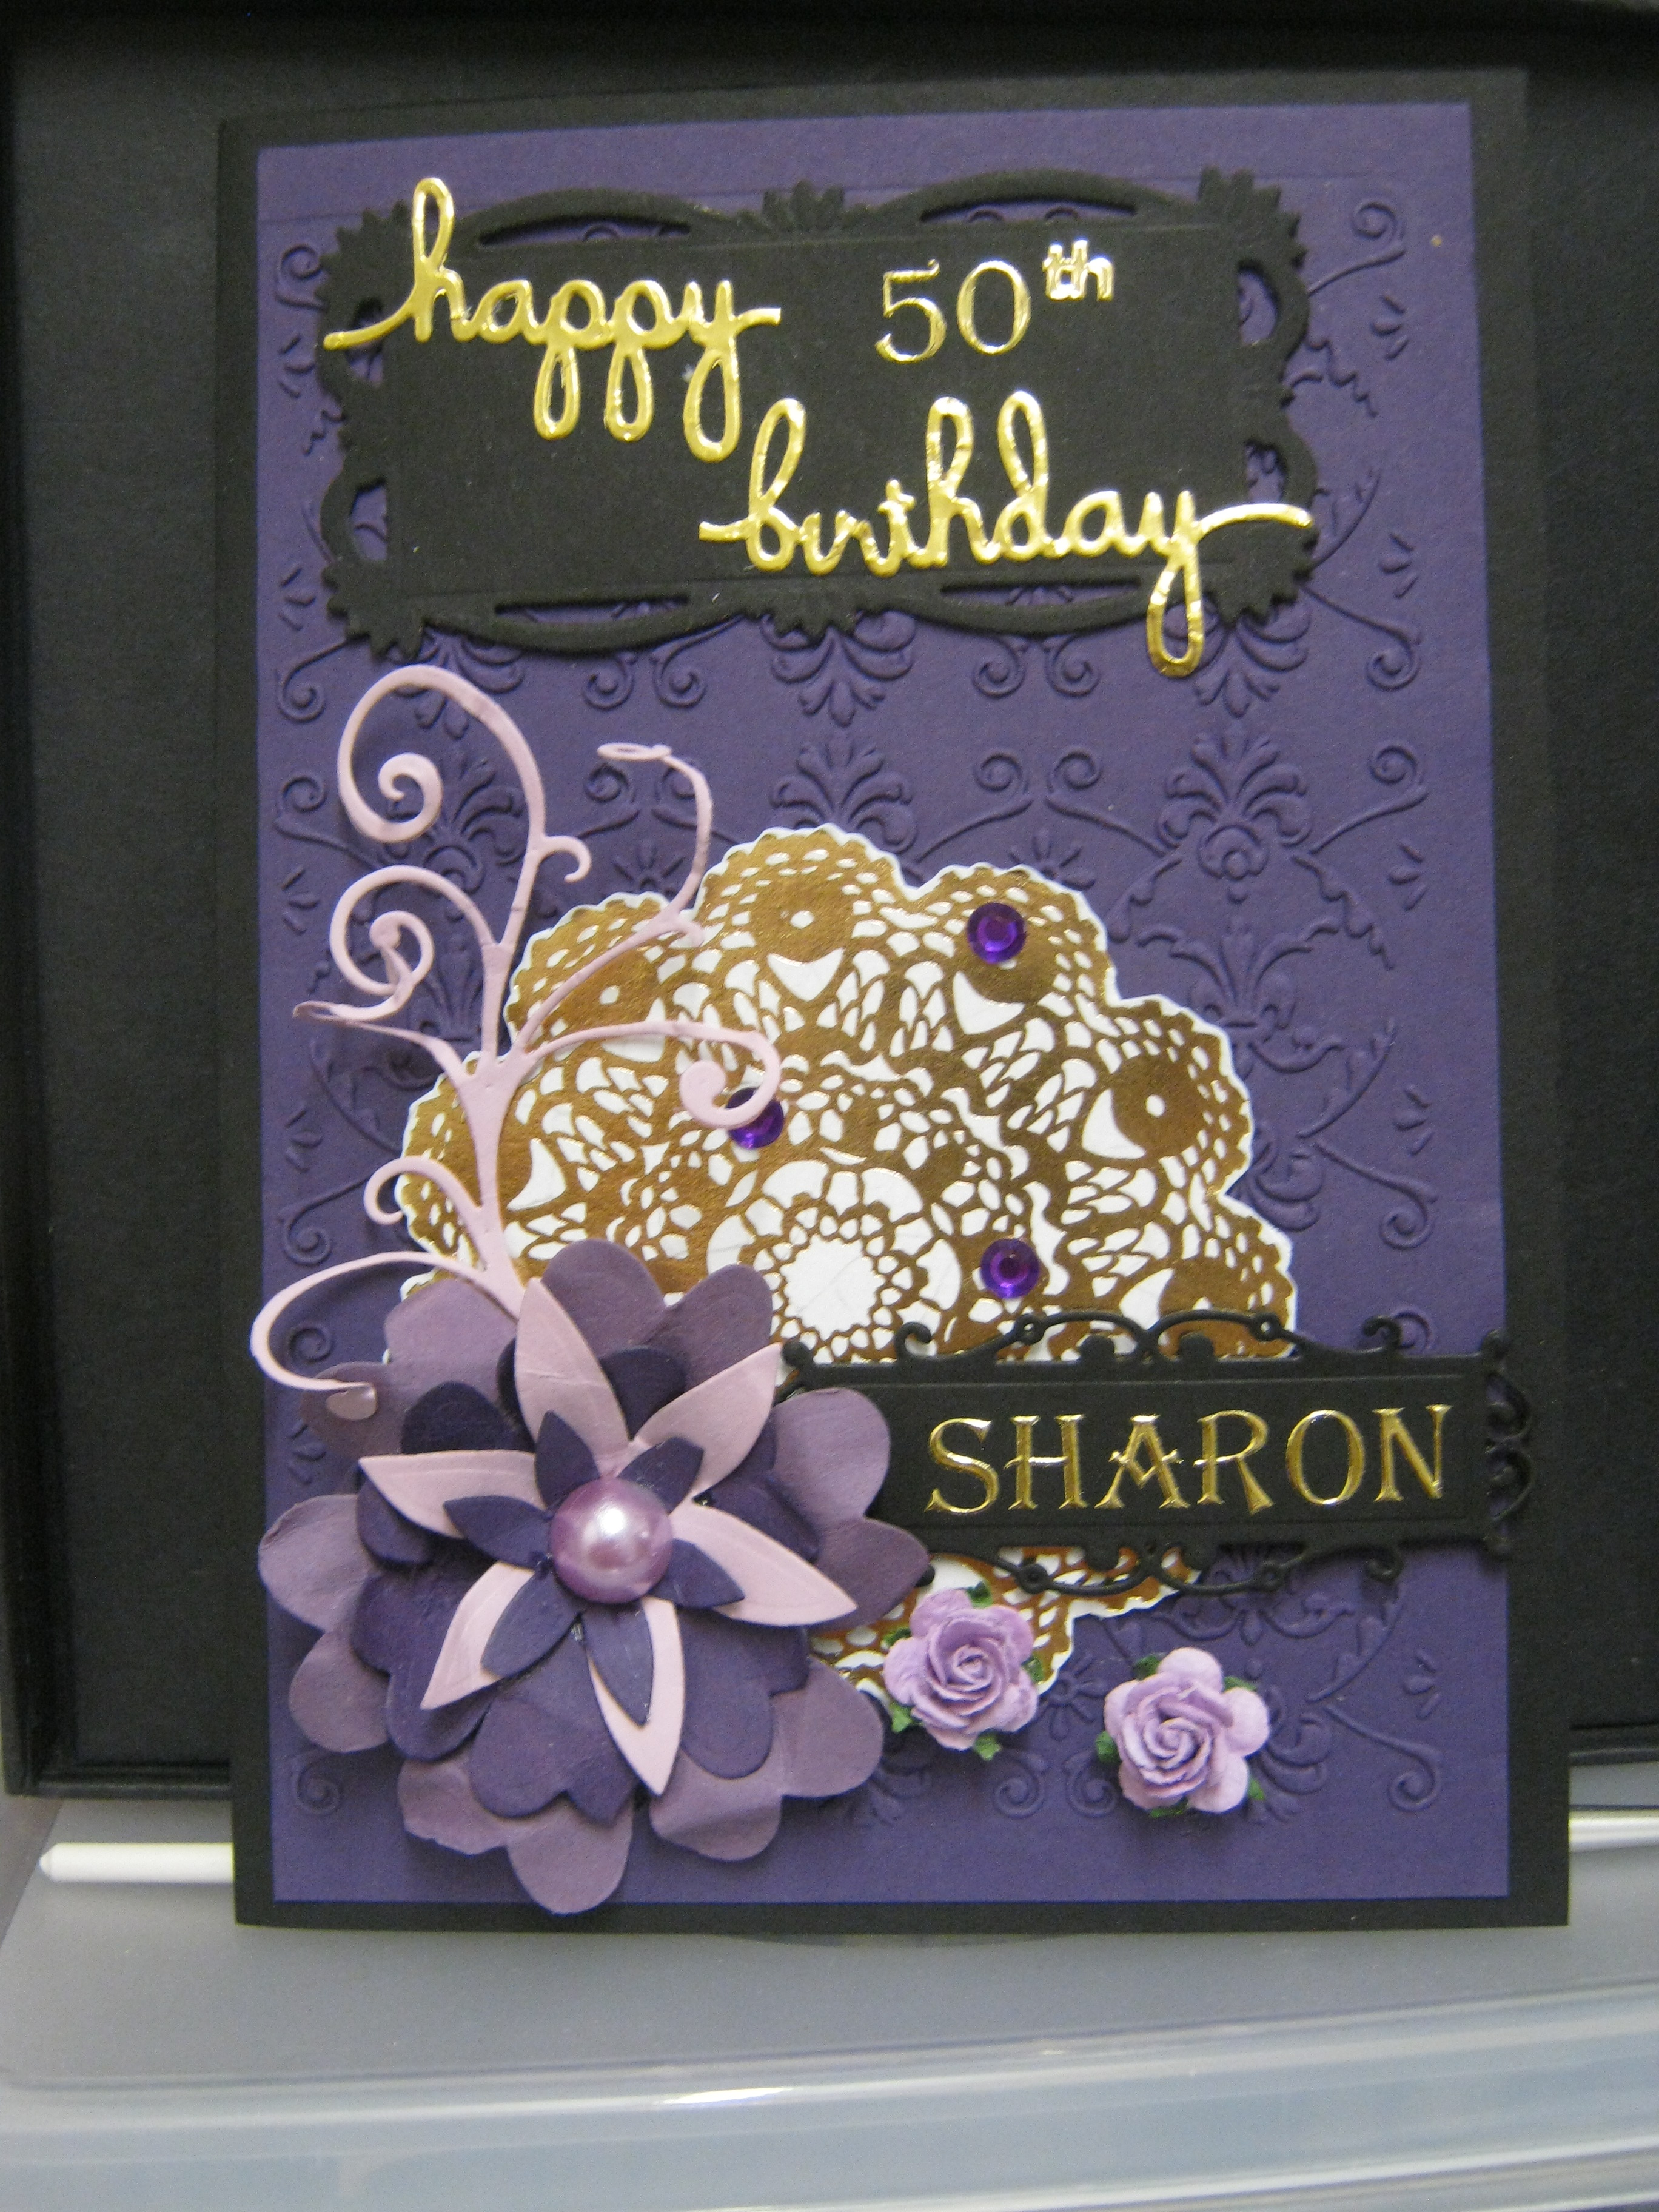 Recently I had an order for a purple birthday card, so I teamed it with black and gold , and got to work with the big shot and a variety of dies…kaisercraft layered flowers,magnolia flourish, and spellbinders for the sentiment and tags. The gold foiled doily was from a kaisercraft paper range,embossing folder was an older stampin up one, and the cardstock was also stampin up.I cheated and used gold letter stickers for the message.Til tomorrow….
