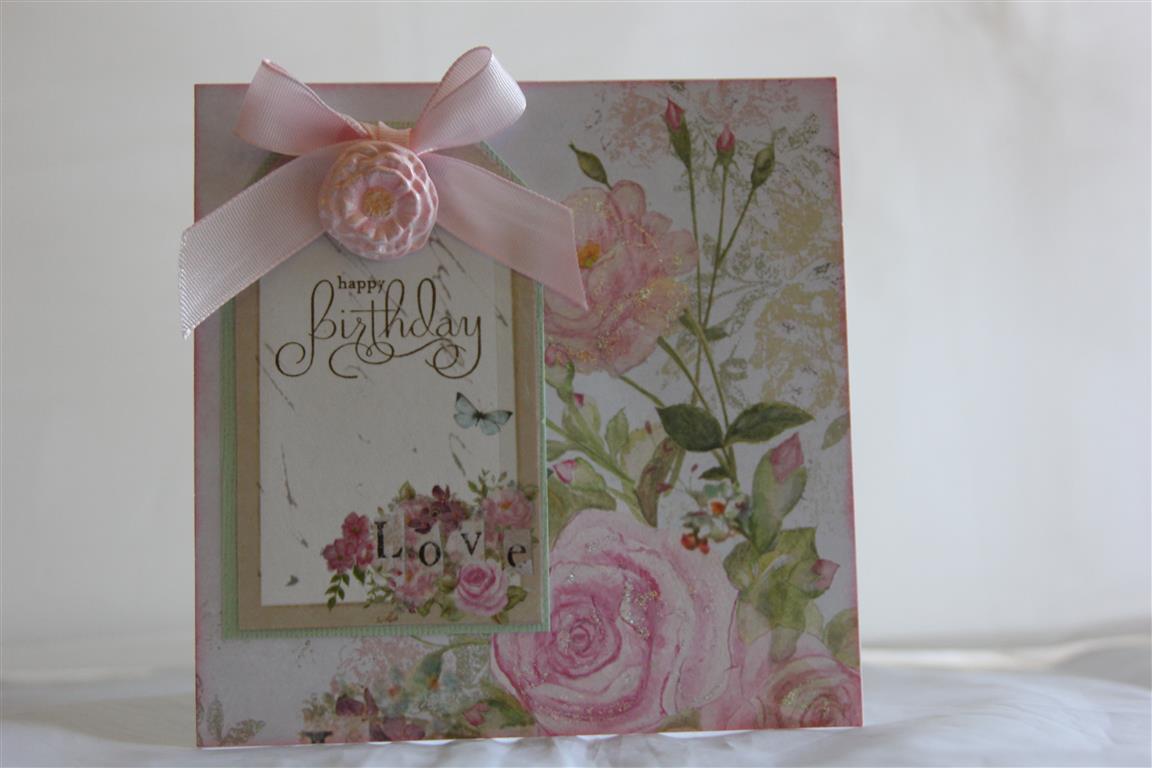
 For these two cards i used one of the 12 x 12 sheets from the Kaisercraft True romance collection to cover my card bases, and the tags are from a sheet from the same collection – this sheet was great it was full of tags!. On the top card i did some fussy cutting to decorate, and for the card above I just added a big bow and a resin flower which I made – Stampin Up have clay and moulds now, and my sister, mum and i spent an enjoyable Saturday afternoon trying out different ways to colour them. My favourite technique was to sponge with ink, colour with a versamark pen an( thats to make the next step stick) and brush on perfect pearl powders. I love the subtle vintage finish. Til tomorrow….
Tag: easy cards to make
true romance 3 and 4

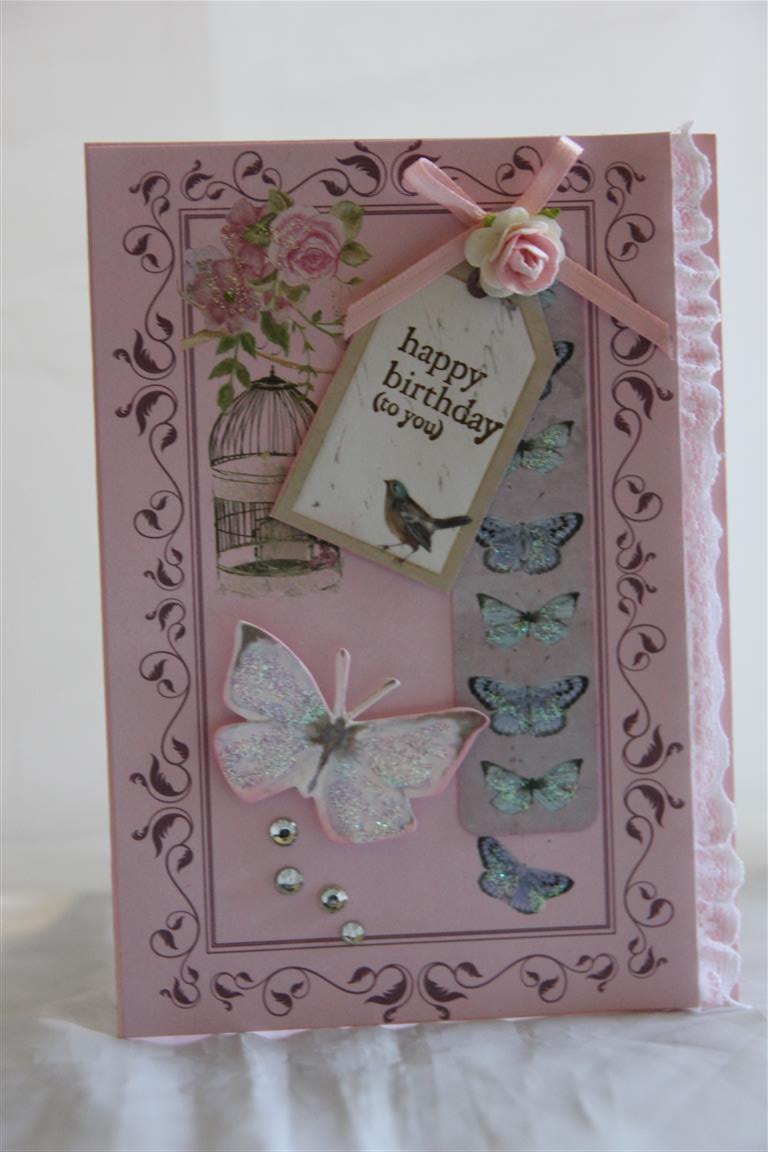
 These two cards are made with Kaisercraft True Romance – the 6″ paper pad, and some fussy cutting from a couple of the 12 x 12 sheets.I added a delicate ribbon bow, lace,and some Kaisercraft pearls to finish. The sentiment stamps are from Stampin Up.The top ard uses some of the colectables from the matching pack.Must go before dinner is cooked to a crisp! Til tomorrow….
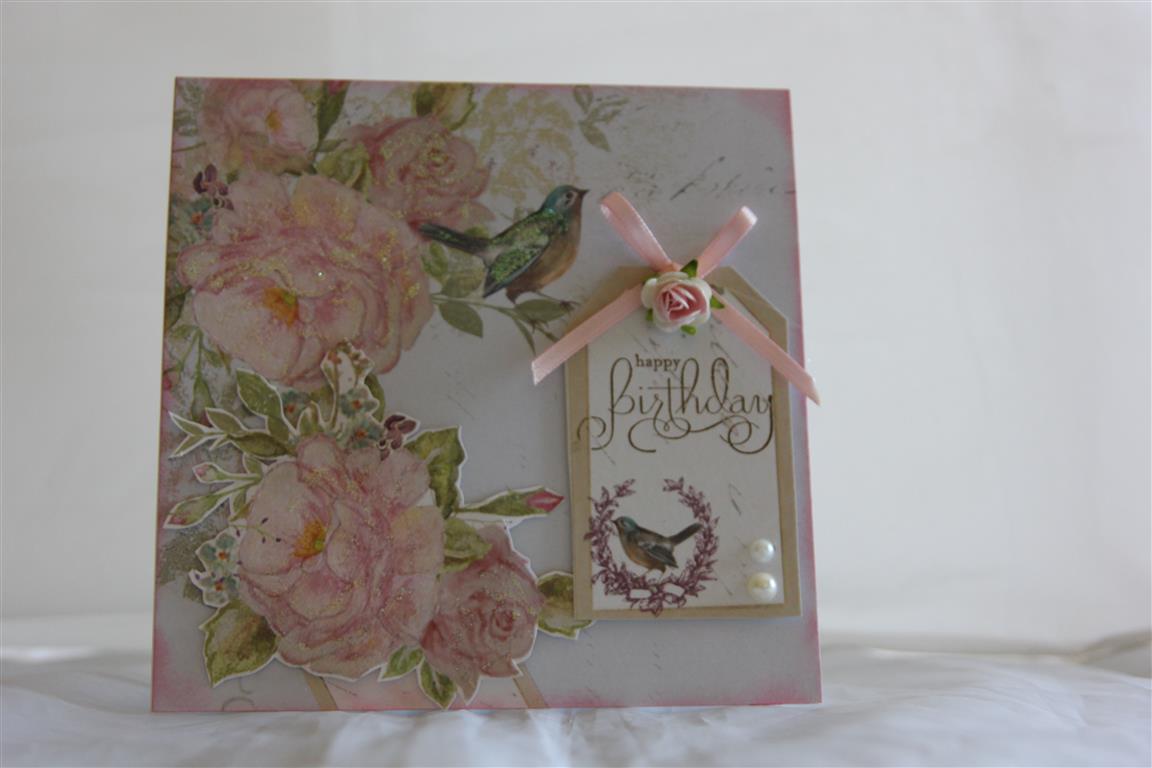
Kaisercraft true Romance number 1 and 2..
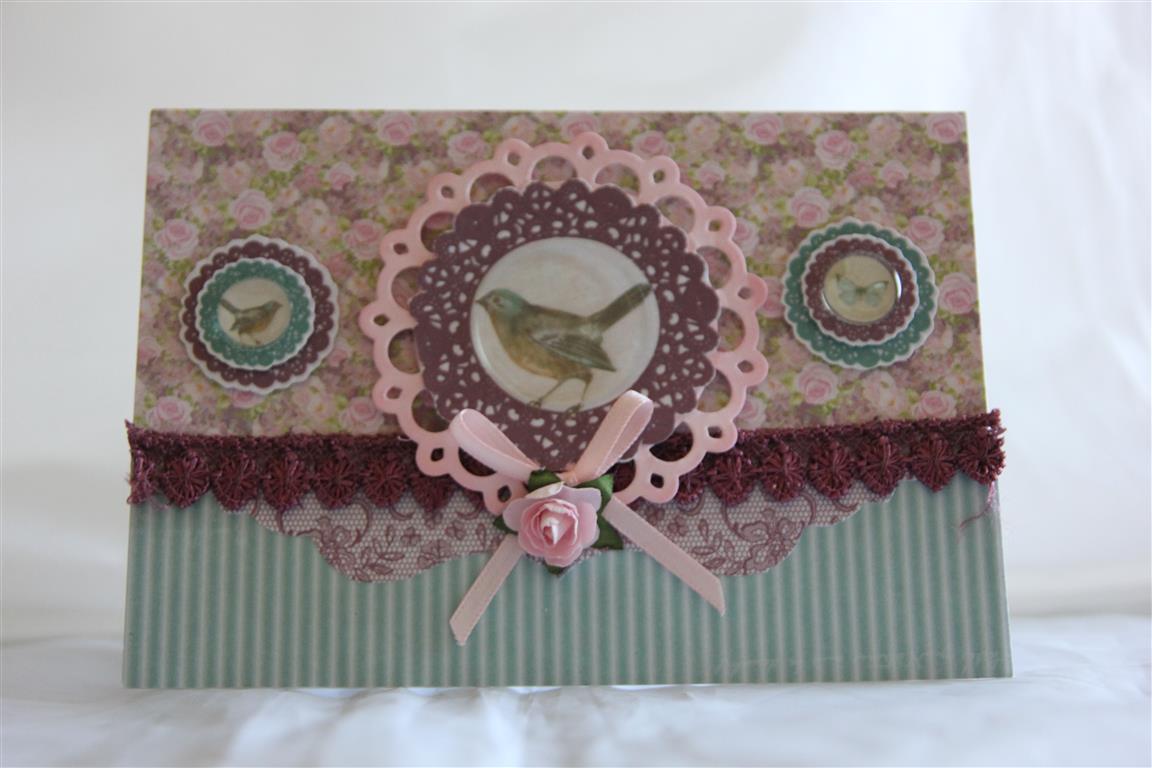 This set of cards are made using Kaisercraft True Romance paper collection by Kaisercraft. I love this paper, and have made many many cards with it – I can’t believe these are the first I have posted – this is how far behind I am in the whole posting thing! The card just above makes use of some clear dome stickers stuck over the top of the little images which I cut out of some of the paper in the 6″ pad.The die used is spellbinders Picot circles, and added lace, ribbon and a flower to finish.til tomorrow….
Two cards tonight!
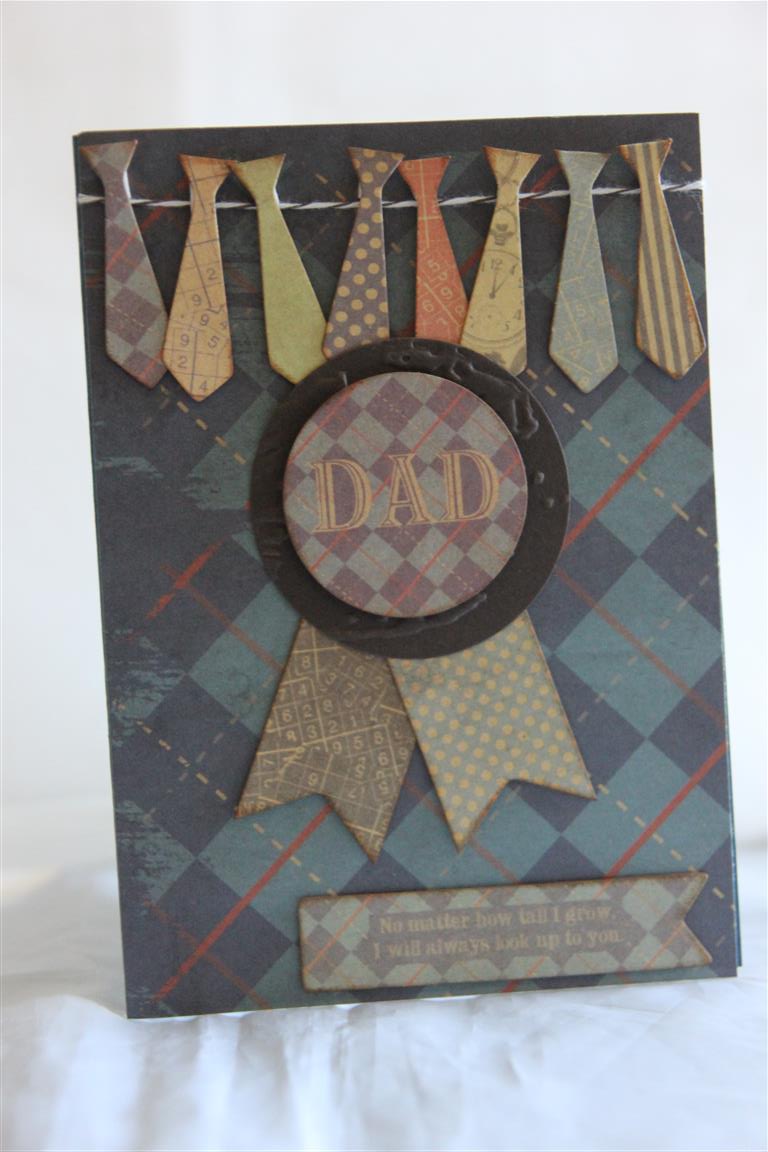
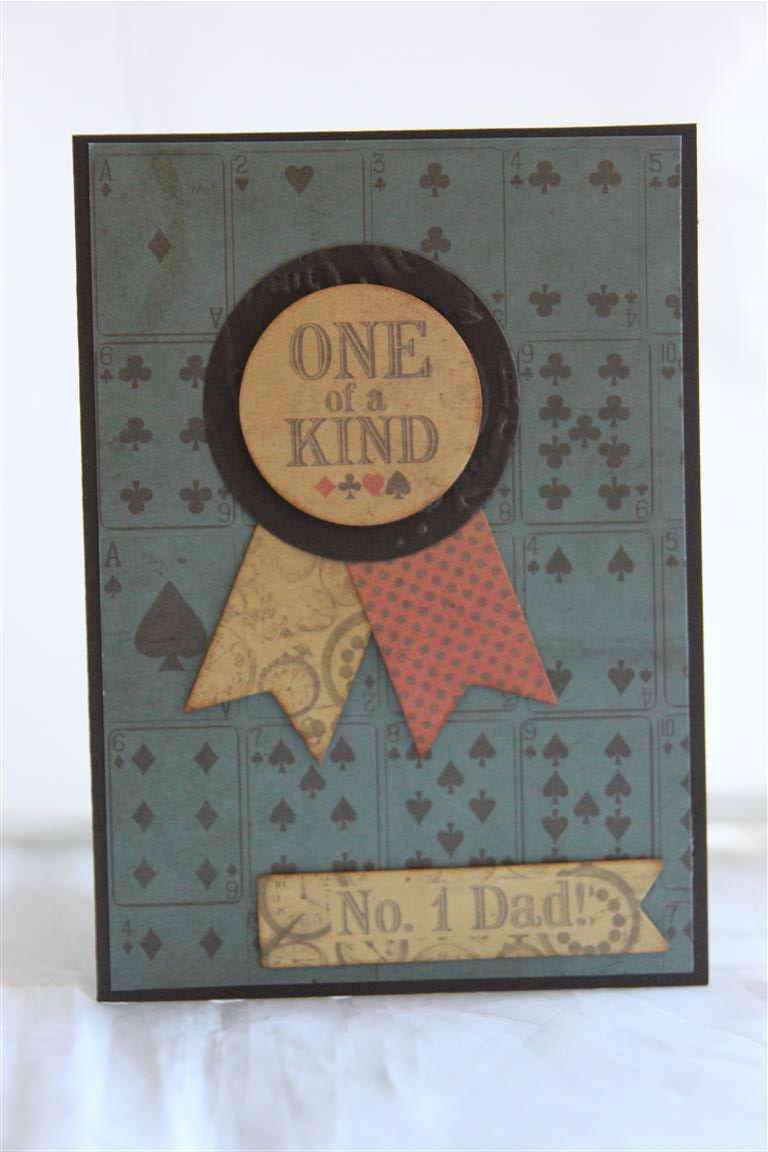 Due to all the posts i have missed because of the loss of our internet over the last few weeks, I have a back log of cards to show, so for the next week or so I will post a couple each night to try and catch up, so tonight we have two cards i made using Kaisercraft Sears and son paper and matching collectables.Both these cards have the same theme -of using the collectables to make a rosette, and I think it works quite well. I inked around all my edges with tea dye distress ink. I have made a few more christmas cards today, but I have to stop making for now and put in all the inserts – a bit boring, and a job that I seem to leave until I can’t ignore the pile any longer! Til tomorrow…
Kaisercraft Sears and son male cards
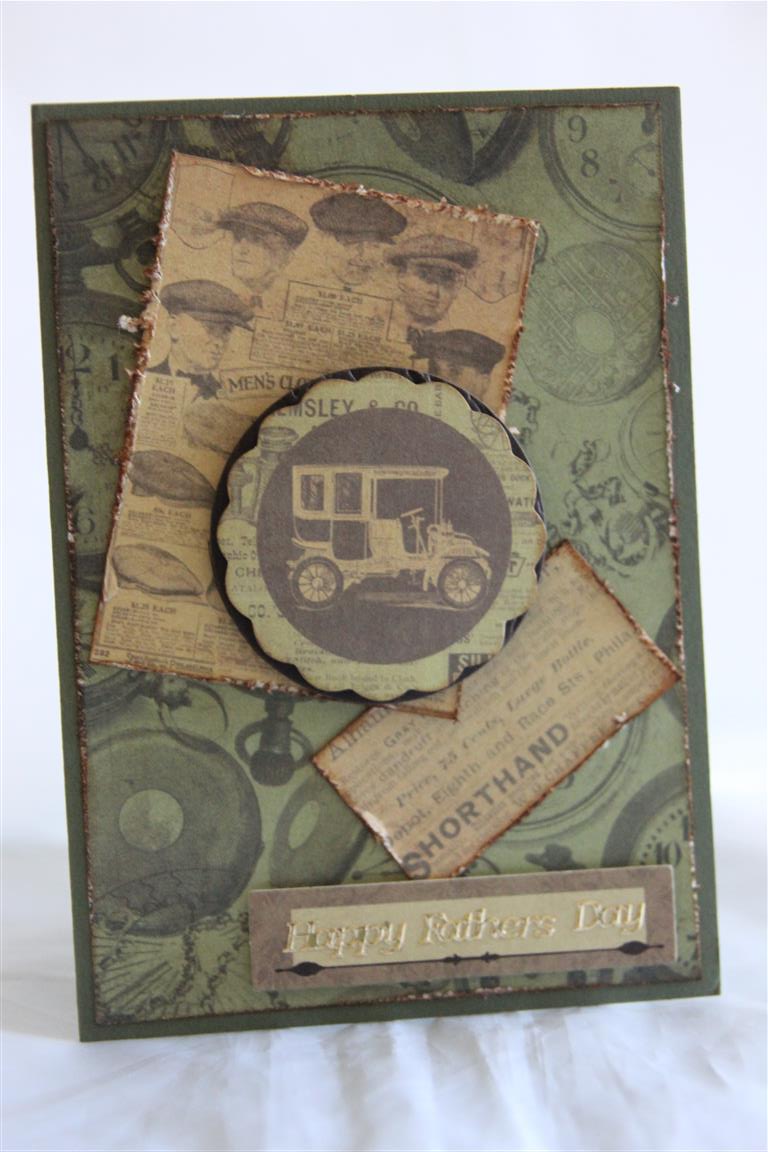 We will keep going with the ideas for male cards, this time using Kaisercraft Sears and son paper collection. This was one they released last year, but I haven’t found anything since that comes close to making good cards for men. This one uses a piece of the 12 x 12 paper, scraps of other matching papers, and one of the collectables out of the matching pack. I went to town on the distressing, and then inked around everything with Tea dye ink.It’s been a great day in the craft room today, I did a couple of cards for orders, just a couple more to do, and I did a couple of cards for various challenges, as well as digging out my graphic 45 french country papers and playing with that – that is still out on my table, so I am heading back there now to continue while the ideas are flowing! Til tomomorrow….
Countryside stamp set
 Here is a male birthday card I made using a stamp from Stampin Up – Countryside stamp set. i also made one very similar for fathers Day using this same stamp. The cardstock is Stampin Up Early espresso and a light green which has since been retired. I embossed the light green layer with Sizzix brick wall embossing folder, and added a button for some texture. The sentiment is from Itty Bitty Banners by stampin up. Today was the retirement village ladies Christmas card marathon for the troops, so I popped over there after work for a couple of hours – just in time for a lovely lunch, and was amazed at the display covering quite a few tables of the 300 cards they had made! Well done ladies – what an effort! Til tomorrow…..
Ruby Rocket number 3
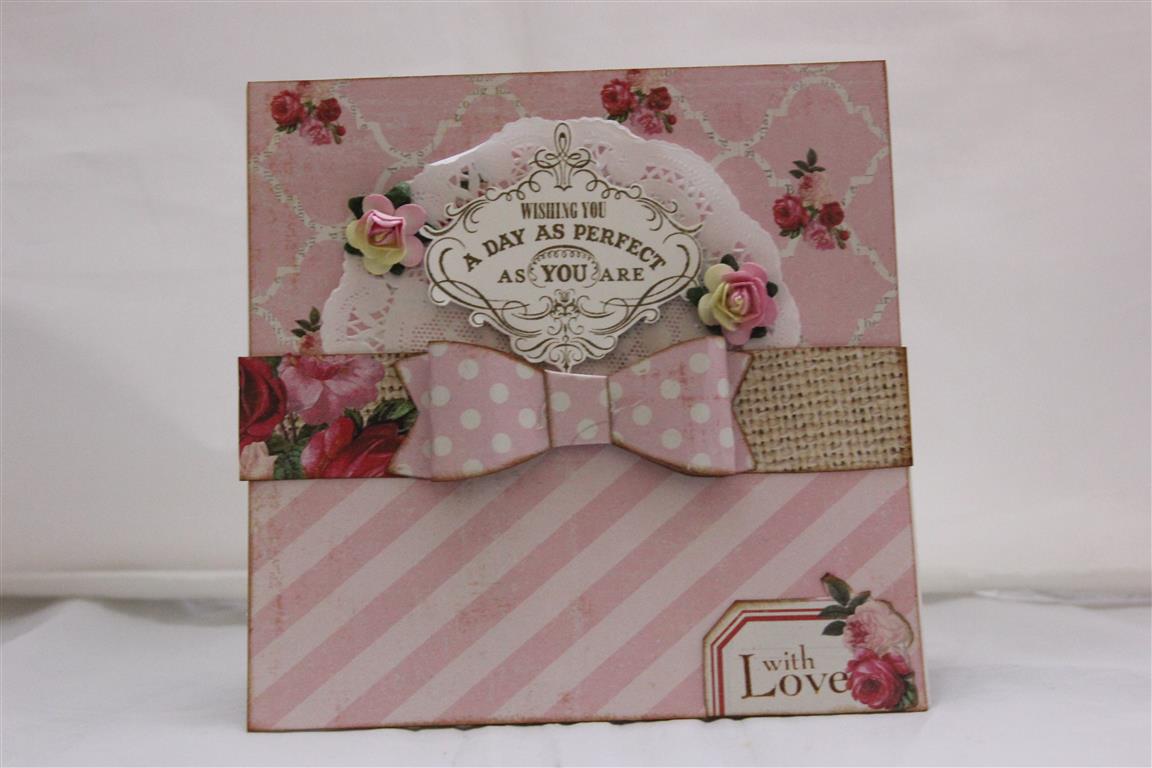 This is the last card that I made using Ruby Rocket Cook papers.Again I made a paper bow and inked around the edges with tea dye ink. I used a doily and the sentiment is from Stampin Up Vintage labels set. I added a couple of flowers and a bit of a tag from the papers to finish. Many distractions here just now, so hope this post makes sense1 Til tomorrow….
Ruby Rocket number 2
 I used all kinds o bits and pieces for this card – the papers are Ruby Rocket Cook, and I found some ( very old) ric rac in the bottom of my sewing box, some chipboard pieces that I think came off the front of a magazine as a freebie, a button and some thread, and I made a paper bow which I inked around with tim holtz tea dye ink. I really like the paper bow, and will be making more cards with these on them!All that was left to do was to add a flower, and stamp the sentiment.No cards tonight – after my evening out last night there are a few jobs to do around here , so Til tomorrow…..
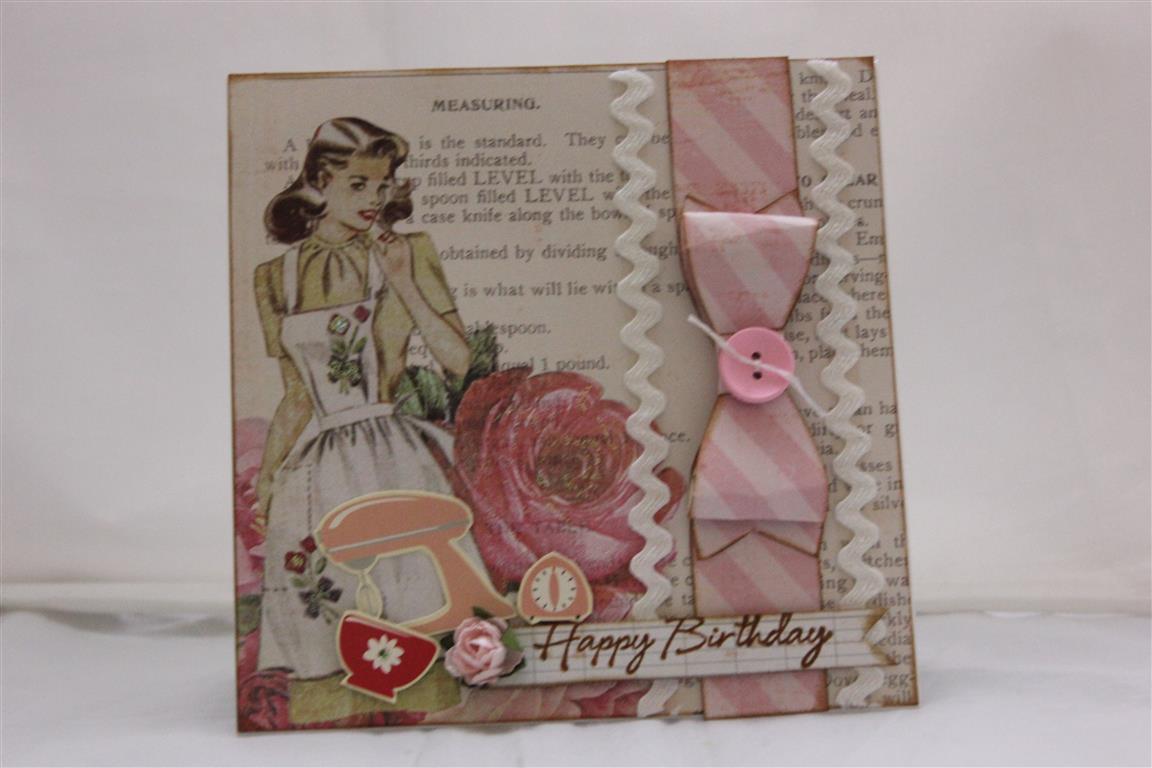
Ruby Rocket Cook number 1
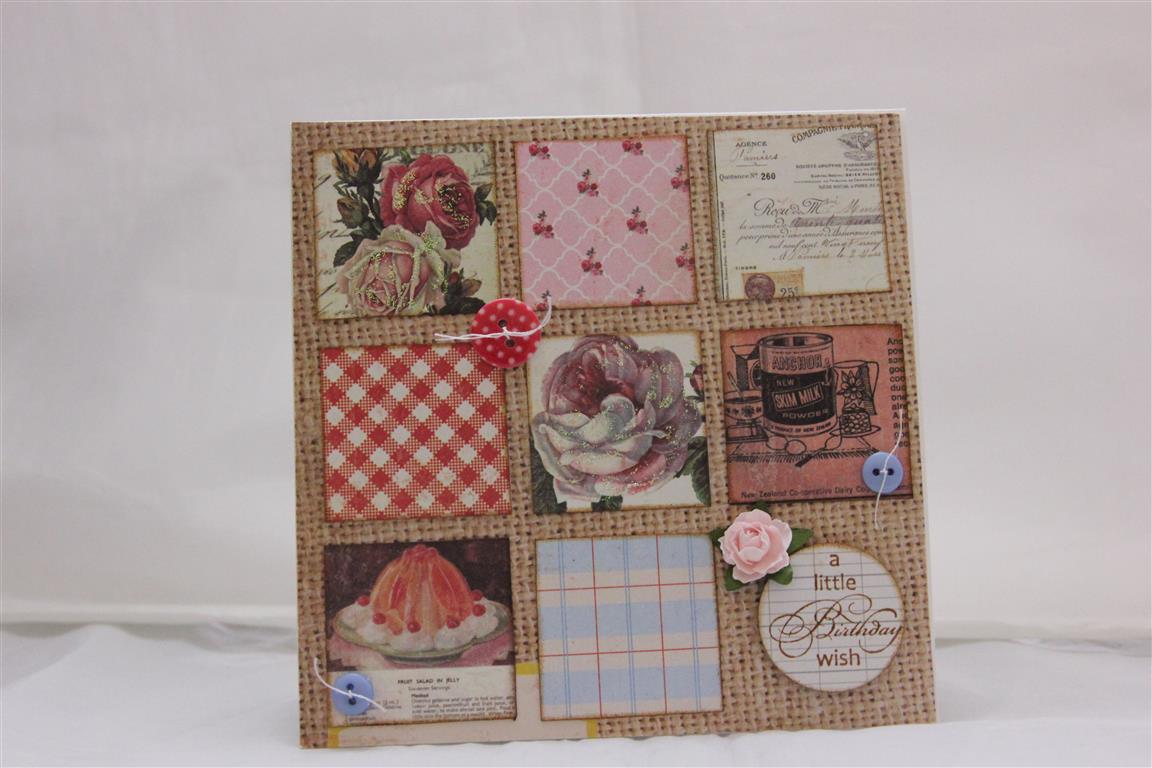 Tonights card is made with some paper that i picked up – Ruby Rocket Cook. I loved the homespun feel of this paper, and bought just a few sheets,and have made a few cards with it, with still plenty left for another time!For this first card I punched out squares from each of the papers, inked around the edges with tim holtz tea dye distress ink, and layered them on to another sheet of paper. I die cut a circle for the greeting, and added buttons and a flower to finish. Quick post tonight as I have a work function that I am attending, so must go and get organised. Til tomorrow….
Holly Bright 7 and 8
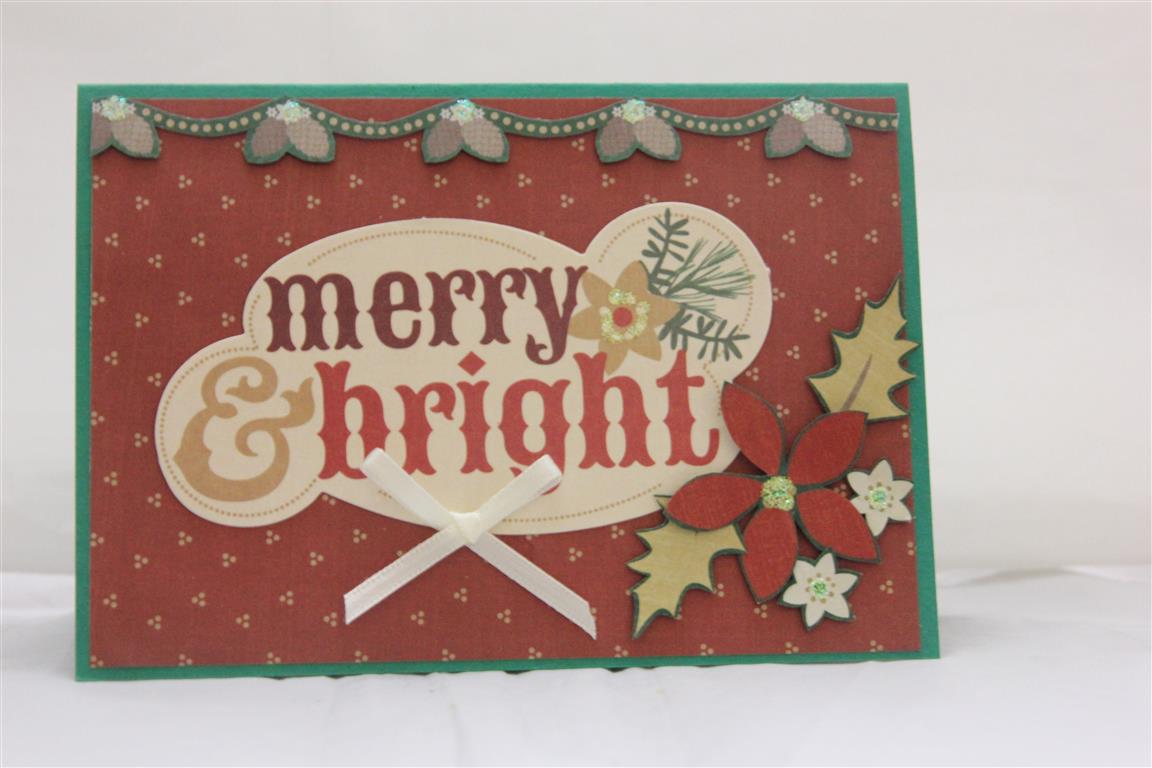
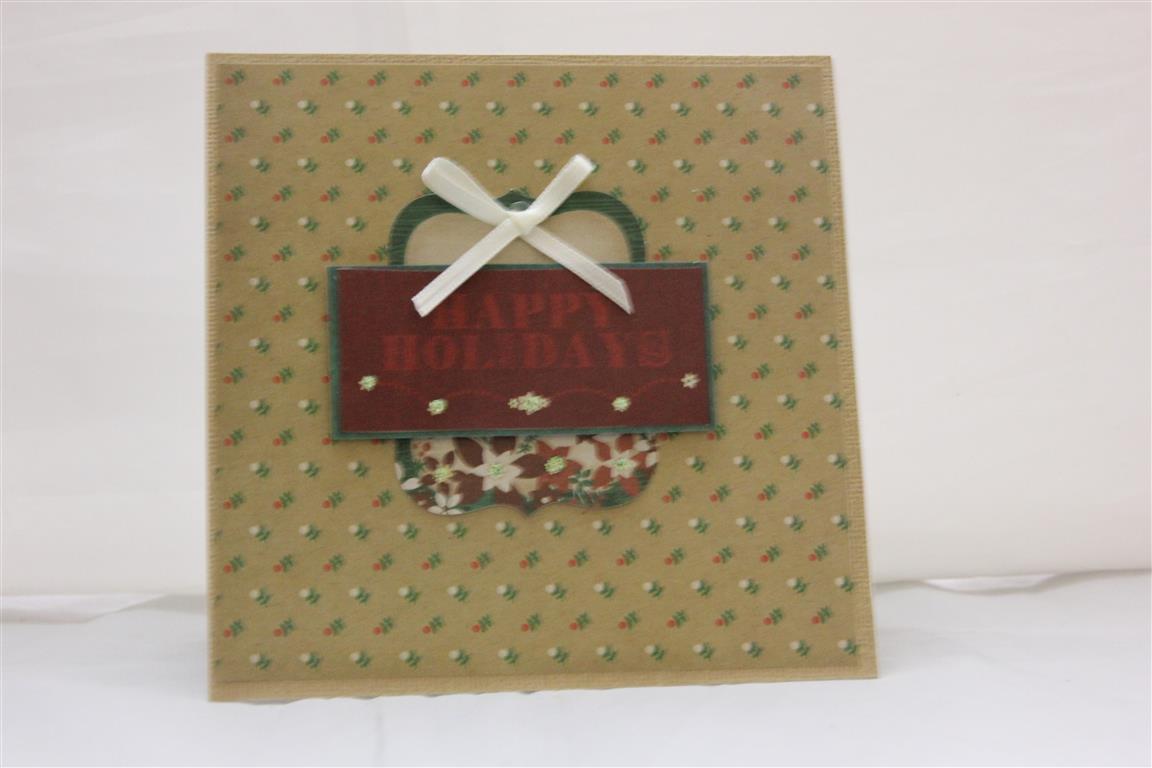 Our internet outage is over for now, so I thought I would post 2 cards today, we have had so many outages lately that I have a backlog of cards to post and I feel we have been on this series for long enough – so here are the last two cards in my Kaisercraft Holly Bright series. The card at the bottom uses a piece of paper from the 6″ pad for the background, a tag from the matching pack of collectables, and a greeting cut from the 12 x 12 paper that has greetings printed all over it. I just added a cream ribbon bow. The card on the top also has a sheet from the paper pad for the background, and I fussy cut the pine garland from a sheet of 12 x 12 paper, and also the flowers. the greeting is from the pack of collectables.Today in the craft room I have been jumping around from one project to another – too many ideas and not enough time! til tomorrow….
