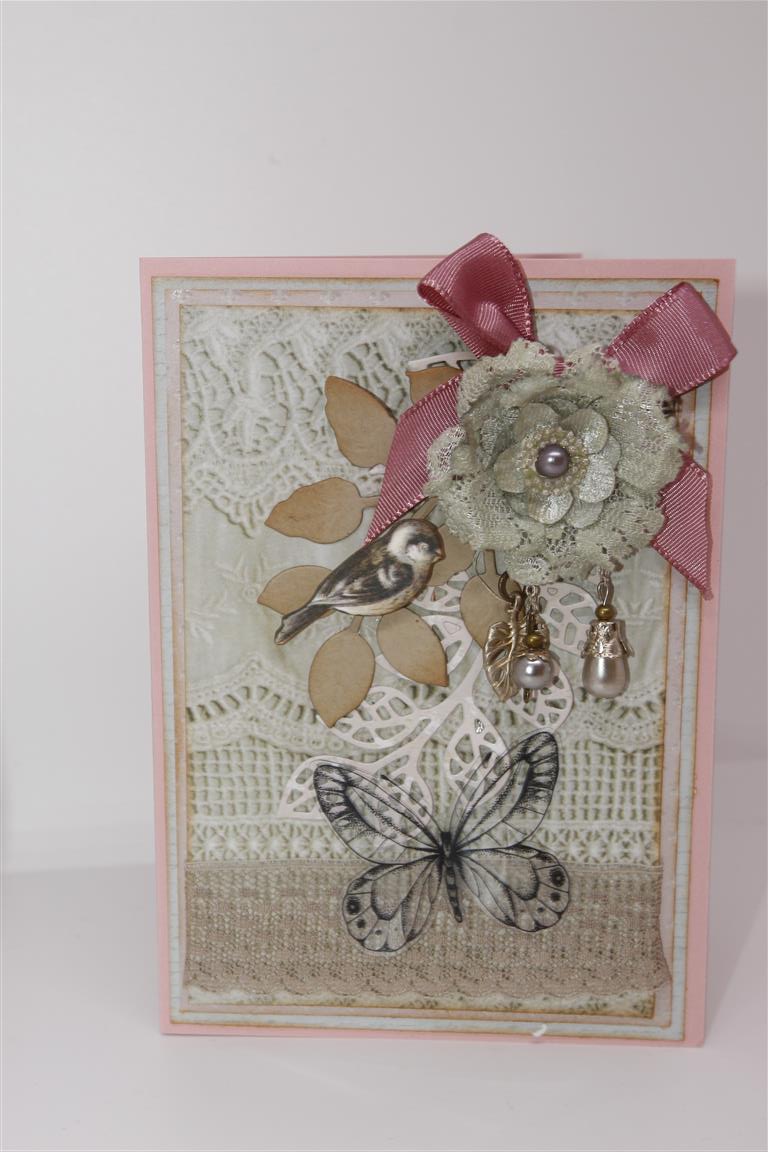
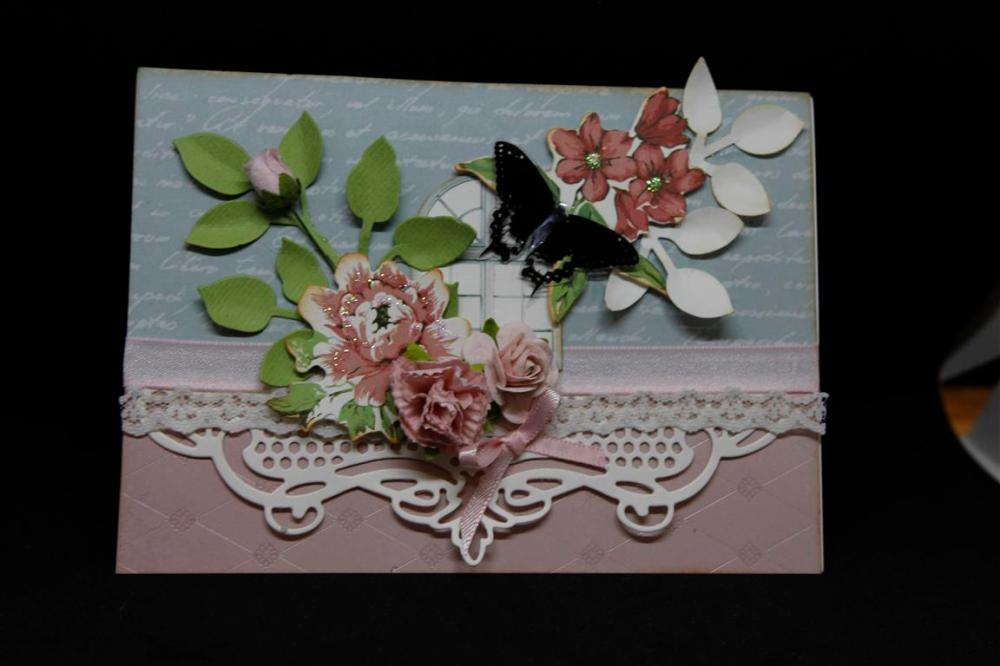
 I really haven’t had the time to play with this collection, but I have made a few for you to see. It’s the Kaisercraft Romantique collection and it lends itself beautifully to the whole Shabby Chic style, a style I will embrace once I get over the whole ripping my paper hang up I have!Here, I have layered a few of the 12 x 12 patterned papers, and fussy cut an acetate butterfly – in this collection there is a whole sheet of these butterflies and I love them! The leaves are die cut with creative expressions dies, and I inked around every edge with Tea Dye distress ink. I tied a big bow and on top of that I glued a Prima flower with dangly bits that I have been holding onto for ages! The top layer of patterned paper has a lacey print but at the bottom of it I added my own lace in a taupe colour ( Stampin Up lace). I hope everyone had a lovely Christmas break, with family and friends, I can’t believe that’s Christmas over for another year! we still have our son home for another few days before he flys back to Sydney next week so the celebrations continue on here ! Til tomorrow….
Tag: easy handmade card ideas
Merry Christmas, happy Holidays, and a safe new year…
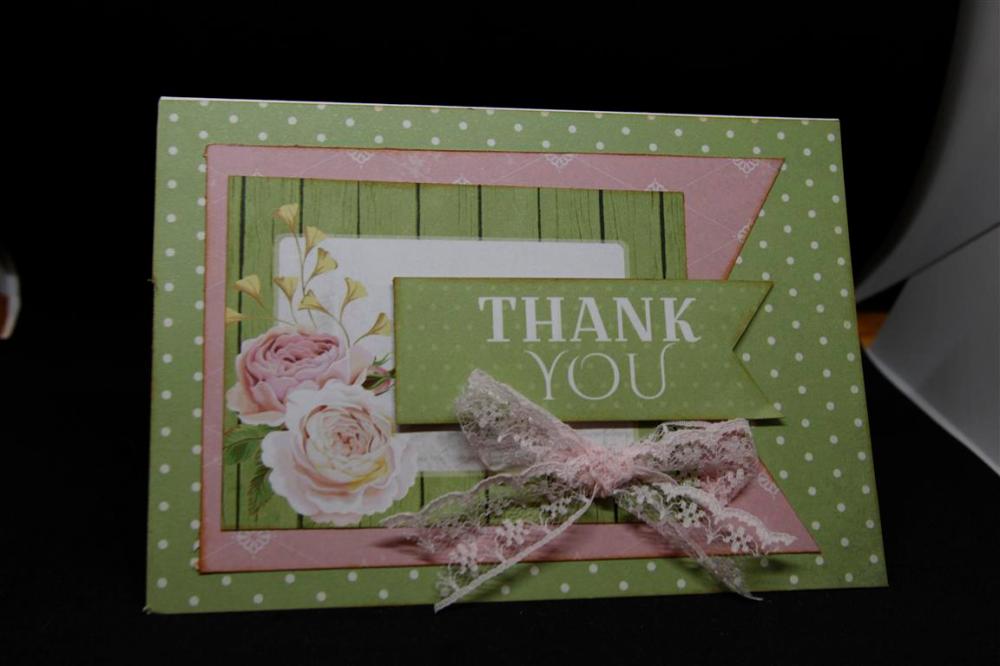

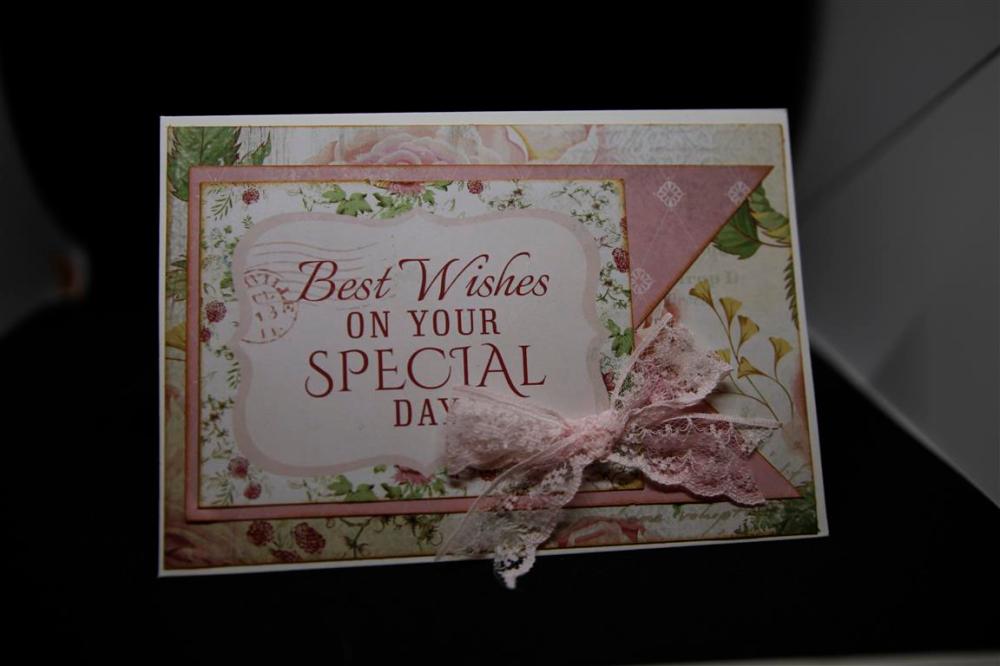 To all my regular visitors ( thank you!) and all my new friends, I wish you all a very happy holiday break with your loved ones and friends. I will take a short break over the festive season, but in the meantime today I have posted 3 very simple cards made with Kaisercraft Rose Avenue Papers. these cards are all made with 12 x 12 paper from the collection, and I actually designed them for a class I taught at paper Flourish a couple of months ago. The only embellishments on this group was some lace trim. I did ink around all my edges with Tea Dye distress ink. I will be back in a few days, meanwhile in this busy season find some time for yourself and enjoy creating! Love helen xx
Kaiser craft Rose Avenue 9…
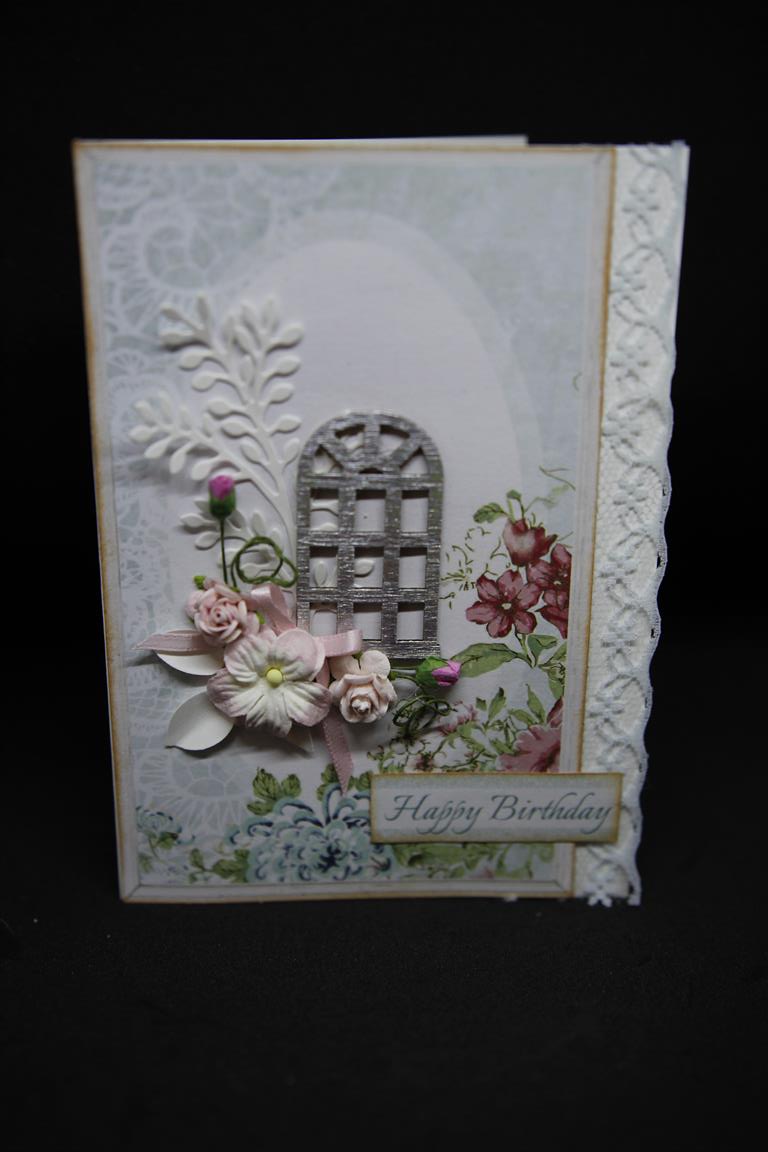
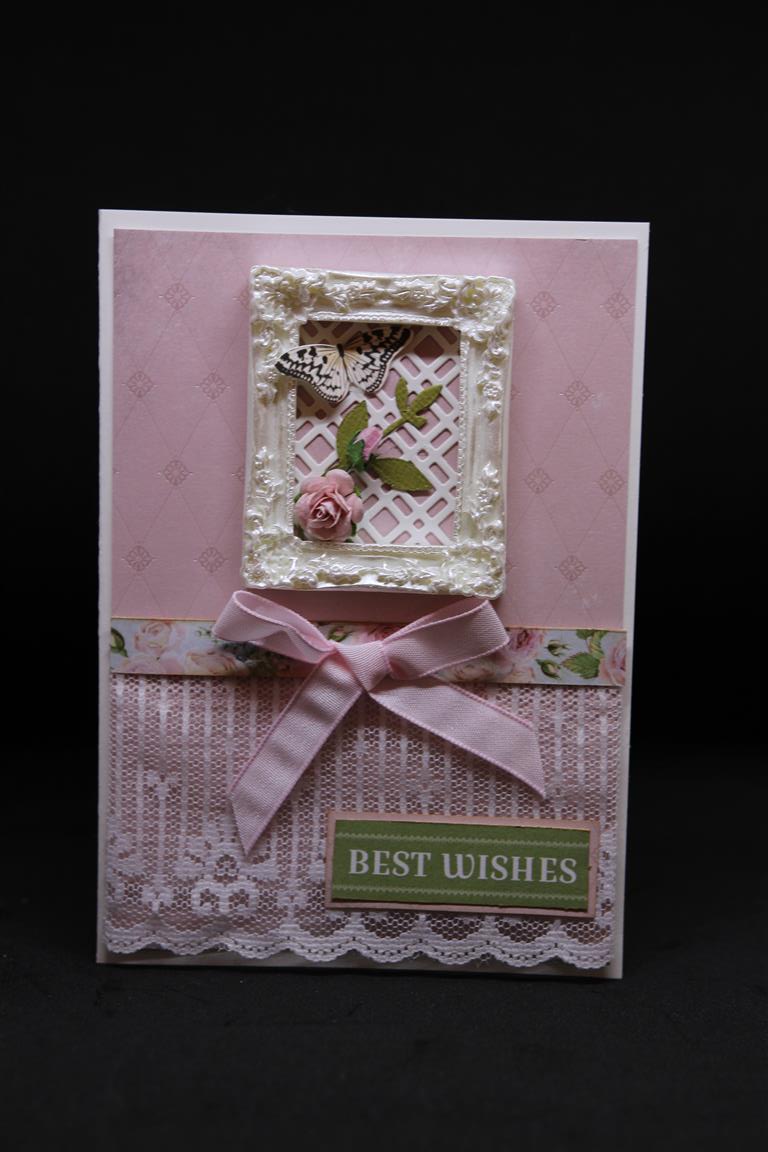 I only used a little of the kaisercraft Rose Avenue collection just as the background layer, ( from the 6 x 6 pad) and went over the top with the embellishing! I have some beautiful wide lace which I used here, the strip across the top of the lace is from the bottom of a 12 x 12 sheet of rose avenue paper( the identity strip that runs along the bottom), a ribbon bow, one of my resin frames…I am getting low on them now..must find out where I can get them from….I backed the resin frame with a little piece of a trellis die cut and decorated it with a couple of flowers, a die cut leaf and a butterfly from the rose avenue collectables pack. The greeting is from the 6″ pad backed with a scrap of patterned paper. This weekend is all about wrapping presents and quickly making some gift tags which I always seem to forget! Til tomorrow…..
Kaisercraft Rose Avenue 8…
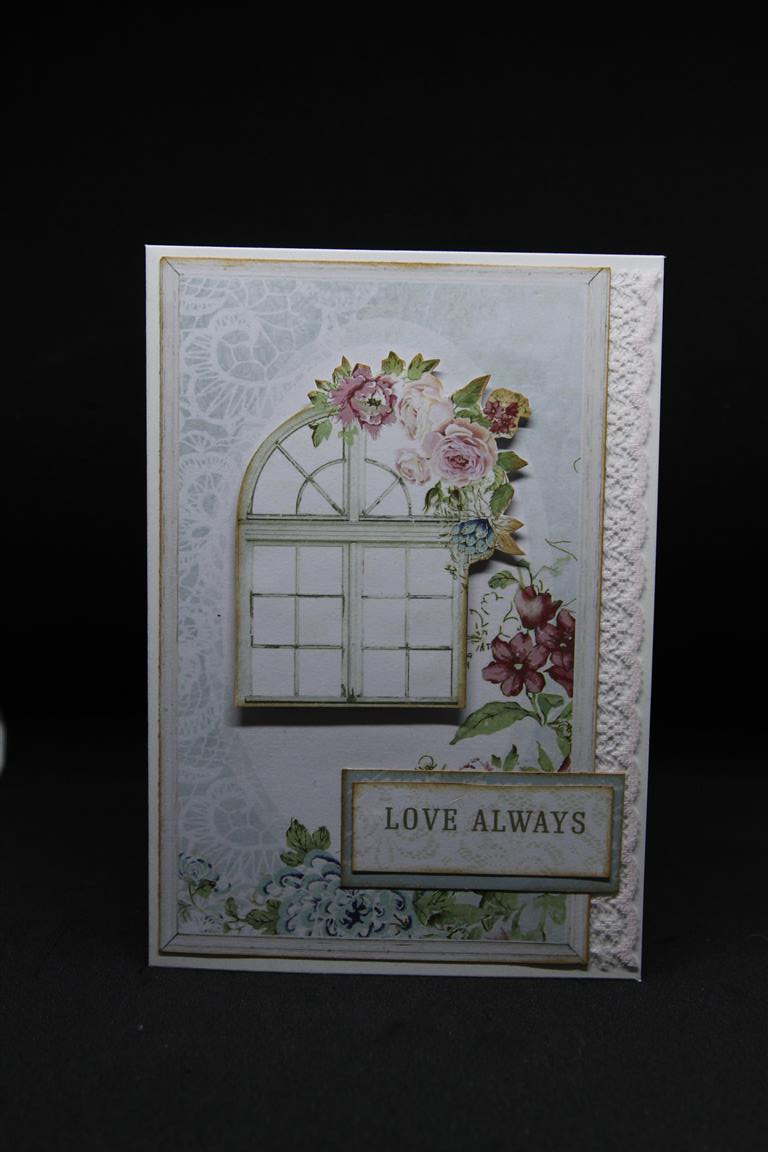
 We are back to Kaisercraft Rose Avenue, and on todays card I have used a piece of 12 x 12 paper, and trimmed it with lace. The arched window is a kaisercraft wooden piece which I foiled with the go press and foil machine. A couple of die cut leaves and some flowers and a sentiment from the 6″ pad to finish this simple card! A day off today, so I am going to do some creating while it is still relatively cool…it’s going to be 36 C today so by lunch time it will be a bit too hot to do anything but sit under the air conditioner! Til tomorrow…..
Go Press and Foil chipboard shapes…

For todays card I die cut a birdcage out of chipboard from a very old sizzix die that I had. I tried foiling normal cardstock but it is just a little too thin and requires lots and lots of shims, so I decided chipboard is the way to go!. I also foiled a kaisercraft bird wooden piece. The butterfly is just punched out of some foil cardstock I had.I die cut memory box lorelia leaf die, and added some flowers and a ribbon bow . The background papers are from kaisercraft Rose Avenue. Today is Nathans birthday so we are off out to celebrate! til tomorrow…..
Nuvo Glimmer Paste!!
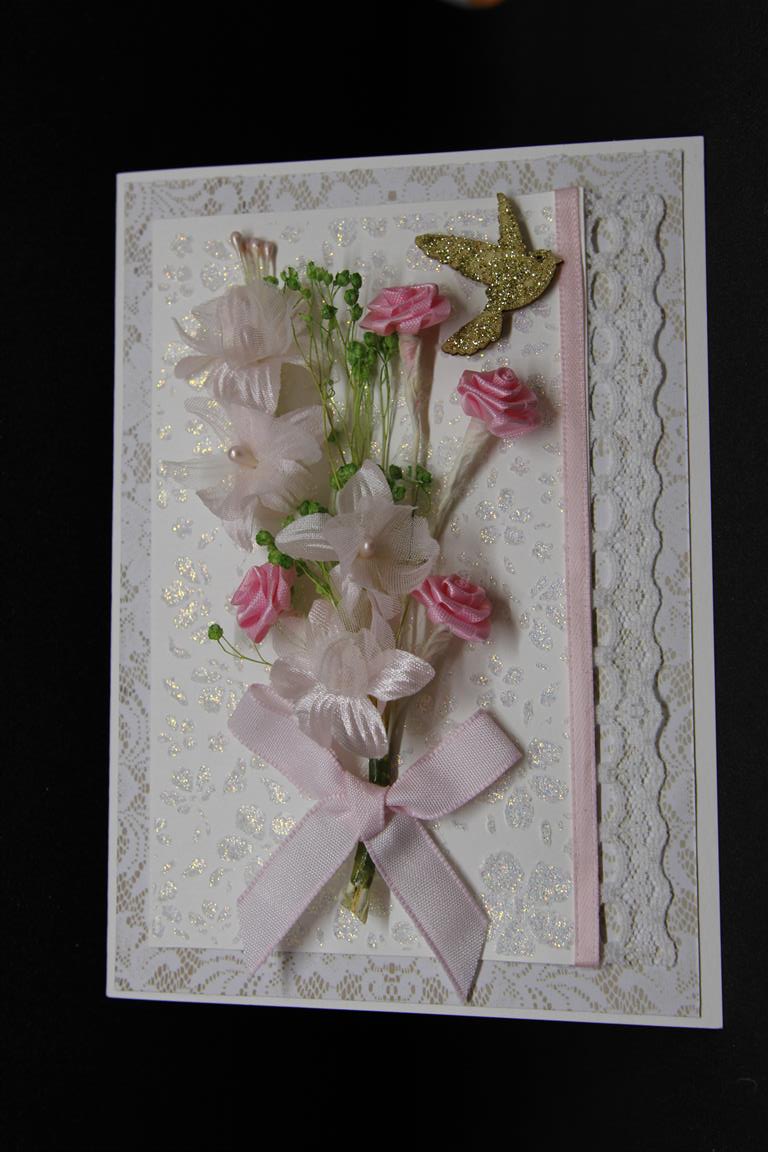 A couple of weeks ago we got some new Nuvo Glimmer Paste into the shop, and I couldn’t resist having a bit of a play with it!I used the clear glimmer paste and brushed it through a stencil to create the glittery background on this card. I love Glimmer paste! It is really shiny and glittery, and dries really quickly. I used the gold glimmer paste to paint the chipboard bird, and the background paper on this card is Kaisercraft Rose Avenue. I added flowers, ribbon and lace to finish. I thought I had finished my cruise cards this week but they asked for another class so I have been working on that and today I am off to the craft room to make a couple of birthday cards for upcoming birthdays. Til tomorrow…..
Kaisercraft Rose Avenue number 7
 Kaisercraft Rose Avenue papers from the 6″ pad, with the matching collectables,and an acetate butterfly that was found on my desk…I have used a couple of flowers, some lace and ribbon and I die cut a Kaisercraft border die. The green leaves are die cut with a Sue Wilson die and the white leaves are punched with a Stampin Up punch. To give the leaves some movement I used a flower shaper tool ( a tool with a little ball on the end and a new favourite tool for me!) to curl the leaves a little bit. Here we will take a little break from the Kaisercraft Rose Avenue collection and find something else to look at for a few days before coming back to it later …In the craft room I have been jumping from one thing to another, I seem to have lots of projects on the go, and my desk has disappeared under the weight of lots of on-going projects so it is time to organise myself!Til tomorrow…..
Kaisercraft Rose Avenue number 6..
 Todays card was actually one we did in one of my classes.The paper is a piece of the 12 x 12 patterned paper from the Kaisercraft Rose Avenue collection, and I just added a strip of lace down the side. I inked around all my edges with tea dye ink, and that was a nice quick card. I have finished work for the week, but I am really busy in the craft room.. I am teaching a fourth class in January so I am working on that, and the cruise I am teaching on in February want another class, making the grand total of classes on the cruise to 6, and with 2 different cards in each class and prep for a maximum of 36 people in each class. That has been a lot of die cutting etc we have prepared!Anyway, I will at least come up with the design for the last class this weekend and then gather all the supplies later! Til tomorrow…..
Go press and foil…chipboard die cuts..
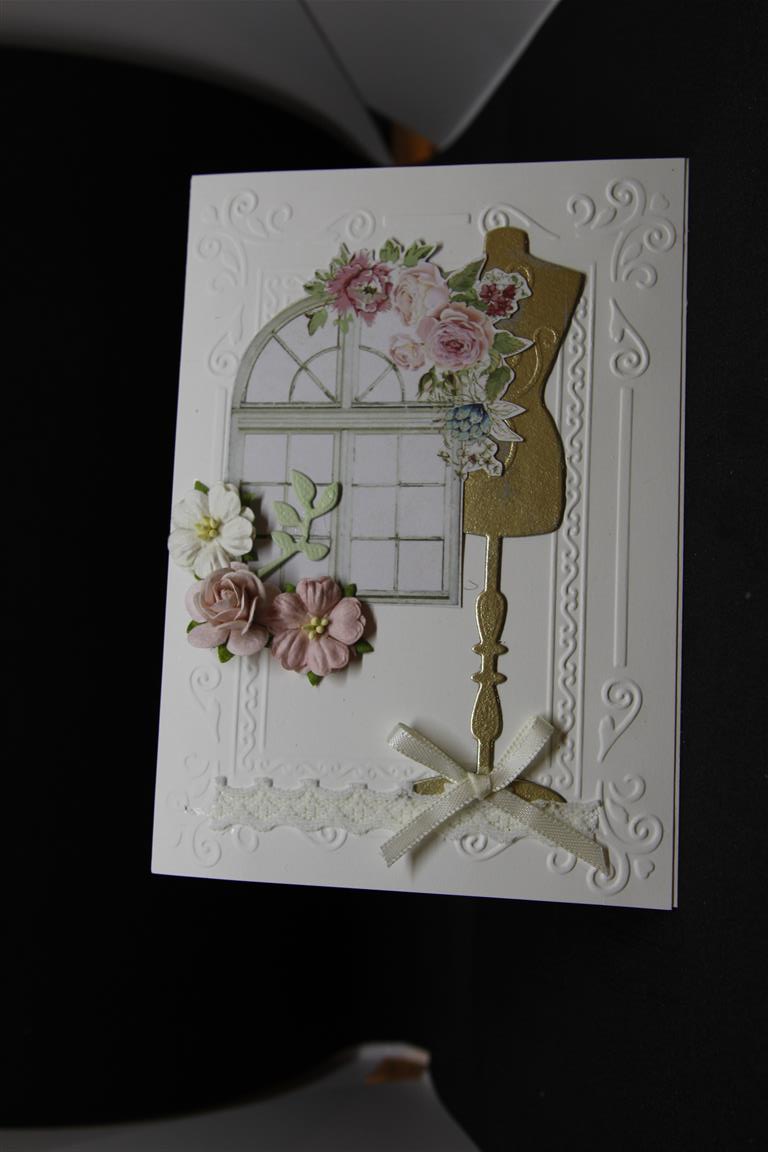
I have started to experiment a little bit with my Go Press and foil now that I have mastered the basics, and the first thing i wanted to try was die cutting my own chipboard shapes. I have used a thin piece of chipboard here, and used a Kaisercraft dress form die. I used the instruction book and followed the instructions for bought chipboard shapes, and found I just had to add an extra shim – I dint have any waste though, I just ran it through again with some more foil to cover the patches! For the rest of the card i used a Kaisercraft embossing folder, and Kaisercraft Rose Avenue paper ( from a piece of the 12 x 12 paper). Some flowers, lace and ribbon to finish! Til tomorrow….
More inspiration with borders dies….
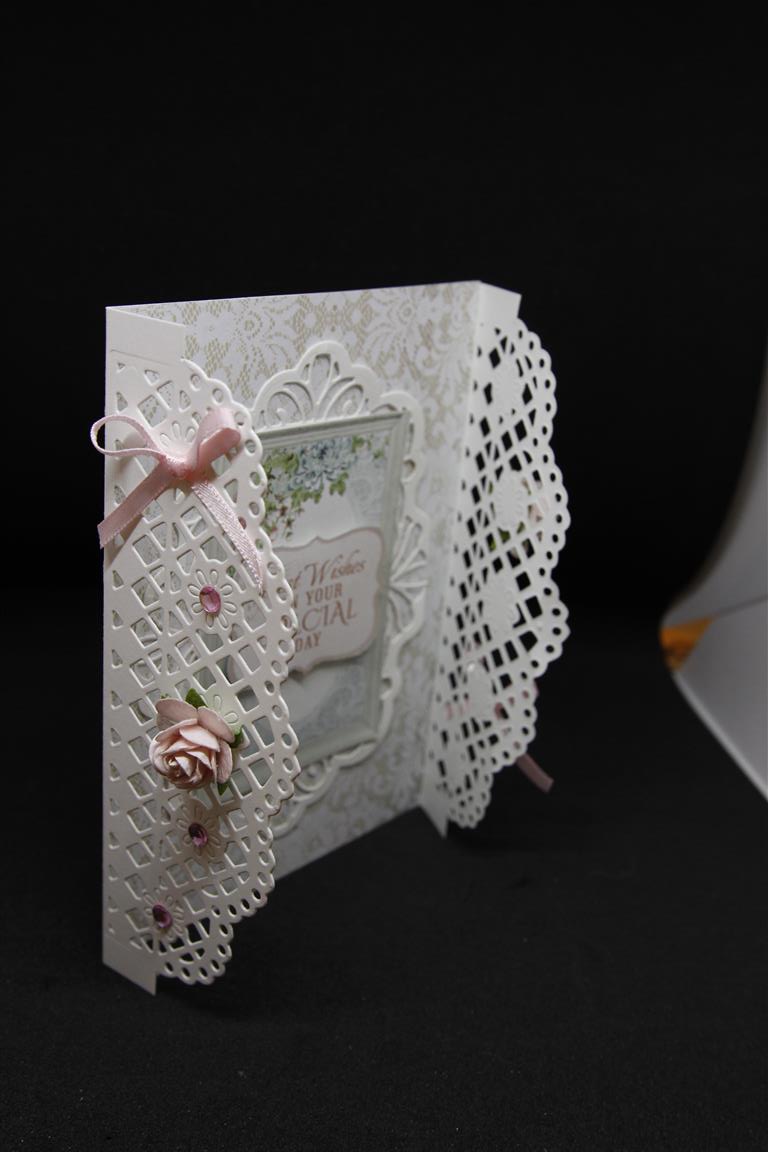 Todays card is made with a gatefold design, and then I die cut the edges of the folds with a border die to give the gated effect! A very light decoration on the outside, just some bling and a couple of ribbon bows and flowers, because all the decoration really happened inside the card. The papers are Kaisercraft Rose Avenue from the 12 x 12 paper selection. Today is my get together with some crafty friends, we meet once a month and the time always comes around quickly, so I must get a move along and gather some projects together to work on while we are chatting! Til tomorrow….
