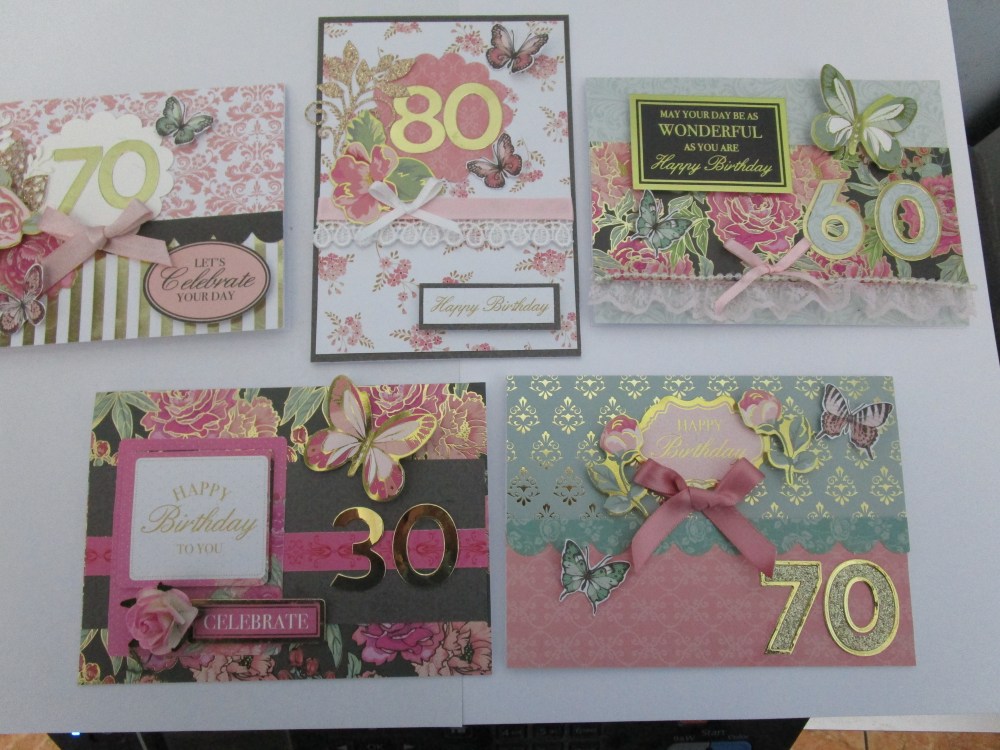
 This week I took a break from all things tidying, and preparing for the craft fair to sit down and create. I had the perfect papers ( a small 6″ paper pad from kaisercraft called With Love) and some new numbers dies from Uniquely Creative to make some very special birthday cards. I took this photo, couldn’t wait for Nathan to snap these as I want to take them to the fair with me. Just going back to the paper pad – it’s an unusual one for Kaisercraft as a lot of the papers are foiled and as you can see I didn’t add too much more to the cards..a little lace, ribbon and my numbers all die cut with either foil or glitter card. Til Next time…..
Tag: easy handmade cards
All about butterflies!
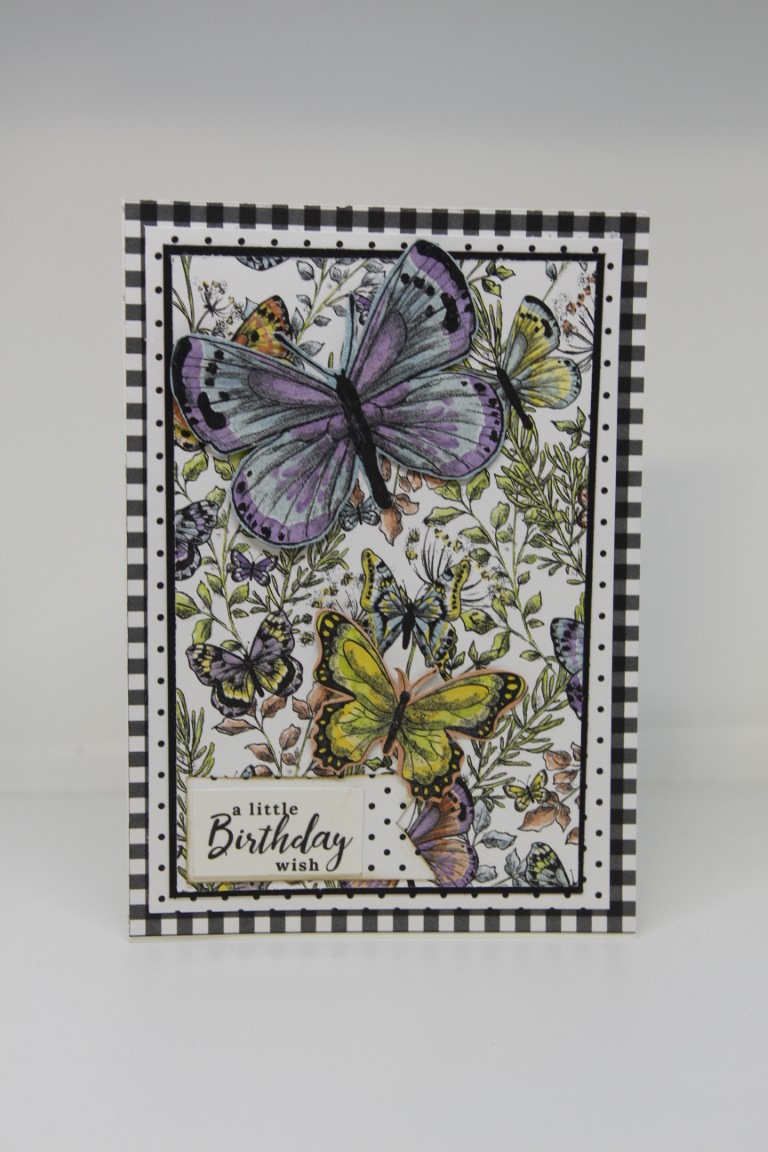
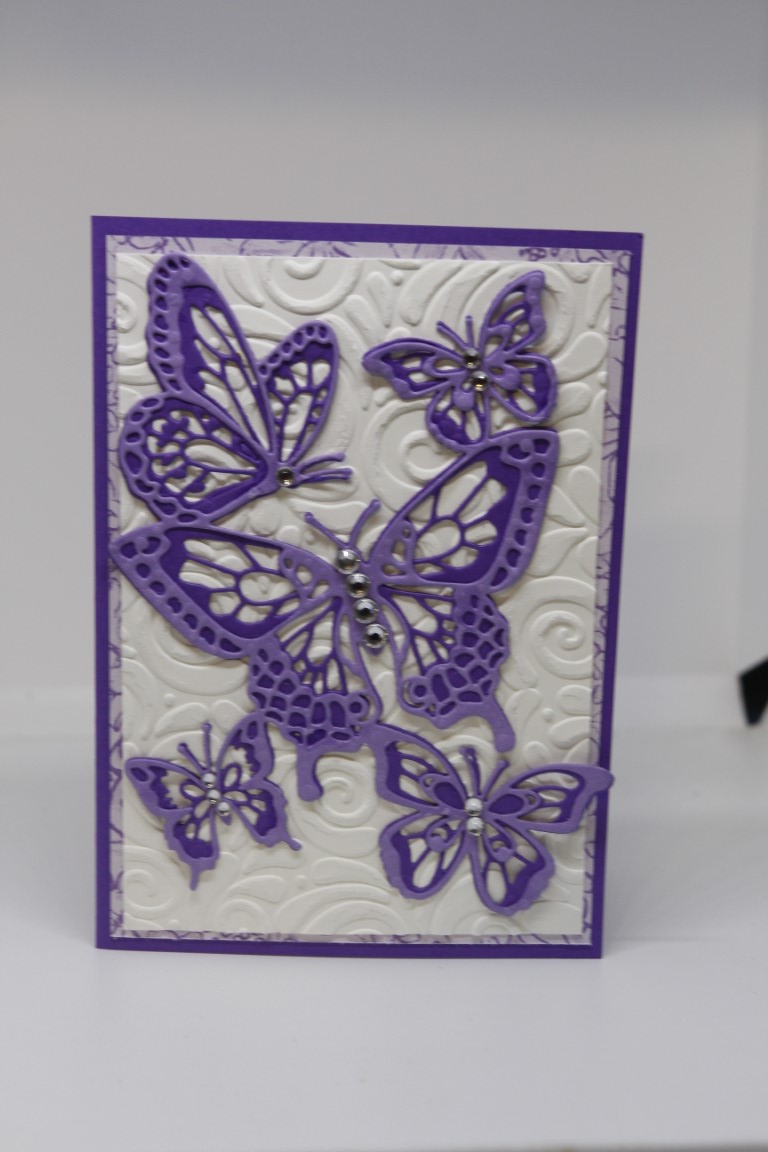 Today’s two cards have one thing in common – Butterflies! The top card has layers of black and white patterned paper, with the focus on the top piece of paper which is covered in butterflies. I fussy cut a couple of extra butterflies to pop on top for a bit of dimension. The papers are from Stampin up, but I am not sure if they are still available.The second card is a really simple card, a layer of patterned paper, an embossed piece of white cardstock, and then the butterfly die cut. The dies are all one piece, with the finer die stuck on top of the thicker die to make a shadow effect. It is a Stampin up die called Butterfly Beauty, and brilliant for quick makes. I just added some bling to the centre of the butterflies. Til tomorrow….
Prima Georgia Blue
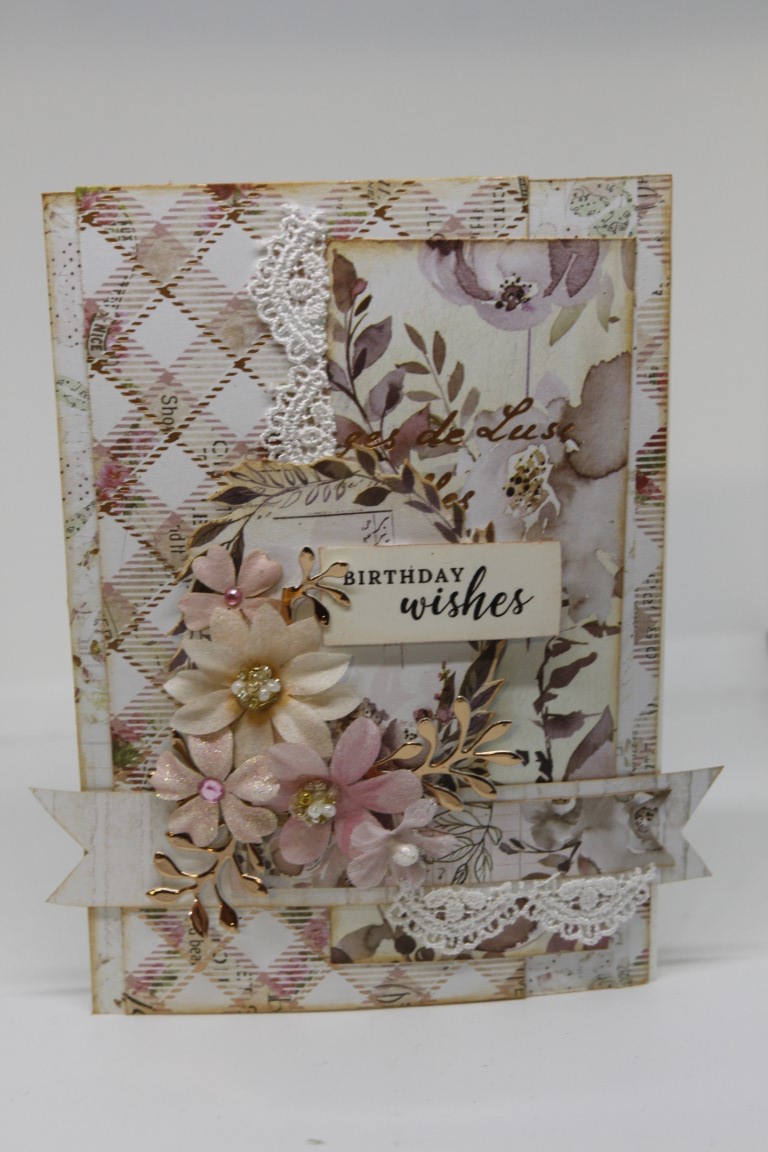
 I quick post today, just to let you all know that I am still here! I have had a whirlwind of a couple of weeks, and I have finally retired! I have one more class next week, but essentially as from last weekend I am a lady who lunches! I have had so much fun spending my last two years working in the craft shop, but its time to concentrate on my own crafting. I am looking forward to creating more, and at the moment I am getting prepared for my stall at the local 3 day craft fair in June, and who knows I might be able to get back to more regular posts! On to today’s card… I bought all the Georgia Blue range from Prima, and this is one of the cards I have had time to create with it so far! I guess that will change now! The very bottom layer is actually some vellum that came in the flower packaging, and I have used a 3x 4 journalling card from the same range, along with emphemera, flowers, and a die cut glitter swirl. Til tomorrow…..
AB Studio card..
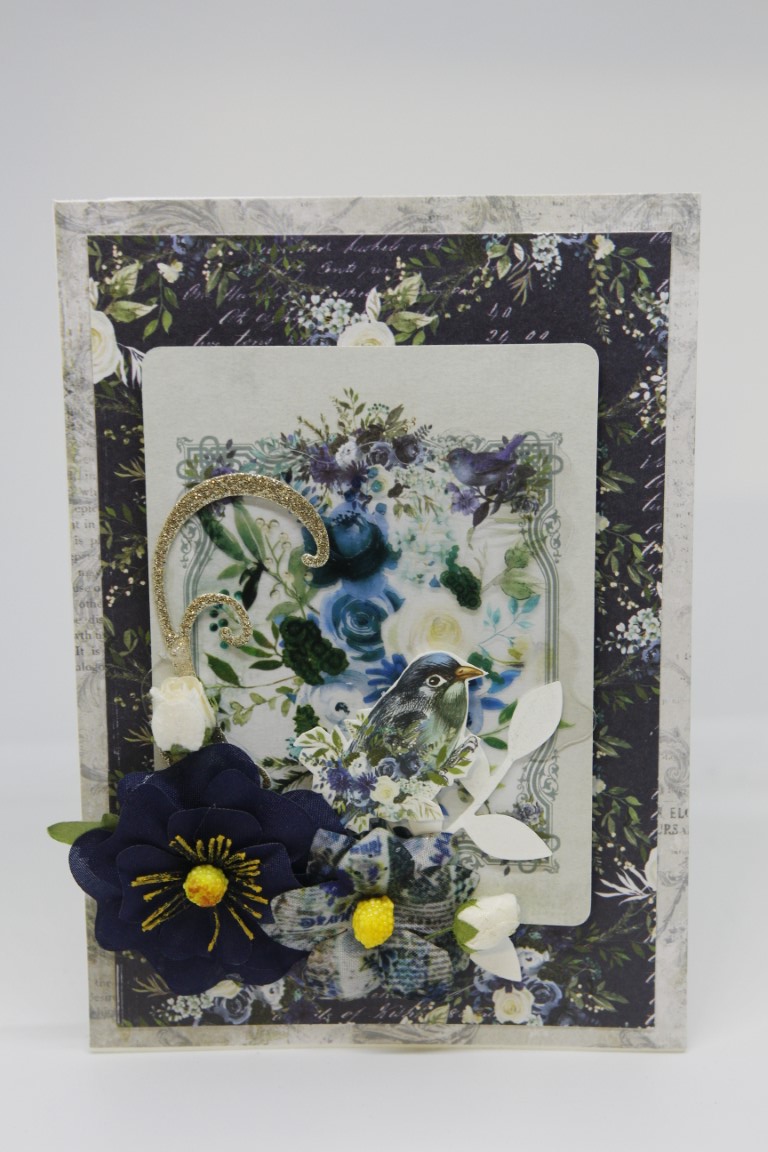
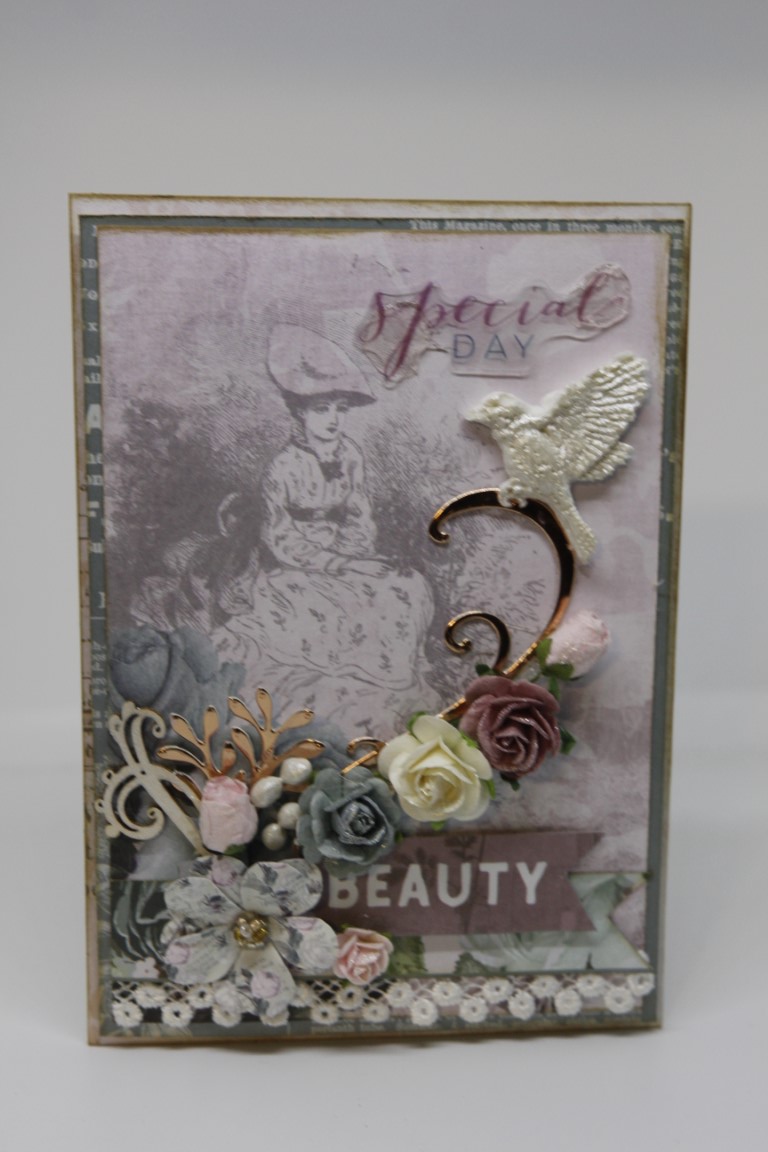
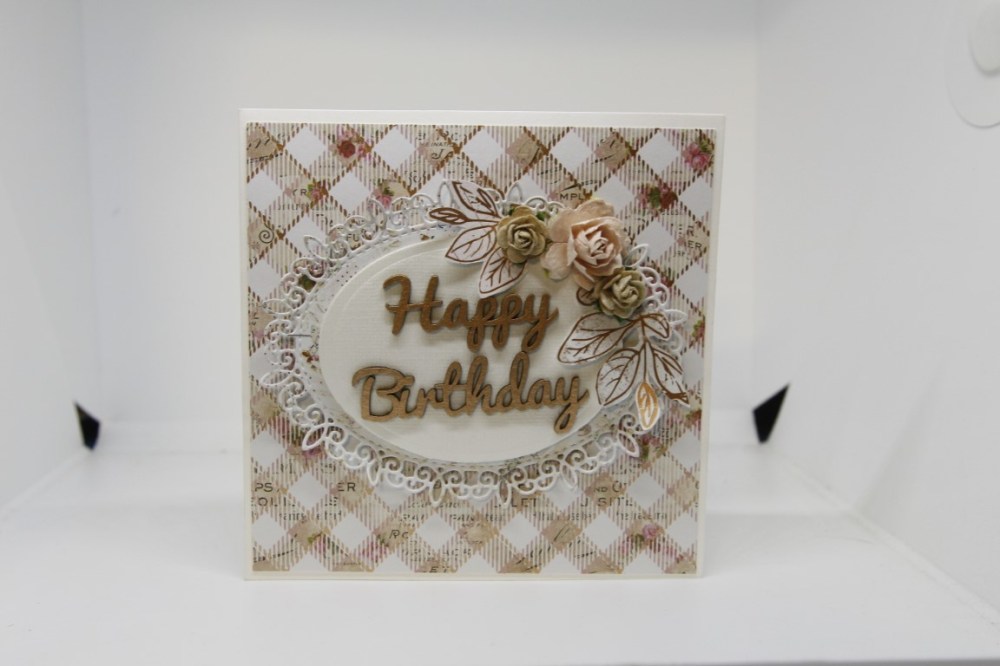
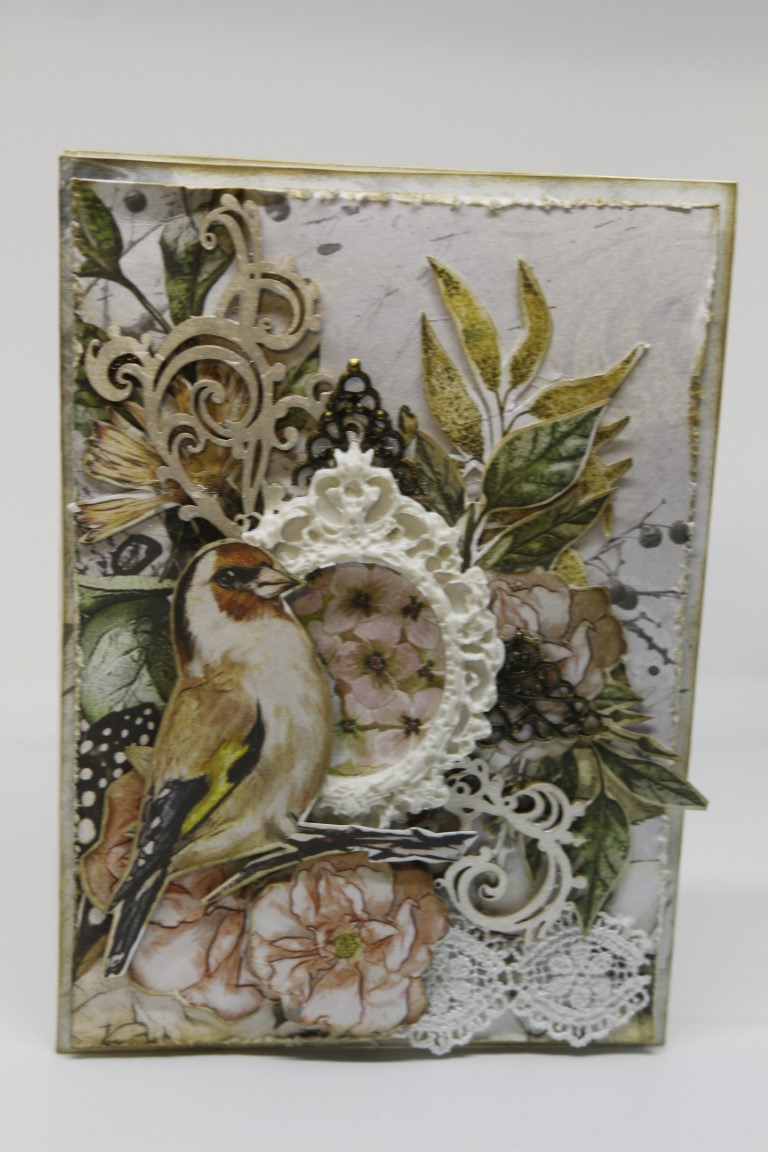 Todays card is made with a piece of AB Studio paper I picked up because I loved the bird! He was fussy cut as was some greenery from the page and the card was added to from there. Some lace, a metal finding cut in half and slipped in under one of the frames I made, and some Scrapeniac chipboard which I painted with Prima alchemy paints.My edged were distressed, and inked with frayed burlap distress ink. Just a quick post today, as I am busy preparing for the 3 day yearly craft fair I attend in June which is only a few weeks away now..Til next time…
Cards in Boxes..

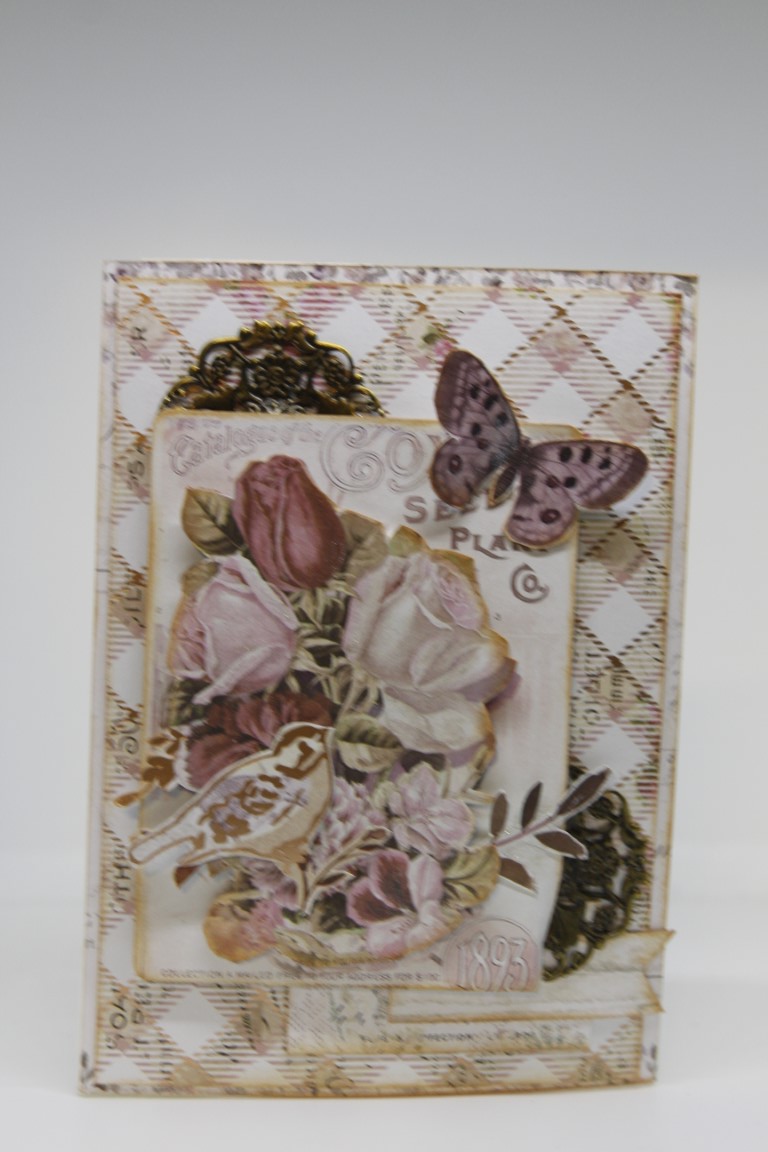
 I have enjoyed making quite a few cards that fitted more comfortably into a box rather than an envelope. My photographer Nathan has chosen to photograph these ones in their box, so you may not see the full 3D’ness of them, but trust me they needed a box! the top card is made with Mintay Birdsong papers. I taught a class using this range of papers this week, it is gorgeous, and I am now tempted to again get my papers out and make some more cards with this range. I have used one of my handmade frames, and some lace, flowers and metal embellishment . The bottom card is Prima Georgia Blues, and there is a lot of gold foil on this range of papers which explains the flash on the photo..poor Nathan must have been blinded with that! You can see why this one needed a box – lots of lovely fabric and paper flowers, lace and emphemera. I hope you are all having a safe and happy Easter break, til next time…..
Pion Days Gone By..and a couple of ideas…
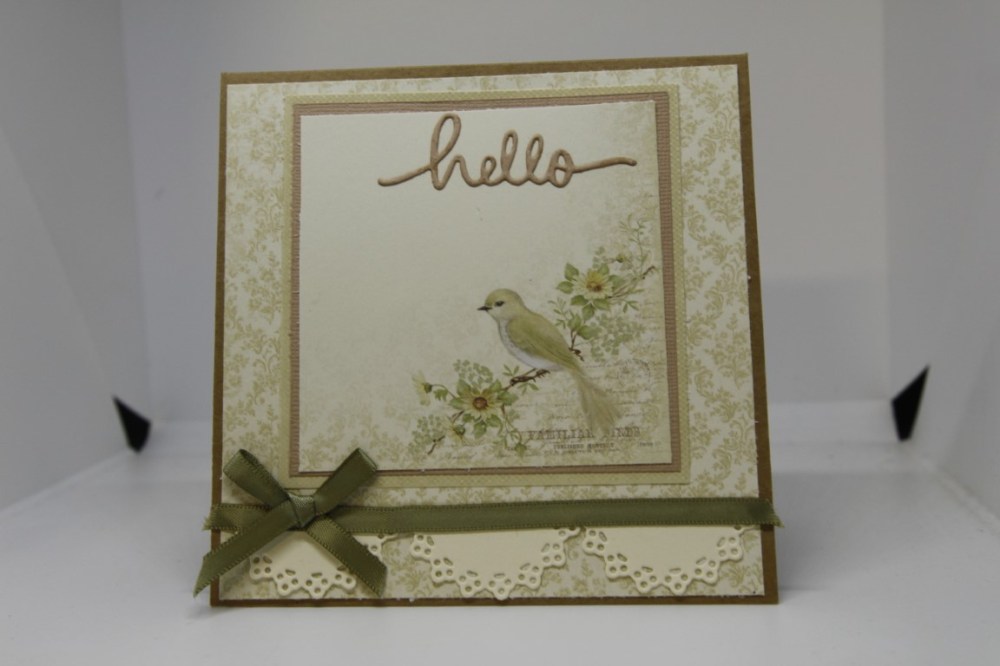
 Todays three cards are actually cards I created for a class a few months ago, but I thought I would post them because I think they show how best to get value out of your stash and purchases. There are only 2 pieces of 12 x 12 patterned paper here, but the papers had 4 6″ x6″ designs on each so I actually had 8 choices altogether. Minature doily dies cut in half allowed me to make scalloped borders, and a little bit of scrap ribbon never goes astray! the greetings a are dies from my collection. Some pretty matting colours – again hunt through your scraps ( and remember if a layer is covered with another layer who is going to know if you have die cut something out of the middle of it?) All my greetings could have been die cut out of the lower mats but you will never know! I loved the simplicity of these cards, thoroughly enjoyed working with this paper. Now i am off to work on some June lessons, til tomorrow…..
Watercolouring with Ink..
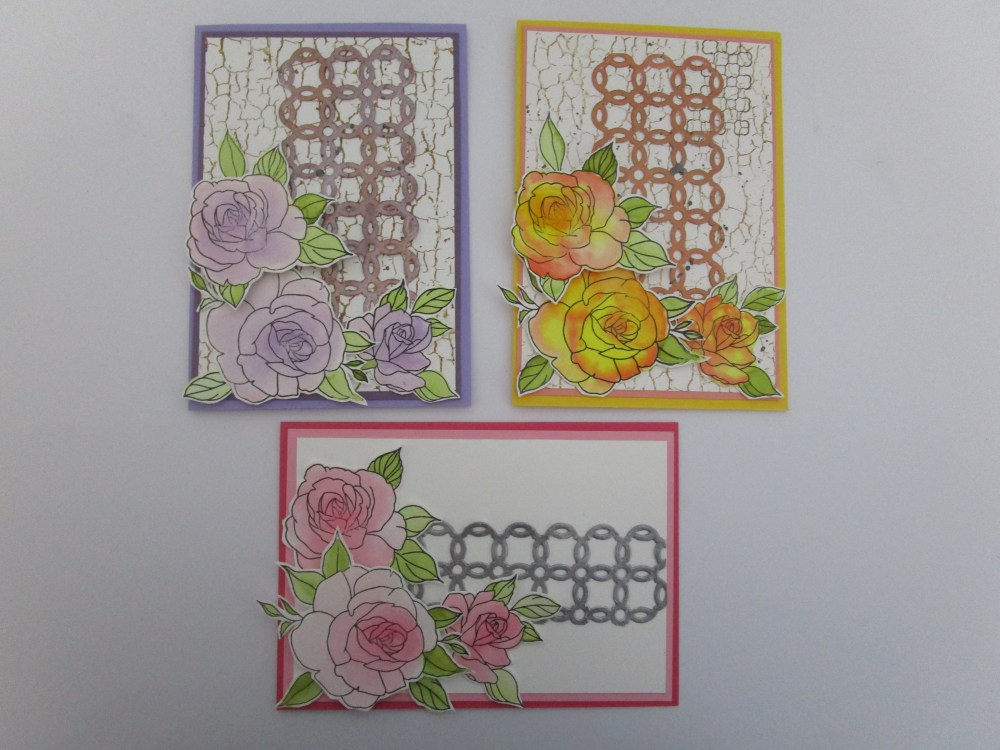 Last weekend after I had finished preparing all my May classes I had a little time to just create, and so I gathered my distress re-inkers, a pallette, paintbrush and my new stamp set ( Uniquely creative Flawed and fabulous),stamped out some images onto watercolour paper and just started painting. Of course it didn’t stop there . by the time I had coloured them all I knew exactly how these cards were going to go together! All my art work was fussy cut out, matching cardstock was found, and another new die and stamp ( both by stampin Up) were added to the table. The top two cards have the Stampin Up crackle background stamped in brown and I left the bottom card clean. The Stampin Up Trellis die was die cut with white cardstock and then I experimented. The bottom trellis is painted with prima alchemy silver paint, the top right is coloured with Nuvo mousse in rose gold, and the top left is coloured with Nuvo mousse bronze with a top smearing of platinum to lighten a little. The Nuvo mousse is best put on with your fingers! A great afternoon creating and I may even do something similar for a class.Til tomorrow….
Prima Lavender Frost 8 and 9
 Here are my final Prima lavender frost cards for now. These two cards use some of the 12 x 12 papers, and the matching flowers from the range. I also added a couple of die cut swirls and a little chipboard piece that was on my craft desk at the time! Tiny scraps of lace came in handy, as did my little handmade bird on the bottom card. I made the little bird with a mold and some “no more gaps” from the hardware shop! This is not the last you will see of my makes with this paper – we will just take a little break from them for now. I have booked my stall for the craft fair on the June long weekend,and so now a lot of my time will be spent sorting out all my cards ready for sale! Til tomorrow….
Prima lavender frost 6,7 and 8..
 Today we are back to Prima Lavender Frost range of papers, and assorted matching emphemera. The top card is made with papers from the 6″ pad, and a couple of the 3 x 4 journalling cards. I fussy cut the top card and mounted it with foam pads, and cut a round metal finding in half and slid it in under the foam mounted card. The two lower cards were cards I taught in a Paper Flourish class, using the Prima Lavender frost paper and some foiling with the Go Press and Foil machine, which is how I did the gorgeous rose, ( it is a Couture Creations stamp and foil die). We foiled our chipboard happy birthday for the top card. I taught another class this week with this paper range – just love it!! Til tomorrow…
Meerkats!
 I am back from my cruise, which went really well, and I met many new and keen crafters in my classes – we had great fun! The weather was terrific and the seas were calm – always a bonus. Now it is back home, and back to work, and of course back to my craft room, where all my projects at the moment are for upcoming classes. Meanwhile today’s cards are 2 very quick cards I put together for my son and my nephews birthdays. they are both fans of meerkats so when I saw this stamp set from Art impressions I knew straight away it would be perfect for them, this year and probably for quite a few years to come, used in different ways. I only lightly coloured the meerkat in the forefront of the card this time, just with a little bit of distress ink, and I hand drew the frame around the stamped background image. Til tomorrow…..
