 When I use 6″ paper pads, I always end up with 2″ strips left over, so for this card I used 2 of the strips, and ran some lace down the join. The paper , flowers and chipboard are all from the Prima Tea Thyme range, and I added a little bling flourish.I am making good headway sorting through my old papers, making the occasional card as I go, and collecting a little pile to give to my sister ( who has just started making cards) and my mum. I will have a little break tonight as I bought some gorgeous wool today, have dug out my knitting needles, and am going to start on a scarf ready for winter! Til tomorrow….
Tag: female birthday cards
Graphic 45 Birdsong number 5
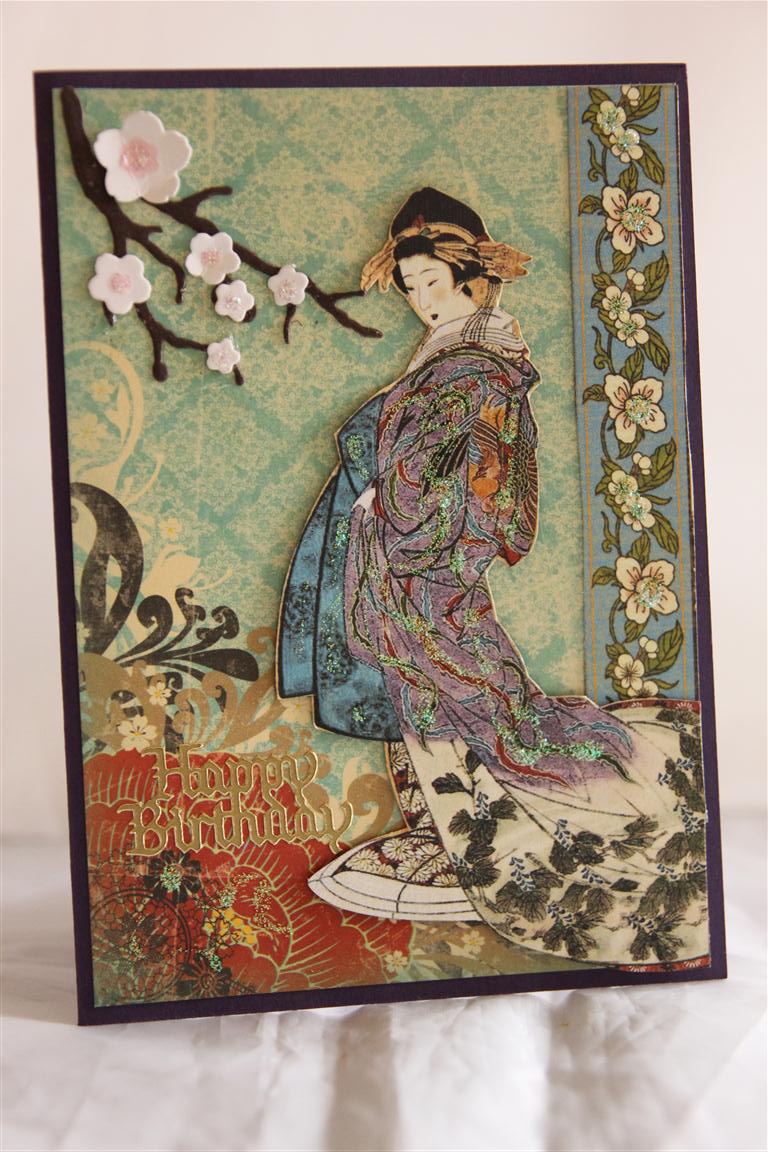 I have classed this card as a graphic 45 card, as the images that I fussy cut were from graphic 45 Birdsong papers, but the background paper that I used is actually a piece from my Bo Bunny Serenity 6″ pad.These two paper collections compliment each other perfectly. It’s very rare that I cross over like this – in fact I don’t think I have ever done it before. The only other thing on this card is some Cherry Blossom that I die cut using Spellbinders Cherry Blossom die. I hope all my Adelaide friends are surviving this terrible heat – I taught a class this afternoon over at the retirement village ( I will show the cards we made tomorrow) , and it was so very hot out there!I have had Nathan look at my blog to fix the leave a comment problem – and hopefully its fixed now – Above the photo is a speech bubble next to Leave a Comment. Click on this, enter your comment in the box, then under the box fill in the E-mail address requirement, and your name. The website bit is optional – don’t worry about filling this in, Then hit the Post comment button. I would appreciate it if someone could try it out for me to see if he has fixed the issue! Til tomorrow…
Graphic 45 Birdsong number 3
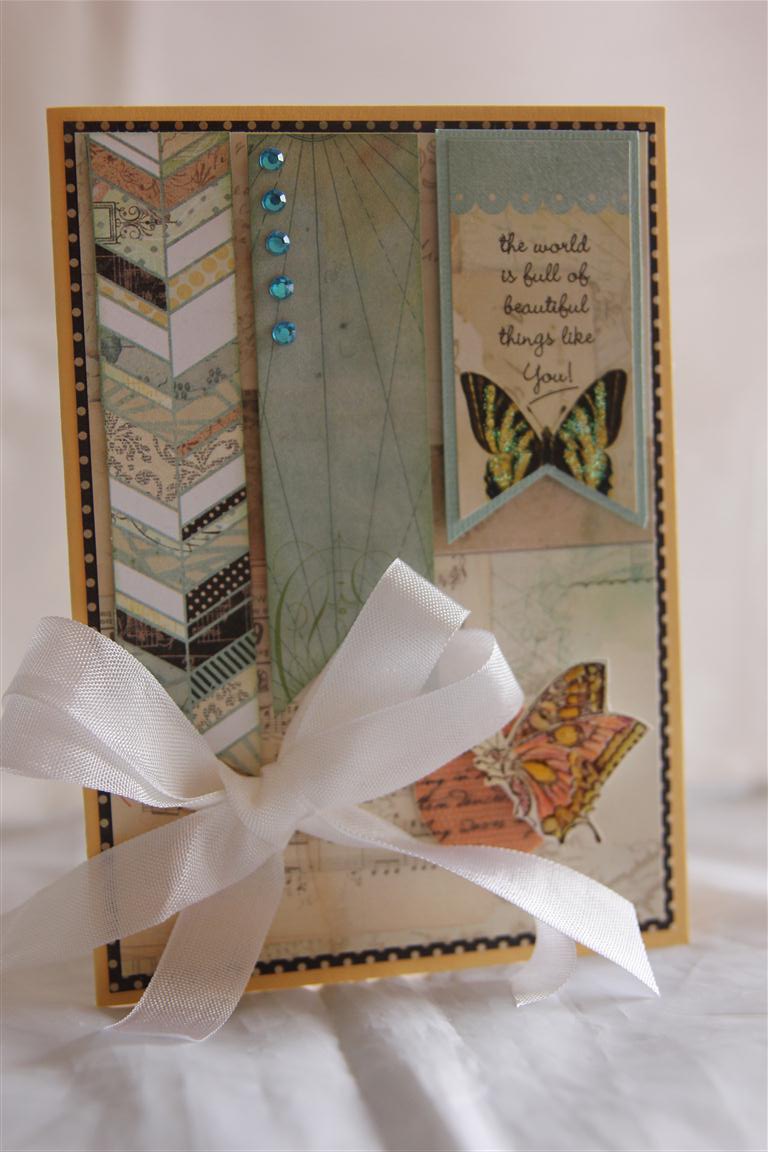
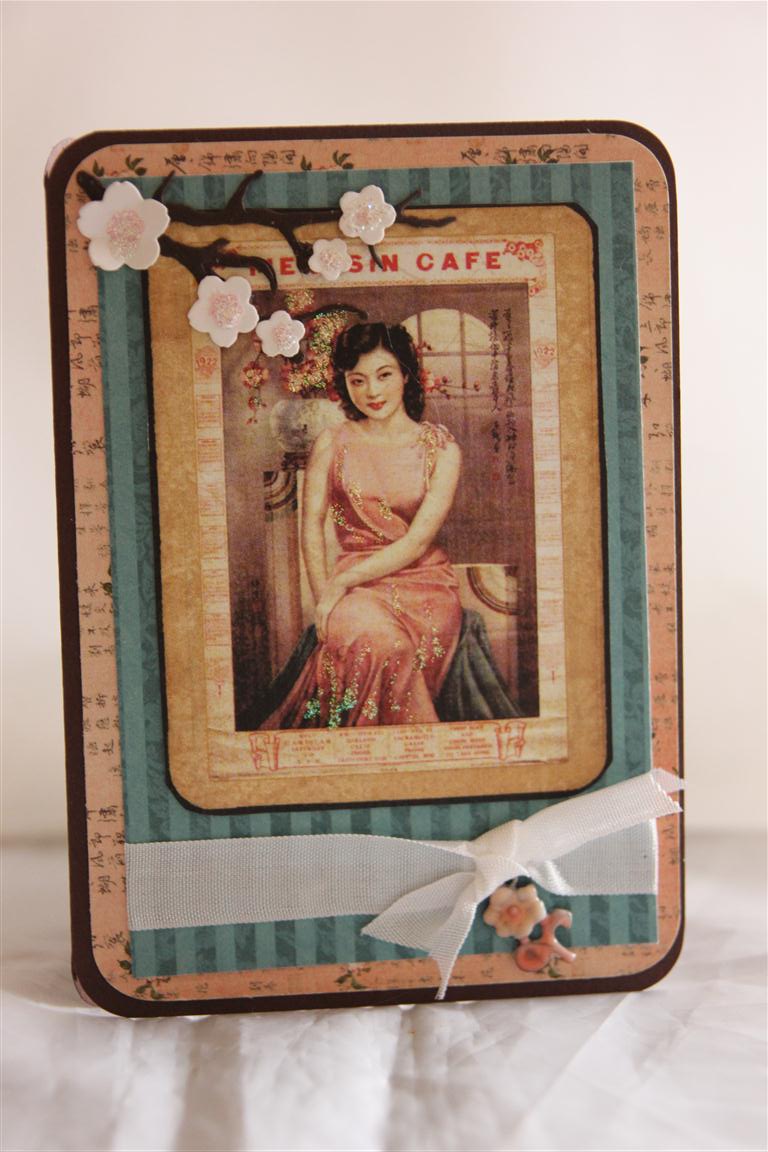 Here is number 3 using graphic 45 Birdsong patterned papers. I have rounded all my corners, and matted the main image onto early espresso cardstock ( stampin Up ) I used my Cherry Blossom spellbinders die, and added some seam binding and a vintage charm. I picked up the charm at a market with some other old broken bits of jewellry. I always keep my eyes open for finds like this , they usually cost next to nothing, and are agreat way to add interest and texture to my cards. Til tomorrow….
Echo Park Love Story 4
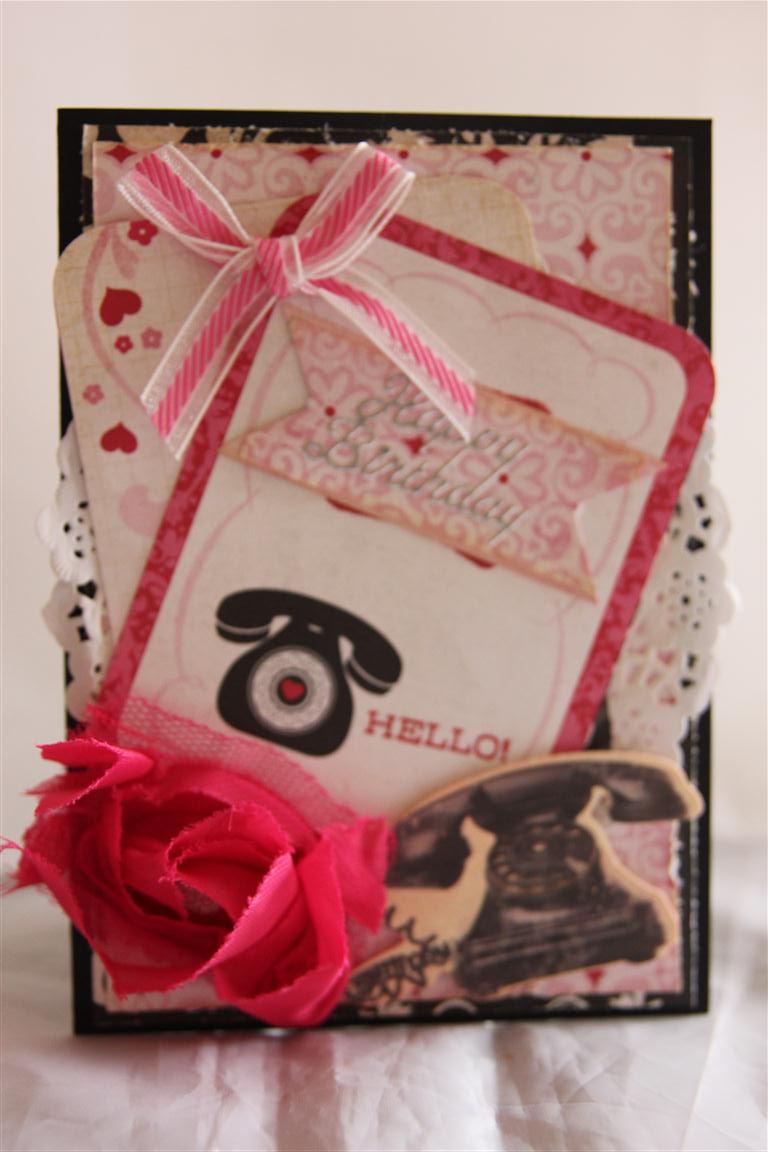 Sorry People, this image appears to have missed quality control and is a little blurry!It is still in my Echo park love Story series, ( Only one more post of this paper and we move on to something else) and I have layered, inked and embossed on this one. The addition of an inked doily,stampin up ribbon, kaisercraft rosette,and phone die cut from kaisercraft timeless collectables, and this was a very quick one to complete.It is extremely hot here today, but I have so much crafting piling up in my room that I will have to make the effort this evening when it is cooler to sit in there and get things back under control – I have so many new products on my desk that I haven’t had time to play with and I am very grateful that I am on holidays at the end of next week! Til tomorrow…
Art Deco Style number 3
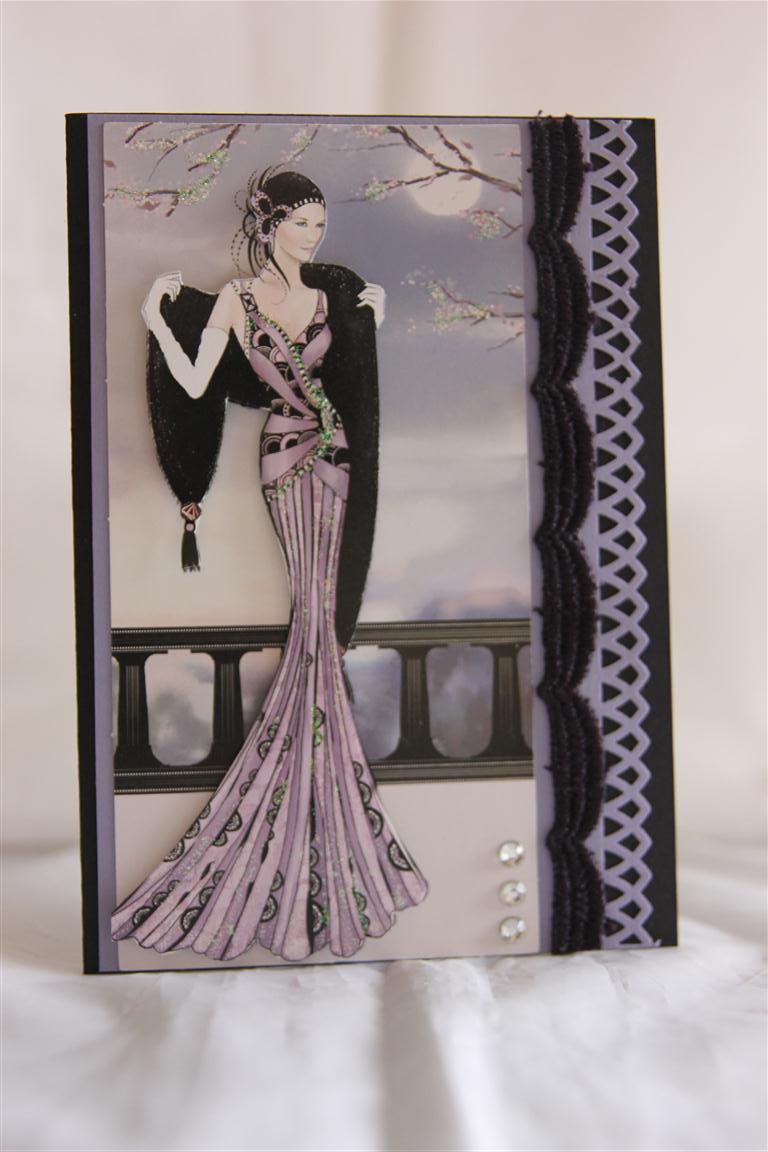 This the third in my Do Crafts Papermania Art Deco series, and tomorrow we move onto something a little different… For this one, I have stayed with the black/purple colour scheme, using black and wisteria wonder cardstock from stampin up. I used a Martha stewart border punch, and then just some black lace and a bit of bling to finish. I have been busy making cards for orders today, but I am itching to get started on the new box of goodies I got on the weekend from Stampin Up – hopefully this evening I will make a start on that! Til tomorrow….
Art Deco style, number 2
 I have a couple of cards left to show using my Do Crafts papermania Art Deco pack, so thought I would show them before I start on the cards that we photo’d this morning.I made good use of layering on this card, using cardstock from stampin up – wisteria wonder.It just matched perfectly with her gorgeous dress! The trim was also a lucky find in the back of my ribbon drawer, and it is from Websters pages. I just added a couple of flowers, and this simple card was done!Spent a lovely afternoon today with a group of card making friends, all sitting around doing our own thing and chatting – very relaxing! Til tomorrow….
Basic Grey serenade number 5
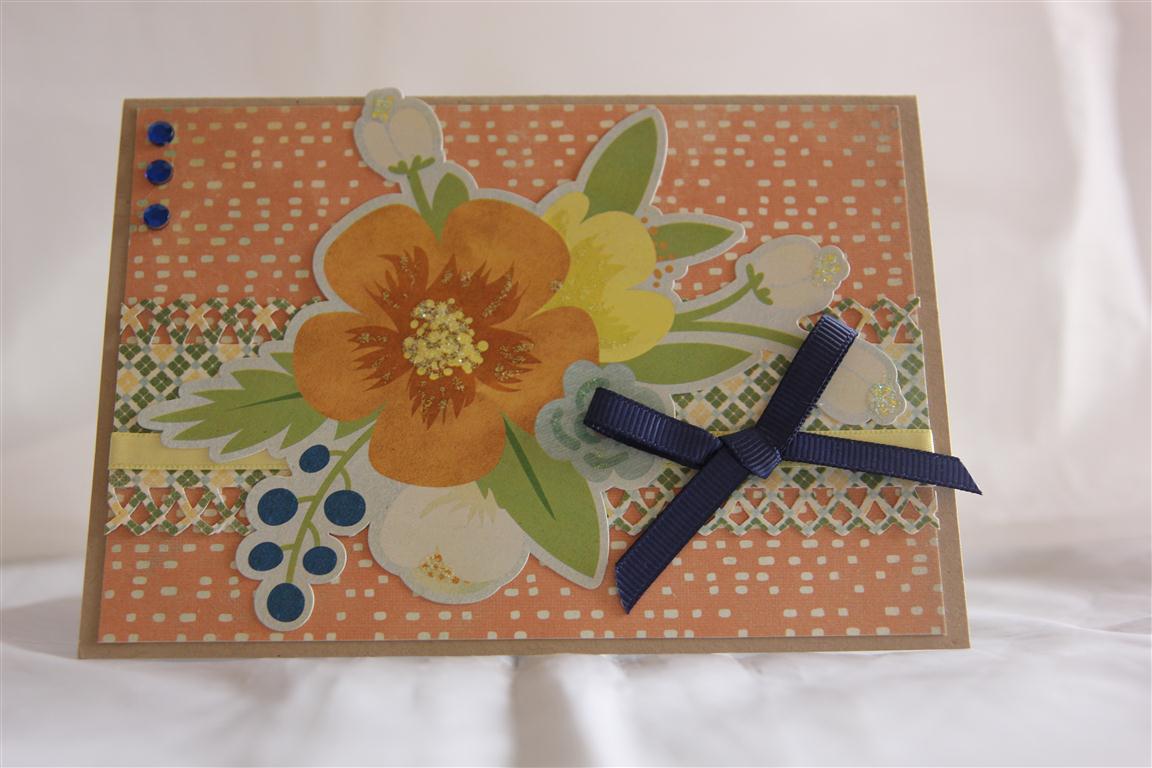 Super quick post tonight as I am teaching a class very shortly. This is the second to last card in my Basic Grey Serenade series, and tomorrows card is a special one.. 6′ pad, a sticker from the matching sheet, and some ribbon and bling, all mounted on a kraft cardstock base. Til tomorrow…..
Basic Grey Serenade #3 and musings on styles…..
 Today is number 3 in my Basic grey Serenade series – the 6″ pad and I have cut my leftover scraps into banners, stamped a butterfly, coloured it and mounted onto a canvas circle, added some Kaisercraft Rhinestones and a huge floppy double seam binding bow! I have been in the craft room today making my favourite syle – Vintage, and it got me to thinking – What are my 3 favourite styles, and how do I define them? I thought I would share my thoughts so here goes – Number 1 favourite style – vintage – my definition – soft subtle colours,with lots of ribbon and lace. Number 2 – Shabby Chic – same as vintage but with the addition of inking, ripping and distressing ( took me a while to master the ripping – I couldn’t bring myself to do it at first, but nothing stops me now!)and 3rd favourite style – Homespun which is totally different to vintage and shabby chic as it involves bold bright primary colours, buttons, bakers twine ,ric rac,and simplistic images and possibly some paper piercing and sewing as well.What are your favourite syles, and how do you define them? I would love to hear from you all…. Til tomorrow….
Basic Grey Serenade number 1
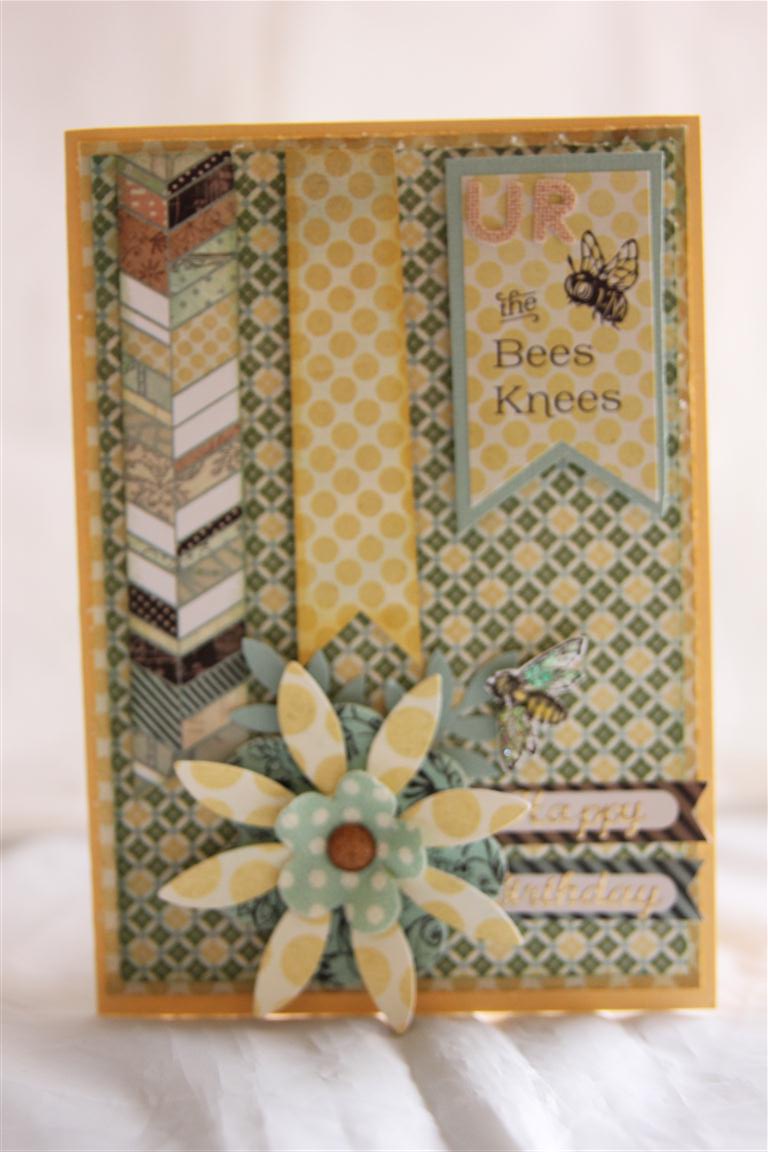 This collection of paper is Basic grey Serenade, and I have used the 6″ pad on all the cards I made with this collection. I ran with the Bee theme, and used some of the papers that resembled bee hives, and cut them into strips , and the die cut flower is from a packet that is part of this collection. I stamped another bee to add to the flower, and punched a couple of leaves with my Martha Stewart frond punch.I inked all the edges with Stampin Up so saffron ink, and that is the cardstock used as well!Tea is ready, so i have to run – Til tomorrow….
Kaisercraft secret Admirer number 10
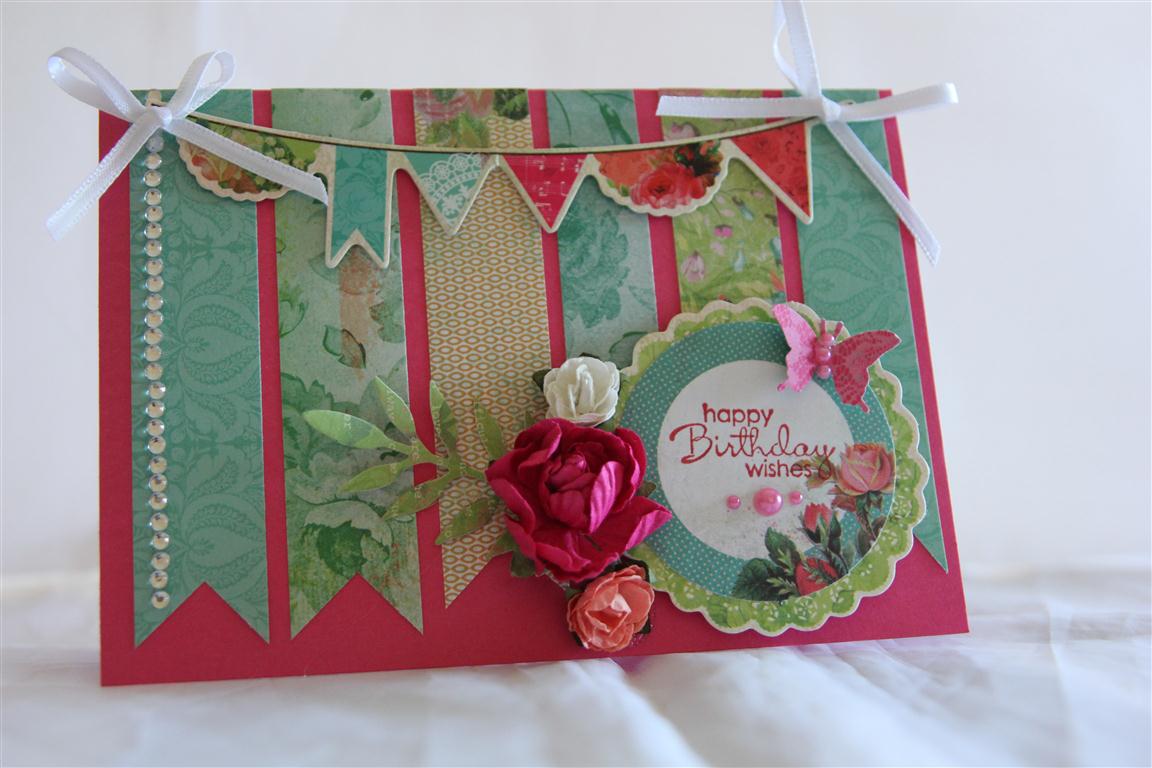 This card came about at the end of a productive card making session, when I had lots of strips left on the desk, and so I turned then into long banners,and added a collectable from the matching kaisercraft secret admirer range across the top. the papers are all from the 6″ pad, and I added some gorgeous kaisercraft flowers, a punched butterfly, bling strip and pearls to finish.Still have more cards in this series to show you, but I think tomorrow we will take a break and move onto something else for a few days.I have had a lovely day off work, and spent a few hours in the craft room. I have lots of ideas buzzing around, and can’t wait to get back in there to create some more! Til tomorrow….
