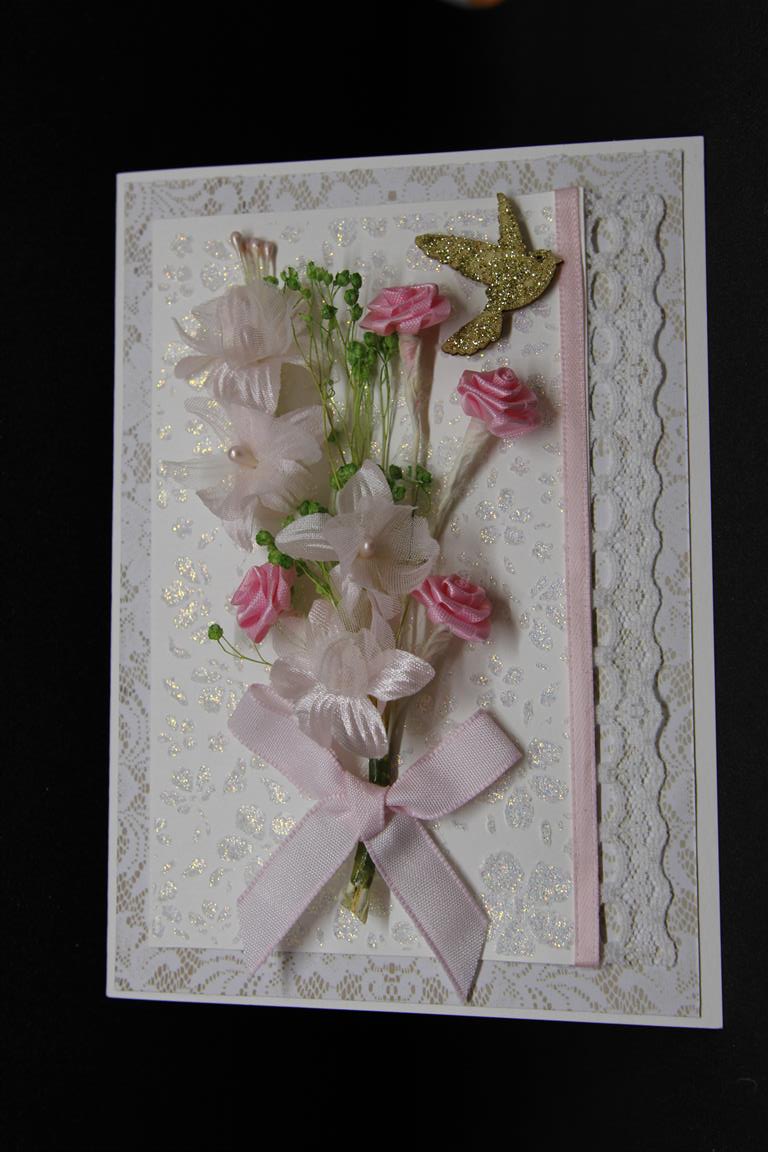
 A couple of weeks ago we got some new Nuvo Glimmer Paste into the shop, and I couldn’t resist having a bit of a play with it!I used the clear glimmer paste and brushed it through a stencil to create the glittery background on this card. I love Glimmer paste! It is really shiny and glittery, and dries really quickly. I used the gold glimmer paste to paint the chipboard bird, and the background paper on this card is Kaisercraft Rose Avenue. I added flowers, ribbon and lace to finish. I thought I had finished my cruise cards this week but they asked for another class so I have been working on that and today I am off to the craft room to make a couple of birthday cards for upcoming birthdays. Til tomorrow…..
Tag: handmade card ideas
Kaisercraft Rose Avenue number 7
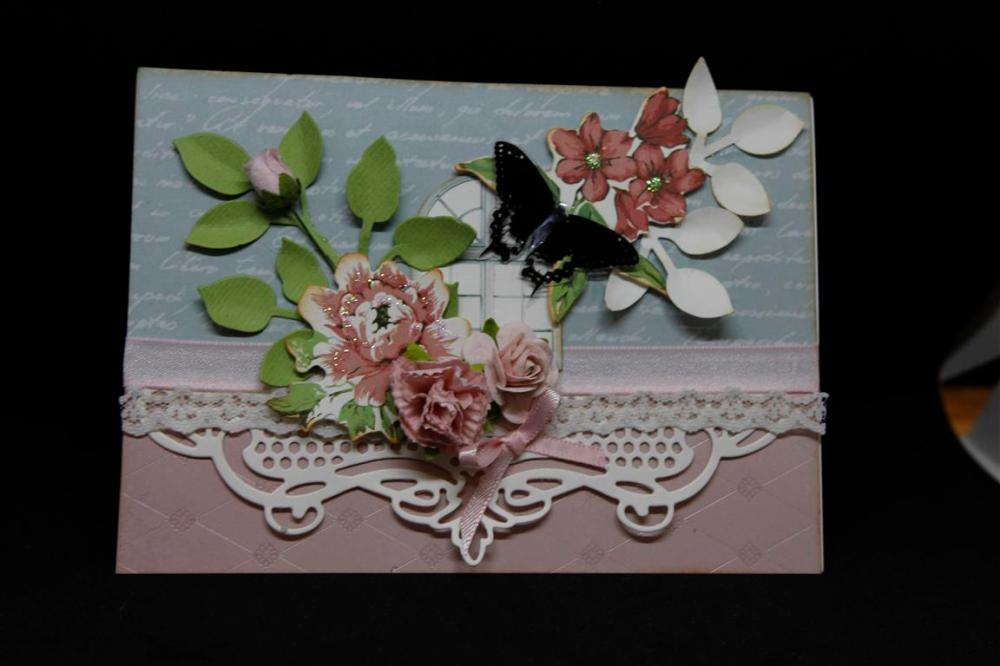 Kaisercraft Rose Avenue papers from the 6″ pad, with the matching collectables,and an acetate butterfly that was found on my desk…I have used a couple of flowers, some lace and ribbon and I die cut a Kaisercraft border die. The green leaves are die cut with a Sue Wilson die and the white leaves are punched with a Stampin Up punch. To give the leaves some movement I used a flower shaper tool ( a tool with a little ball on the end and a new favourite tool for me!) to curl the leaves a little bit. Here we will take a little break from the Kaisercraft Rose Avenue collection and find something else to look at for a few days before coming back to it later …In the craft room I have been jumping from one thing to another, I seem to have lots of projects on the go, and my desk has disappeared under the weight of lots of on-going projects so it is time to organise myself!Til tomorrow…..
Kaisercraft Rose Avenue number 6..
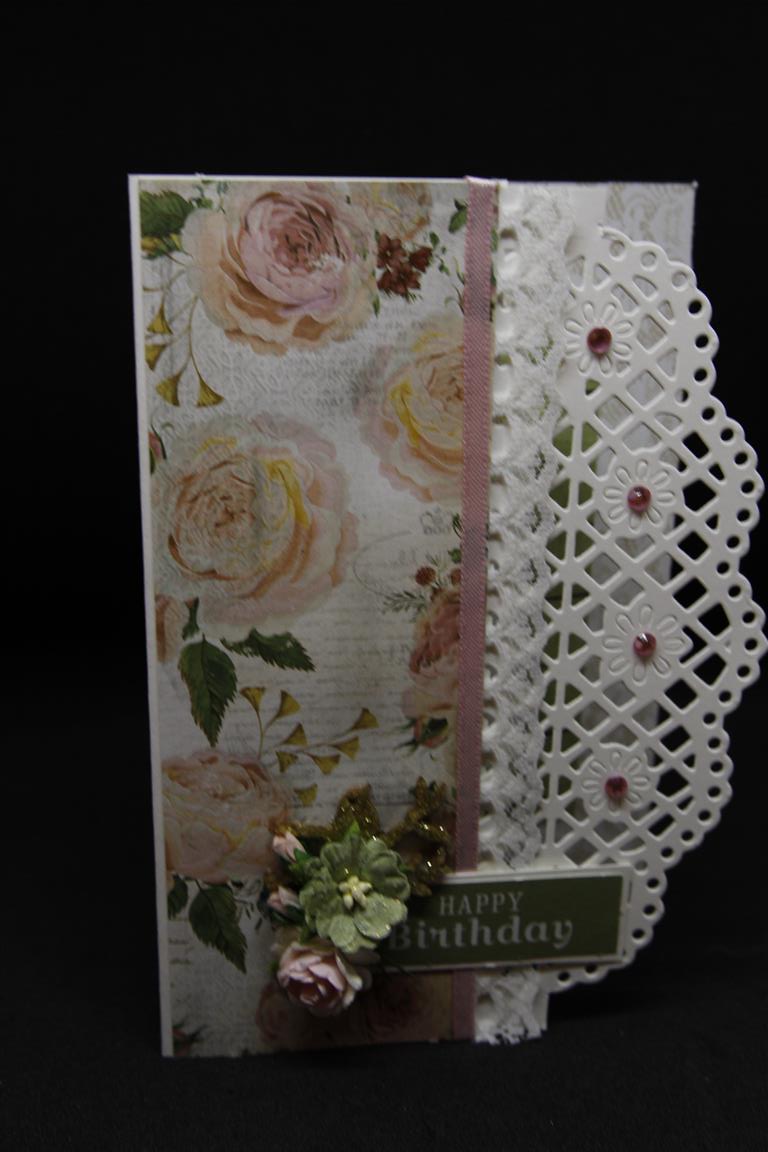
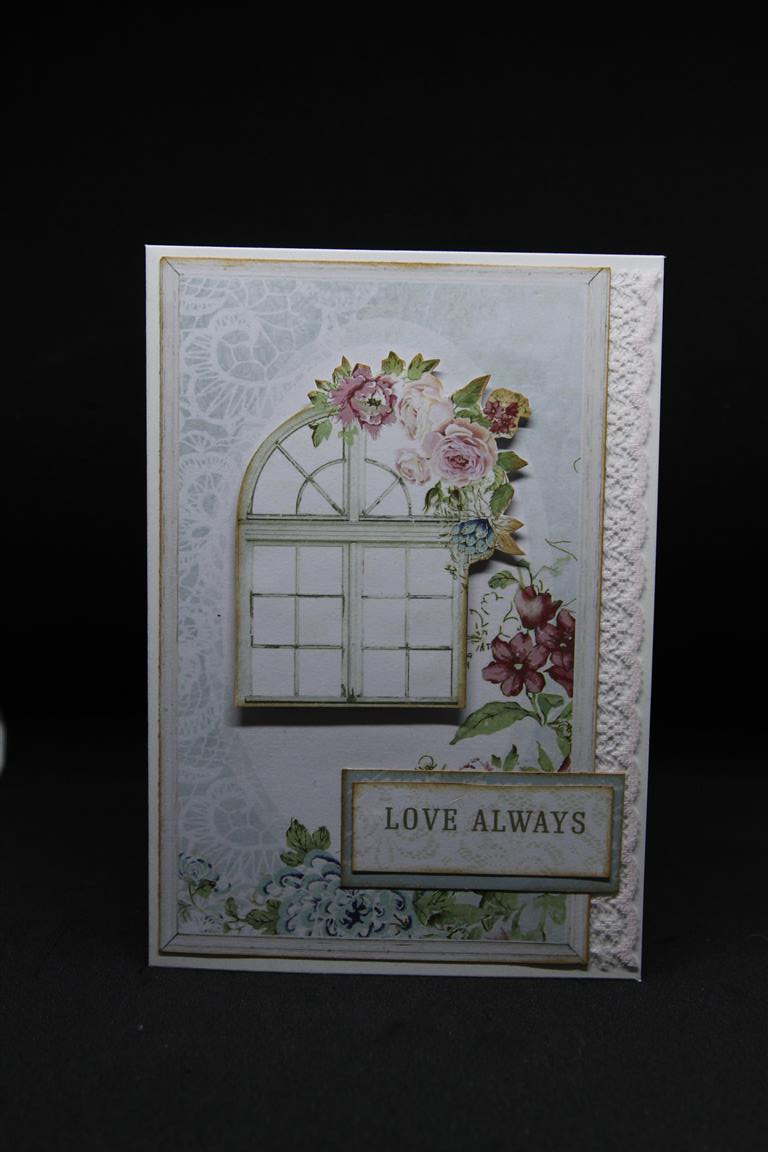 Todays card was actually one we did in one of my classes.The paper is a piece of the 12 x 12 patterned paper from the Kaisercraft Rose Avenue collection, and I just added a strip of lace down the side. I inked around all my edges with tea dye ink, and that was a nice quick card. I have finished work for the week, but I am really busy in the craft room.. I am teaching a fourth class in January so I am working on that, and the cruise I am teaching on in February want another class, making the grand total of classes on the cruise to 6, and with 2 different cards in each class and prep for a maximum of 36 people in each class. That has been a lot of die cutting etc we have prepared!Anyway, I will at least come up with the design for the last class this weekend and then gather all the supplies later! Til tomorrow…..
Go press and foil…chipboard die cuts..
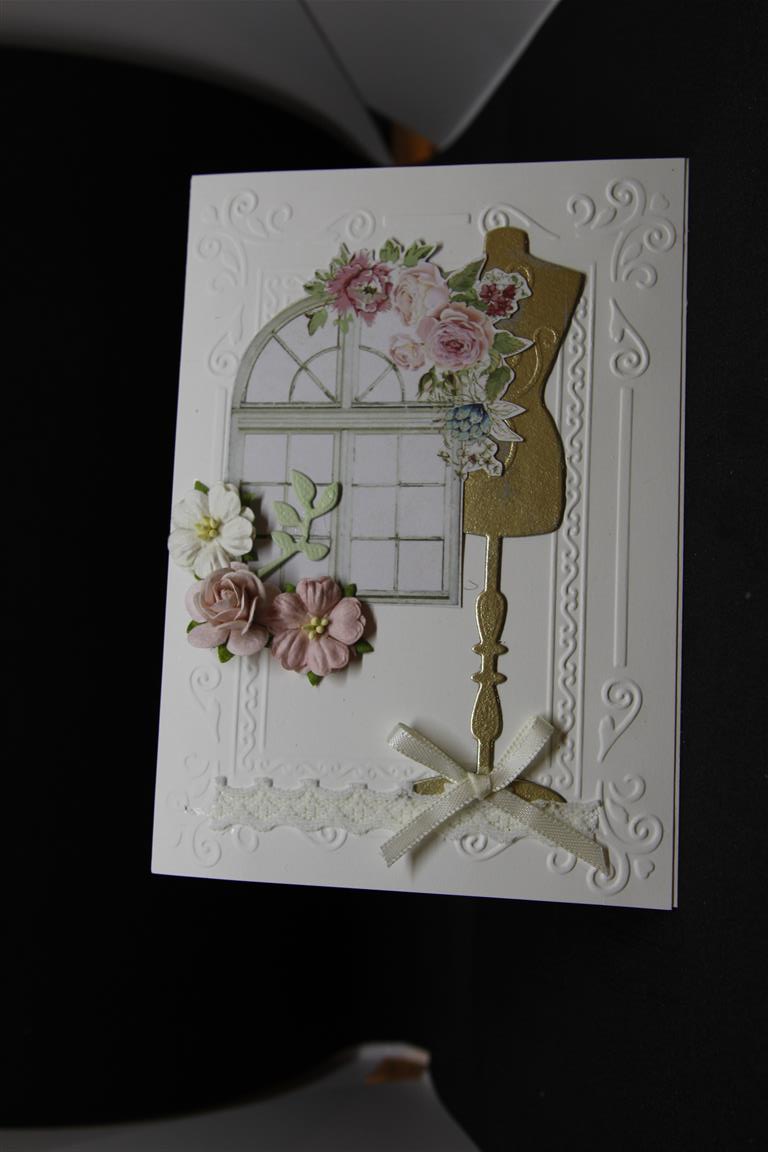
I have started to experiment a little bit with my Go Press and foil now that I have mastered the basics, and the first thing i wanted to try was die cutting my own chipboard shapes. I have used a thin piece of chipboard here, and used a Kaisercraft dress form die. I used the instruction book and followed the instructions for bought chipboard shapes, and found I just had to add an extra shim – I dint have any waste though, I just ran it through again with some more foil to cover the patches! For the rest of the card i used a Kaisercraft embossing folder, and Kaisercraft Rose Avenue paper ( from a piece of the 12 x 12 paper). Some flowers, lace and ribbon to finish! Til tomorrow….
More inspiration with borders dies….
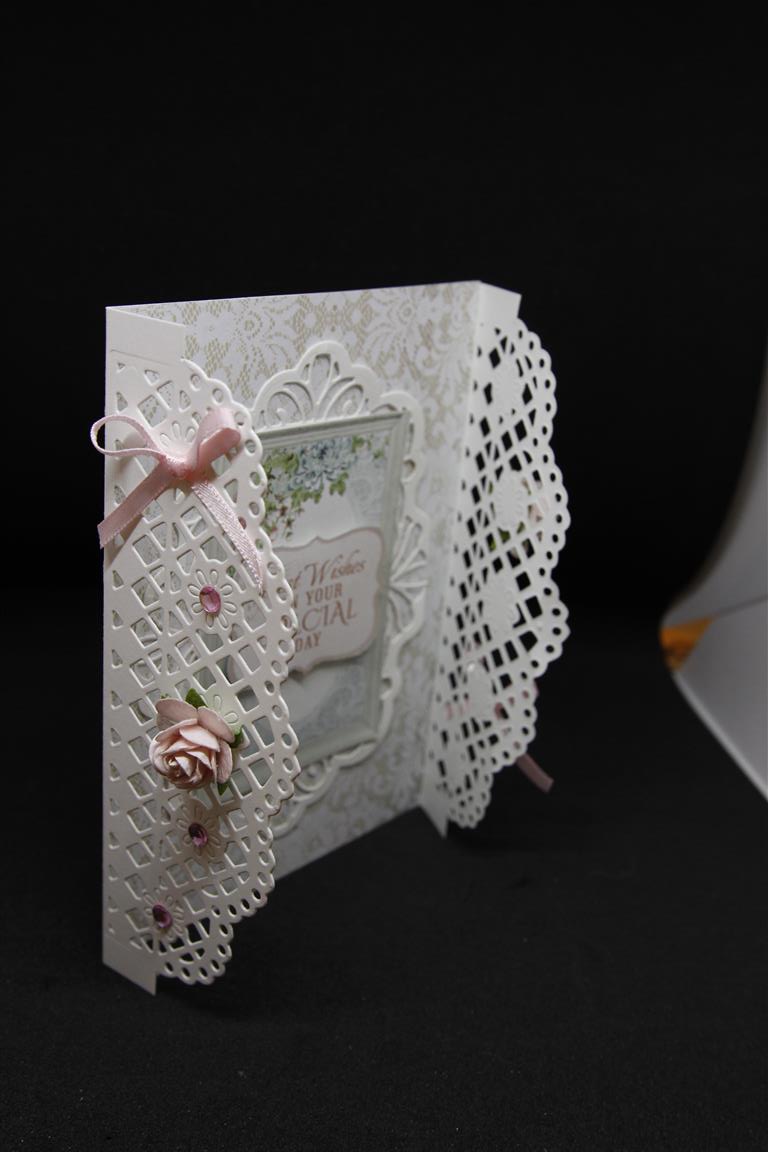 Todays card is made with a gatefold design, and then I die cut the edges of the folds with a border die to give the gated effect! A very light decoration on the outside, just some bling and a couple of ribbon bows and flowers, because all the decoration really happened inside the card. The papers are Kaisercraft Rose Avenue from the 12 x 12 paper selection. Today is my get together with some crafty friends, we meet once a month and the time always comes around quickly, so I must get a move along and gather some projects together to work on while we are chatting! Til tomorrow….
Kaisercraft Rose Avenue 3…
 I used a die to die cut a border on my card front for todays’ card, and then decorated my card inside and out with papers from Kaisercraft Rose Avenue ( the 6″ pad). I added lace, ribbon, flowers and bling,and a sentiment also from the 6″ pad. The photos in this next group are a little dark, I wasn’t home when Nathan took the photos and he was trying out the black background….I will tell him no more experimenting when I am not around! This afternoon, I am doing that most boring of jobs…putting inserts inside my cards. When that is done I get to choose which paper collection I am going to play with next…I have a bit of a pile happening because I have been too busy with class cards, cruise cards and Christmas cards!Looking forward to that ! Til tomorrow….
Kaisercraft Rose Avenue number 2….
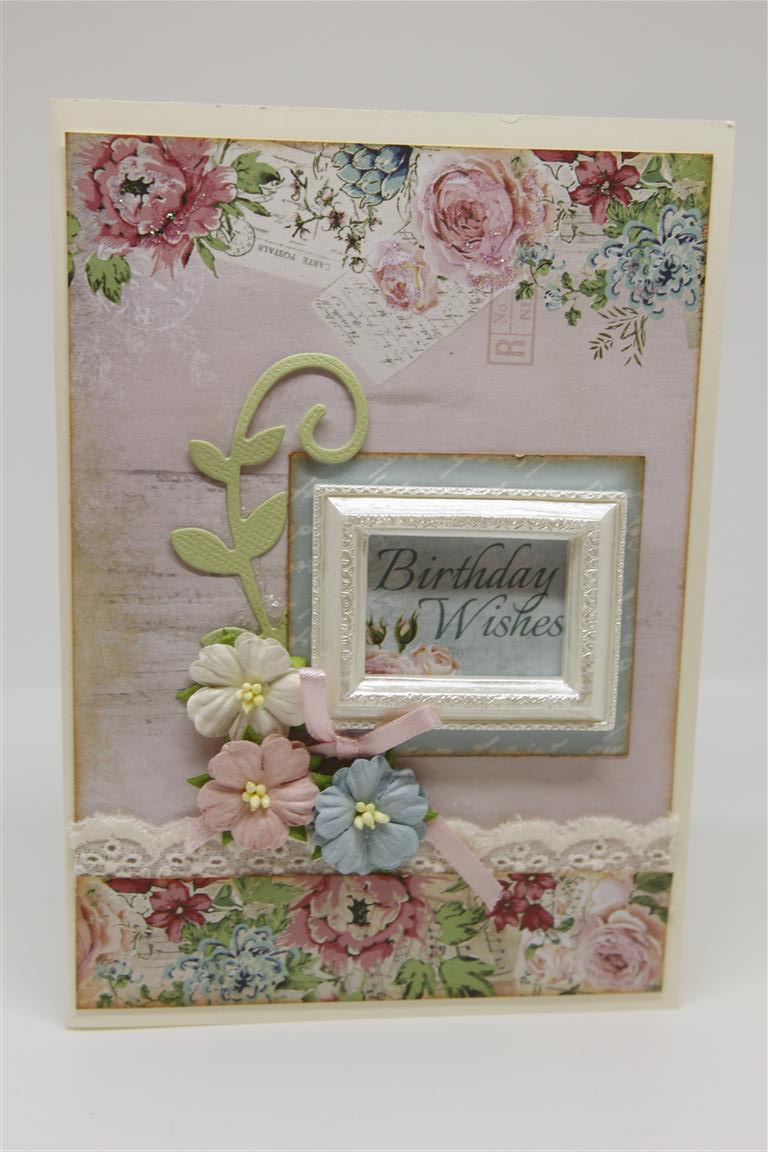 I used a piece of patterned paper from the 6″ pad for the first layer of todays’ card, and a strip of paper left on my desk from yesterdays card ( also from the 6″ pad) for a border across the bottom, with a strip of old fashioned lace peeking out from the top of it. The sentiment is from a piece of the Rose Avenue 12 x 12 sheets and this time I trimmed it a little bigger than the frame, and inked around everything with tea dye distress ink. A die cut flourish, flowers and ribbon were the finishing touches.I am spending the morning at the craft desk putting finishing touches to januarys lessons, and I am so happy to report that all the cruise cards are cut,die cut embossed and ready to pack!! I am teaching tonight and looking forward to catching up with my ladies! til tomorrow….
Kaisercraft Rose Avenue number 1….
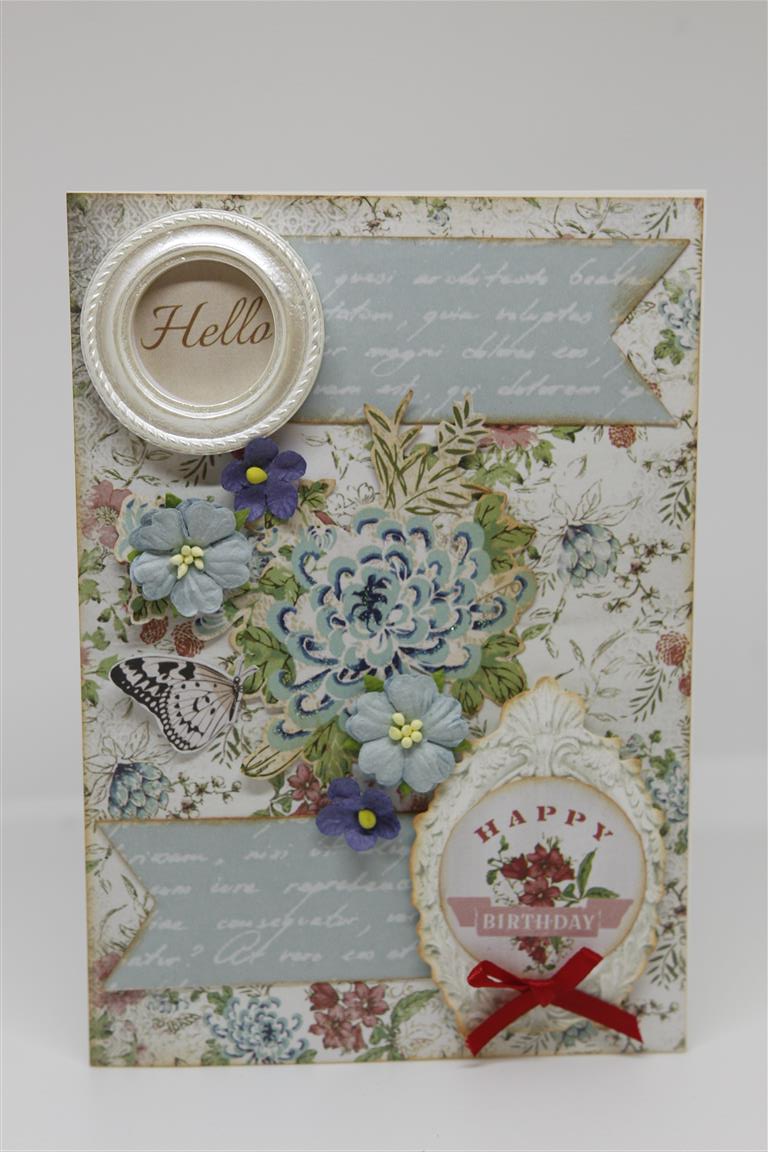 Today we start a new series, Kaisercraft Rose Avenue. This paper collection is so gorgeous! I have made a lot of cards with it already, and have only just now reluctantly packed it away for the moment.We will have a couple of breaks during the posting of this group just in case you guys don’t love it as much as I do! This was one of my first makes….all edges were inked with tea Dye distress ink, and I have used a piece of the 6″ pad and matching collectables. I cut a couple of banner pieces from the script paper, and mounted a sentiment from the pad onto the back of a resin frame. Down in the lower part of the card I mounted one of the sentiments from the pad into the middle of a collectable and added a red ribbon bow. A collectable butterfly and scattering of small flowers to finish! It is very hot here today, 33 C..so everyone in the household is very lethargic, and under the air conditioning ducts is the best place to be! Til tomorrow…..
chipboard foiling..
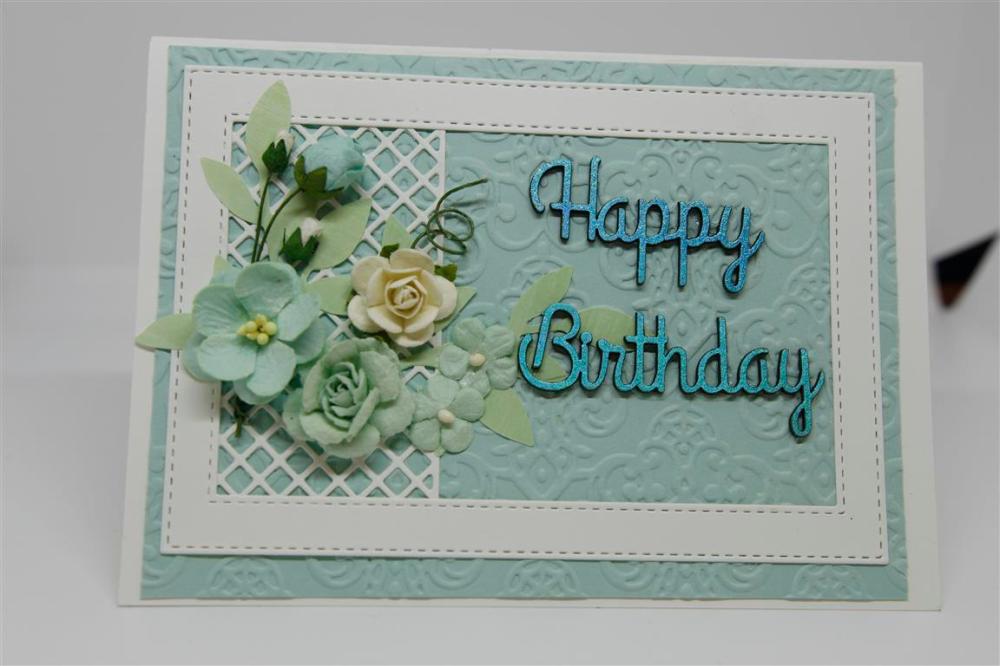
This is the card I made that inspired the whole theme of the class I taught this week at Paper Flourish. I loved the mix of white and soft sea green. I have used a Stampin Up embossing folder, Paper Rose nested stitched dies,and the sentiment is a Dusty Attic chipboard piece which I foiled in the Go Press and Foil machine. The green foilage is a Memory box die, and all the flowers are from I am Roses. I must fly now as we are off to a garden wedding, hope the weather stays dry! Til tomorrow…..
kaisercraft Mint Wishes number 6
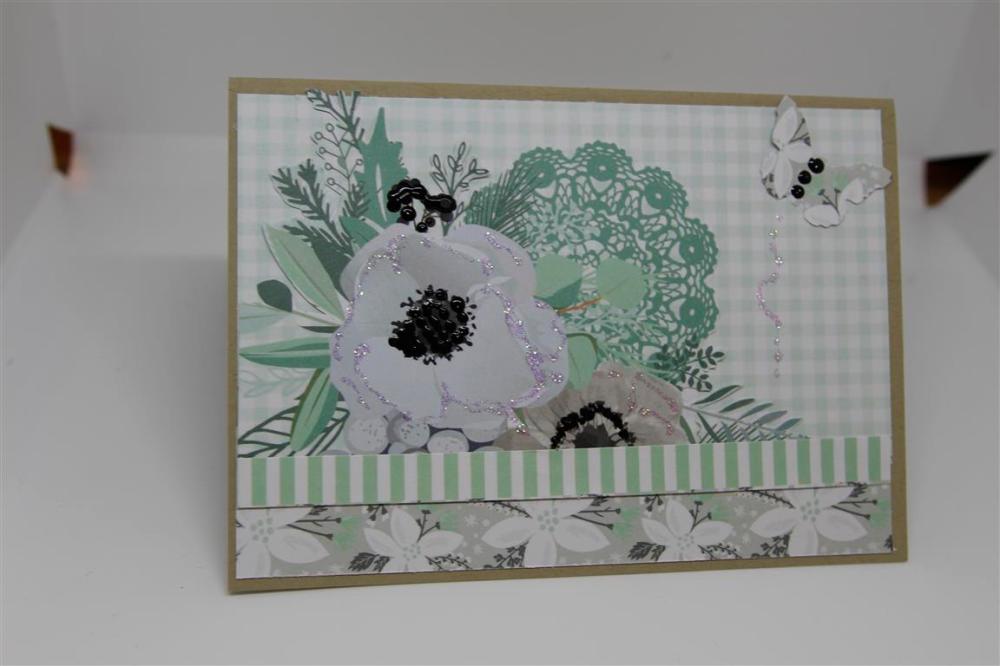 This is the last of my Kaisercraft mint Wishes cards. The left over of my 3 sheets of paper I gave to Mum. This one isn’t a Christmas card, it’s a card for any occasion! I did like the pastel green colour used in this range, and really this was just a corner panel of one of the sheets of paper, with a strip stuck across the bottom and a punched butterfly in the top corner. I highlighted little bits of the design with kindyglitz.A whole new series starts tomorrow! Til tomorrow…..
