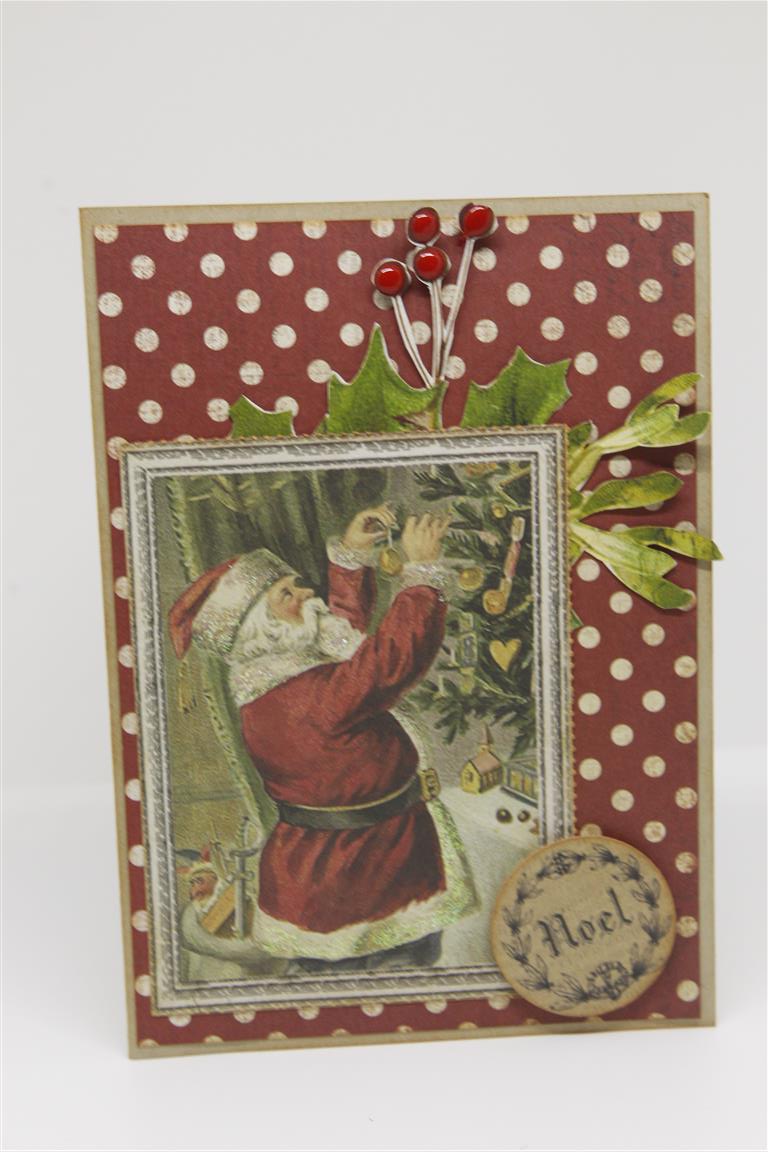
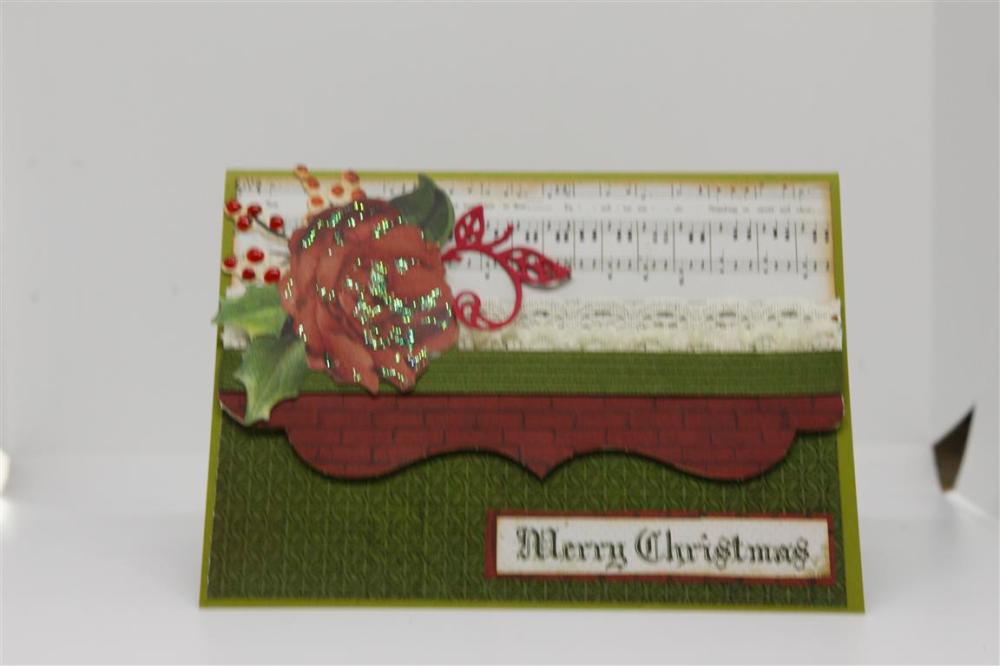
 Today I have used the 6″ pad on both cards, even the fussy cutting elements, with the exception of the santa image which comes from the pull apart 12 x 12 sheet. I have used the Nuvo drops on all my red berries, and added some gorgeous ribbon and lace on the second card ( which is a little blurry…Nathan must have sneezed!). As usual every thing is inked around the edges with my go-to distress ink which sits on my desk..Tea Dye. All packed and ready to head out to my monthly craft and chat gathering, gee time flies, it just seemed like last week we were all together! til tomorrow….
Tag: handmade card
Spring flowers!
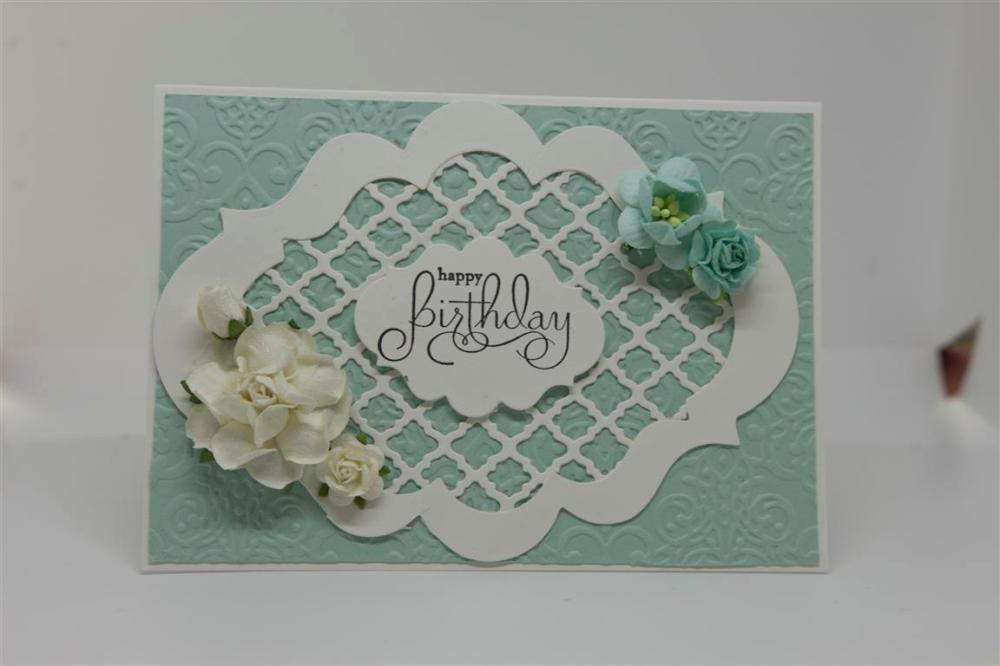
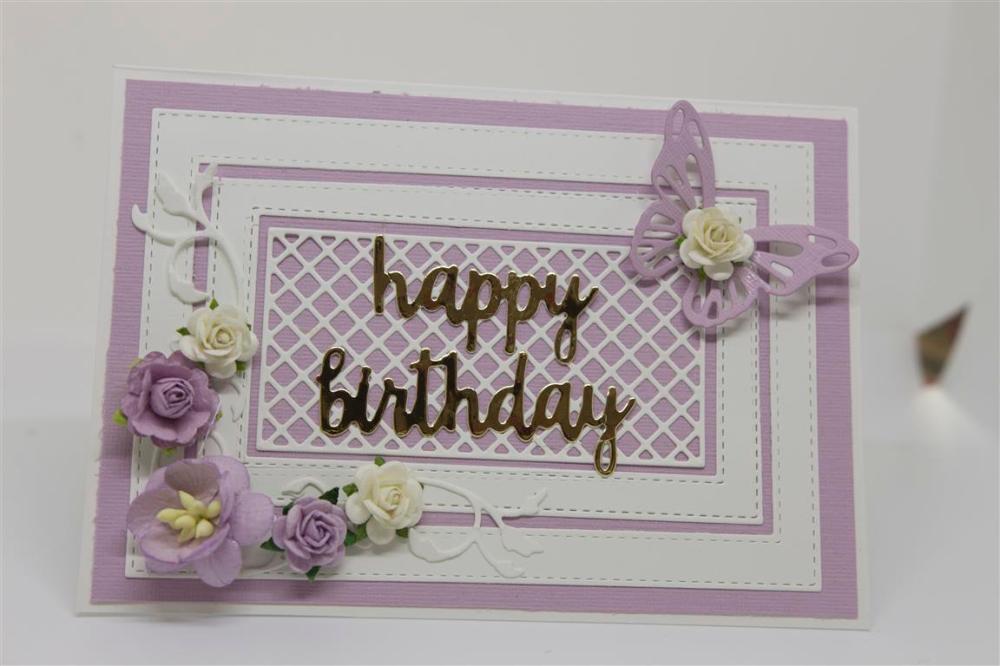 I have posted two cards today because Nathan and I did some photo’ing today and I have a lot of Christmas cards coming up so we will get started on them next post. Meantime, todays cards…the white/aqua card uses the same spellbinders labels dieas the card on the previous post but I also added a spellbinders lattice die to the back of the die cut frame,embossed some aqua cardstock, and added some flowers.The second card uses a Paper Rose die ..3 dies in this set which I die cut all at once and then just layered onto a mauve piece of bazzill cardstock. added a die cut butterfly and flourish,and flowers to finish. The greeting is a kaisercraft occasions die , die cut from foil cardstock. I am teaching a class tonight over at paper Flourish, so this morning I have been finishing a couple of projects left half way through on my craft table, and thinking about November lessons! Til tomorrow….
Pretty in Pink!
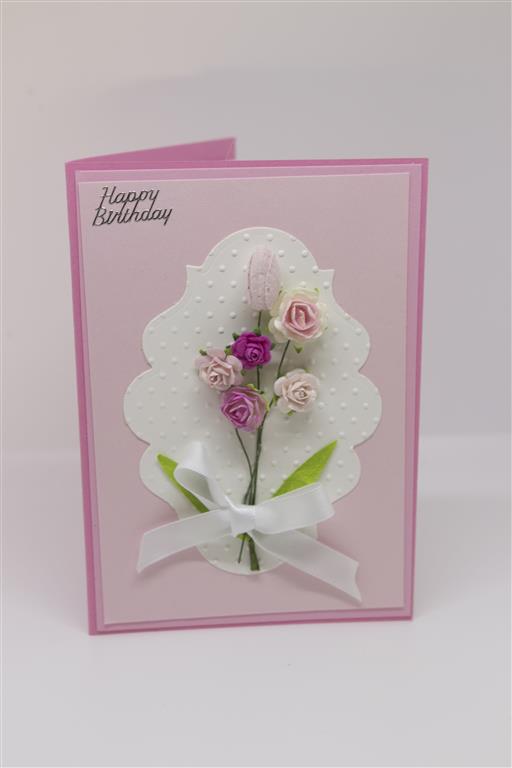 Todays card is a card i made with the retirement village ladies. I love layering up shades of colours and pink always looks gorgeous. The die is a spellbinders label die, and after die cutting in white cardstock I ran it through my swiss dots embossing folder..and oldie but goodie…never grows old! Then it was just a matter of gluing on some roses ( from Iam roses) and a ribbon. To glue on the roses I used 450 glue which is a clear fast drying glue perfect for this job! A rainy day here, and I have just got home from work so i am off to have some lunch! til tomorrow…..
Decorated folding box cards…
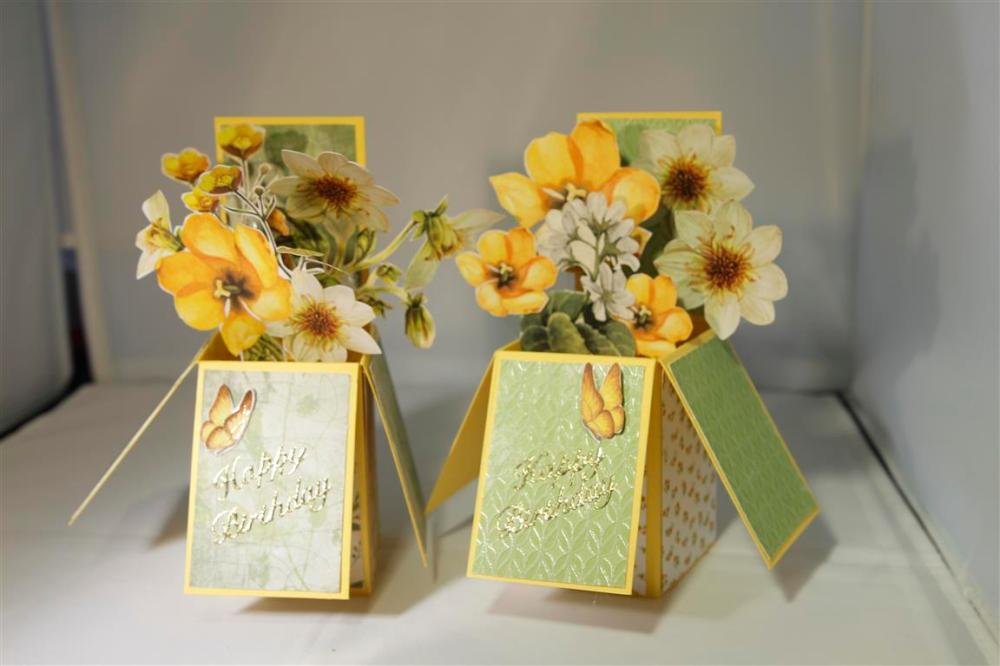 Today here the sun is shining, and the spring bulbs Nathan planted are starting to flower so these two cards were my first choice to post today. There is a link to my you-tube video here on my blog down on the right hand side to show you how simple these cards are to construct and once done decorate the panels…Here I used Kaisercraft Golden Grove papers from the 6″ pad. For the flowers I fussy cut them from a piece of Kaisercraft Golden Grove specialty 12 x 12 paper and attached each flower to a strip of acetate with 450 glue, which is a clear strong quick drying glue. This afternoon I am off to visit Mum and Dad, where Mum and I will enjoy a crafty afternoon while Dad will hide in his own craft room, away from the chatter and laughing…venturing out when he hears the kettle boiling to enjoy afternoon tea with us and exclaim over our wonderful crafty makes! Til tomorrow…..
Not so shabby….
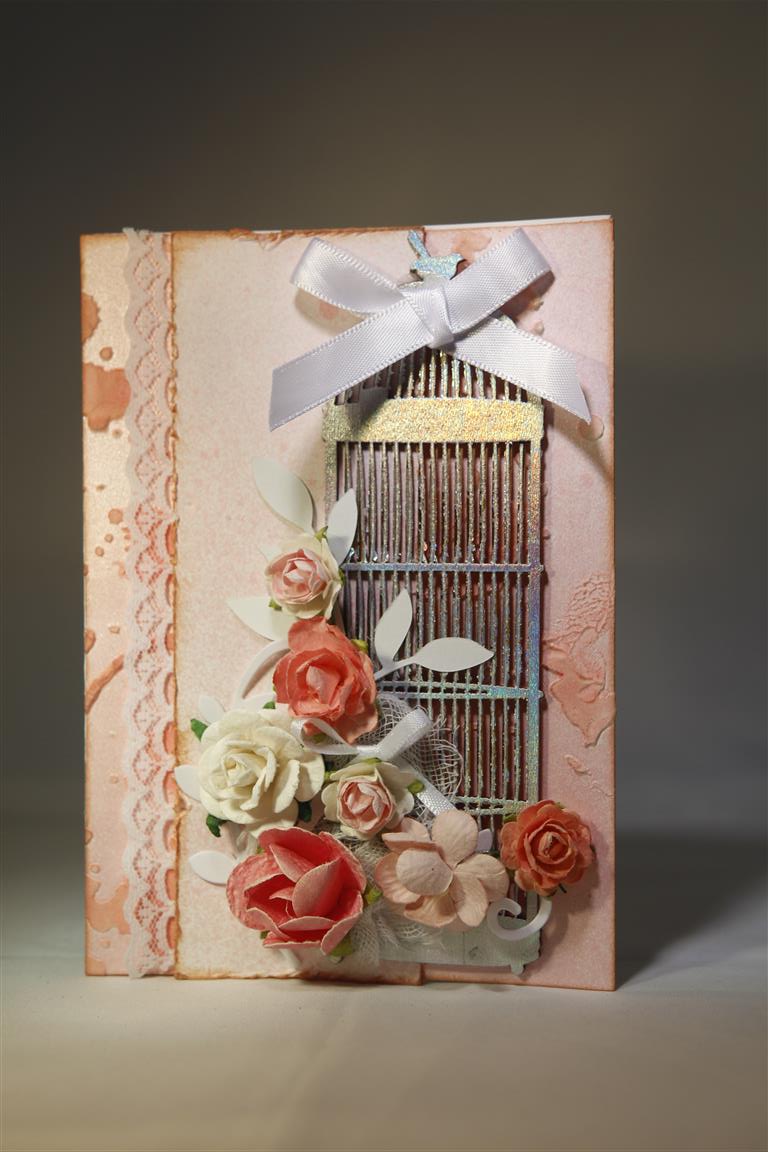
On the previous post I explained how I made the background paper, and I used an A4 piece of cardstock. This actually gave me enough shabby cardstock to make a second card. For this one I foiled a chipboard birdcage, layered a piece of lace under one of the layers, inked around everything with distress tea dye ink, and then just layered up the flowers, gauze ( from the chemist) die cut leaves ( memory box loralai leaf branch) and ribbon bows. The weather here has been lovely…we even saw some sunshine for a brief time but it has turned cold again today, so this afternoon I am s5taying put in the lounge room, sorting out my dies into a more manageable system of storage and ability to find! Til tomorrow….
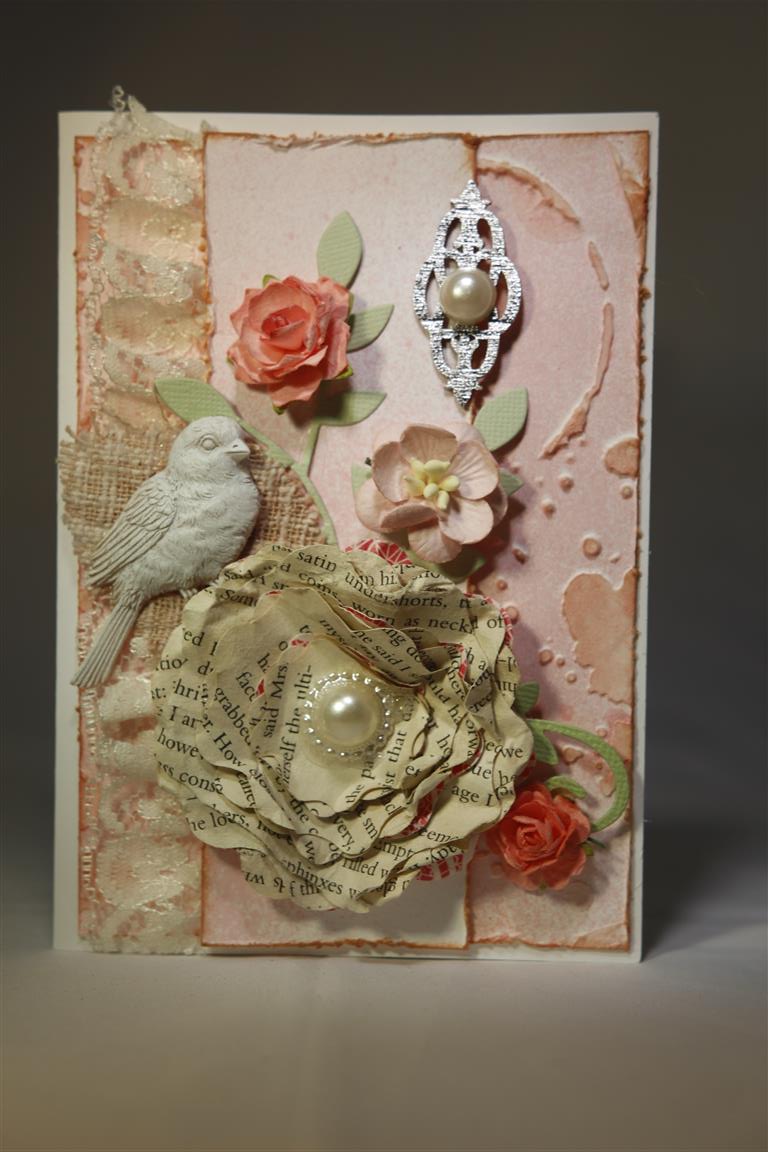
Shabby Chic..Helen style!
 Before I start this morning I just want to let my American followers know I am thinking of them all, the ones in the East who are battling with Fire, and the ones down south who are battling with the aftermath of one Hurricane and bracing for more…my thoughts are with you all.
I am determined to master Shabby Chic. I love shabby, but I am struggling to get to the point where I can say I have succeeded, but I will continue to practise, and show you my progress. This card has a lot of product but a lot of it was put together with bits and pieces left on my work table from other projects so i didn’t prepare anything new for this project except for the background layer which was a piece of A4 white cardstock. I painted it with a light watered down layer of Gesso,and used a texture template to add some Liquitex Light modelling paste. When that was dry I tapped some tea dye distress ink over the raised bits and sprayed randomly over the whole piece with Prima Color Bloom Cotton candy spray mist. All that remained for this step was to cut to size, distress all the edges and ink with more tea dye distress ink and attach to the card front. decorating…. a strip of lace under one of the layers, a Prima Bird, a flower made with sizzix bigz 3d flower die and old book pages, memory box Lorelai leaves die,kaisercraft wooden flourish foiled in silver, pearls , Prima hessian leaf,and flowers. Til tomorrow…..
Final 2 Christmas jewel..double z fold
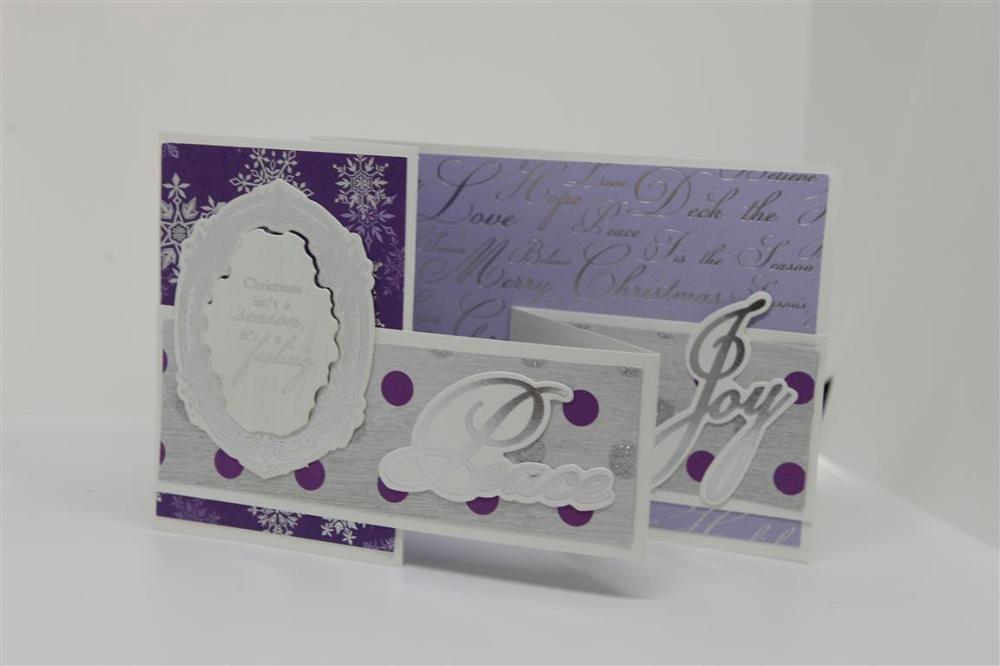
 Here are the final two Kaisercraft Christmas Jewel cards, done in a double z-fold design. Both cards make use of the 6″ pad for the layering and the matching collectables for the embellishing. These were truly qucik and easy cards to make! i finished work at lunch time today, and I saw the sun peeking through so I grabbed my lunch and went and sat out in the garden for a little while and it was lovely! the sun has gone back in and so I have I, now I am going to head to the craft room for a couple of hours end of week relaxing! Til tomorrow….
Kaisercraft double z fold Christmas Jewel..

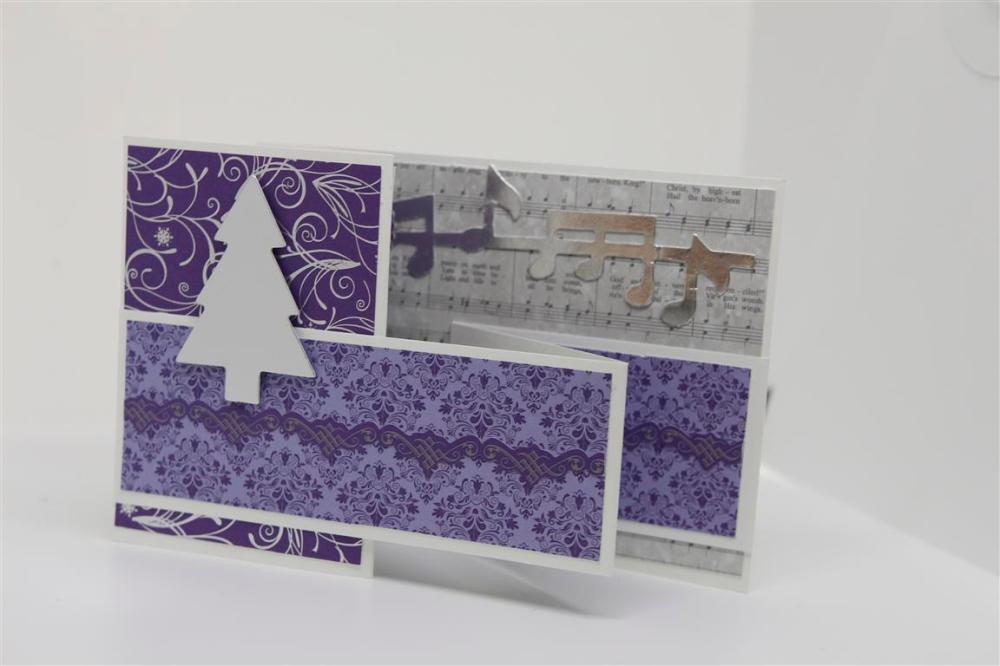
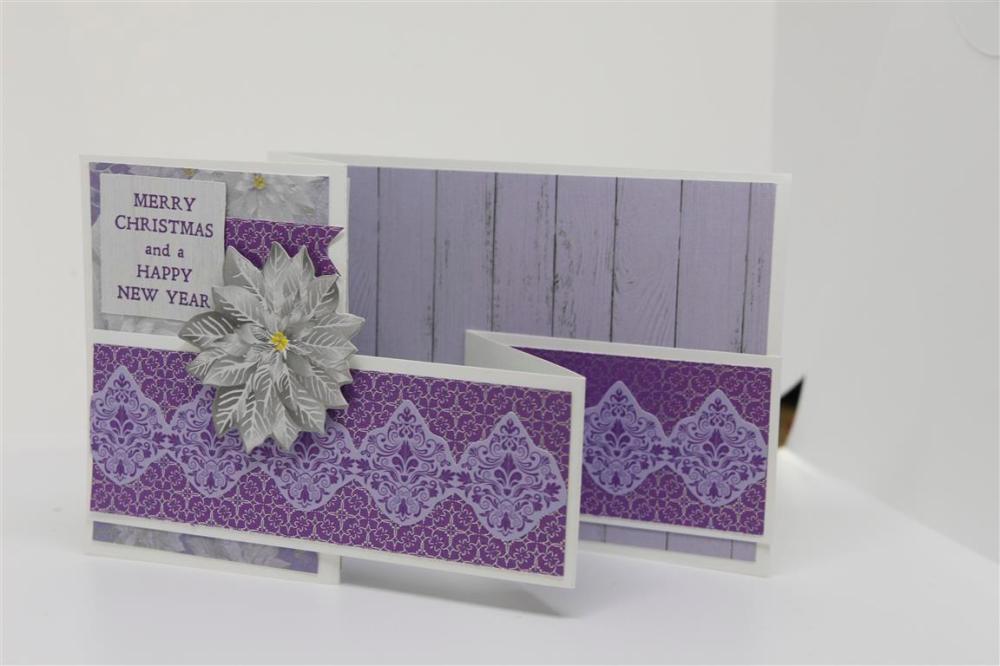 two Double Z fold cards today made with Kaisercraft christmas Jewel, papers and collectables.I am doing a lot of this design this year because these will be the ones I send out to family and friends. Todays top card uses papers from the 6″ pad, a punched reindeer, a strip from the sticker sheet and a Kaisercraft wooden flourish foiled with the go press and foil machine. The lower card also uses papers from the 6″ pad, sticker sheet and a couple of the collectables from the matching pack. I ahve been to work and am home again so i think i will spend a little time this afternoon in the craft room, playing with the new kaiser range I picked up the other day, still christmas, but traditional colours this time! til tomorrow…
Kaisercraft Christmas Jewel number 7
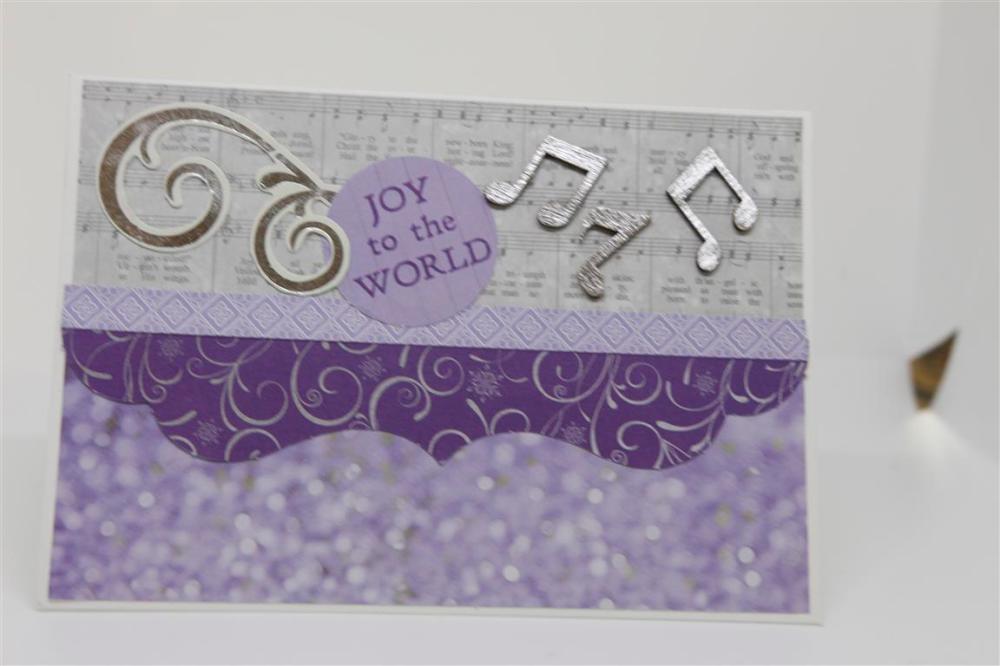 Another card using the scraps from Kaisercraft Christmas Jewel collection. The music notes are from a little box of kaisercraft wooden flourishes and I silver foiled them with the Go Press and Foil machine. Very quick post this morning as it’s Fathers day here and I am off to see my Dad! Til tomorrow….
Kaisercraft Christmas jewel number 5
 Todays card is interesting because it uses some of the strips of offcuts from papers from the 6″ pad used on other cards. A great way to use up scraps. The decoration is from the kaisercraft christmas Jewel collection, and the greeting is from the sticker sheet and layered onto more scrap paper. I love the colours of this papr collection, and today we got in the september Kaisercraft releases which are both Christmas paper collections and I love the red/green vintage collection so that will be my buy for this month! Til tomorrow….
