 I should add for now, because I will revisit this paper collection! Both cards are made with the 6″ pad papers, and the fronts decorated with some of the collecables of the same range. I printed up a special insert for the bottom card that says “wishing you a FANtastic day”…I couldn’t resist the play on words…Very busy at work this week, and I haven’t spent any time in the craft room, but we have a long weekend off for Easter this weekend so I will spend some time in there then! Til tomorrow…
Tag: handmade cards
Kaisercraft Hanami Garden 5 and 6…

 Two cards today, both made with Kaisercraft Hanami Garden paper collection and matching collectables. The top card has a piece of paper from the 6 ” pad as a base layer, and a few of the collectables placed inbetween the printed images,with some gold and some black ribbon and gold sequins to finish. The lower card was very simple – layers of paper from the 6 ” pad, with a collectable as the focal image. The sentiment is also from the 6″ pad. Today i am playing with gorgeous blue butterflies from the new kaisercraft collection called Indigo Skies. I only bought 3 of the 12 x 12 sheets from this range, but I am getting my moneys worth, and have done a few different things with it . At the moment I am decorating a photo frame, something i havent done before so we will see how that works out! til tomorrow….
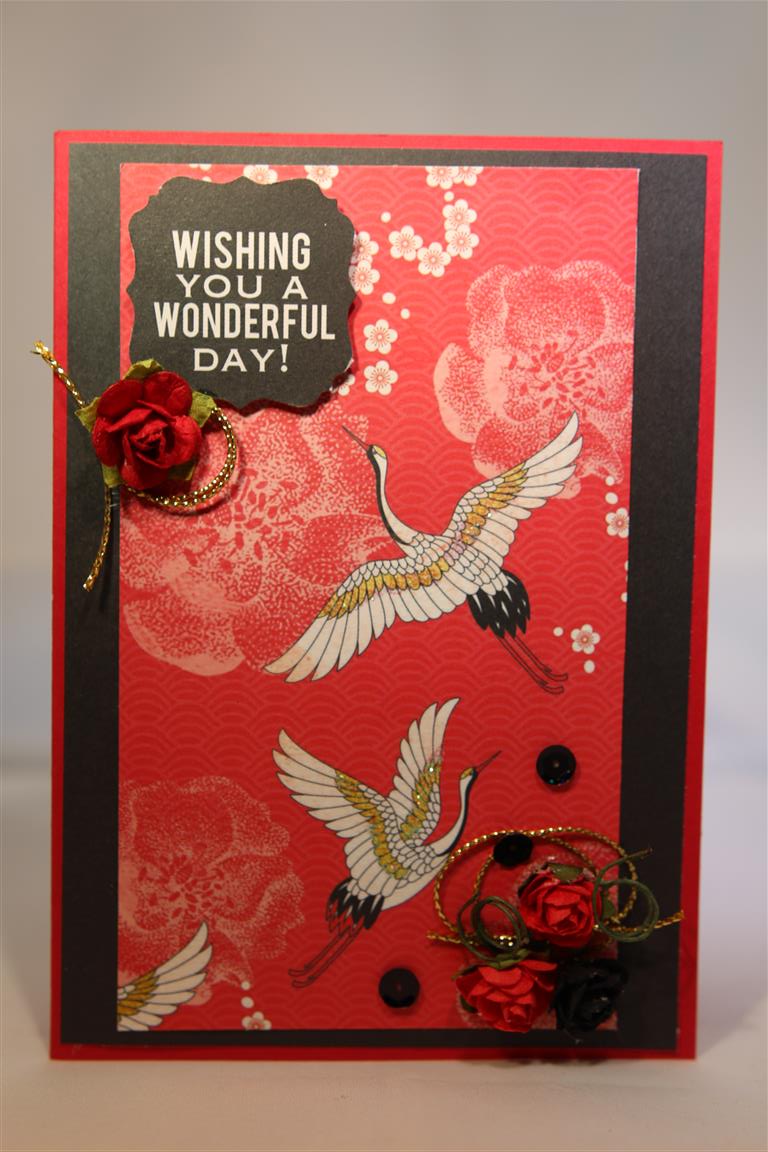
Kaisercraft Hanami Garden number 4…
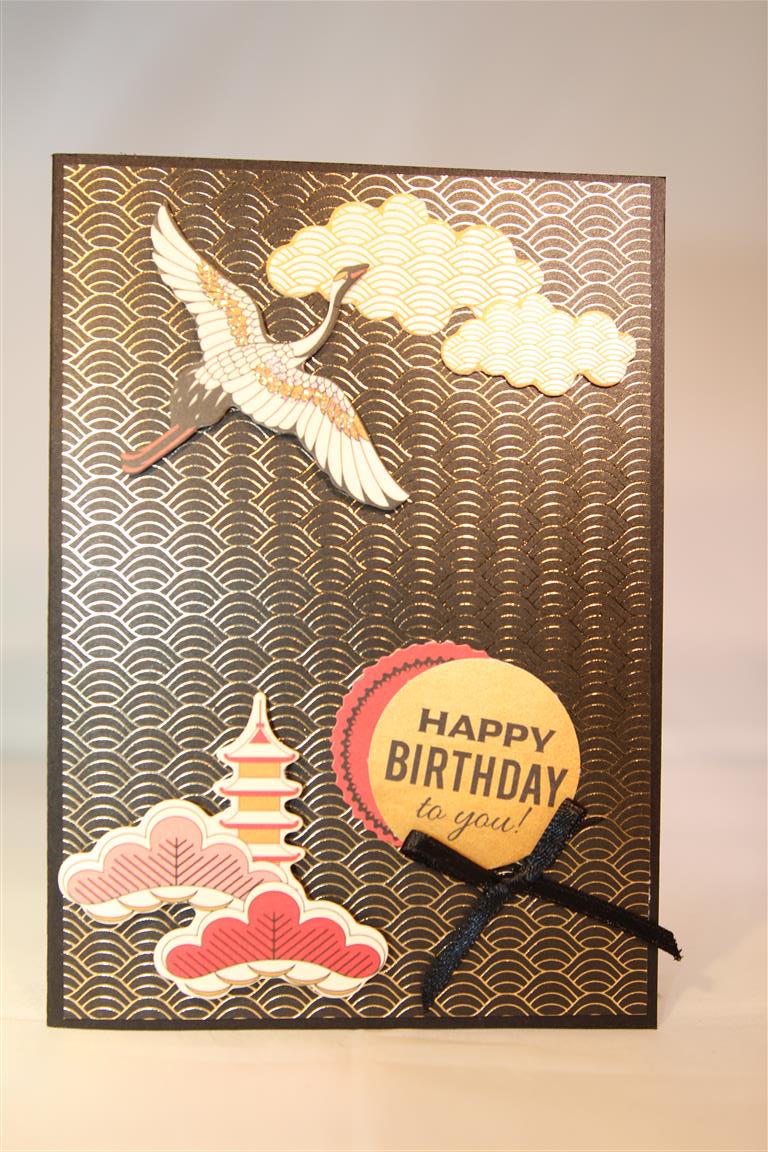
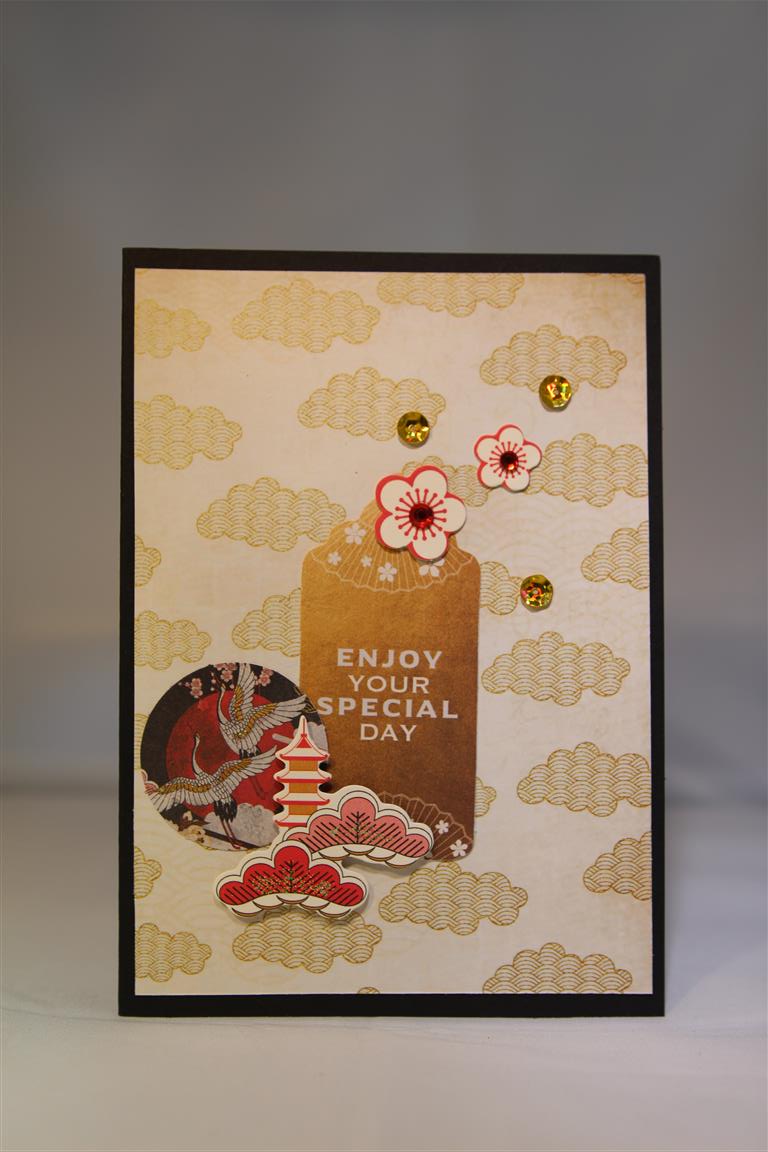 I concentrated on the gold element of the Kaisercraft hanami garden collection for this card,although I still used a black card base to tie in the black elements on the card .The paper is from the 6″ pad, as are the sentiment tag and circle. The flowers and pagoda are from the collectables pack. I just had to add some gold sequins and a little kindyglitz to finish this one. I have been over to the chemist this morning to have my Flu injection,so glad that’s done, and this afternoon I will catch up with Mum and my sister. I have also booked my stall at the June long weekend Salisbury Craft Fair, so from now until then it will be all about preparing my stock and having a bit of a clear out to sell some unwanted items. Til tomorrow….
Hanami Garden number 3…
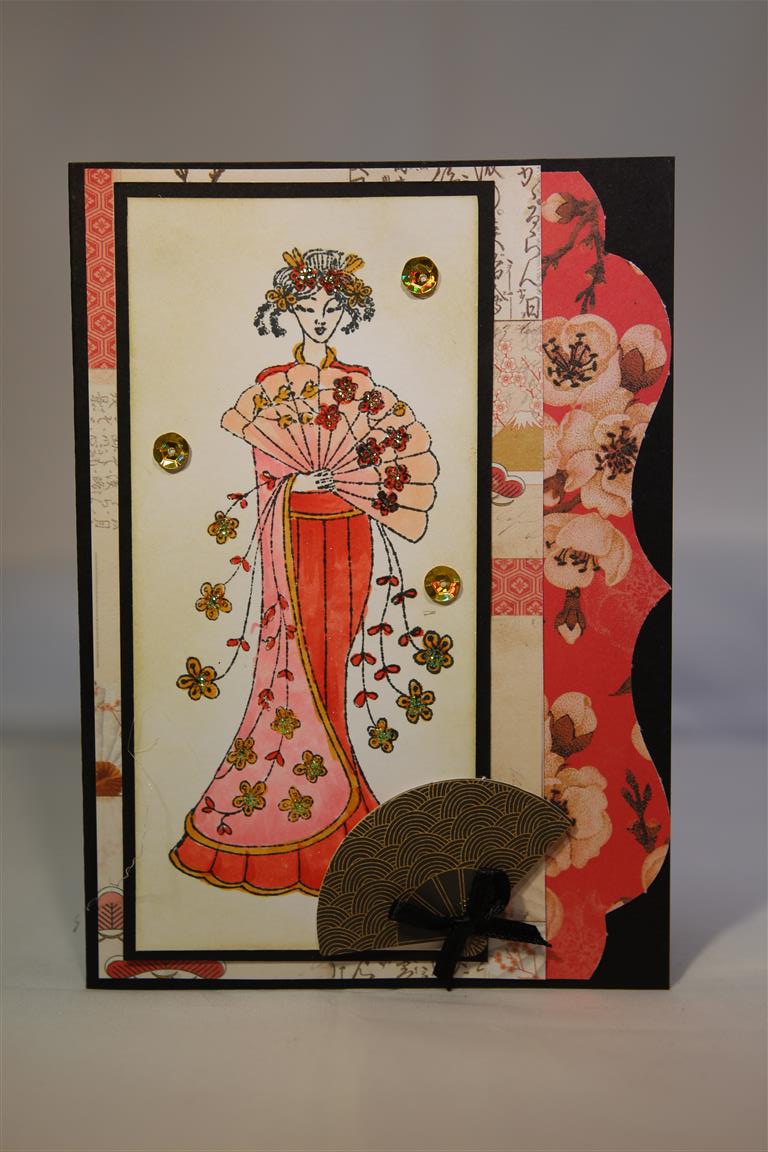 for todays Kaisercraft Hanami garden I used some papers from the 6″ pad, and a collectable ( fan)on which i stuck a black ribbon, but the main thing here is the stamped image which I coloured. The stamp came as a freebie on a magazine, and came at just the right time for these papers! I coloured it with Copics, and decorated with a couple of gold sequins. I have been to work, and I am home again now, I have a pot of casserole on the stove which is destined for the freezer,and tonights tea is all prepared, so a bit of free time this afternoon to maybe tidy up the craft room! Til tomorrow…..
Kaisercraft hanami Garden number 2
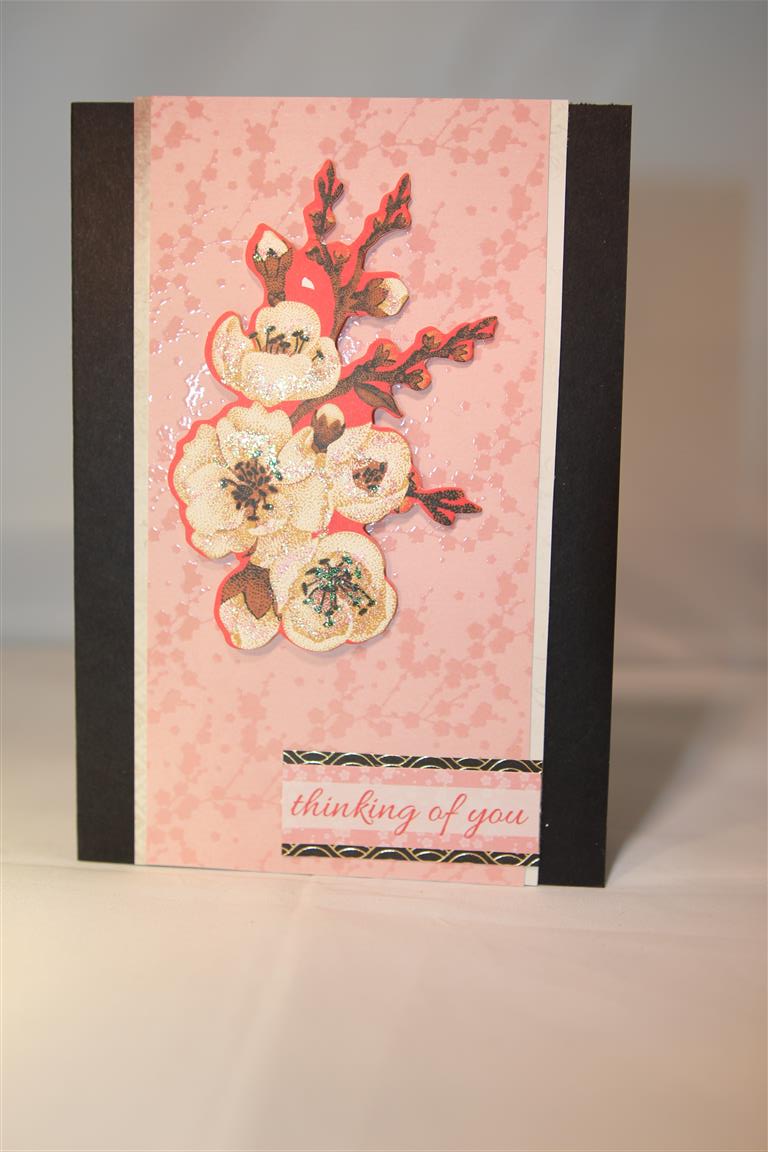
 For my second Kaisercraft Hanami Garden card I used a piece of the 12 x 12 paper, matted onto a plainer piece and then all onto a red card base.The paper is so lovely, I just added a few flowers, and a sprinkle of black sequins and gold cord. The sentiment is from the 6″ pad. Today is work, housework, and then cook tea, so I am sorted! Til tomorrow….
Kaisercraft Hanami garden
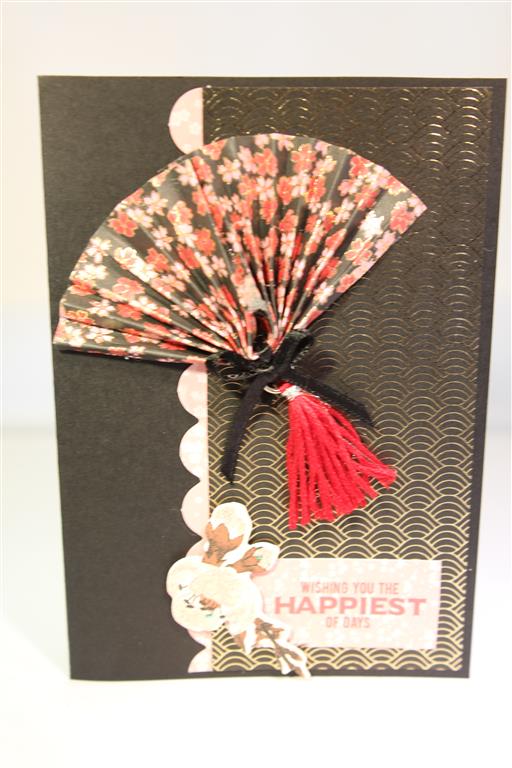 And now for something completely different!I love the rich colours of this paper collection, and it is completely different from what i usually work with. I started off simple with this card, I made a paper fan – something I wanted to do as soon as I saw the paper, and as luck would have it , on my desk was a red tassel, something my sister had given me attached to a present! The rest of the card was just paper and sentiment from the 6 ” pad, and a flower collectable. I used Black cardstock for the base card.It’s cooking and cleaning afternoon here so i had best get on! Til tomorrow….
Tie Dyed t-shirt card
 This is the first card I made with my new stampin up stamp set..Custom Tee, so I was really just getting the feel of the stamps.The background paper was just a scrap on my table as were the felt flowers and button. I stamped the t-shirt on plain white card, cut it out and used my copic markers to do the tie-dye design ( will practise that a bit more!) The Vintage sentiment is in the same stamp set, and the happy birthday is from another stampin up set. All of a sudden I have a few projects on the go.. thinking about a whole new range of cards to do for our cruise next year, I am making a box for a challenge,still need some wedding cards,new kaisercraft paper to play with and some village lesson cards to prepare. My sister gave me some new stampin up stamp sets yesterday and so I am itching to try them out too….ahhh life’s good! til tomorrow….
The Last Cherry Tree Lane card ( 15)
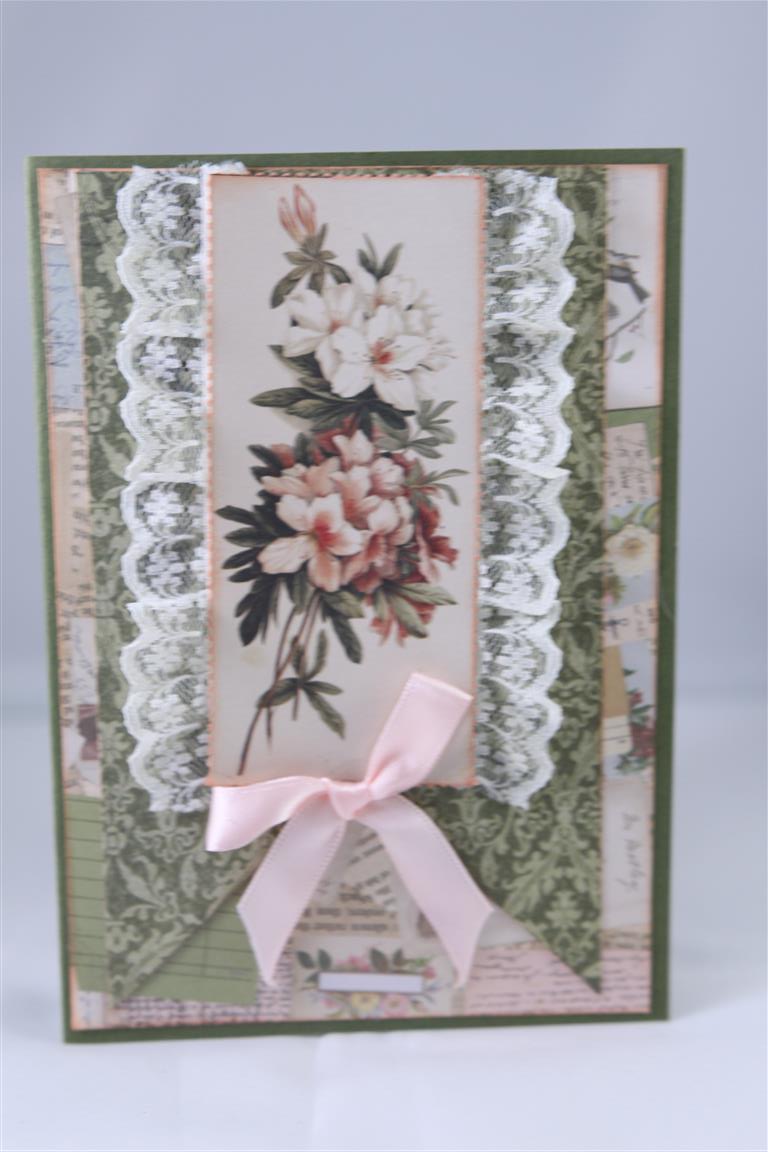 I can’t promise this card ( made with kaisercraft Cherry Tree Lane 6″paper pad) won’t be the last, but it is for quite a while!The image in the centre is from the 12 x 12 cut apart sheet from the same collection, and I trimmed the sides with lace, and cut a banner shape to frame it. A light pink ribbon bow to finish. Yesterday i bought some new Kaisercraft High Tea papers, so beautiful, and I can’t wait to start making with it but first this week I have to make some wedding cards to fill my box, The June long weekend craft fair is not far away, and I have to start preparing for it! Til tomorrow….
Cherry Tree lane 14..
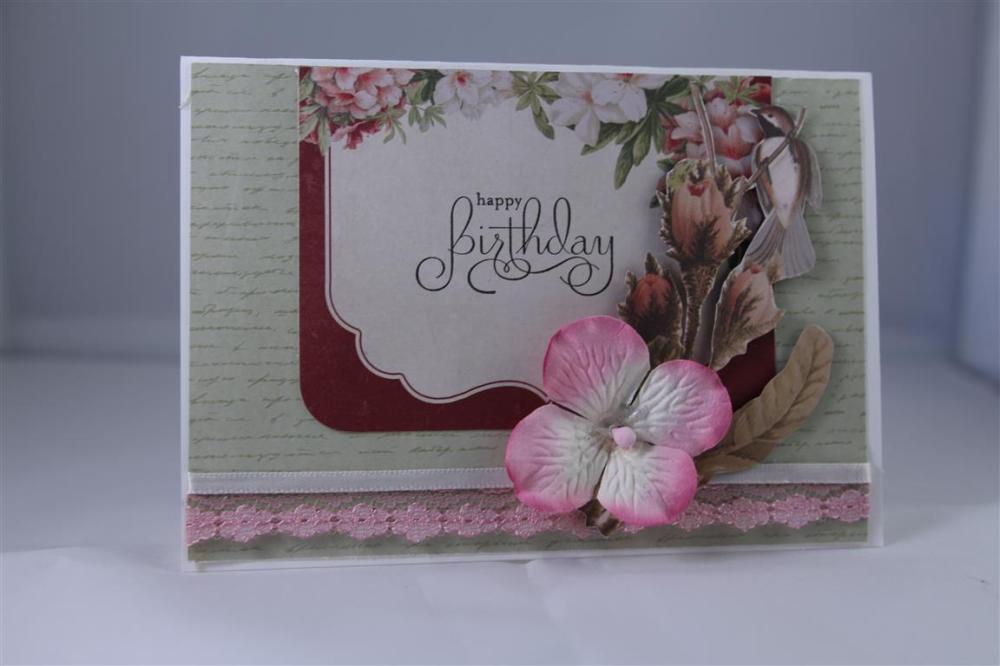 Very quick post today as I am off to work shortly. This is the third lesson card that I did with Kaisercraft Cherry Tree Lane 12 x 12 papers.One piece as a backgound,one of the “card fronts” from another 12 x 12 piece, a bit of fussy cutting, ribbon, lace and a flower.Til tomorrow….
Kaisercraft Cherry Tree lane 12 and 13…
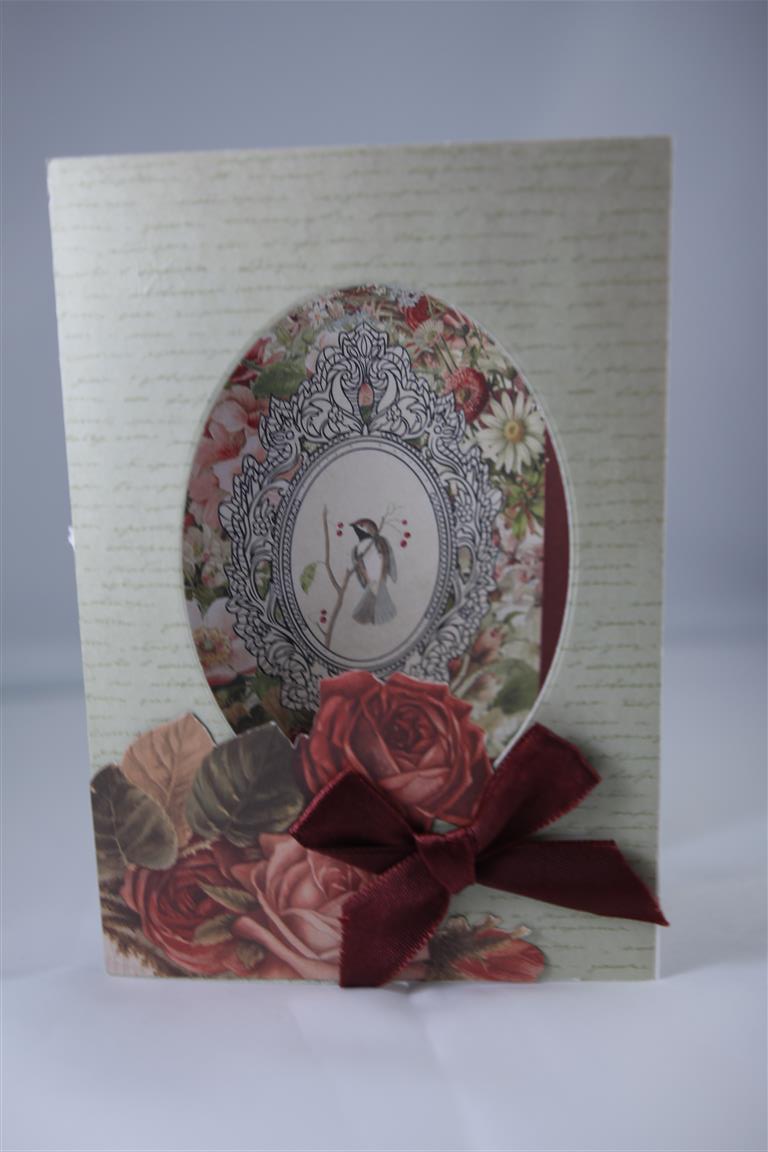
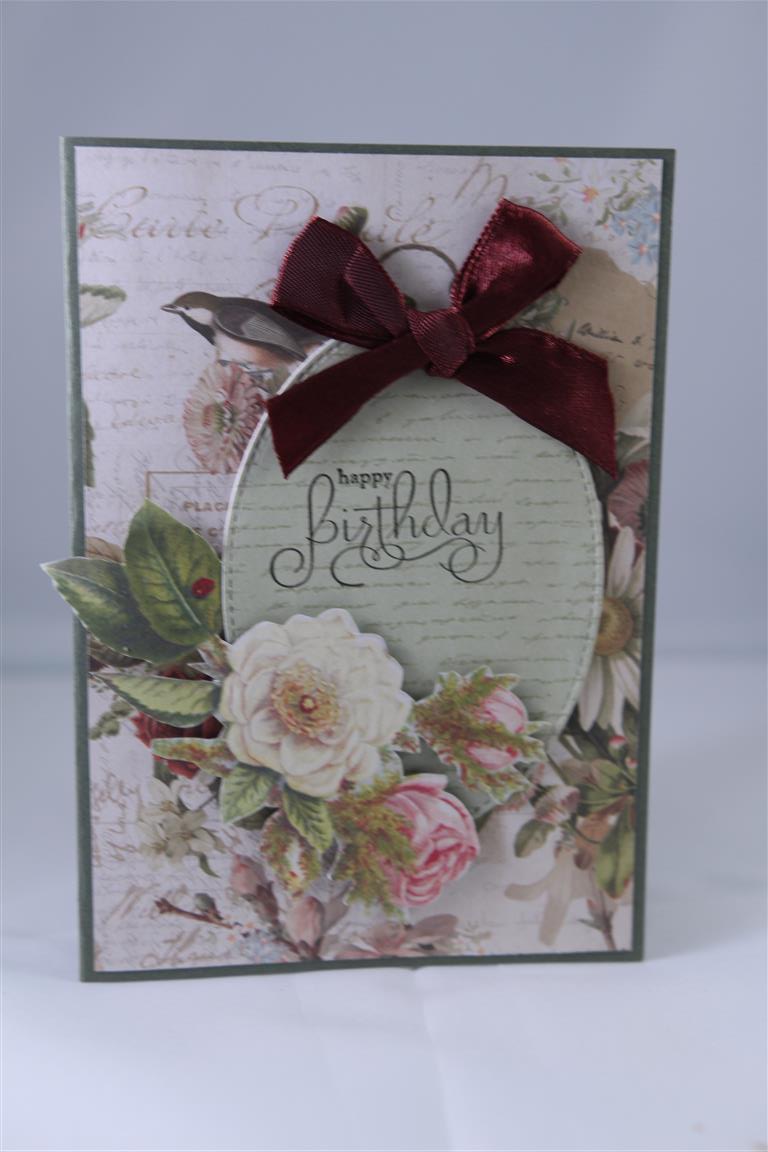 Yes we are back to Kaisercraft Cherry Tree lane and these are two cards that I did for a lesson. The top card has and oval die cut from the front of the card, and the back ( or inner panel) is decorated so that the bird panel ( from a piece of the 12 x 12 paper) shows through the die cut hole. The front panel is decorated with some fussy cut flowers and ribbon. The second card uses the oval we die cut from the first card – no waste here..with a stamped sentiment, some more fussy cutting and another ribbon bow. The backgroung layer was trimmed from a sheet of 12 x 12 paper, making sure I had the bird positioned where I wanted him. Nathan and I have spent this morning photo-ing my recent makes, and now I have to go and put inserts in all of them, a most tediuos job but it has to be done! til tomorrow…..
