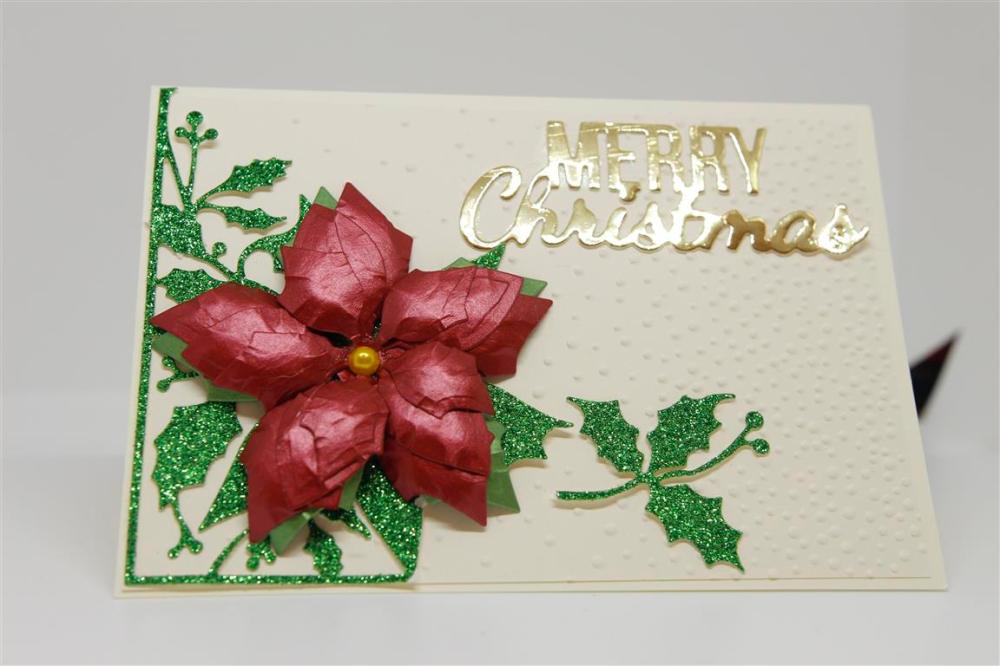
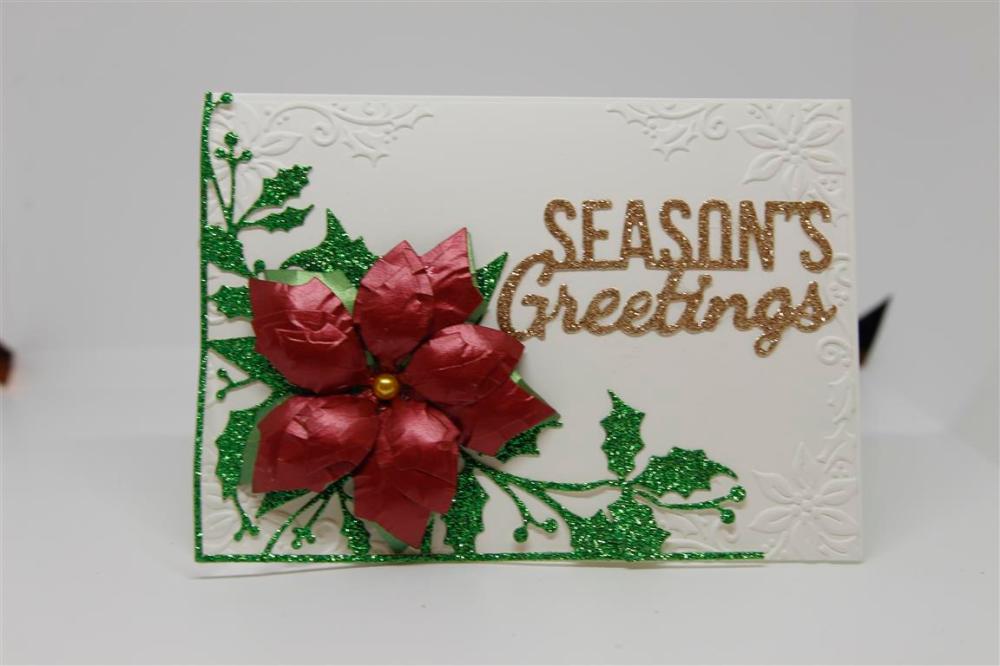
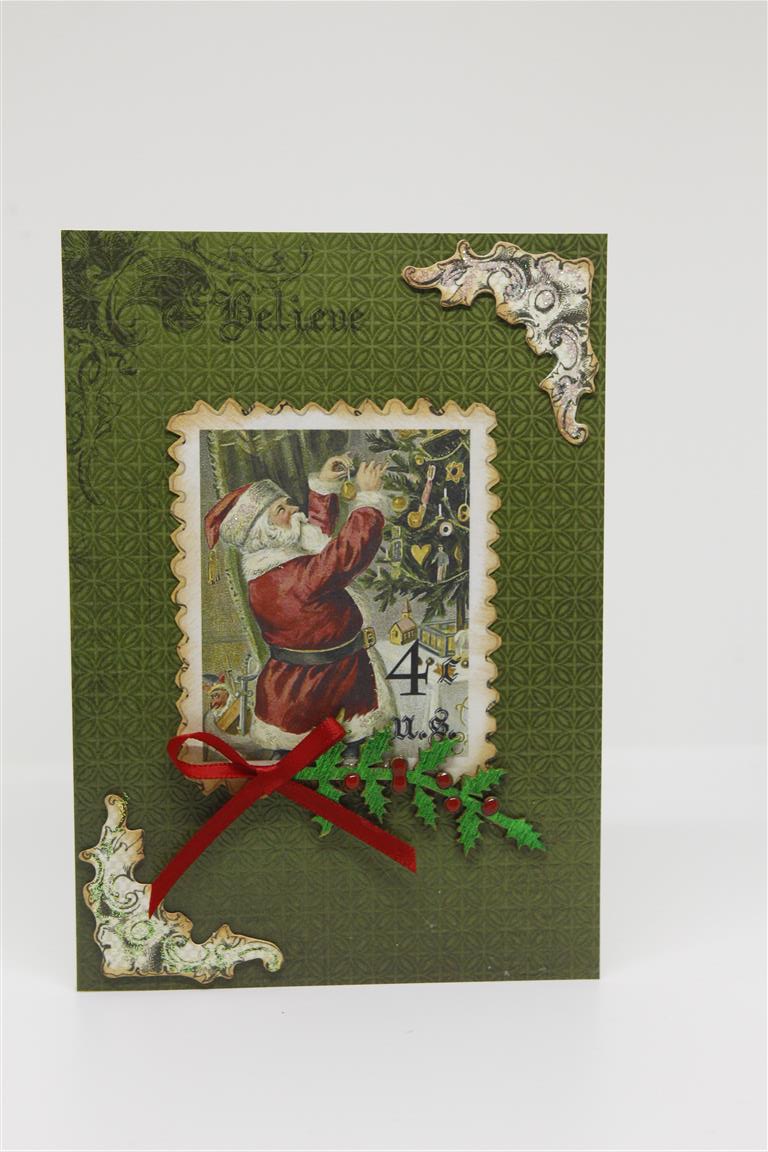
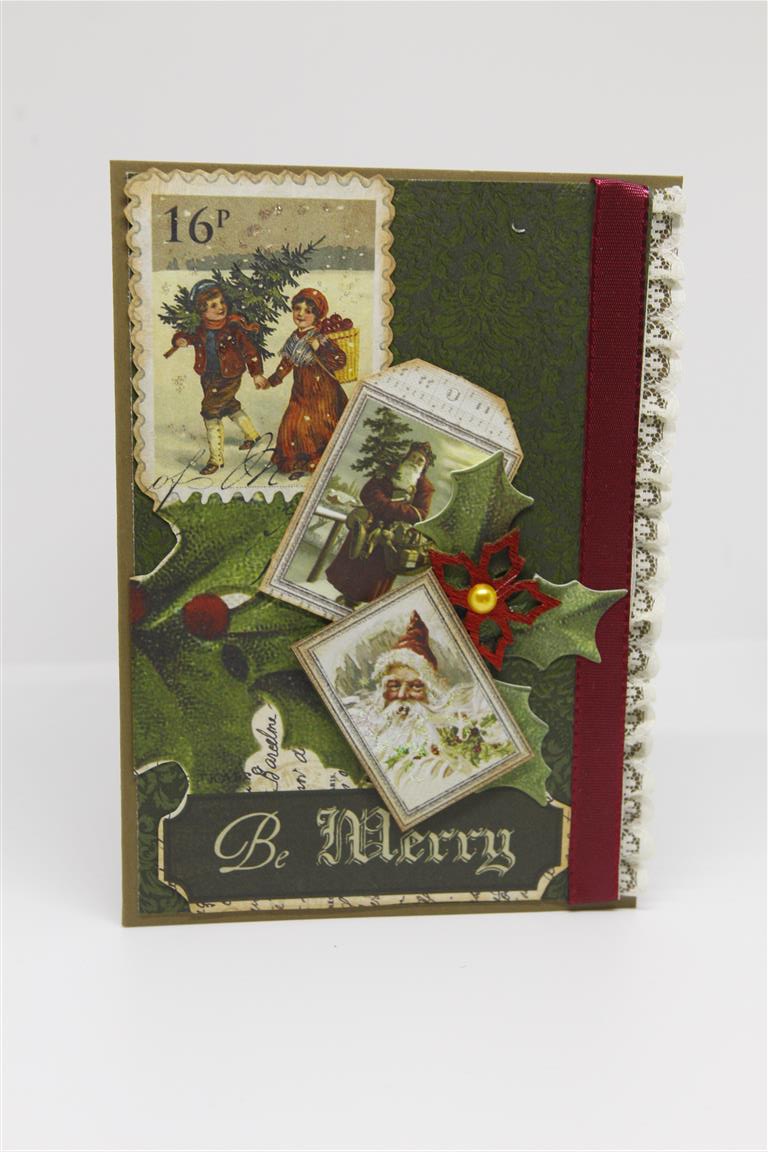
 This next series of Christmas cards have one thing in common.. Poinsettas! These first two are very similar, the embossing folders used on the backgrounds are different, and the greetings are different too, but both Kaisercraft dies. The poinsetta dies and matching corner die are by paper Rose, and I really had fun shaping the flowers with my new paper flower tools by Mcgill…my new favourite toys! Meanwhile talking of favourite toys I have been die cutting chipboard shapes and foiling them in my Go Press and foil machine. A bit of experimentation, but i have it all worked out, and I am foiling up a chipboard storm to use on my cards the next time I have a crafty session in the craft room! Til tomorrow….
Tag: inspire
A Box ( or 2) of Butterflies!
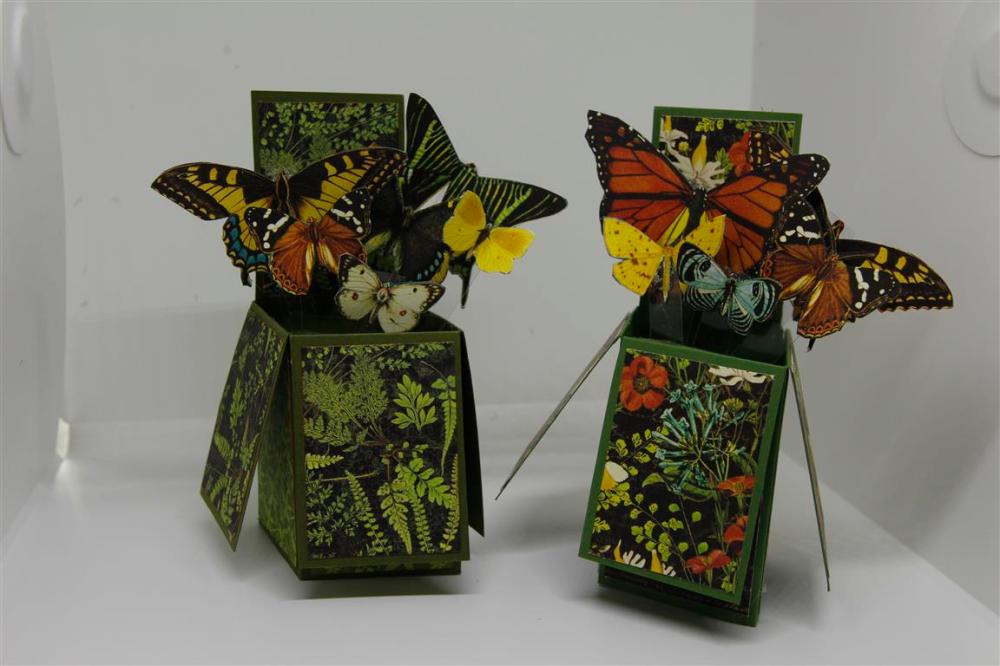 I made these two cards for family birthdays, and I used Graphic 45 Natures Sketchbook 12 x 12 papers. I have done a you tube clip on how to make these super easy box cards, they fold down to fit into a normal sized envelope, I posted one and it arrived safe and sound! The link to my you-tube channel is over there on the right hand side of my blog, ( you may have to scroll down a little bit to get to it). I fussy cut lots of butterflies from one of the 12 x 12 papers. I have spent this morning working on December classes, one more to go and I will have all my classes for the rest of the year sorted! Where has this year gone? I also spent a bit of time die cutting some scrap card to try out some new dies that have been on my craft desk waiting for me to try out! Til tomorrow…..
Graphic 45 Natures Sketchbook number 2….
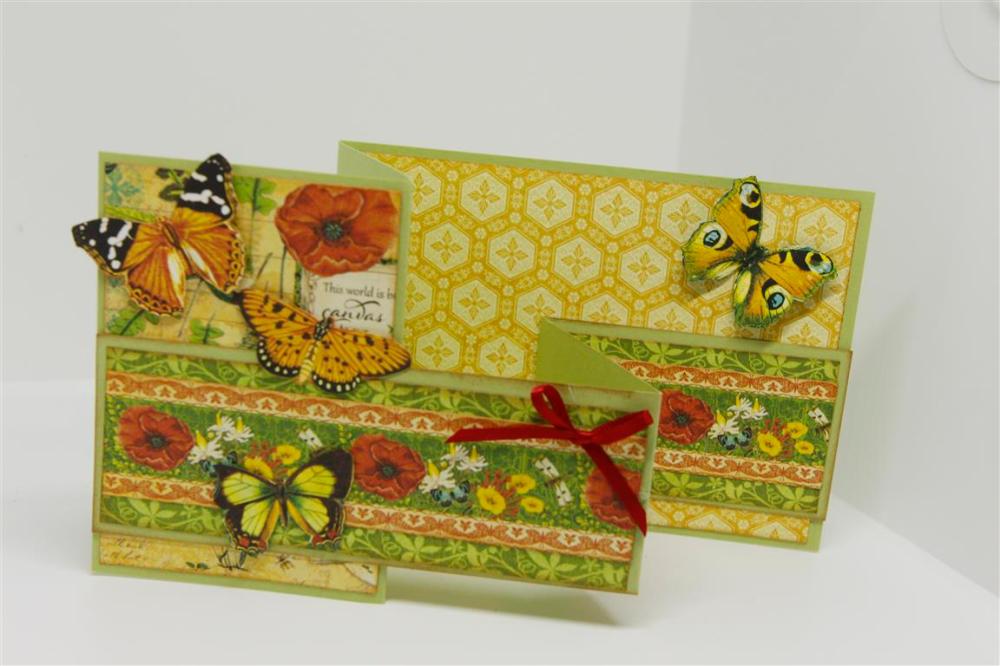
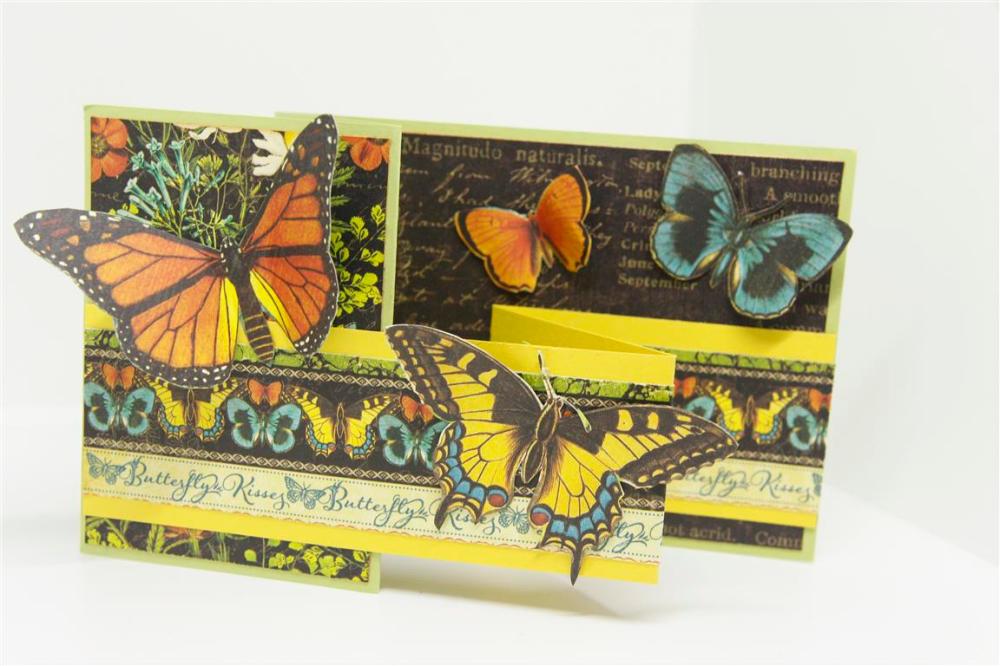 Once again graphic 45 Natures Sketchbook , just the 12 x 12 papers with some fussy cutting of the gorgeous butterflies. A double zig zag card showcases the papers perfectly, and is quick and easy to make. A piece of cardstock 10.5 cm x 30 cm folded in half, with th the front folded in half back on itself. and a thinner strip ( 5 cm x 30cm ) scored and folded at 13.5 cm and 21cm. I will get to making a you tube clip of this fold, but if you cant wait give these measurements a go! Til tomorrow…..
Graphic 45 Natures Sketchbook
 I have had this paper collection for a little while but haven’t had time to create with it because I have been busy with Cjristmas cards, but I had to do a spring challenge and thought this collection…(graphic 45 Natures Sketchbook) was perfect. The papers used are from the 12 x 12 range and I fussy cut some butterflies,added a ribon bow and inked around all my edges with distress tea dye ink. This afternoon is all about clearing my desk to make some room and to start thinking about December lessons! Til tomorrow…
Kaisercraft Letters to Santa…7 and 8

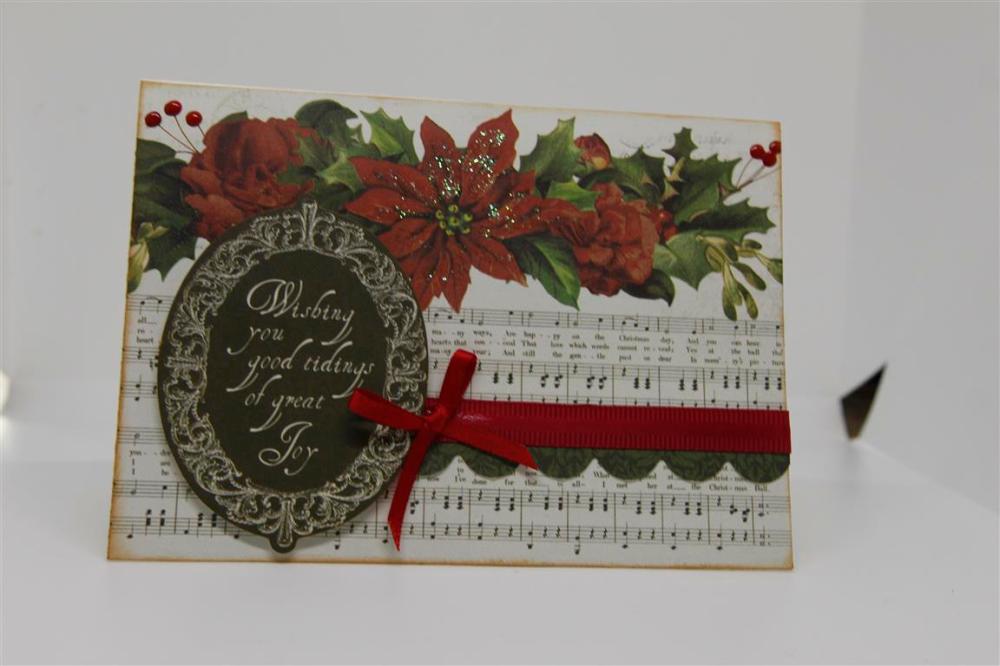
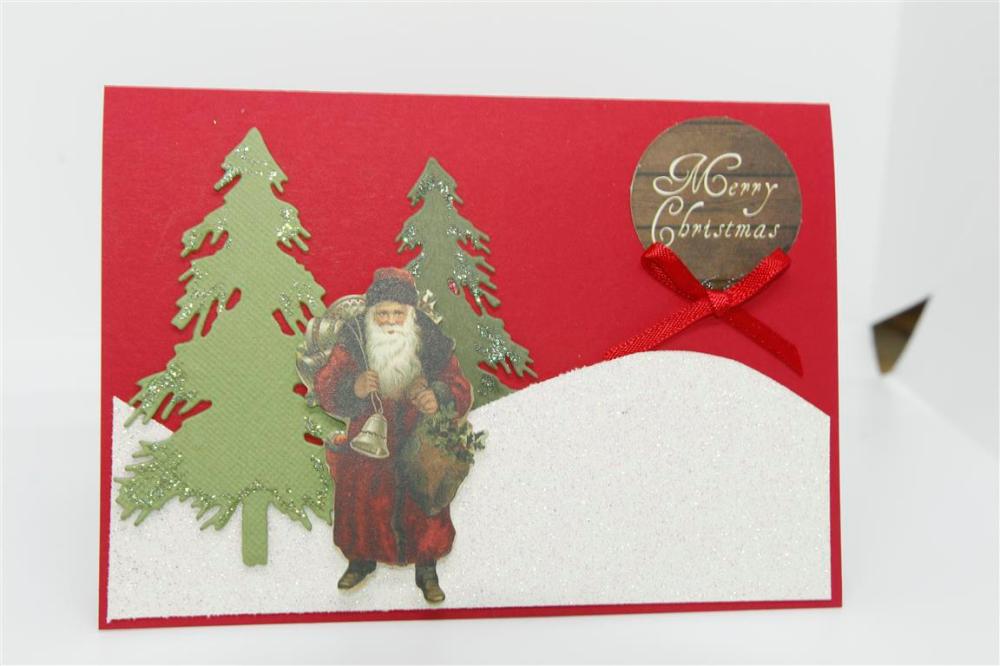 Another Gatefold card today, using papers from the 6″ pad, some pretty lace and a couple of Kaisercraft die cut Christmas trees which I embossed with Nuvo gold embossing powder. The bottom card has another two Die cut trees, this time just touched with some Kindyglitz, and I hand cut a bit of a hilly background from white glitter card. the collectables on this card are from the Letters to Santa range. Til tomorrow…..
Kaisercraft Letters to Santa 5 and 6..
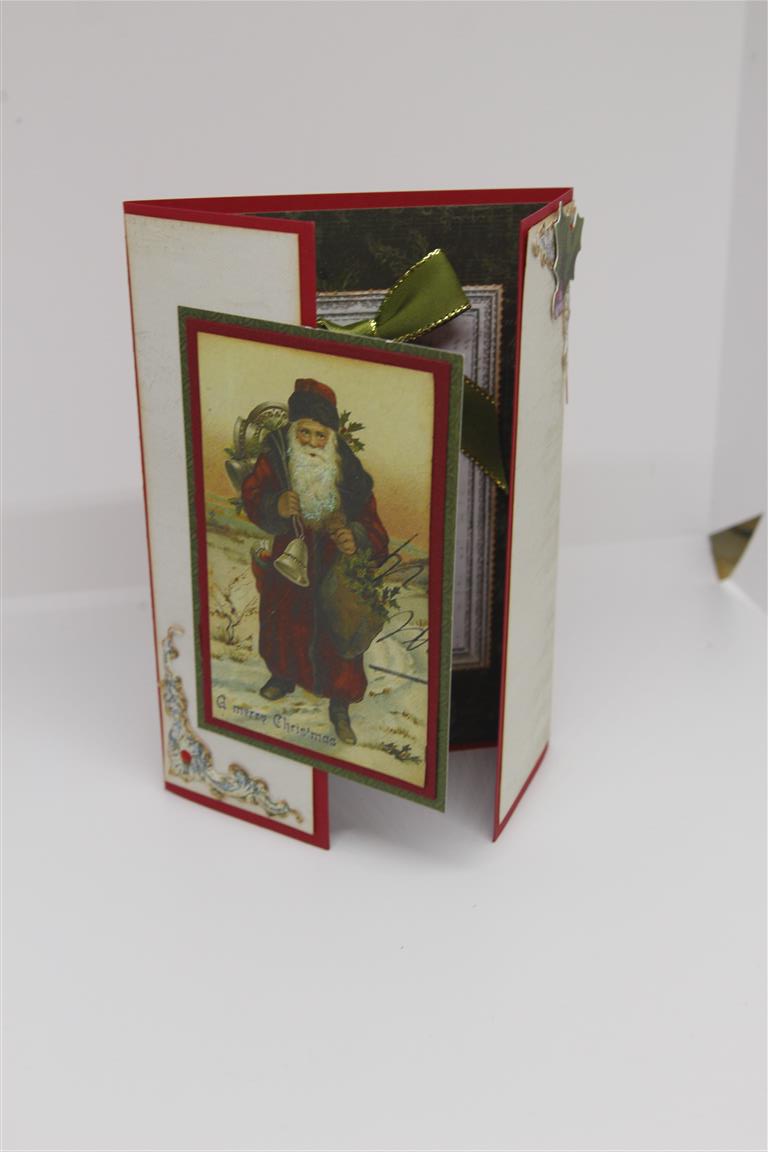 Hello There! continuing on with my Kaisercraft Letters to Santa series, the top card uses the 6″ pad, collectables and ribbon, as well as some kindyglitz for shimmer, and some red Nuvo drops for my berries. The lower card is a gatefold design, with papers from the 6″ pad and images from the 12 x 12 pull apart sheet, and a couple of the collectables as well. I like doing gatefold cards for Christmas cards because it’s quick and easy to decorate the inside panel rather than having to stop and prepare an insert ! Quick post this afternoon, I will sign off now and go and prepare some dinner, til tomorrow….
Kaisercraft Letters to Santa 1 and 2…
 After a short break we are back to Christmas Cards! This series is a big one so i am going to post these ones 2 at a time. The paper collection is Kaisercraft Letters to santa, and I purchased the 6’pad, 12 x 12 papers and the collectables so on most of these cards you will see a bit of all these elements. The top card is 6″ pad on the base, collectables in the corners and the image is from a piece of 12 x 12 paper fussy cut and inked around the edges with tea dye distress ink. I foiled a piece of kaisercraft wooden flourish with green foil and added red berries with some Nuvo drops. I used the same products on the second card with the addition of ribbon and lace. We have had some lovely weather here this week, so I have spent a little bit of time sitting in the garden enjoying the sun on my face, but today I am going to do some seriuos die cutting of flowers and leaves because I want to master the art of flower shaping..I think that is something I could do in the evening while watching tv, and it will put my many flower dies to good use too…Til tomorrow….
Pretty in Pink!
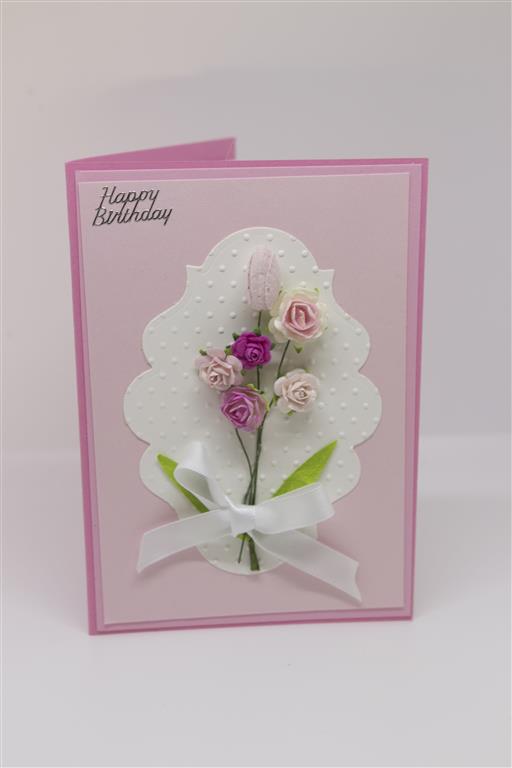 Todays card is a card i made with the retirement village ladies. I love layering up shades of colours and pink always looks gorgeous. The die is a spellbinders label die, and after die cutting in white cardstock I ran it through my swiss dots embossing folder..and oldie but goodie…never grows old! Then it was just a matter of gluing on some roses ( from Iam roses) and a ribbon. To glue on the roses I used 450 glue which is a clear fast drying glue perfect for this job! A rainy day here, and I have just got home from work so i am off to have some lunch! til tomorrow…..
Shabby Chic..Helen style!
 Before I start this morning I just want to let my American followers know I am thinking of them all, the ones in the East who are battling with Fire, and the ones down south who are battling with the aftermath of one Hurricane and bracing for more…my thoughts are with you all.
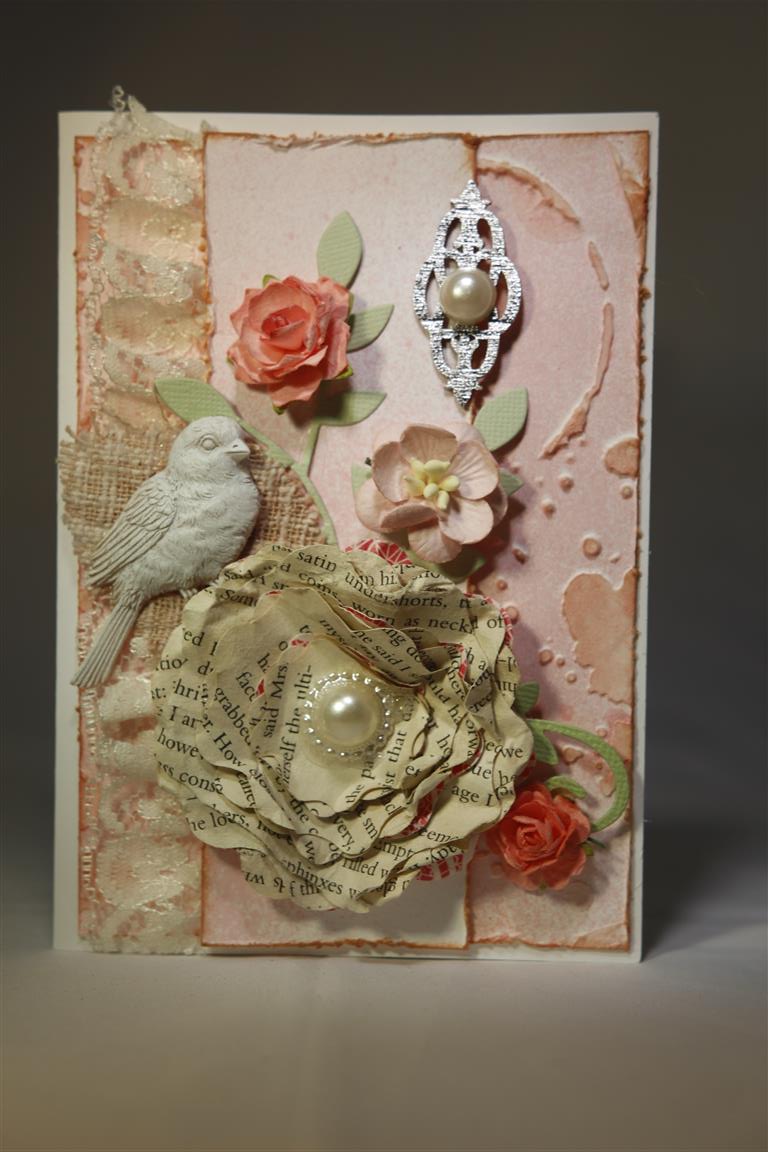
I am determined to master Shabby Chic. I love shabby, but I am struggling to get to the point where I can say I have succeeded, but I will continue to practise, and show you my progress. This card has a lot of product but a lot of it was put together with bits and pieces left on my work table from other projects so i didn’t prepare anything new for this project except for the background layer which was a piece of A4 white cardstock. I painted it with a light watered down layer of Gesso,and used a texture template to add some Liquitex Light modelling paste. When that was dry I tapped some tea dye distress ink over the raised bits and sprayed randomly over the whole piece with Prima Color Bloom Cotton candy spray mist. All that remained for this step was to cut to size, distress all the edges and ink with more tea dye distress ink and attach to the card front. decorating…. a strip of lace under one of the layers, a Prima Bird, a flower made with sizzix bigz 3d flower die and old book pages, memory box Lorelai leaves die,kaisercraft wooden flourish foiled in silver, pearls , Prima hessian leaf,and flowers. Til tomorrow…..
Kaisercraft golden Grove 4 and 5

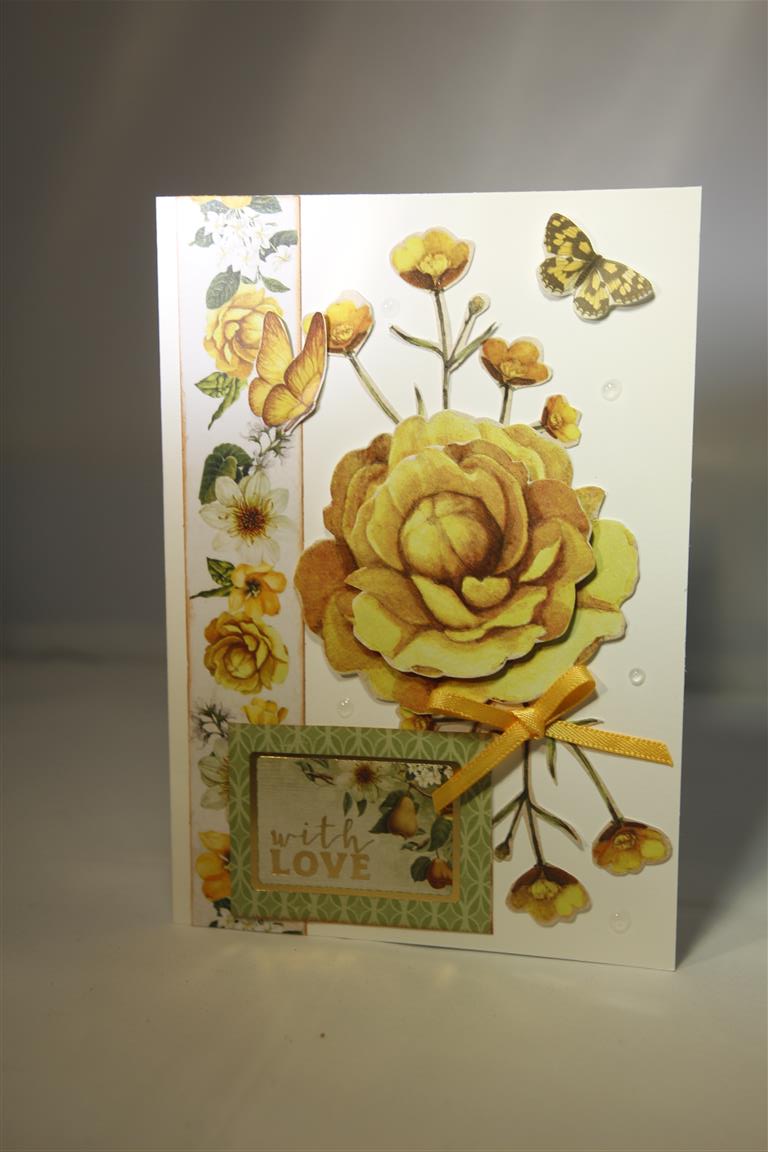 Two cards today because I have been missing for a few days, very busy at work putting out lots of new stock, and buying quite a bit of it! We are back to Kaisercraft golden Grove which was one of the ranges they released last month, and is full of lovely rich autumn colours. IThe top card is a card I made for my uncles Birthday, he is a gardener and I thought he would enjoy the imagery and colours reflected in his garden. It’s all 12 x 12 sheets from the range as well as the matching collectables. The lower card also uses pieces from a 12 x 12 sheet, with a flower and butterflies fussy cut from one of the sheets as well. If you look closely you can see some little rain drops ( or dew drops) which I made using some clear Nuvo. I have been experimenting with Nuvo, it comes in a huge range of colours and is very much like Liquid pearls, but better value, larger colour range and holds the perfect dome shape better…can you tell I am a fan? It comes in metallic ,glitter ( much better than stickles), pearl and clear . I have also been trying to clean up the craft room, but that is not going so well, too many distractions! Til tomorrow….
