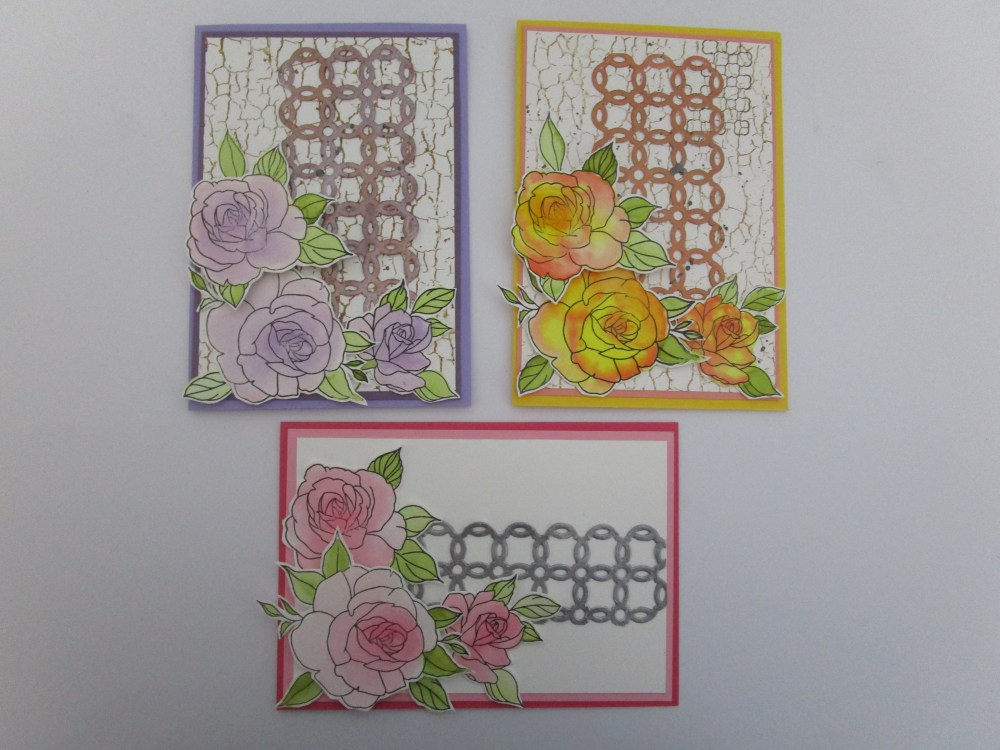
 Last weekend after I had finished preparing all my May classes I had a little time to just create, and so I gathered my distress re-inkers, a pallette, paintbrush and my new stamp set ( Uniquely creative Flawed and fabulous),stamped out some images onto watercolour paper and just started painting. Of course it didn’t stop there . by the time I had coloured them all I knew exactly how these cards were going to go together! All my art work was fussy cut out, matching cardstock was found, and another new die and stamp ( both by stampin Up) were added to the table. The top two cards have the Stampin Up crackle background stamped in brown and I left the bottom card clean. The Stampin Up Trellis die was die cut with white cardstock and then I experimented. The bottom trellis is painted with prima alchemy silver paint, the top right is coloured with Nuvo mousse in rose gold, and the top left is coloured with Nuvo mousse bronze with a top smearing of platinum to lighten a little. The Nuvo mousse is best put on with your fingers! A great afternoon creating and I may even do something similar for a class.Til tomorrow….
Tag: inspire
Prima Lavender Frost 8 and 9
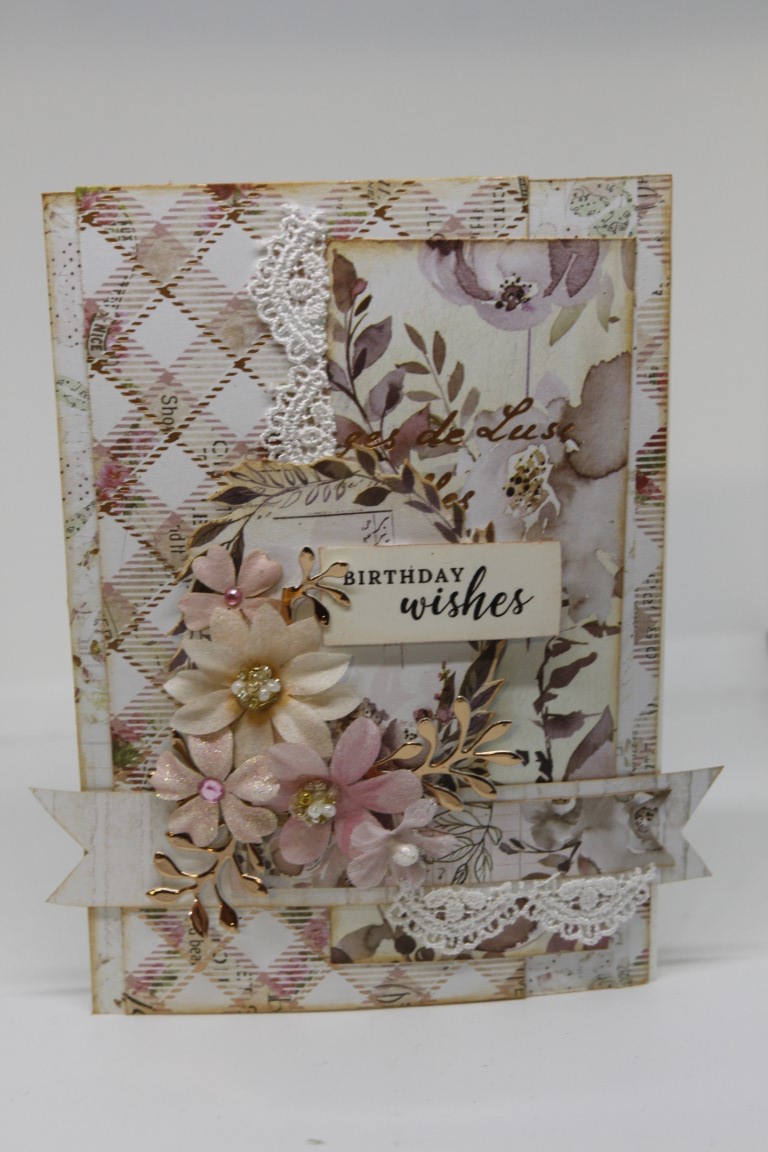
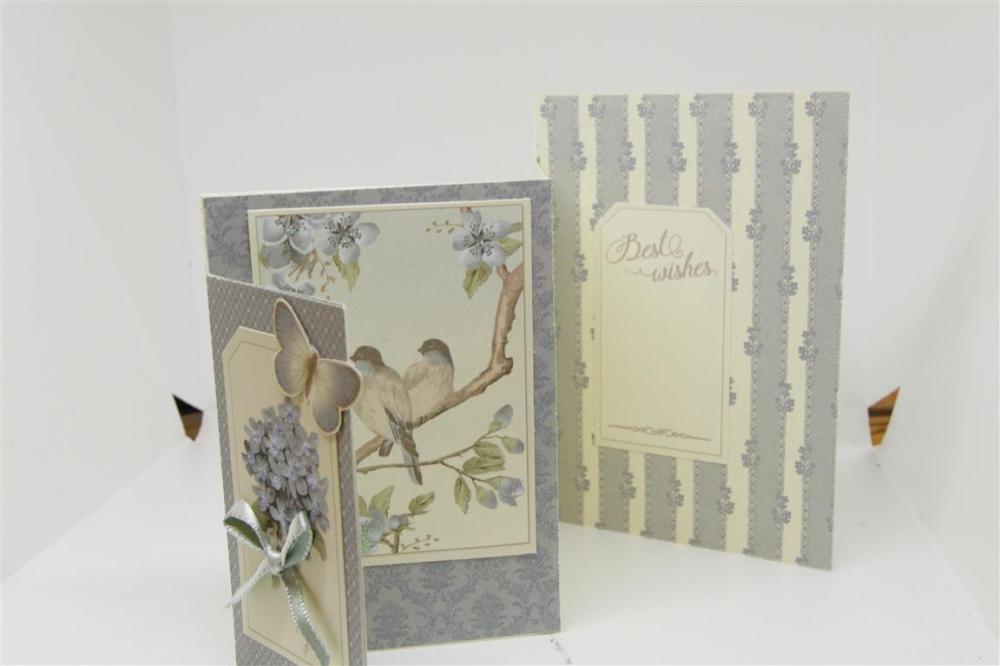
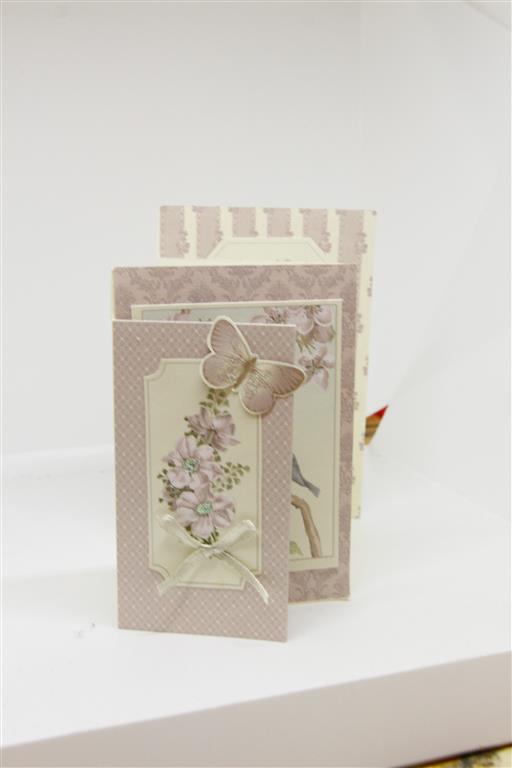
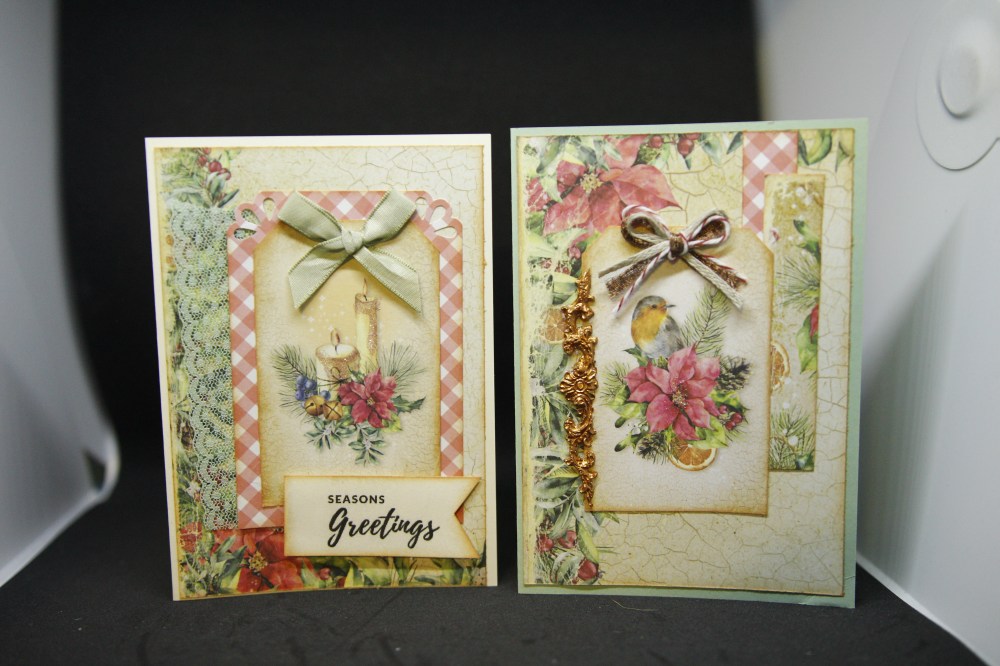
 Here are my final Prima lavender frost cards for now. These two cards use some of the 12 x 12 papers, and the matching flowers from the range. I also added a couple of die cut swirls and a little chipboard piece that was on my craft desk at the time! Tiny scraps of lace came in handy, as did my little handmade bird on the bottom card. I made the little bird with a mold and some “no more gaps” from the hardware shop! This is not the last you will see of my makes with this paper – we will just take a little break from them for now. I have booked my stall for the craft fair on the June long weekend,and so now a lot of my time will be spent sorting out all my cards ready for sale! Til tomorrow….
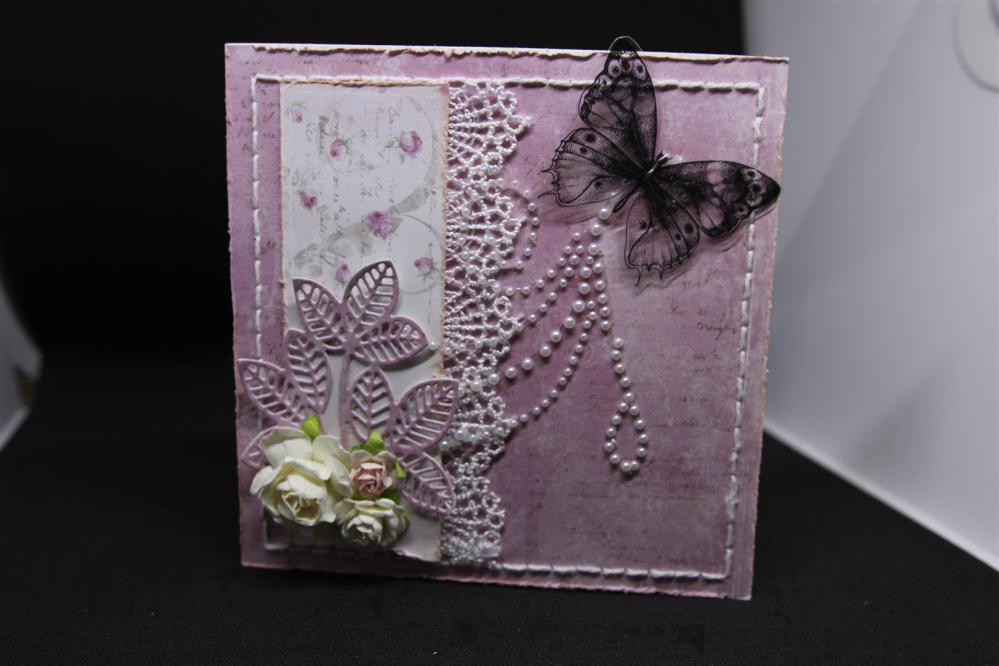
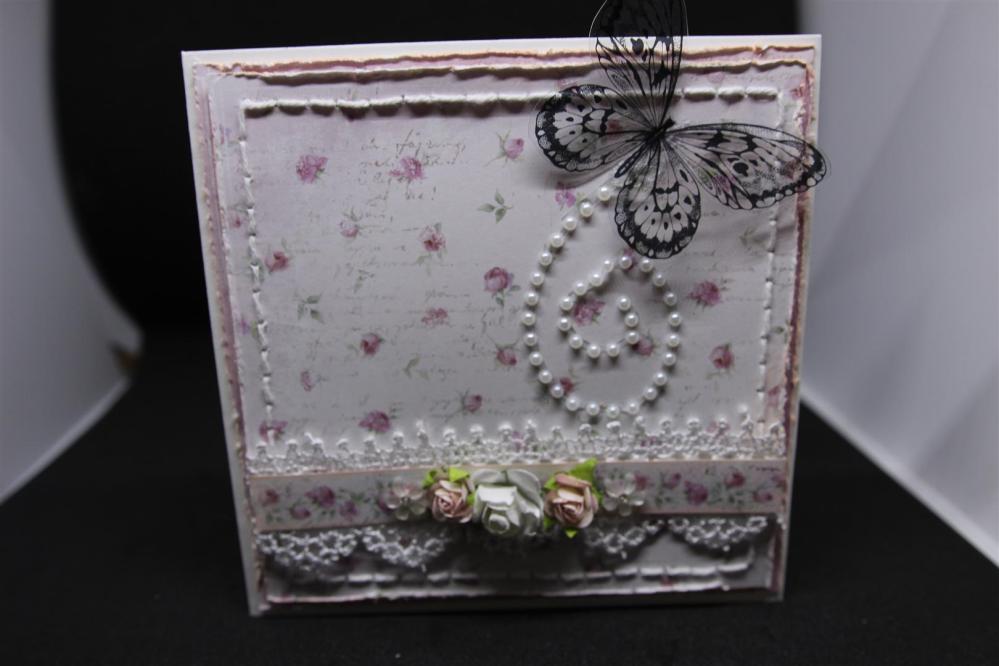
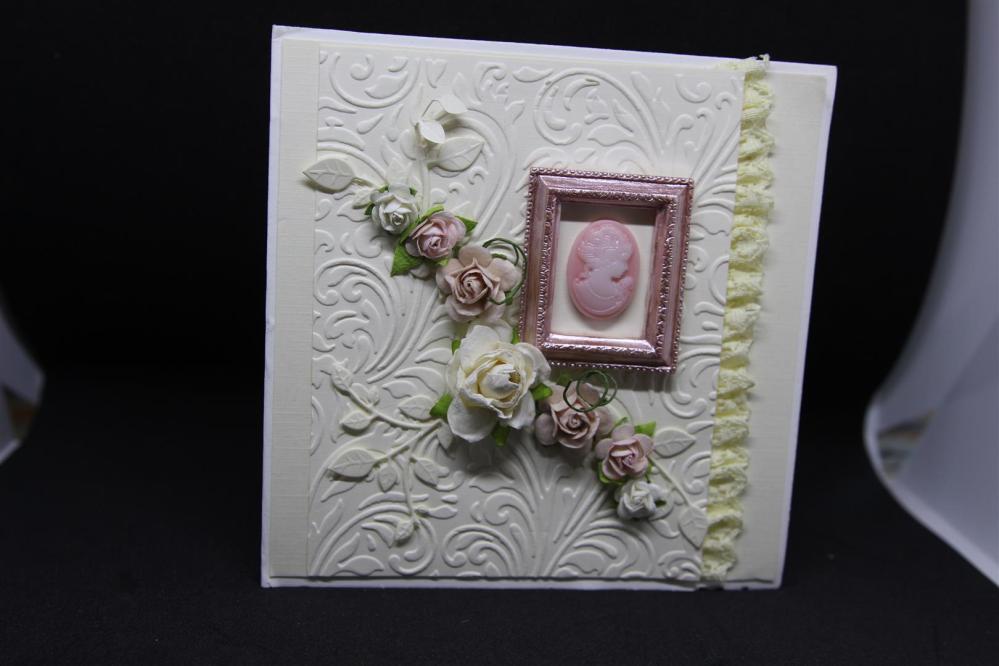
Prima lavender frost 6,7 and 8..
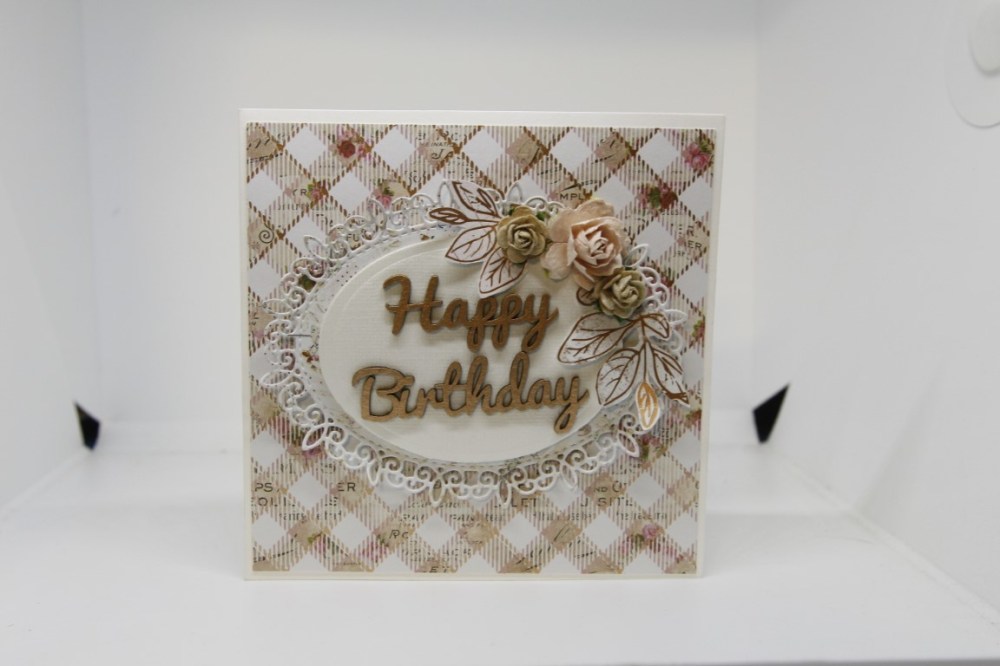
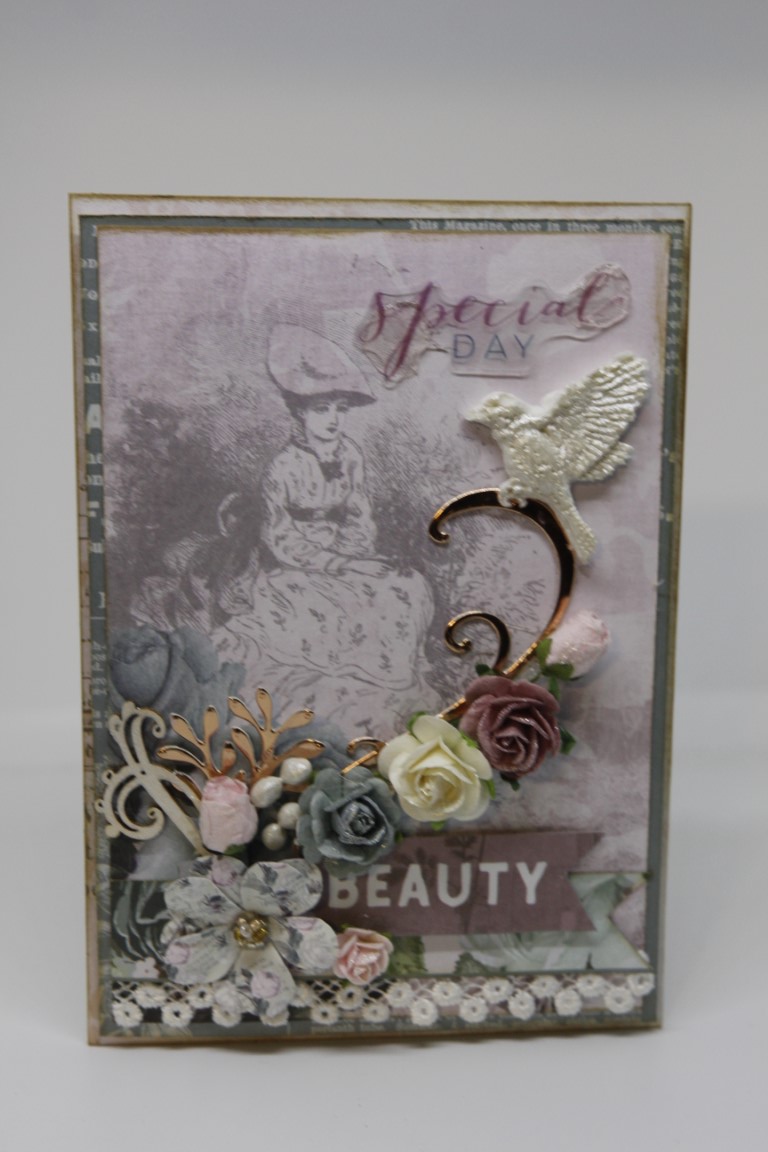
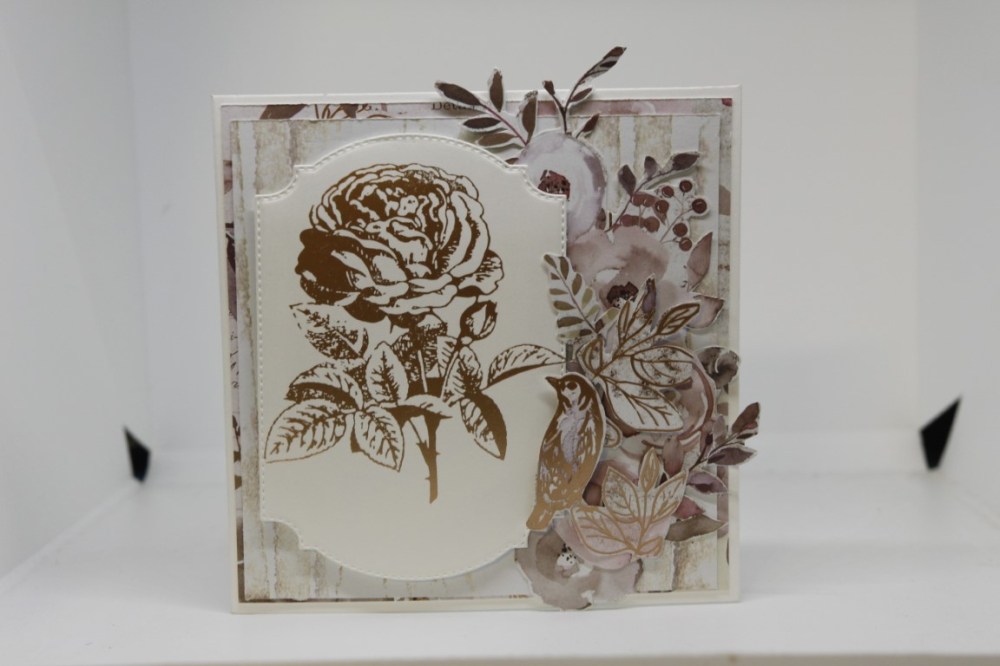 Today we are back to Prima Lavender Frost range of papers, and assorted matching emphemera. The top card is made with papers from the 6″ pad, and a couple of the 3 x 4 journalling cards. I fussy cut the top card and mounted it with foam pads, and cut a round metal finding in half and slid it in under the foam mounted card. The two lower cards were cards I taught in a Paper Flourish class, using the Prima Lavender frost paper and some foiling with the Go Press and Foil machine, which is how I did the gorgeous rose, ( it is a Couture Creations stamp and foil die). We foiled our chipboard happy birthday for the top card. I taught another class this week with this paper range – just love it!! Til tomorrow…
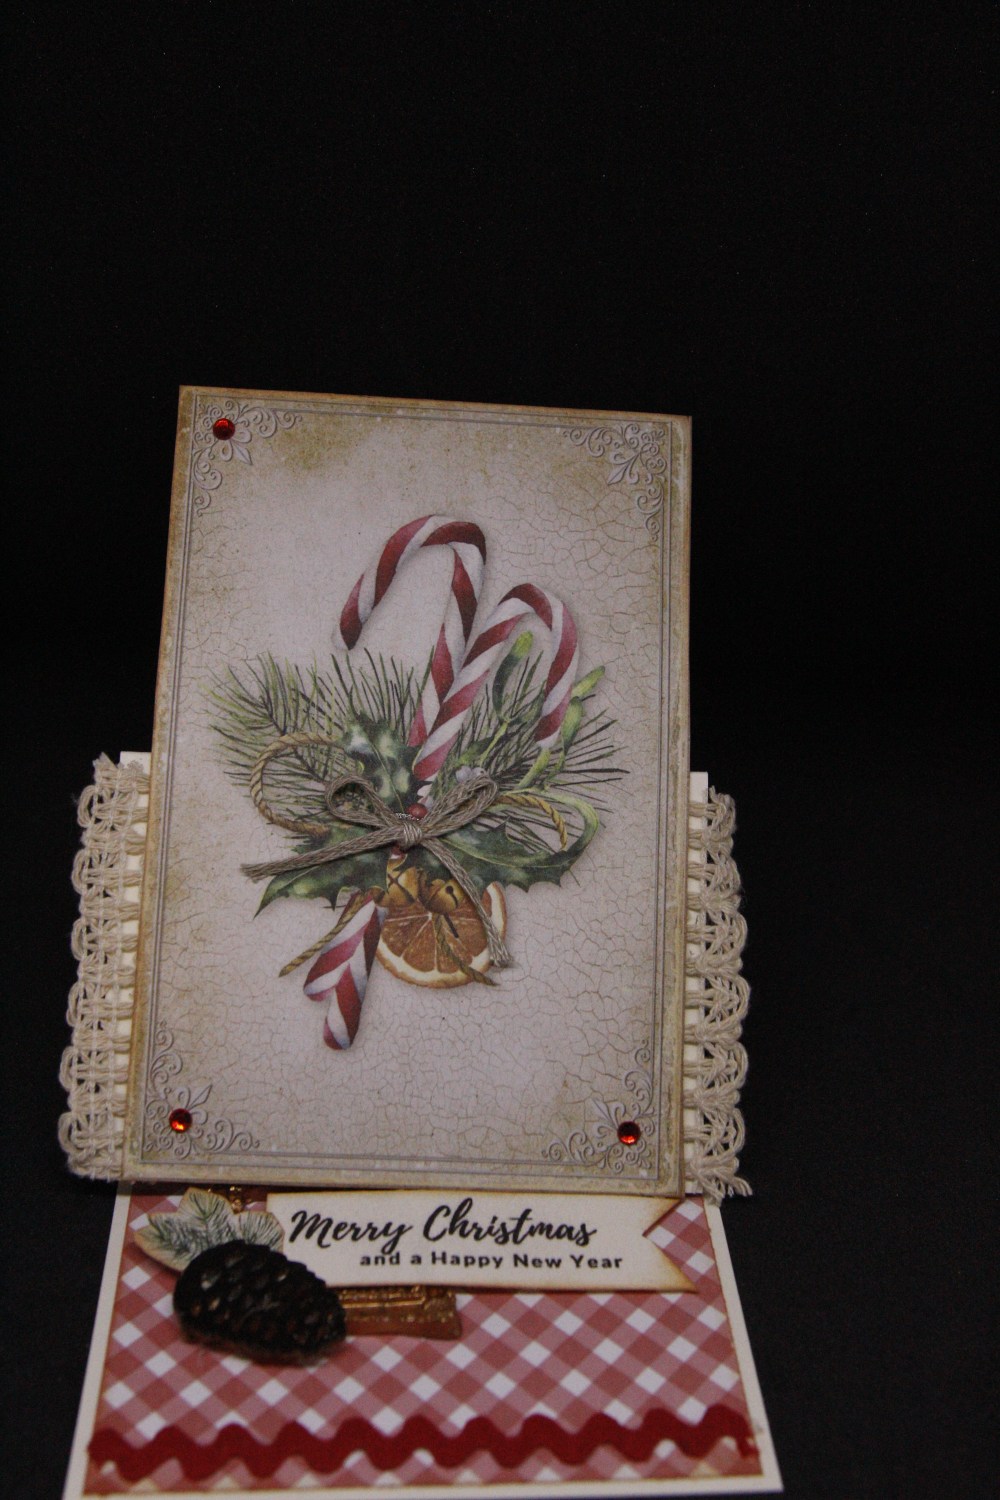
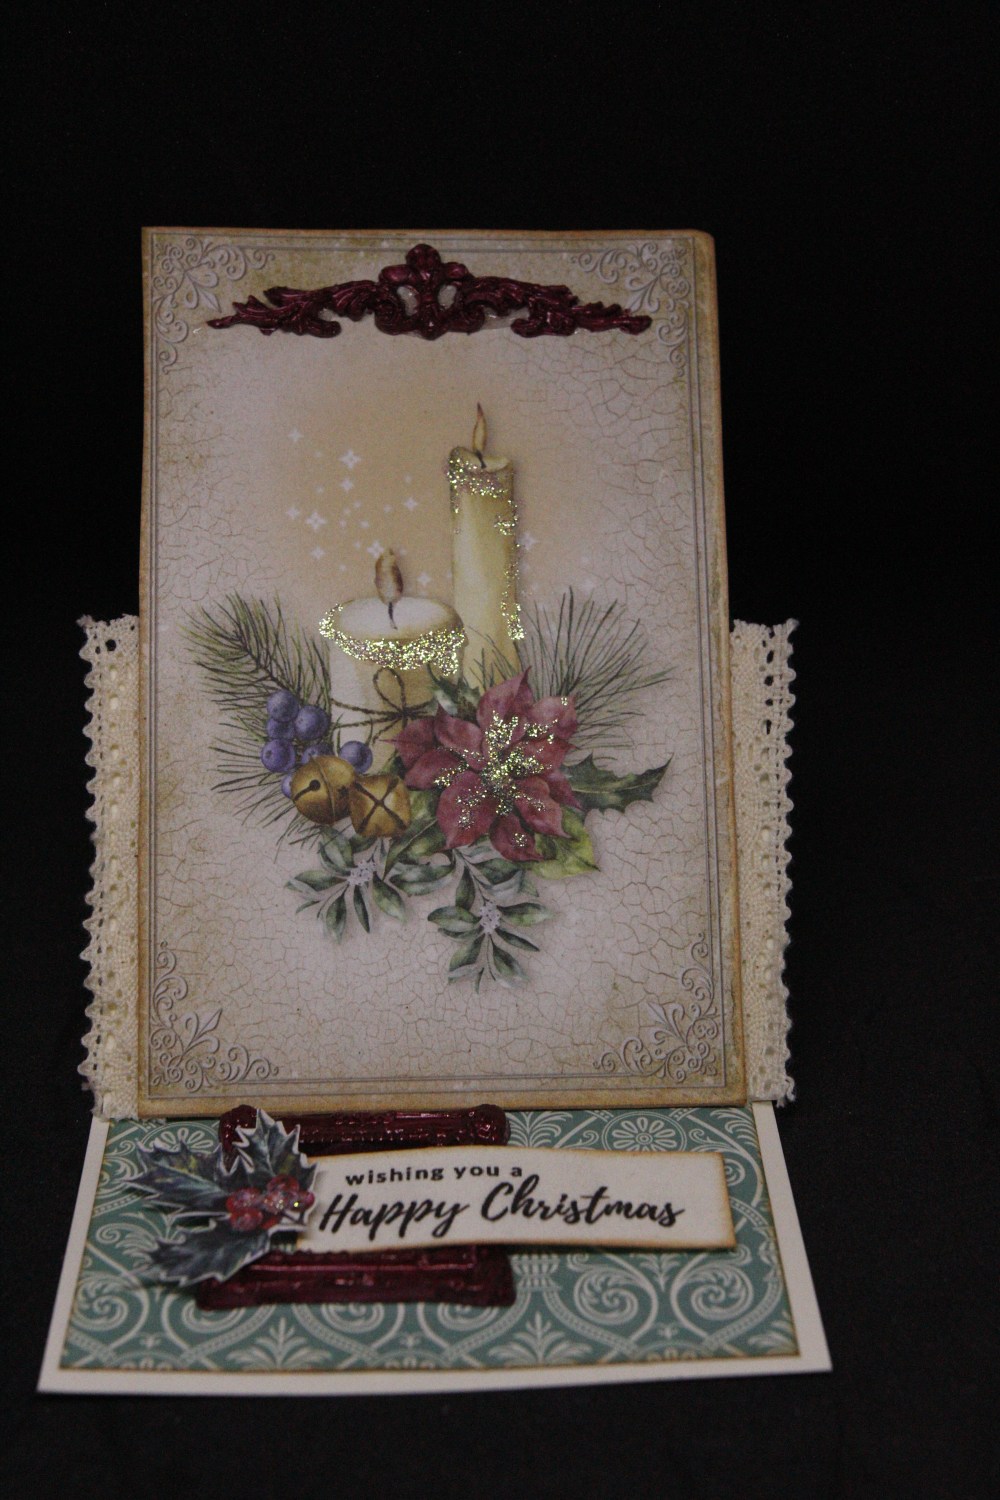
Pion Days Gone By…

 Todays cards are made with Pion Designs papers, and I have done a different kind of card base…I guess you could call it a triple fold step down?I have used a 12 x 12 cardstock base, and scored it every 10 cm.( the height is 15 cm for the back panel, and stepped down on the other two panels). The front panel is an extra piece of cardstock, and I cut it with a tab which is attached to the front 10 cm panel and that is all hidden with papers. I have shown you two views of the top card so that you can see what I am talking about! I am officially all organised for the Christmas break, I hope you all have a safe and happy holidays and I will see you all after the festivities!
Helens Not So Shabby…
 Here are a few cards I taught in my Not So Shabby class at paper Flourish. I call them Not So Shabby because no matter how hard I try my shabby cards still come out looking quite clean! On the top two cards we did some stitching, layering and distressing, while on the bottom card we painted our frame with prima sparks paint and did some embossing. The weather here is so strange, we have had thunder, rain and lightning this morning, but it is 35C so very hot and humid. Not good weather for anything except sitting under the air con vent! We have picked all the cherries ( 15 Kilos this year) and this morning have started picking the apricots and tomatoes so the garden is very productive just now.. Til tomorrow….
Stampin Up Tropical Escape…
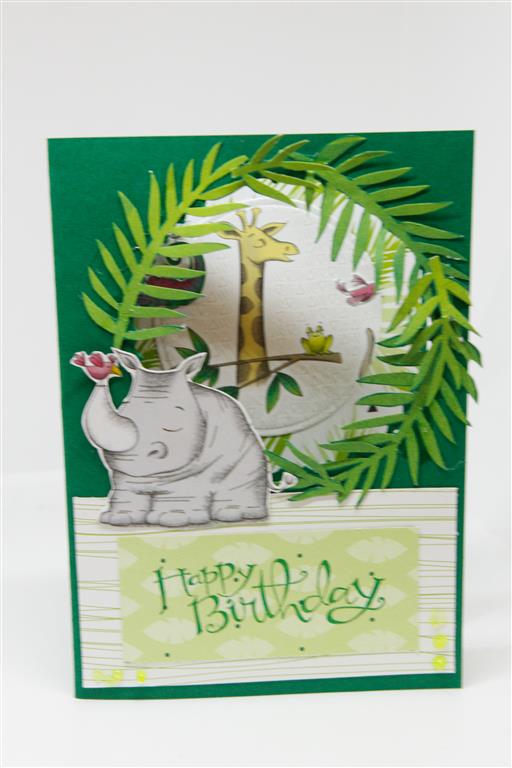
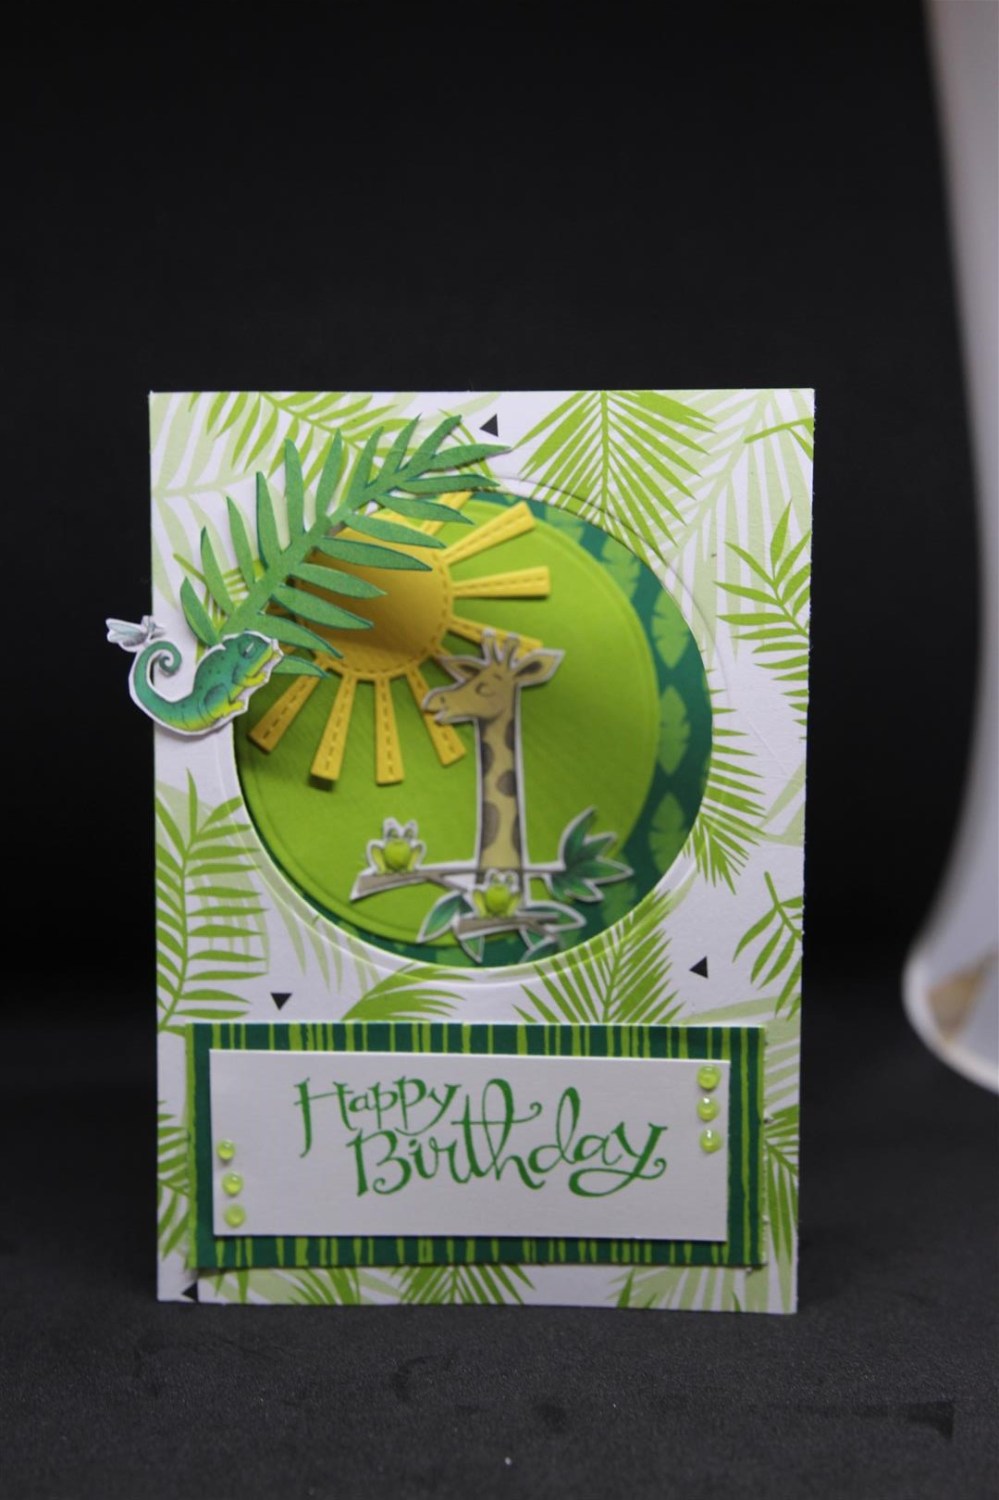
 I don’t know about you, but I need a break from Christmas card makes and I am ready to move on! We may revisit Christmas in the next couple of weeks but for now I am happy to show you all some cards i amde with Stampin Up designer papers. From memory the collection is called Tropical escape and I fussy cut various creatures, large and small. The top two cards are aperture cards – I die cut a circle out of the front of the card and most of the decorating inside, just making a leafy window to look through. The leafy fronds were all fussy cut from the papers. The sun was die cut from a Uniquely Creative die. Today is Cherry picking day, it is a little bit cooler, and the sun is hiding behind a blanket of clouds so good weather to harvest our crop! Til tomorrow…..
Last three lemoncraft Yuletide today..
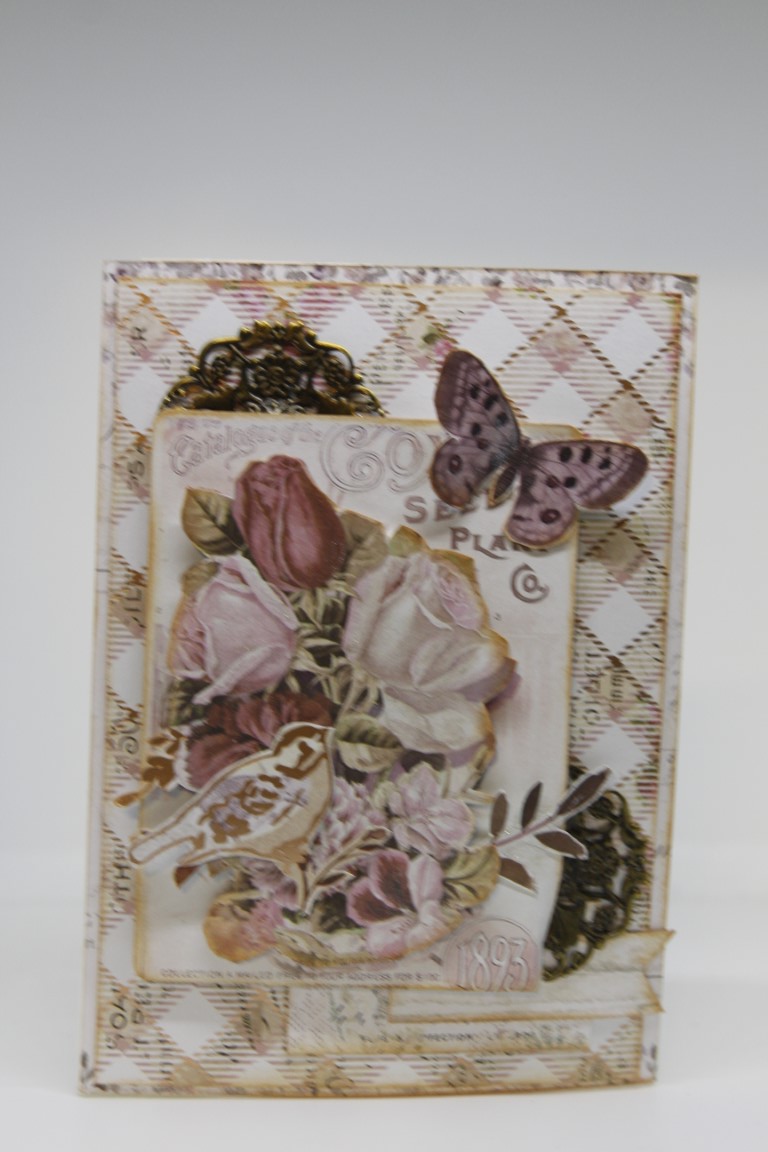
 Today we say farewell to my Lemoncraft Paper makes, and these three are made in the same way as the cards on the previous post. I have used a lot of the molds that I made on these cards, and I painted them with prima alchemy paints. I have been busy finishing off my January classes, and they are done now so I have a little window of time to do some ” me ” crafting, and I am thinking wedding cards,I have some new stamps and dies to try out although you know these plans could go out the window when I actually sit down to craft! Til tomorrow….
Lemoncraft yuletide continued…
 Sorry I have been missing , but we had a computer hiccup here this week,and thank goodness it is fixed now with no loss of files! Today we are continuing on with Lemoncraft yuletide collection,which is perfect for vintage style cards.I did a bit of layering with bits of offcuts on these two, and added a ribbon to the left and a ribbon and a flourish that I made with a silicone mold and gap filler (!) and painted with prima alchemy paint.meanwhile i have finished my January lessons and have a couple of new stamp sets on my desk to play with. I have to make two male birthday cards and one of the stamp sets is perfect for both boys so that will be first on the agenda! Til tomorrow…..
Stampin Up Santas Workshop..
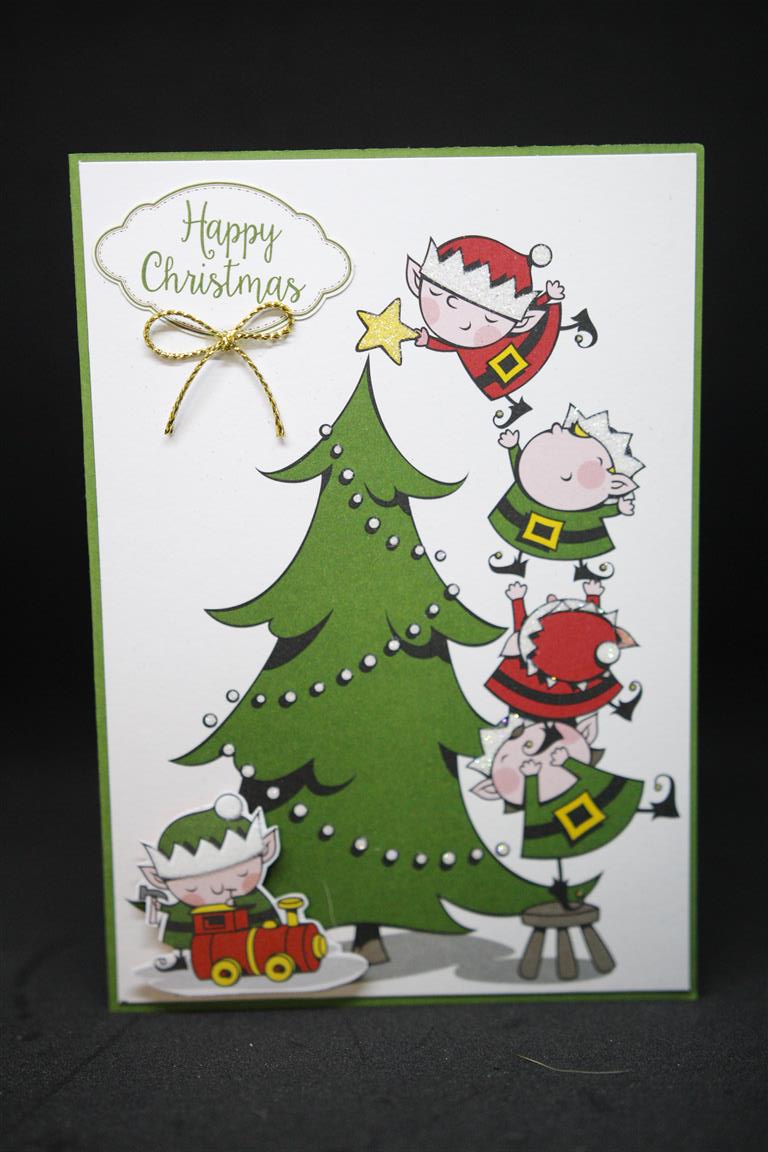
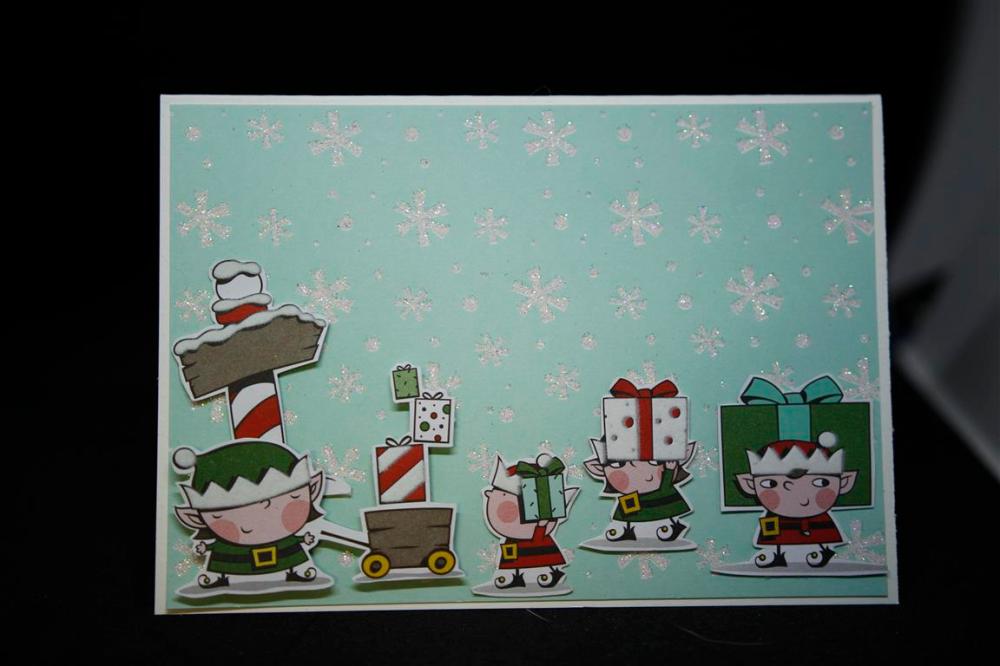
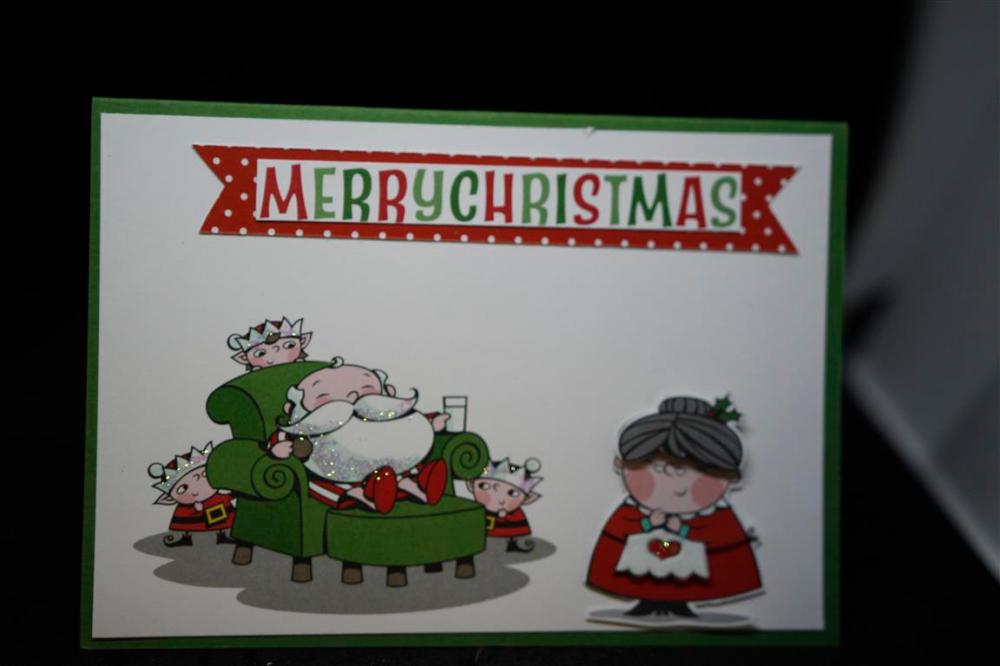 Here are some more fun Christmas cards I have made with Stampin Up Santas workshop collection. I have added the bare minimum of embellishing to this group of cards, the papers are already embossed and / or glittered, and I have just fussy cut extra layers for some 3 D effects. I have finished my Christmas makes for this year,( but have so many more to show you ) and normally at this stage I pack up all the Christmas for next year, but this paper is staying out and I will continue to make cards with it throughout the year, it is so much fun to work with! Til tomorrow……
Stampin Up Christmas 2018..
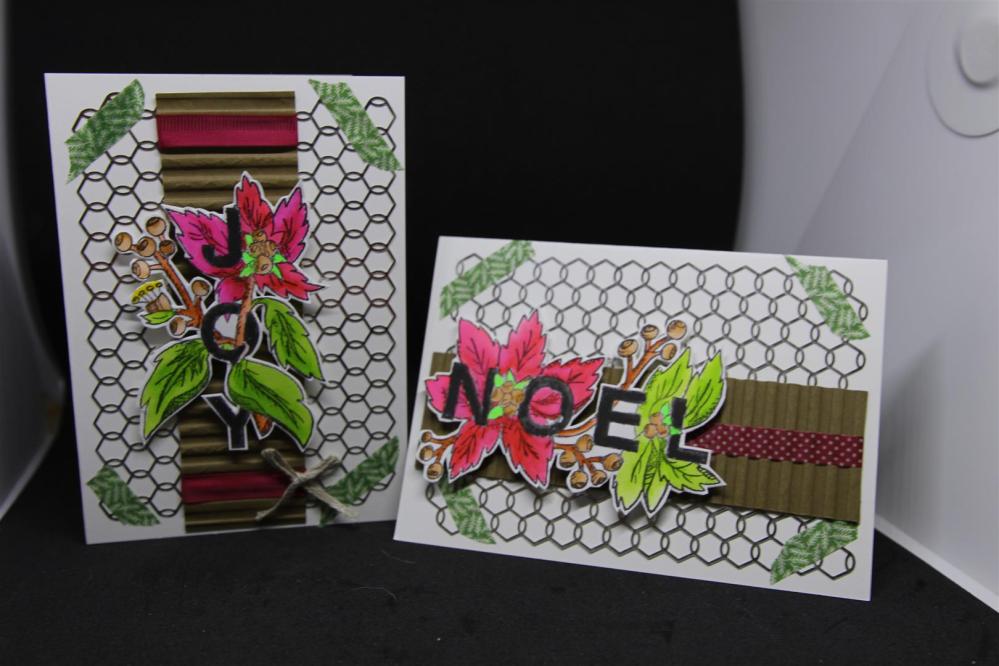
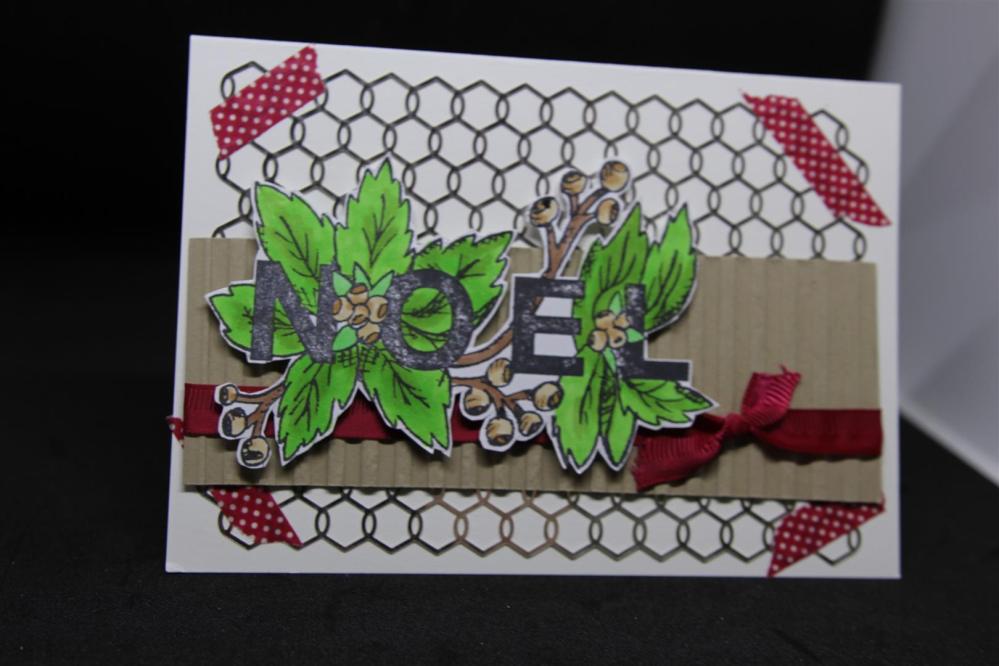
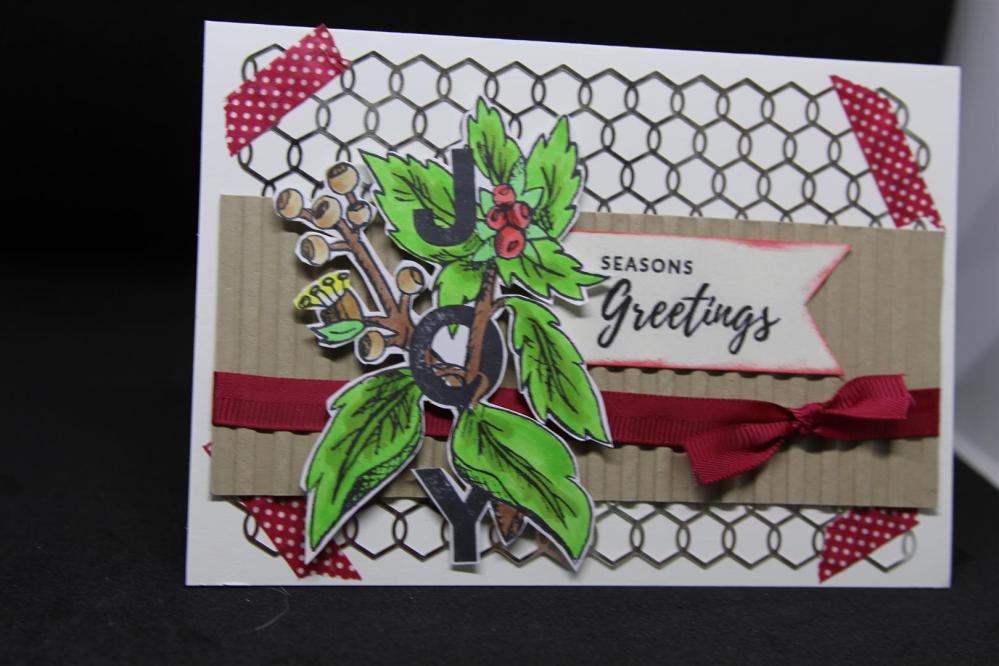 Todays Christmas cards use all Stampin Up supplies from their seasonal catalogue. I have used the chicken wire, washi tape, ribbon, and stamps ( stamp set is called Joy and Noel, and I coloured with Copic markers) and the corregated pieces behind are embossed with Stampin Ups new corregated embossing folder..this will be a favourite used all year round! It has been a busy week with work, and at home I have moved my craft room so that my second son can move back home for a short while, as he relocates from Sydney back to Adelaide for work. It was an eye opener to move that craft room and realise how much supplies I have gathered over the years. Time to start using all of it! Til tomorrow…..
