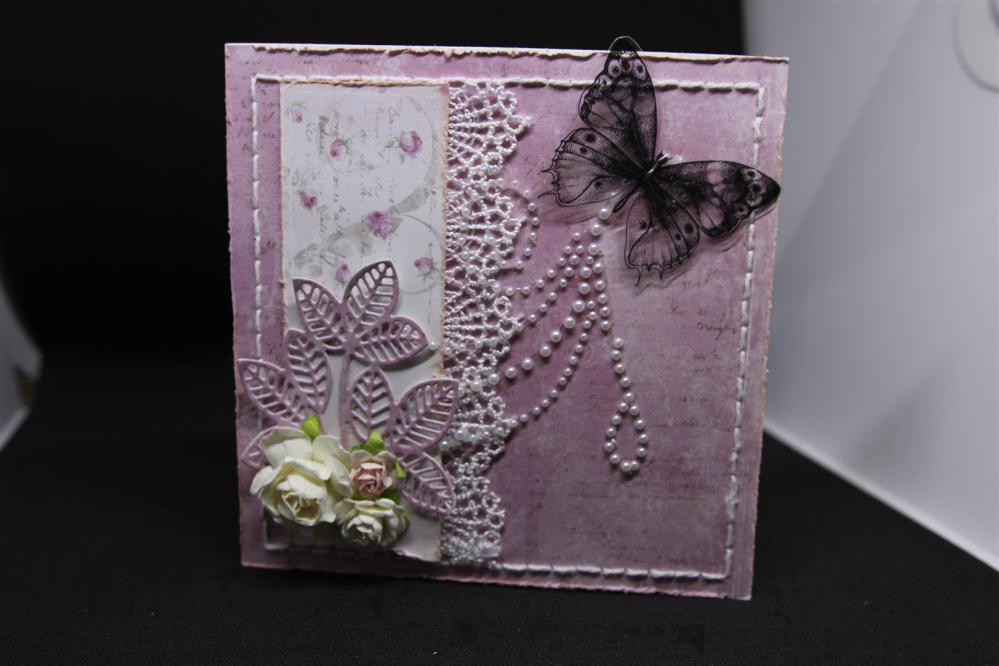
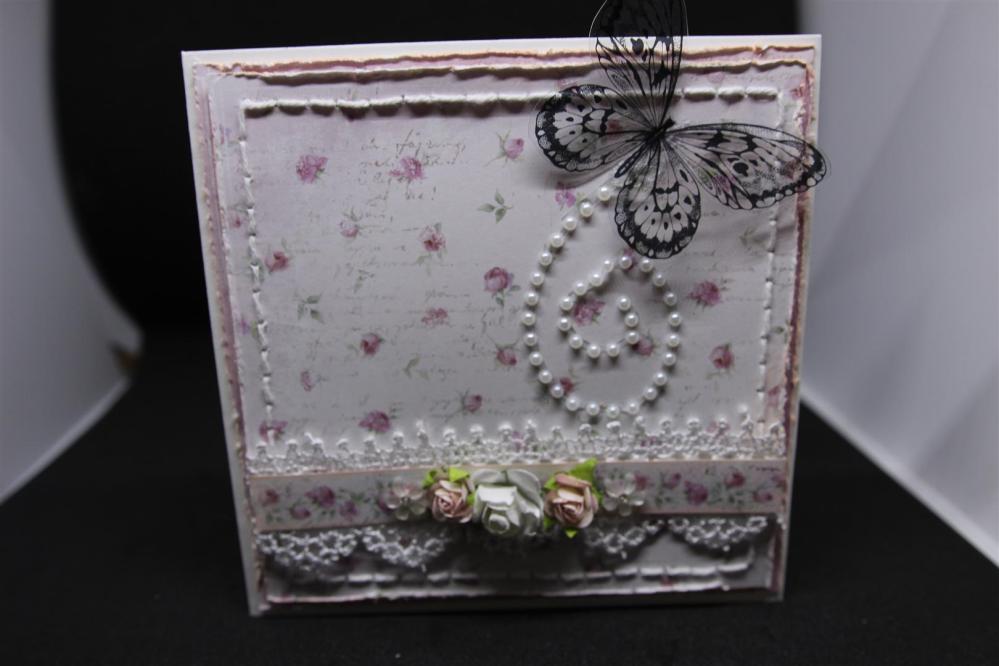
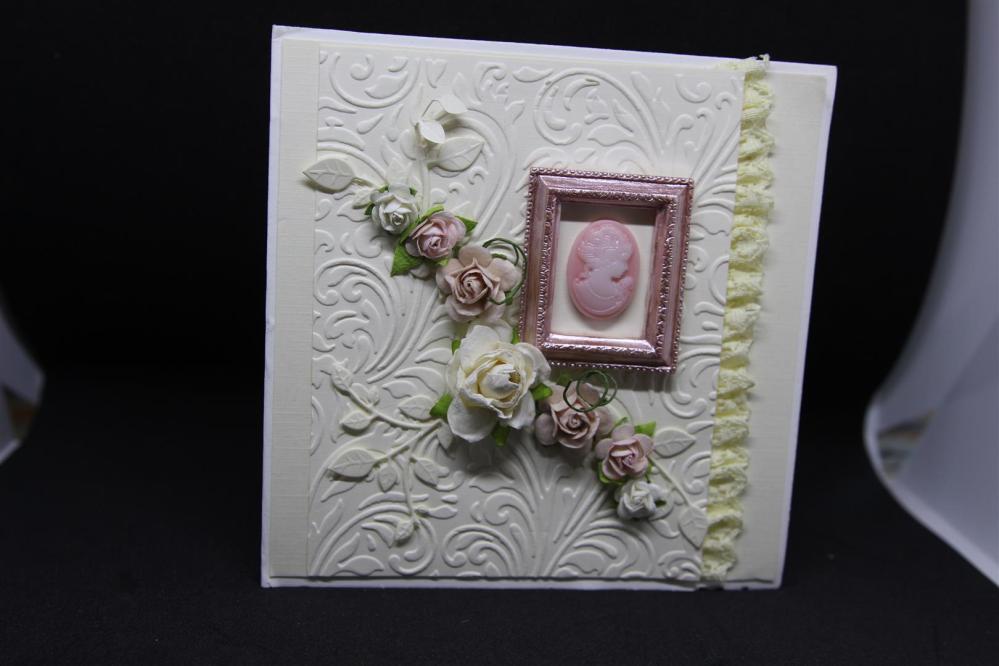
 Here are a few cards I taught in my Not So Shabby class at paper Flourish. I call them Not So Shabby because no matter how hard I try my shabby cards still come out looking quite clean! On the top two cards we did some stitching, layering and distressing, while on the bottom card we painted our frame with prima sparks paint and did some embossing. The weather here is so strange, we have had thunder, rain and lightning this morning, but it is 35C so very hot and humid. Not good weather for anything except sitting under the air con vent! We have picked all the cherries ( 15 Kilos this year) and this morning have started picking the apricots and tomatoes so the garden is very productive just now.. Til tomorrow….
Tag: not so shabby chic
Not so Shabby Chic…
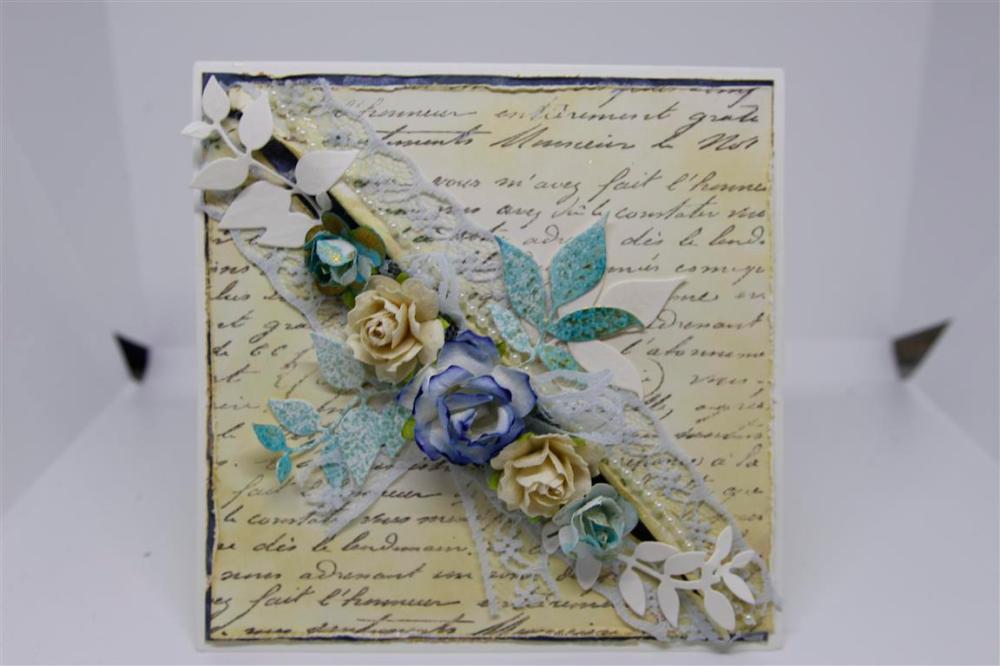 I have been experimenting with Shabby Chic, and although I really still haven’t mastered the whole “rip the paper” technique ( too fond of paper to willfully rip it!)I have been teaching my experiments every month at Paper Flourish.This card is one of two we did a couple of months ago. I will pop up its partner next post.For this one we took a white sheet of cardstock and coloured it with Antique Linen distress oxide ink and stamped over it with a Darkroom Door French script background stamp, distressed the edges and inked with tea dye ink. Cut diagonally and roll those inner edges in and ink again.Add lace, string of pearls,flowers and die cut leaves. Some of the leaves and flowers are coloured with a spray we made with Tumbled glass re-inker ( just a drop in a spray bottle topped up with water) and a small scoop ( just a smidgeon!) of gold mica powder .Give it a good shake before use. Today is going to be a crafty day… I am working on a technique to teach in september and continuing on with cruise card ideas, and of course my mind is starting to drift towards Christmas card ideas! Til tomorrow…..
