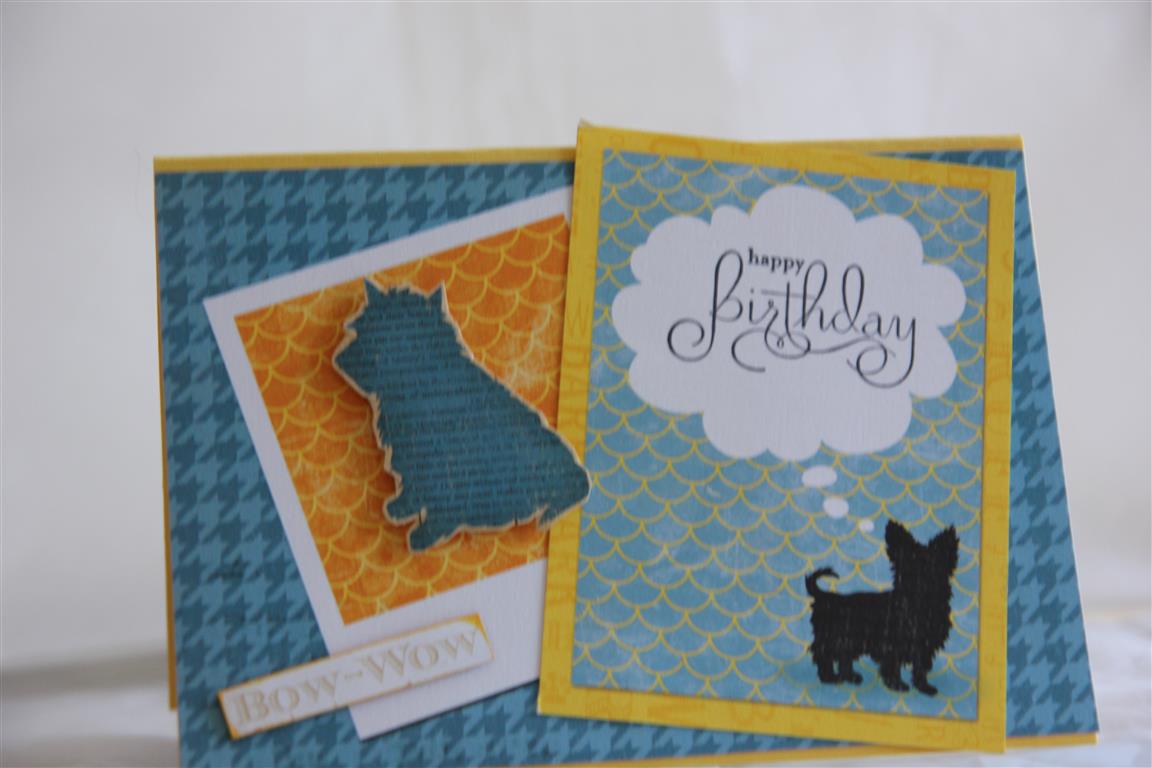
 Here are the last two in the Bo Bunny Happy tails series. Again, no further embellishments other than the patterned paper and some fussy cutting. the cardstock used is stampin Up. I hope you have enjoyed this different type of card, and tomorrow we will start a whole new series! til tomorrow…
Tag: simple card designs
Bo Bunny happy tails 3 and 4
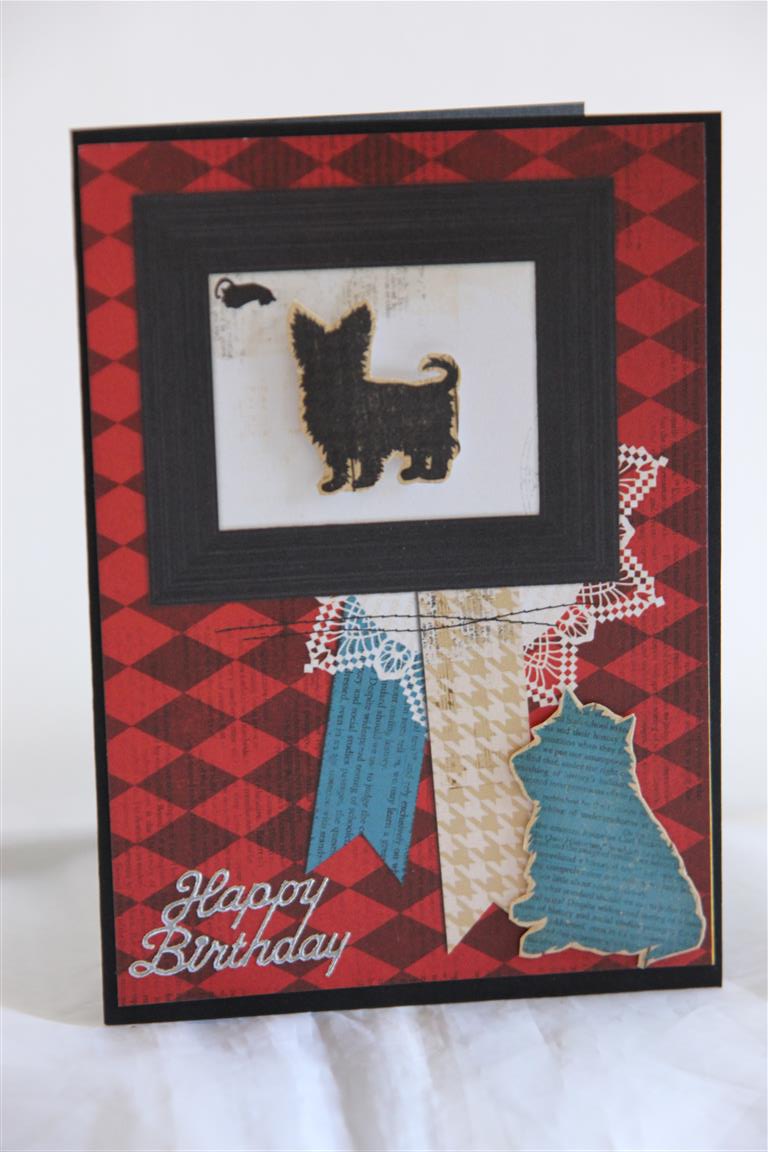
 More Bo Bunny happy tails today,no further embellishing on either card – that papers do all the work! Its been a very unproductive weekend for me – no cards so far I have had back to back classes, but I am heading into the craft room now , as I have a few ideas I want to get out onto paper! I think it will be vintage theme night. Til tomorrow….
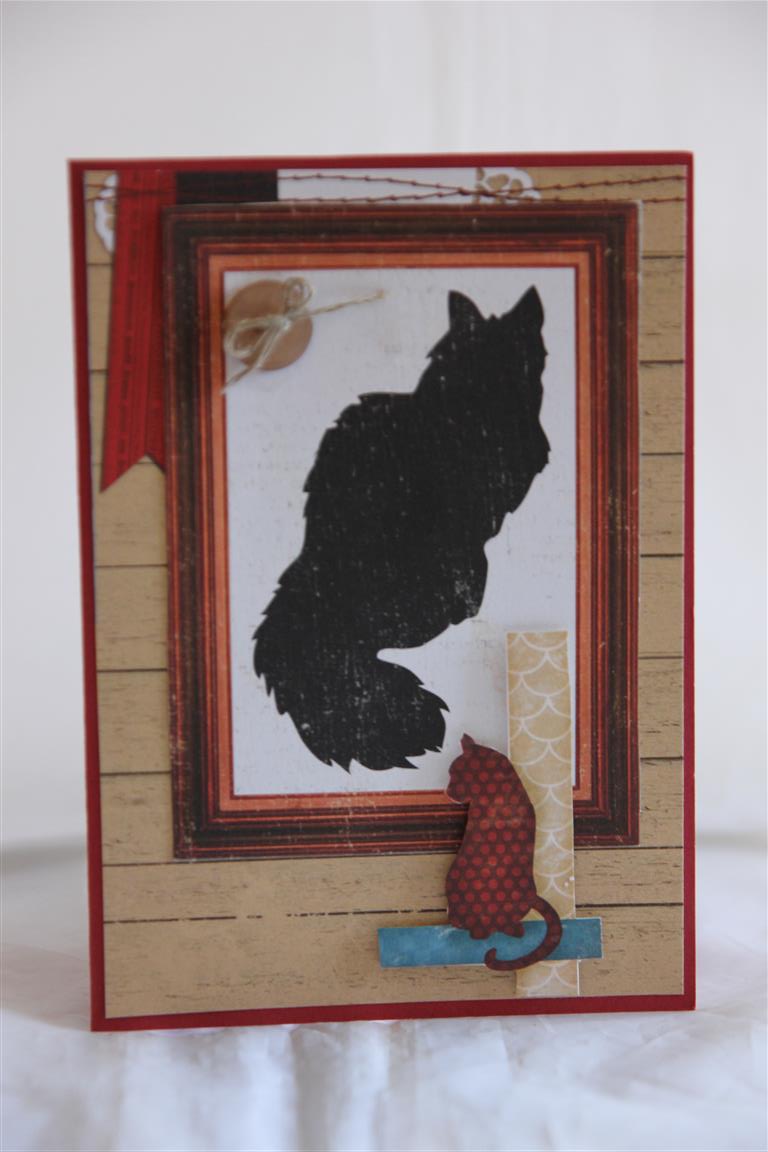
Bo Bunny Happy tails number 2
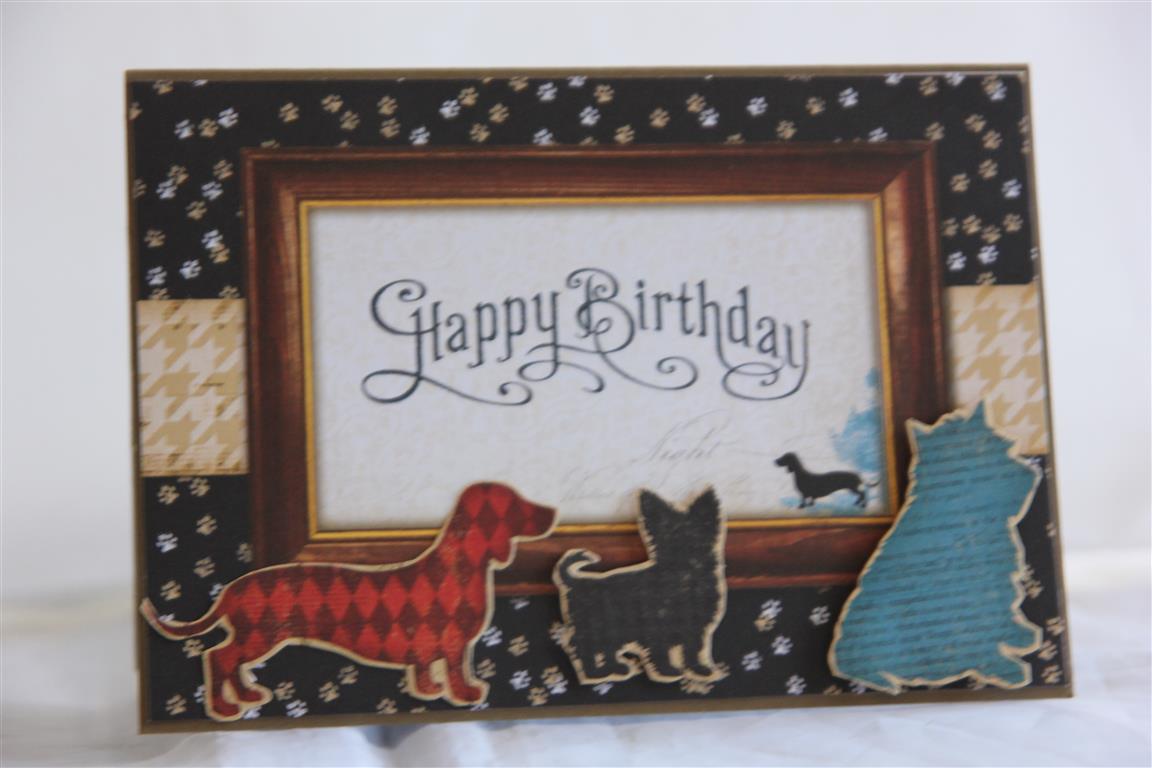 Bo Bunny happy tails Patterned paper.Here I have used some of the paper to matt onto the card, with a strip across the centre, I stamped my greeting in the frame,and added some fussy cut images across the bottom.Thankfully the weekend is here, and I am looking forward to having a rest and knocking this rotten cold on the head! Til tomorrow….
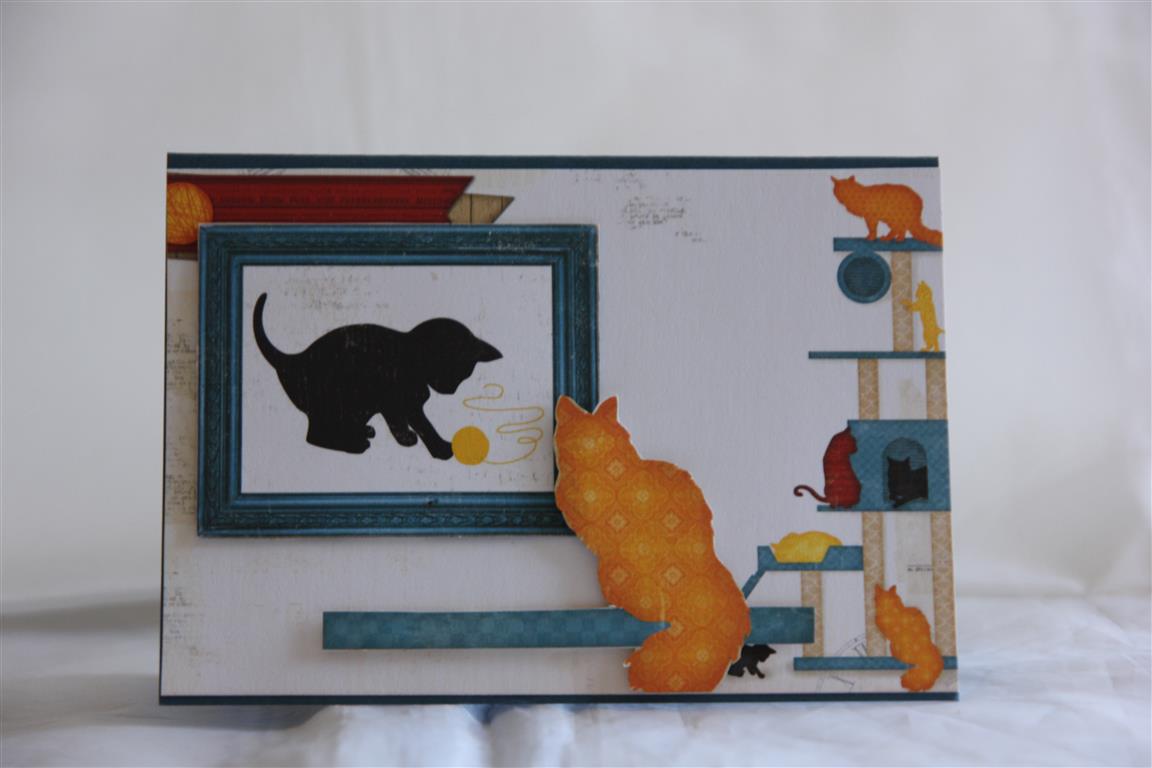
Bo Bunny happy Tails
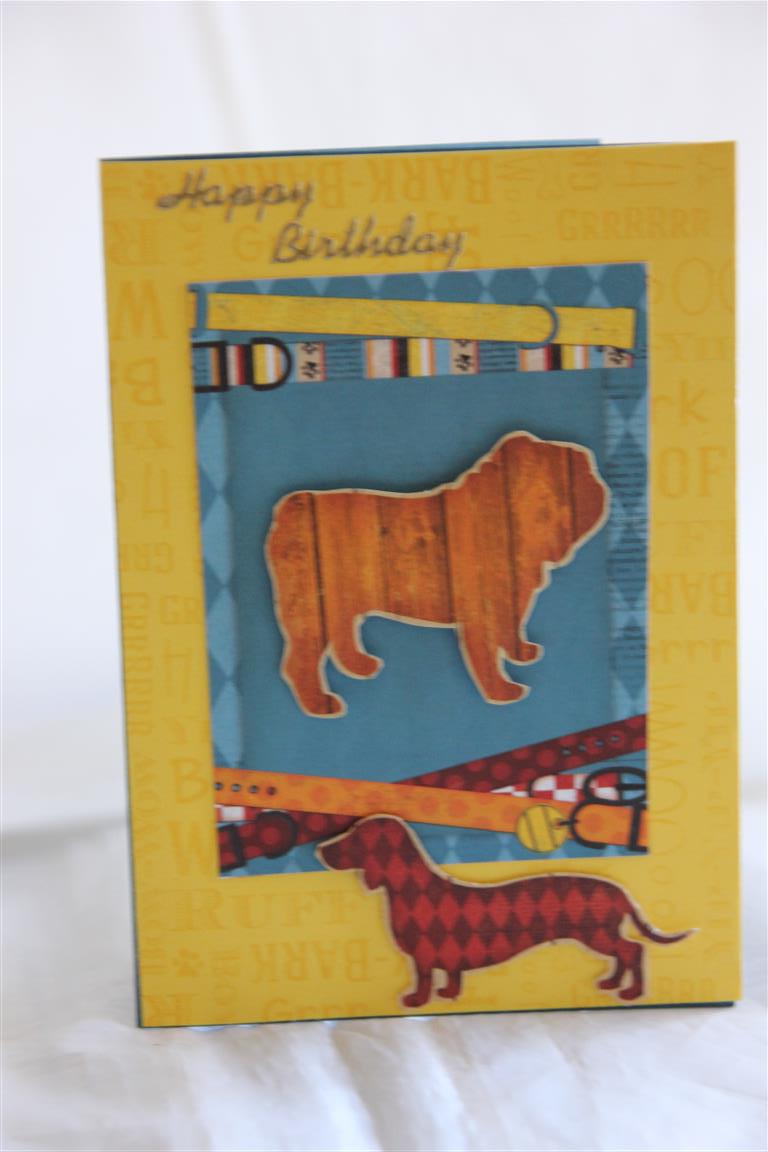 I purchased just a few sheet of Bo Bunny happy tails – One for fussy cutting, and a couple for matting, I liked that they were different to the usual choices! Here I matted a couple of pieces of paper, and fussy cut a couple of dogs which i attached with foam pads for some height. already looking forward to the weekend – it can’t come quick enough this week! til tomorrow….
Vintage card – elements of style
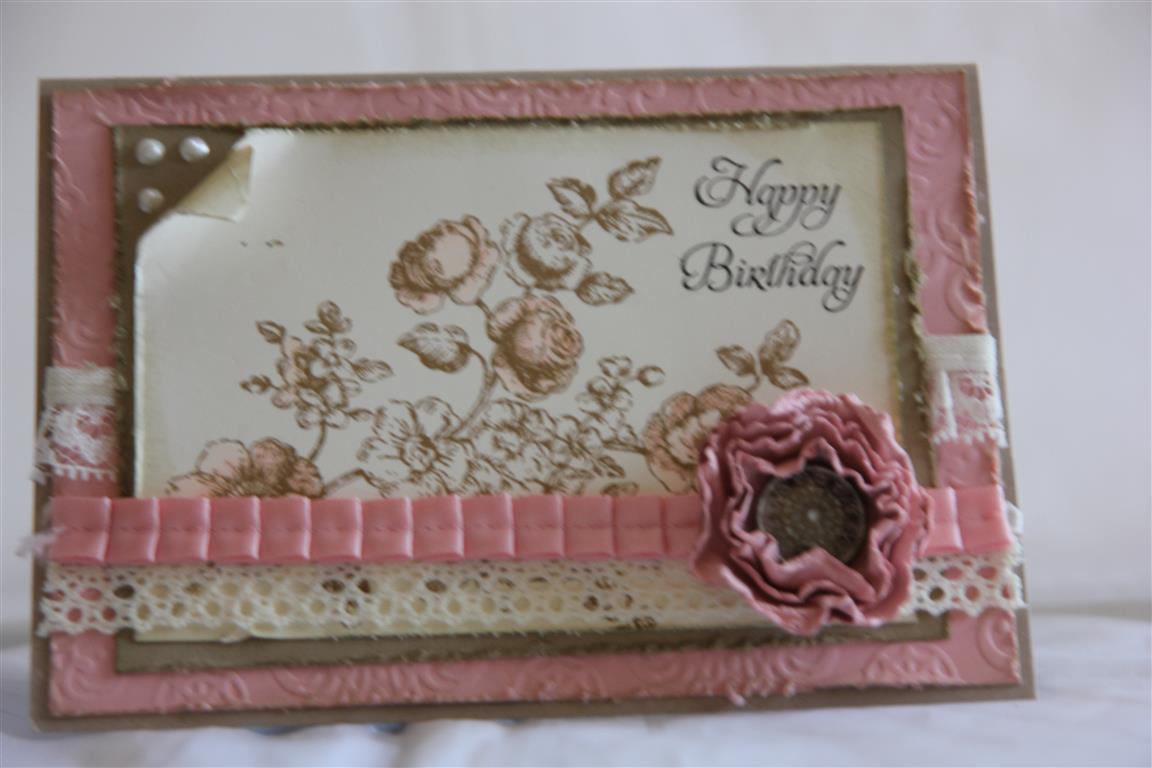 If I had to pick a favourite style it would be vintage, though this one has a lot of shabby chic involved too! a big list of products used – here goes – stampin up cardstock – very vanilla, crumbcake and blushing bride. The embossing folder is stampin up lacy brocade and all the trim is also stampin up. the stamp set is Elements of style ( stampin up) and for the flower I punched out 4 circles, sprayed them with water and scrunched them up! the brad used is a stampin up vintage brad. I distressed all the edges just to add to the shabbiness! I also only coloured a couple of the flowers on the stamped image.Tea is cooking as we speak, so must be off… til tomorrow…..
Serene Sillouettes stamp set
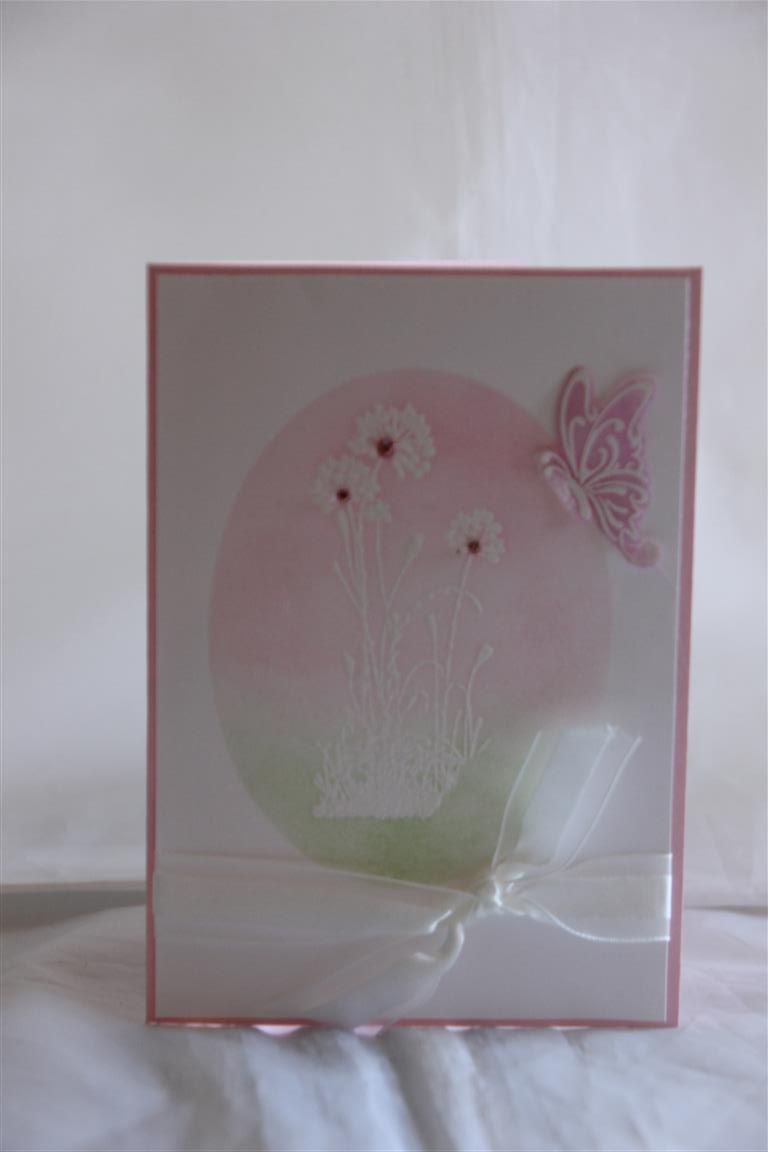 straight away I want to say this was not my idea – I saw it on pinterest, but had to try it! I liked the idea of using my oval die to use as a stencil. I stamped the serene sillouttes stamp( Stampin Up) in versamark ink onto white cardstock, and white embossed it, die cut and oval and used what would normally be the waste to pop over the card and inked through it with green and pink inbk.The heat embossed image resisted the ink. I also heat embossed a butterfly stamp on vellum, and coloured it witgh pink ink before fussy cuuting and attaching to the card. Wrapped the whole panel with with organza ribbon.I thoroughly enjoyed doing this ione, and time permitting will experiment further with different shapes and stampoed images! Til tomorrow….
A stamped garden!
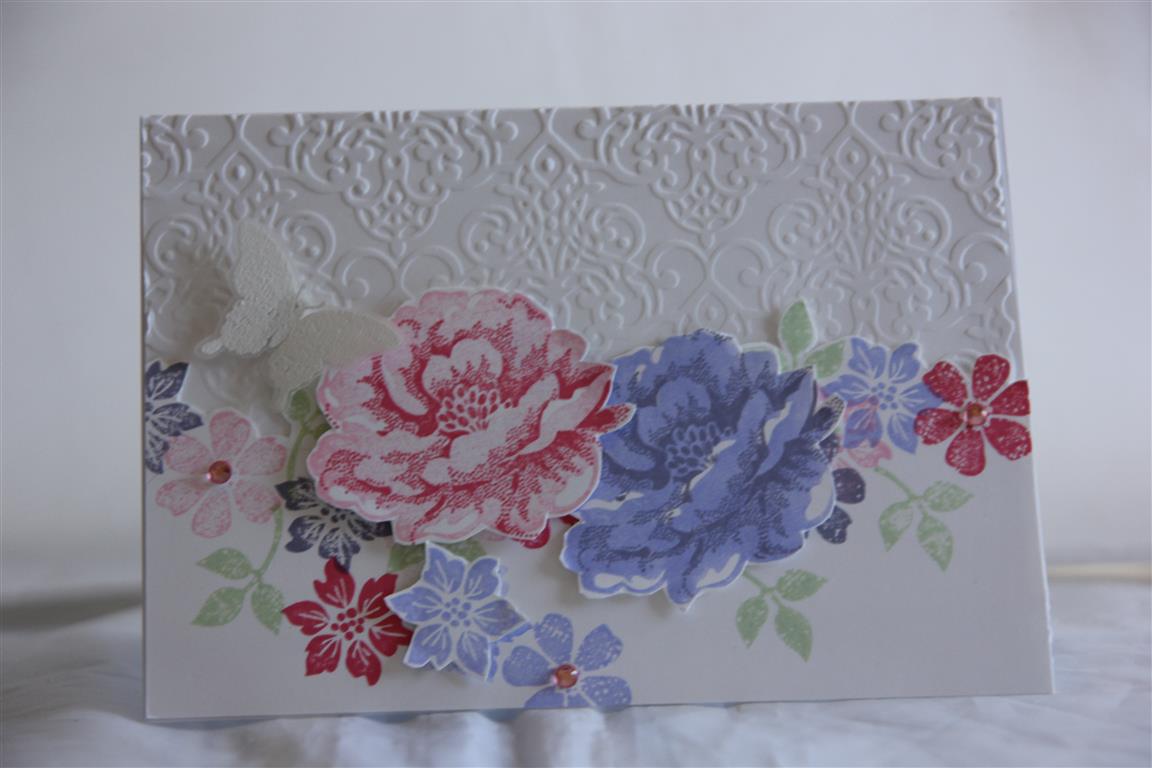 On todays card I have gathered a few stampin up ink pads and stamp sets – stippled blossoms, bliss, and vintage vogue – and stamped out a colourful garden onto some white cardstock, which I then fussy cut around and stuck to another piece of white cardstock which I had embossed with a stampin up embossing folder – lacy brocade. I added some rhinestones, and heat embossed a butterfly on vellum and cut around that too before sticking it on the front of the card.This card is a favourite, and I must try this a gain! Til tomorrow….
Stampin Up stippled blossoms stamp number 1
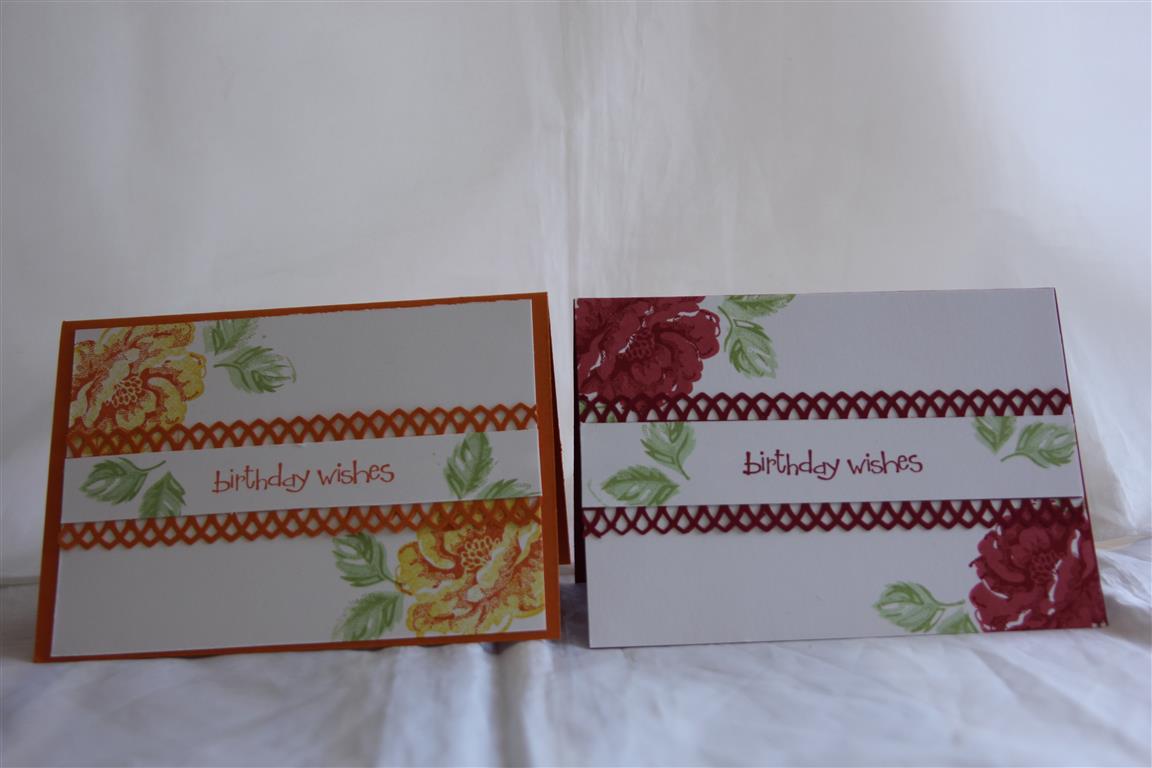 I thought I would show some stamped cards I made a couple of weeks ago. These two cards are made with Stampin Up Stippled Blossoms stamp set. Its a two step stamping technique. the first stamped layer is a solid stamp, and you stamp it in a lighter colour, then use the second stamp in a darker colour over the top to get a more defined image. On the left I used stampin up inks – daffodil delight and tangerine tango, and on the card on the right I used stampin up rasberry ripple and primrose petals. The leaves were done with garden green and pistachio pudding inks. I used an E K Success punch on both cards. Still struggling with this rotten cold, so it’s been a lazy day for me! Til tomorrow….
kaisercraft Bluebelle 6 and Prima doll stamp
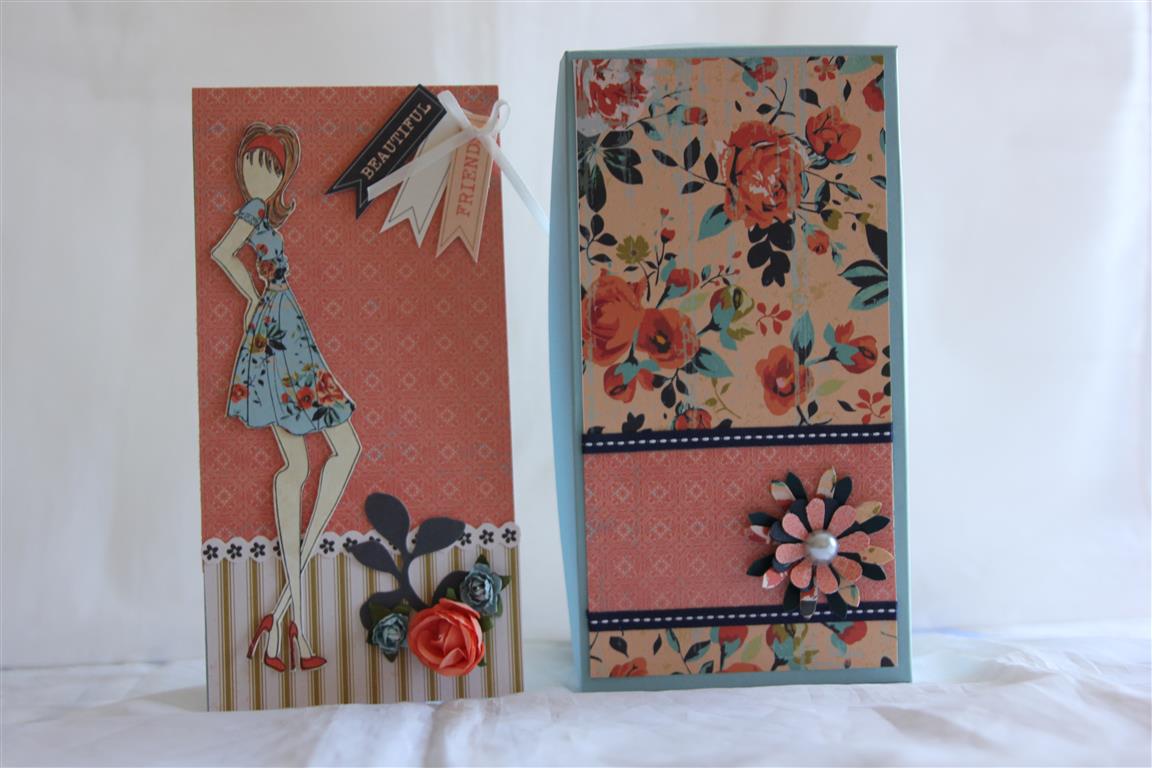
 I think this is the last in my Kaisercraft Blubelle series, and here Is a similar card and box to last night one – using a julie Nutting Prima doll stamp,and the blubelle papers.the background papers are from the 6′ pad,and I mixed in a few of the matching collectables.The flowers on the card on the left are prima and kaisercraft, and I die cut the one on the box using my stampin up blossom party die.i have spent a productive day in the craft room, playing with some new kaisercraft storyteller papers which i wil get nathan to photo this weekend, and hopefully will be able to show next week! til tomorrow….
Kaisercraft blubelle number 5, prima doll stamp.
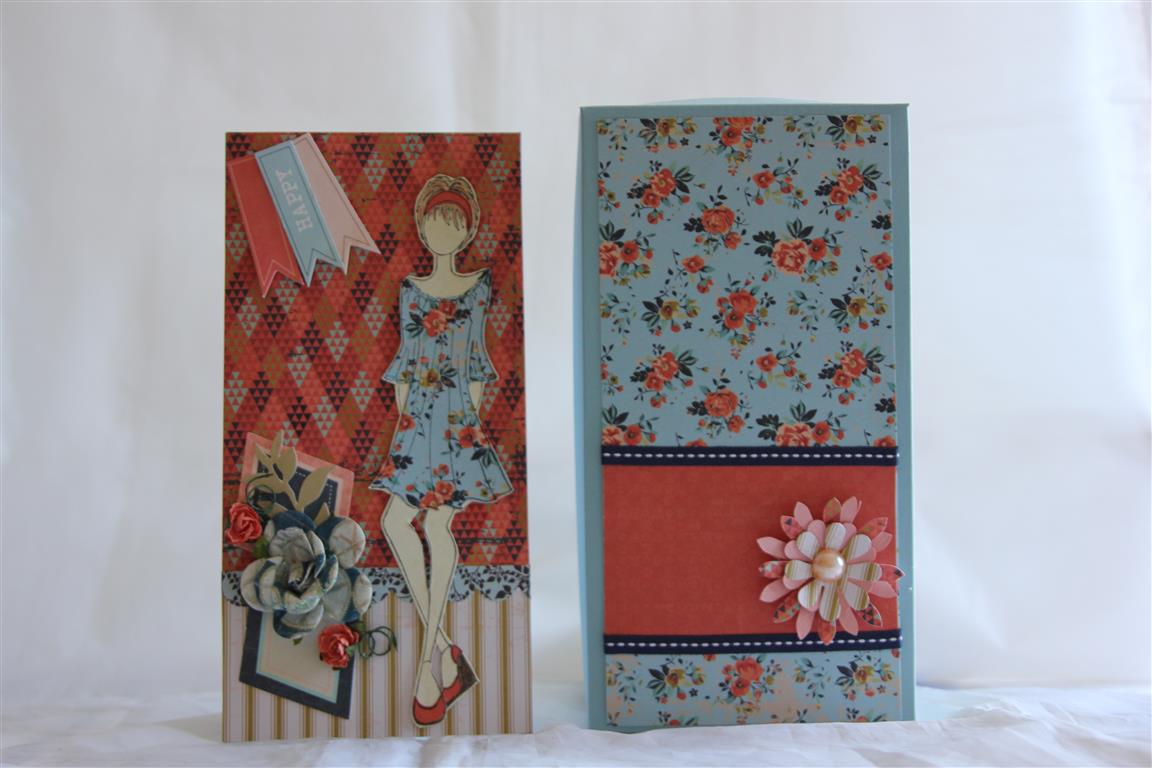
 kaisercraft blubelle 12 x 12 paper, 6″ paper pad, and matching collectables.On the left is the card – I stamped a Prima Julie Nutting stamp onto some neutral paper, and cut out, and again onto patterned paper, and cut out the dress and put her back together.I added some collectable banners in the right hand corner with some ribbon,and added kaisercraft flowers in the lower right hand corner.On the right is the box, which I kept simple, making a flower using my stampin up blossom party die.the cardstock used is stampin up. I was missing yesterday as I haven’t been well – I am suffering from a cold, and feeling more than sorry for myself! Luckily the lemon tree has lots of fruit on it so I have been drinking lemon and honey drinks and that does seem to help a bit.Til tomorrow….
