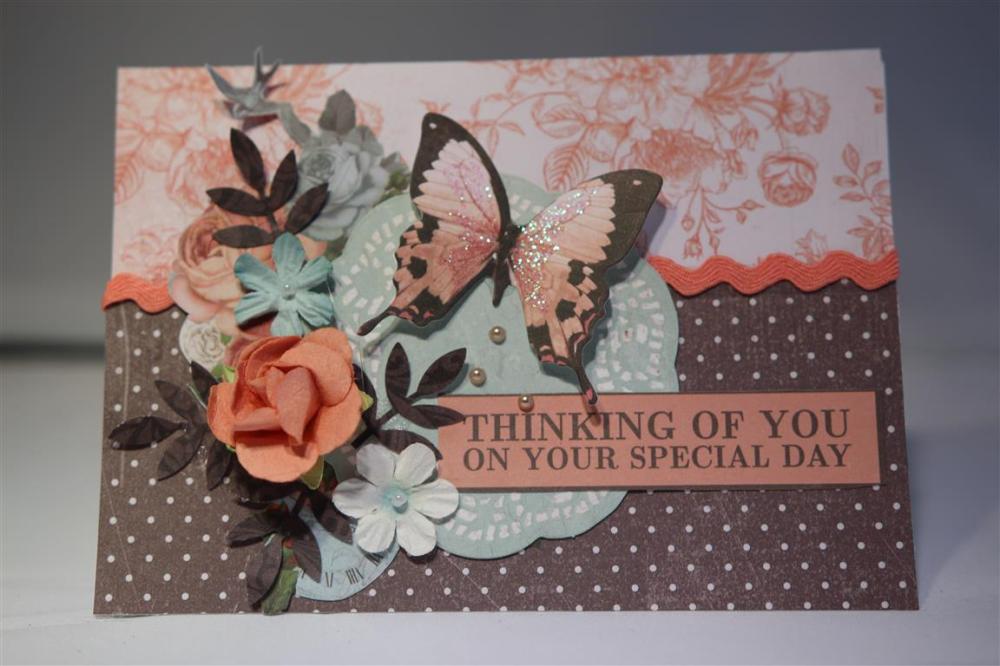
 My second Kaisercraft Ooh La La cards, still using the papers from the 6″ pad for the background layers – they were the leftover pieces from the first card..and the inner layer is from a sheet of 12 a 12 paper, as is the flower which I fussy cut.kaisercraft pearls,ribbon and a sentiment from the sheet in the class kit from Paper Flourish to finish.I am going to venture into the craft room this morning for an hour, no die cutting, but I will see if I can make at least one simple card ..it’s that or go crazy!! Til tomorrow…..
Category: Kaisercraft
Kaisecraft Ooh La La..!.
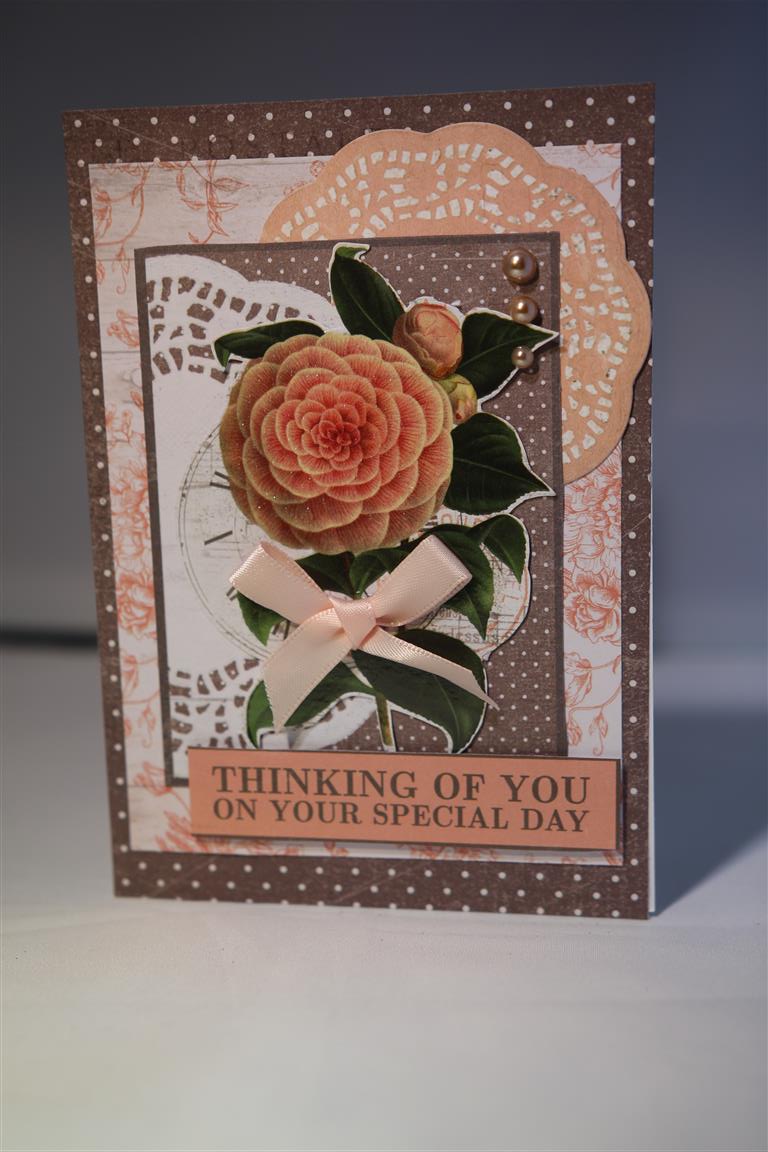
 This is the first card I made with kaisercraft Ooh La La paper collection. I love this collection and bought the Paper Flourish Class in a box because it had all the 12 x 12 papers as well as a lot of other bits and pieces that match in with the papers. I also purchased the 6″ pad and another pack of collectables to extend the set.I am so glad I did because it’s the only collection I have been able to use in my craft room while I am not able to use my shoulder. I haven’t needed to do any die cutting as there is enough in the collection to keep things interesting. Anyway this one uses papers from the 6″ pad,a sentiment and ric rac from the box,and some punched leaves and flowers from Kaisercraft and Green Tara.Til tomorrow….
Card box card..
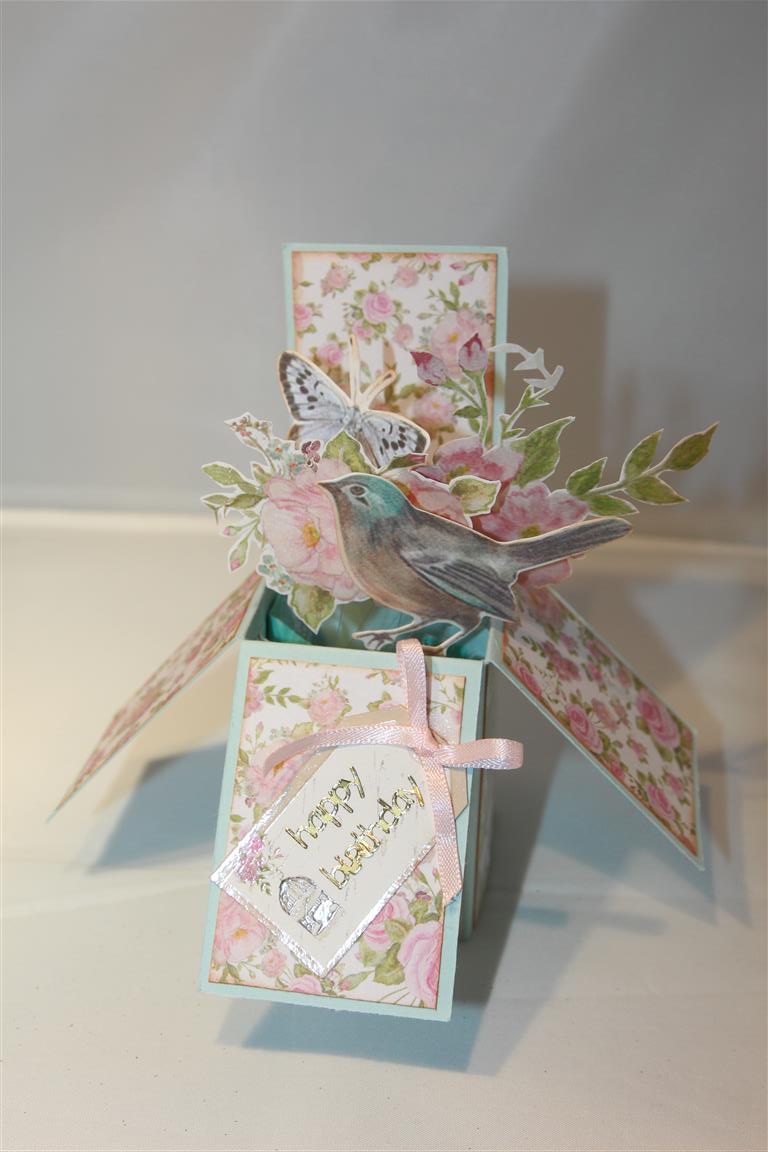 Today will be my last post for about a week, as I am off to visit my son in Sydney! It is also the last card I made using Kaisercraft True Romance paper collection. I have a you-tube clip ( see link on right hand side of blog) to show you the measurements for my box card,and I have just used the papers, inking around the edges of all the panels with tea dye distress ink, and added a bow. All the other pieces were fussy cut fromthe papers. I spent a little time in the craft room this morning, hoping to prepare my classes for december, but the shoulder is still not the best even with yesterdays cortosone injection, so I have had to give up, and will sit and rest it for a while with a good book! Til next week…
A quick card..
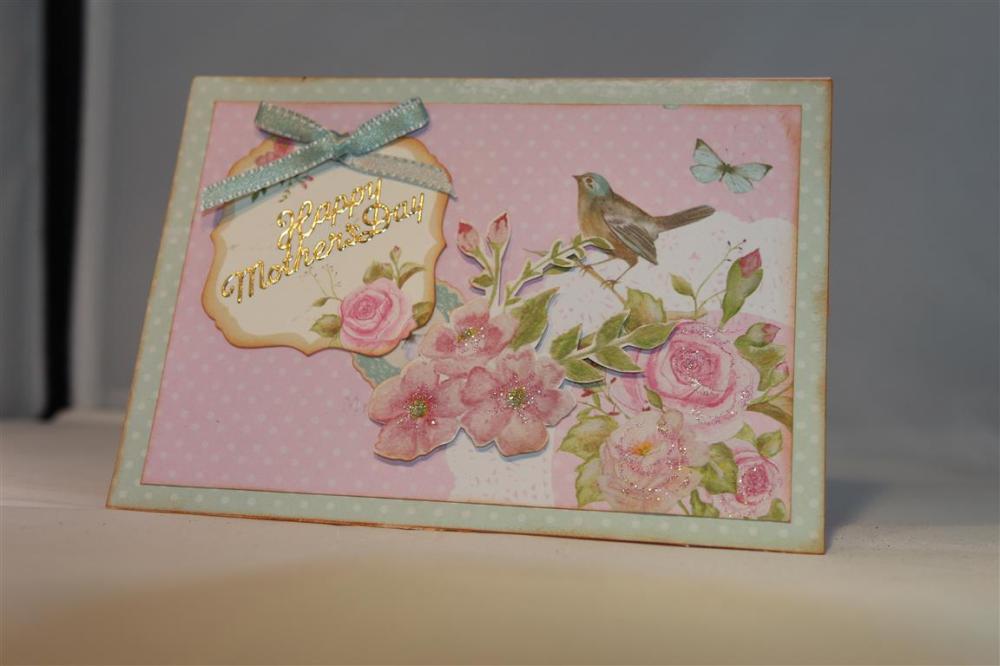
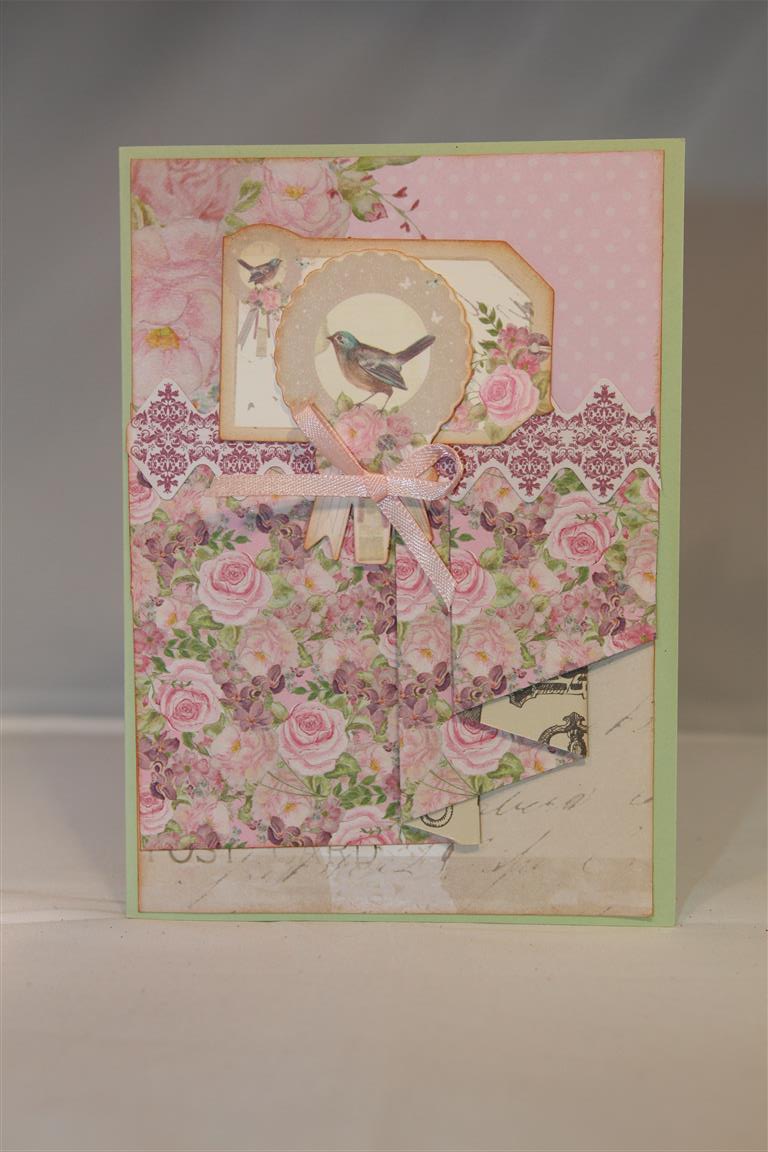
While I had the Kaisercraft true Romance papers out practising my pleating skills I made a very quick card to pop in the box ready for next year(!),I know but I go where the inspiration leads me..Just two pieces of layered paper , inked around the edges with tea dye ink,a fussy cut flower, and one of the tags that came with the collection.A bow to tie in the colours of the butterfly and bird,and the little doily under the tag and this was a very quick make.I am still nursing my sore shoulder, off to the Dr shortly because it has to be better before I fly over to Sydney at the end of the week to visit my son who works over there!Til tomorrow….
Another Pleating technique
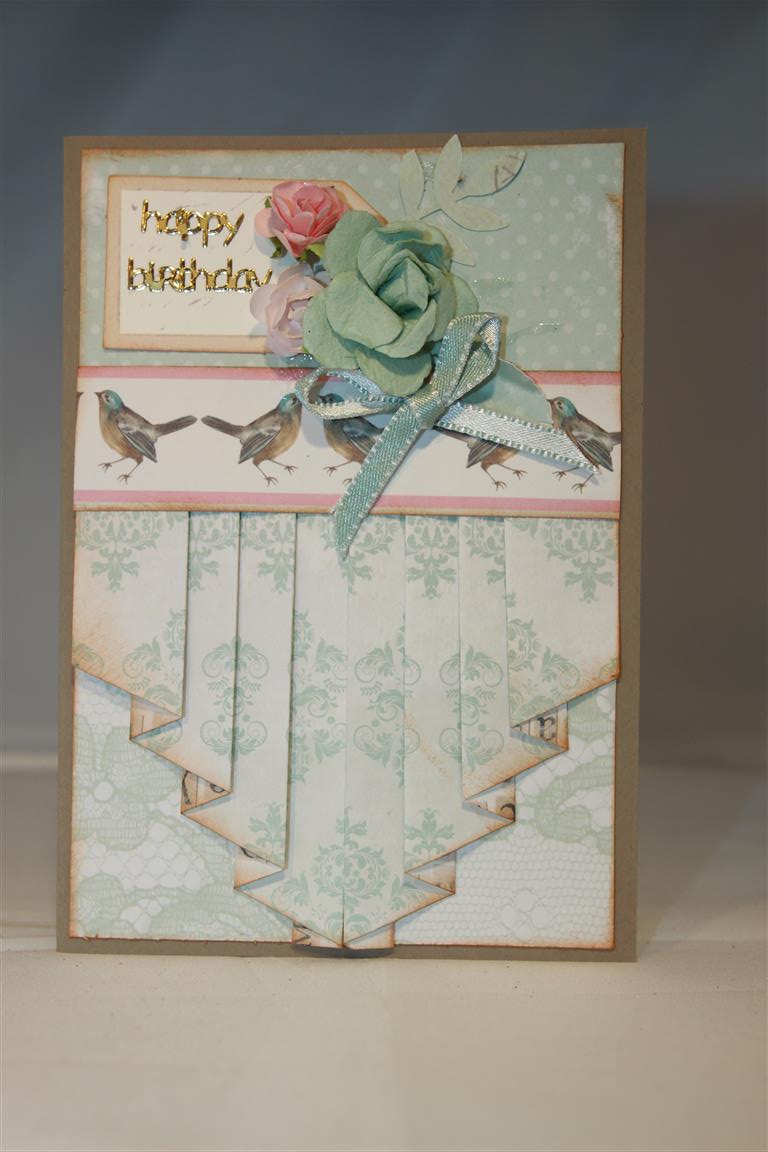 After mastering the previous pleating technique, I stepped it up and tried aone that was a little more difficult. Lots of measuring on this one, but well worth the effort for the finished product.I am just hoping as I sit here that i have filed away the measurements! As the paper I used was so close to the background layer I inked the edges of the pleats to define it a little bit.The flowers I added were from Kaisercraft and i added a punched leaf and a ribbon bow to finish.The paper collection is Kaisercraft True Romance, and older release ,but one of my favourites.I have a really sore shoulder today, and not much use of my right arm, so I think the craft room is out of the question this weekend,looks like a reading weekend for relaxation! Til tomorrow…
Kaisercraft True Romance pleating fun..
 I wanted to explore a little bit with pleating techniques, and Kaisercraft true Romance papers were perfect for this technique as the front and backs of the papers are so pretty!I started with a card base made with Stampin Up cardstock, layered two pieces of paper on top of that. A sticker from the same collection covered the join after i had added my pleated piece of paper. A bit of measuring was involved here, but now that i have worked out the measurements any more card I make like this will be easier. Use a piece of copy paper while you are experimenting to save your lovely papers!.A bow and tag finished todays card. Til tomorrow….
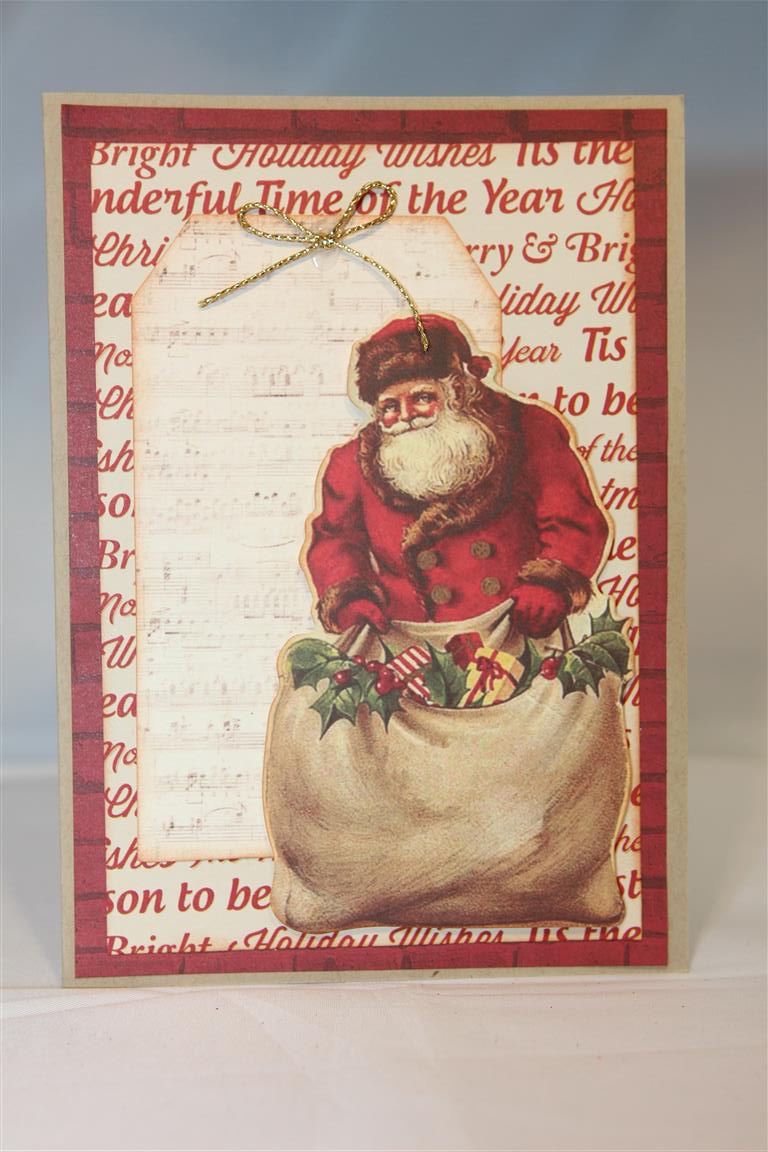
Kaisercraft silent night 5 and 6
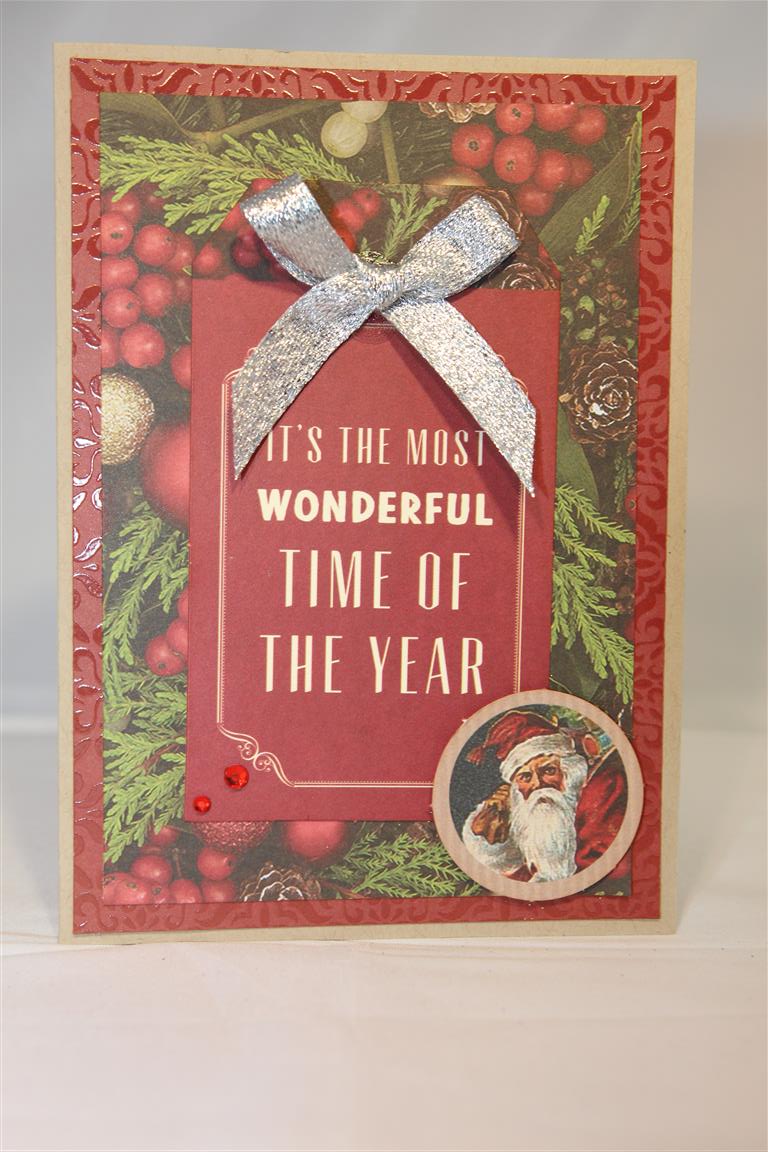
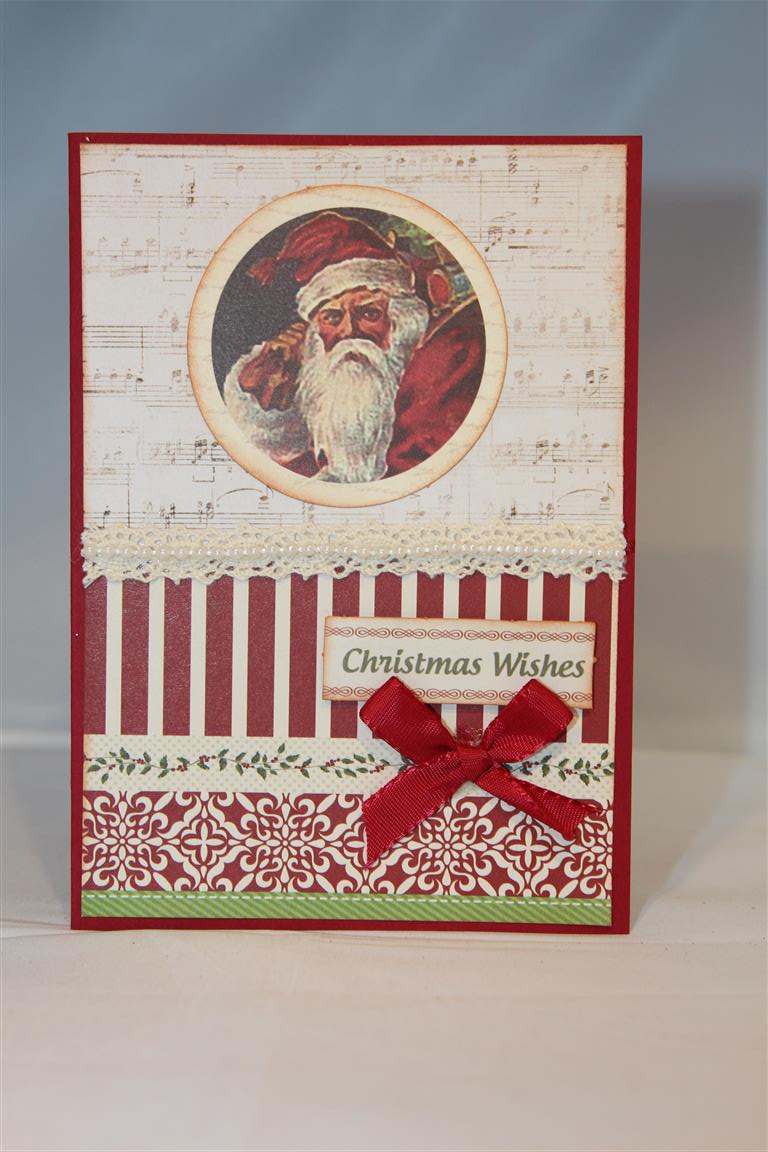 The last two Kaisercraft Silent Night collection cards for now. I have done more but they are not photographed yet! The top card has a mixture of paper pad and 12 x 12 sheets,and the bottom card is all 12 x 12 papers. Sop easy to create cards with this collection ,the only addition needed is a couple of ribbon bows and bling for interest and texture.Quick post today as I am off to teach a village lesson, a difficult one today as one of my ladies passed away last week.We will miss Jean. xx
Kaisercraft Silent Night 3 and 4
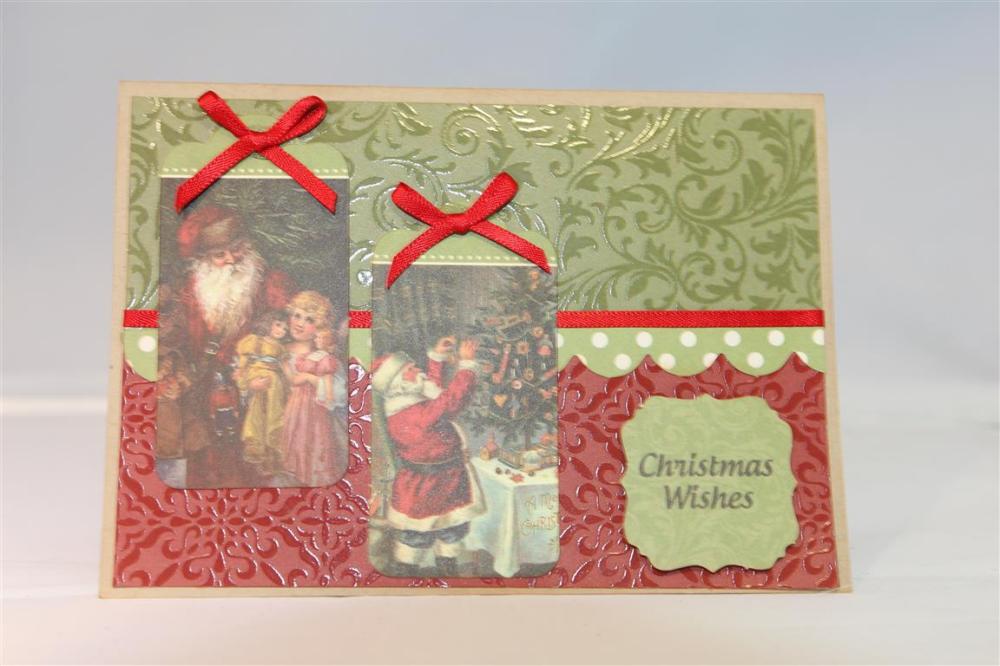
 The next 2 cards in my Kaisercraft Silent night series.The top cadr uses papers from the paper pad,and the bottom card has layers using 12 x 12 papers and both cards rely heavily on the images from the collectables pack. Everything is inked with tea dye distress ink and some bows to finish for texture.I am having a very busy week at work, but hope to get into the craft room for an hour this afternoon just for a litle relaxation! til tomorrow….
Kaisercraft Silent night, side steppers

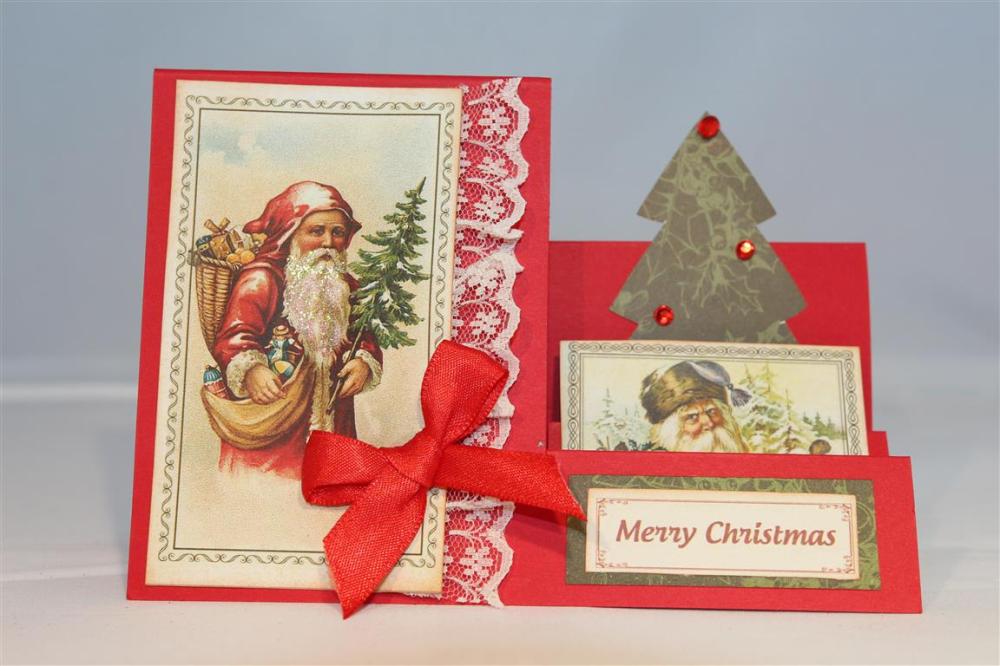 The other Kaisercraft Christmas collection I purchased was this one – Silent Night. It is the traditional colours of red and Green, and some lovely vintage images.The first two cards I made are these two side stepper cards. I have done a youtube clip for the measurements of my side stepper cards, because I like them to fit into a C6 envelope.You can find the link to my youtube channel on the right hand side of my blog, or just search Helens Card designs in youtube to find it!The Christmas trees on the cards are from the collectables pack from the same range, but before I stuck them onto the card I traced around them onto scrap cardstock and cut them out to use as templates because I really like the size and shape of them So one of the green trees is a collectable and one is cut from patterned paper using my new template!Lace , ribbon and bling for the finishing touches.Til tomorrow…..
Kaisercraft Christmas wishes ..the last..
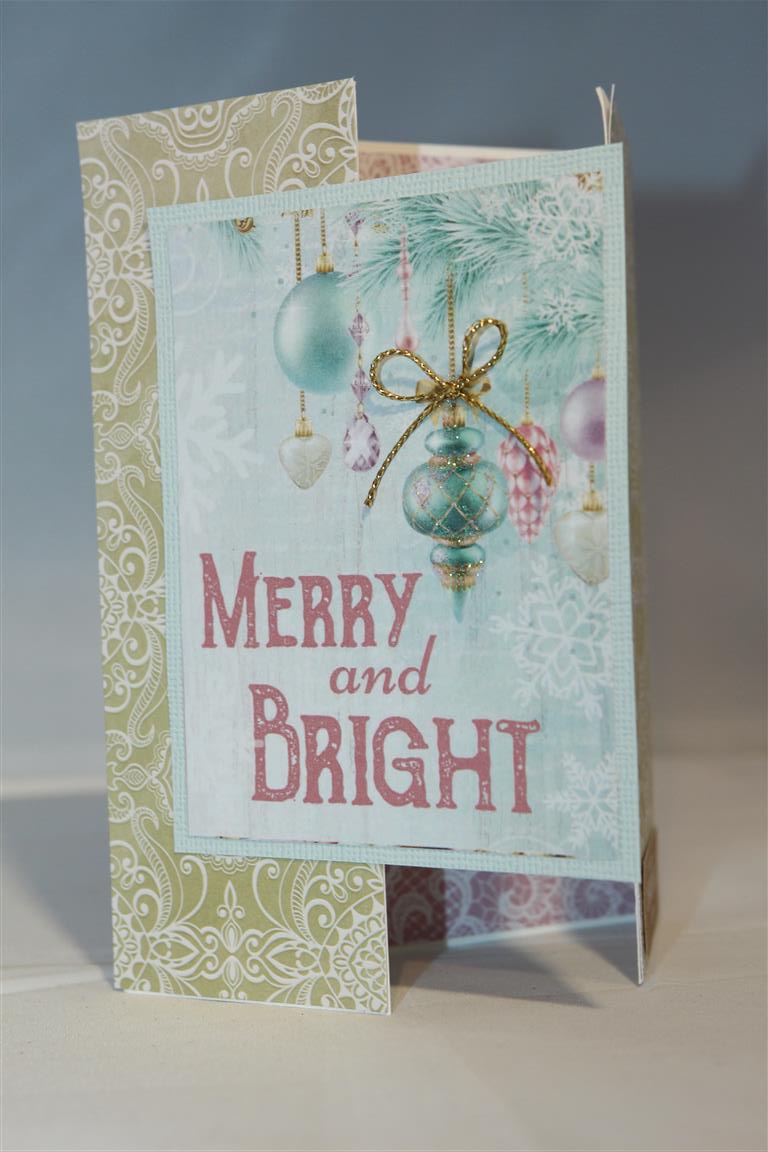
 This is the last of the Kaisercraft Christmas wishes series for this year. I will put the rest away to start me off next year.The top card is another gatefold, while the bottom card uses up a few scraps punched into hexagons, inspired by the shape of the greeting which came from a piece of the 12 x 12 paper.The trim on both cards is from Stampin Up. I have cleared my craft desk of all things christmas for today and I am going to explore the possibilities with my new purchases…I think Graphic 45 to start!Happy Crafting, til tomorrow…..
