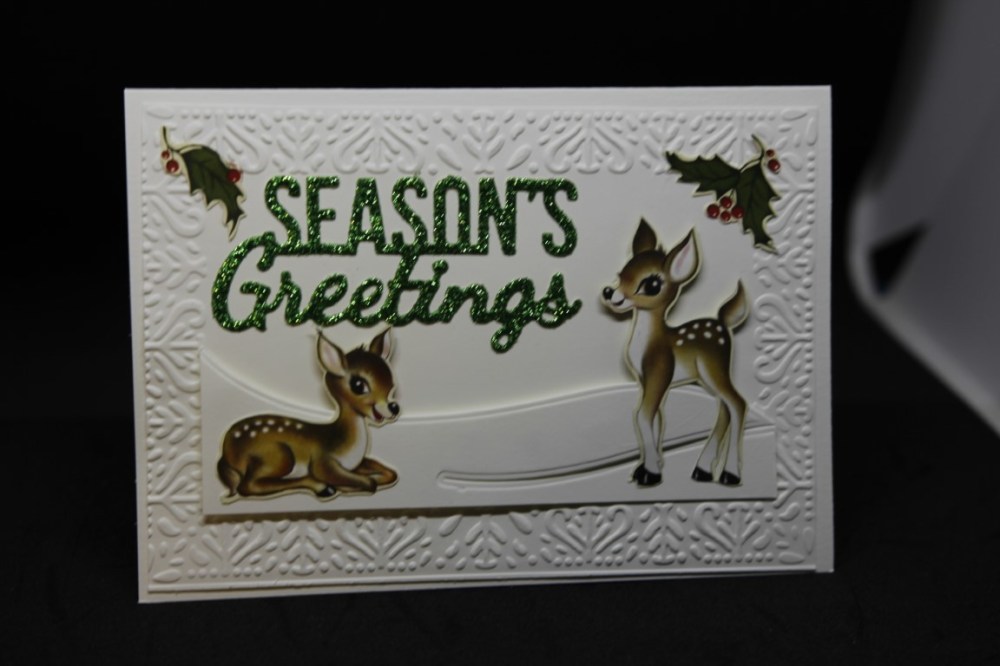
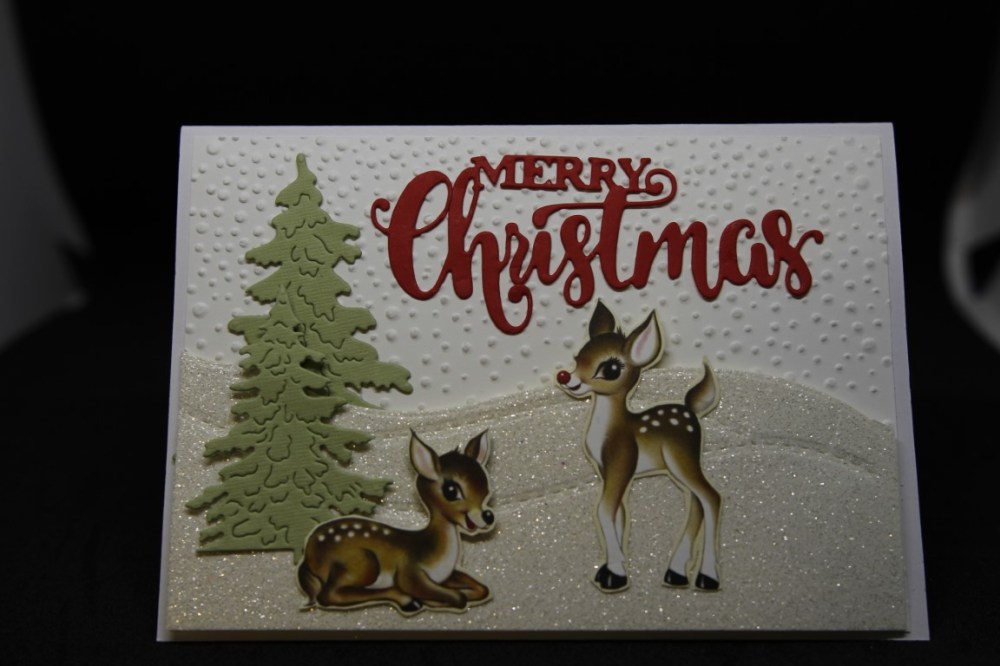
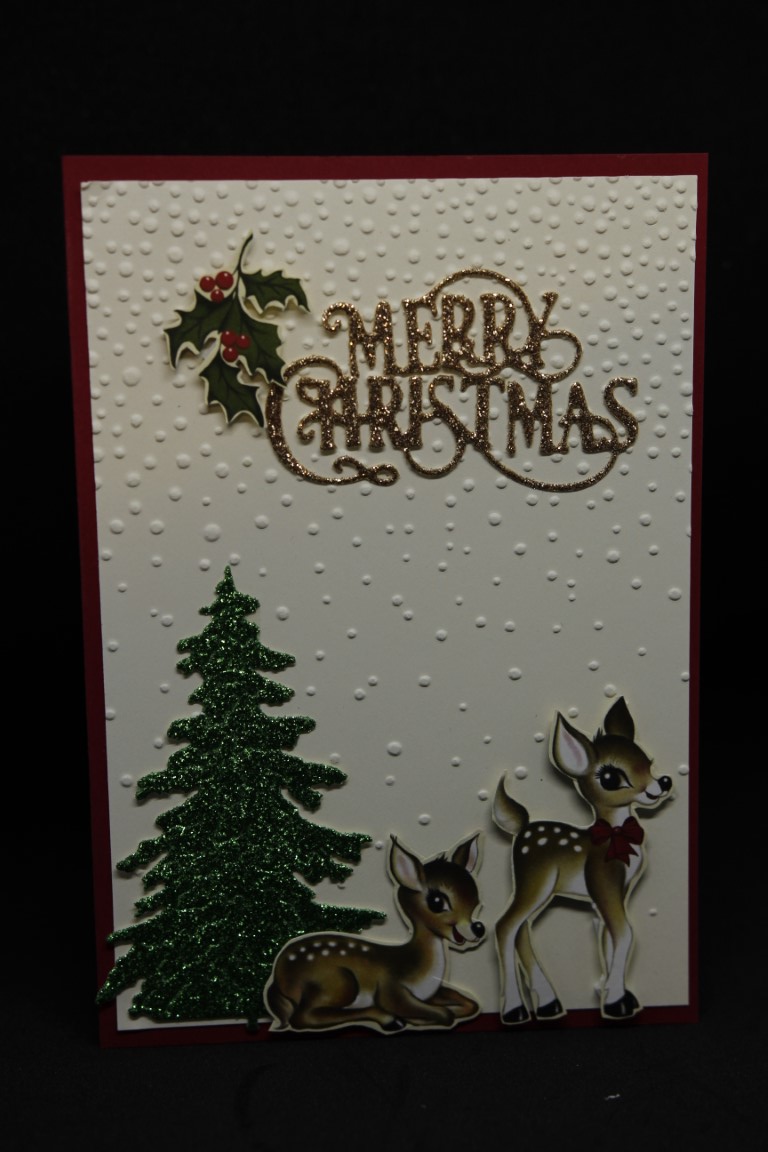
 Todays cards use an assortment of embossing folders, dies and a little bit of older Stampin Up christmas paper. When Stampin Up brought out this range of paper a couple of years ago I loved it so much a bought a bit more than I needed, so I have a nice supply of these cute deers, and the little village houses. I have used glitter paper, and they all came together so easily. This is my favourite kind of card making..little scenes…and also shows how easy it is to combine Christmas stash with ordinary embossing folders and dies. I have finished with Christmas card making now, and this week have been playing with some gorgeous Mintay papers for an upcoming project. I am hoping this week to get a bit more crafting done, I have got so many papers still not cut into and i have to start thinking about filling my boxes for the craft fair next year!! Til next time….
Category: stampin Up designer papers
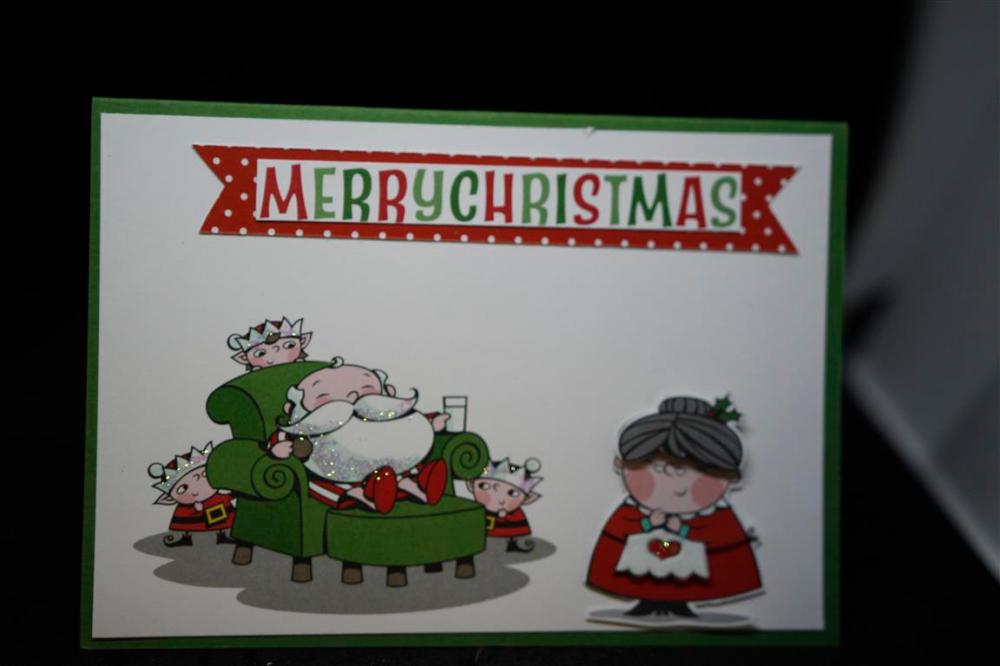
Stampin Up Santa’s Workshop..
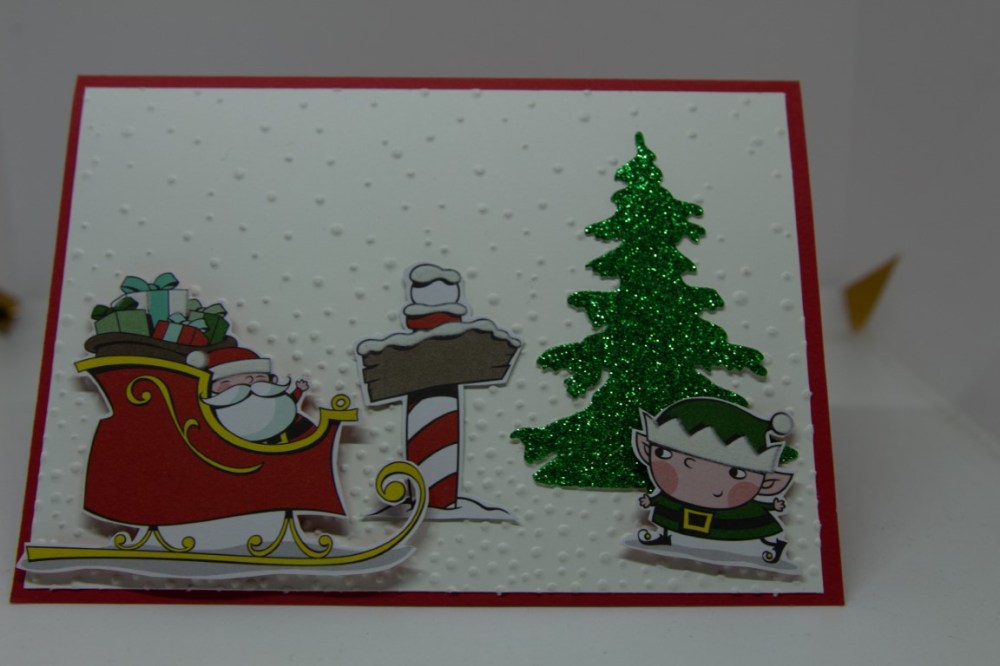
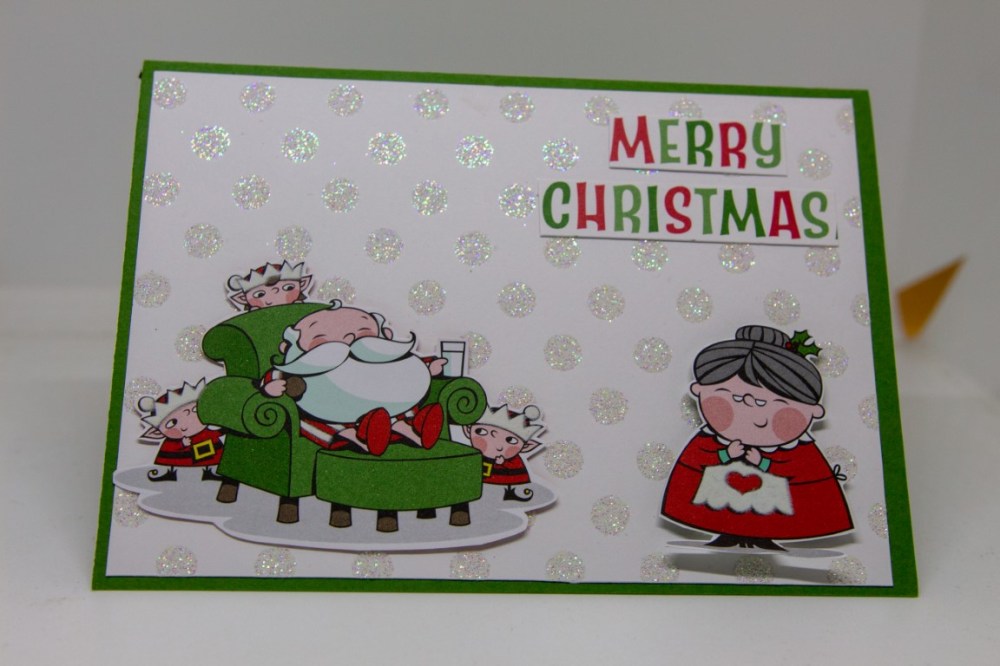
 Here are the first Christmas cards for this year! I have used a Stampin Up designer paper collection from last year called Santa’s Workshop, I love it because of the fussy cutting potential. I haven’t bought too much Christmas collections yet this year – I am determined to use up the papers I have ( I think I say that every year!), but I have been working with Prima Christmas in the Country and some gorgeous vintage Stamperia papers this week. The top card has a die cut glittery Christmas tree, and the top and lower card have a layer of embossed white cardstock but other than that its all paper and cardstock.- no ribbon , lace or bling to be seen! Til next time….
Stampin Up Bird Ballad..
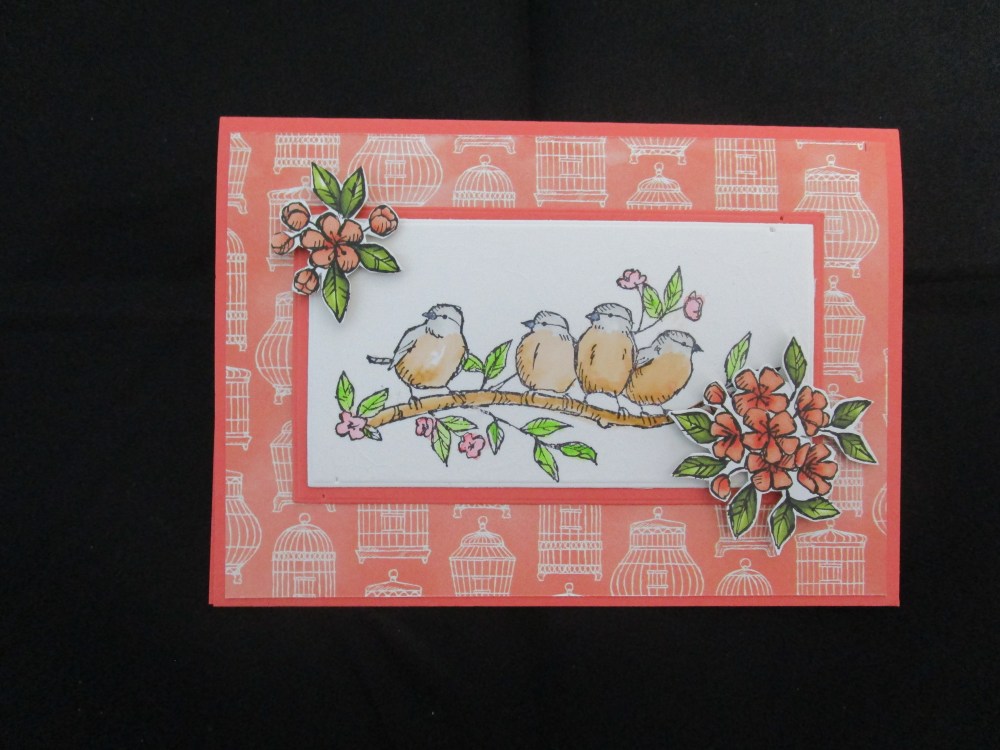 Last weekend was my sister Kays’ birthday, and I made her this card using Stampin Up Bird Ballad papers , and the associated stamp set, for two reasons…she is a keen photographer of birds, and she is a Stampin up demonstrator and the person I get all my Stampin Up supplies from. I stamped the birds, and coloured them with Copic Markers, and fussy cut some flowers from the designer papers from the Bird Ballad collection. The background paper is also from the same collection. I love this set, and have prepared a lesson for my ladies using it.The time this year is flying by, and my thoughts have now turned to Christmas cards..can’t wait to start creating some cards using new releases..first will be Prima I think.. will keep you posted! Til next time…
All about butterflies!
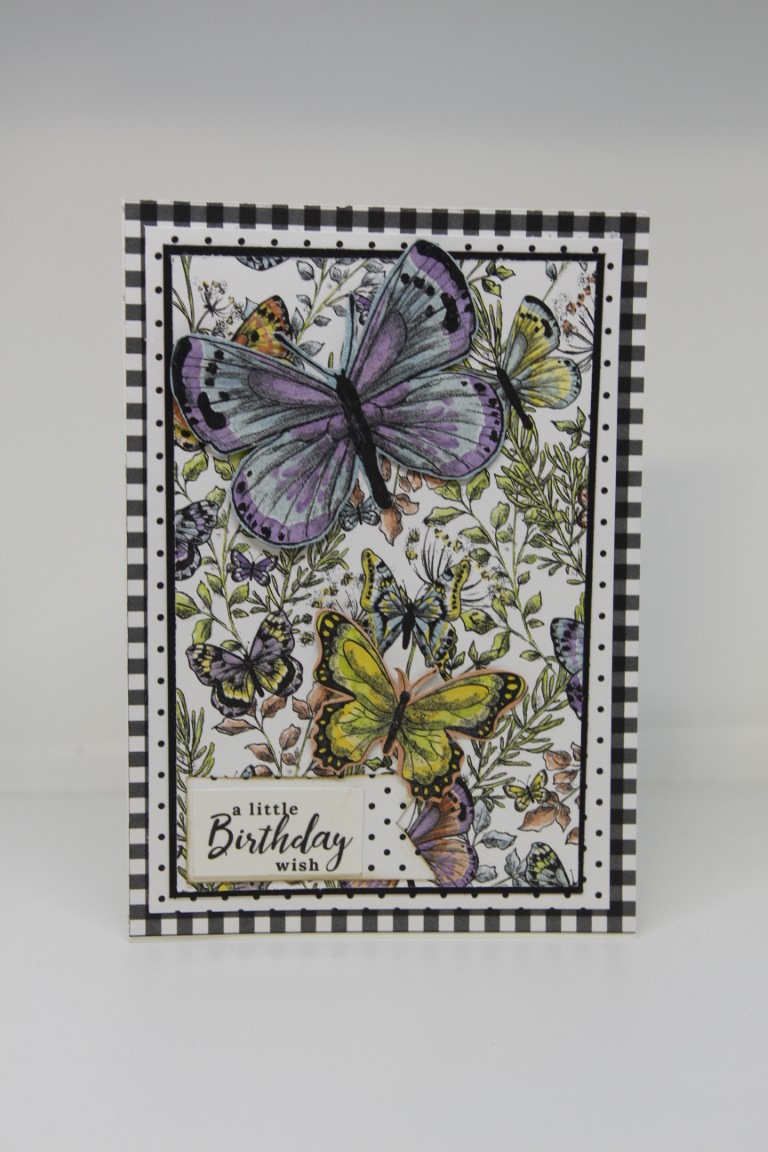
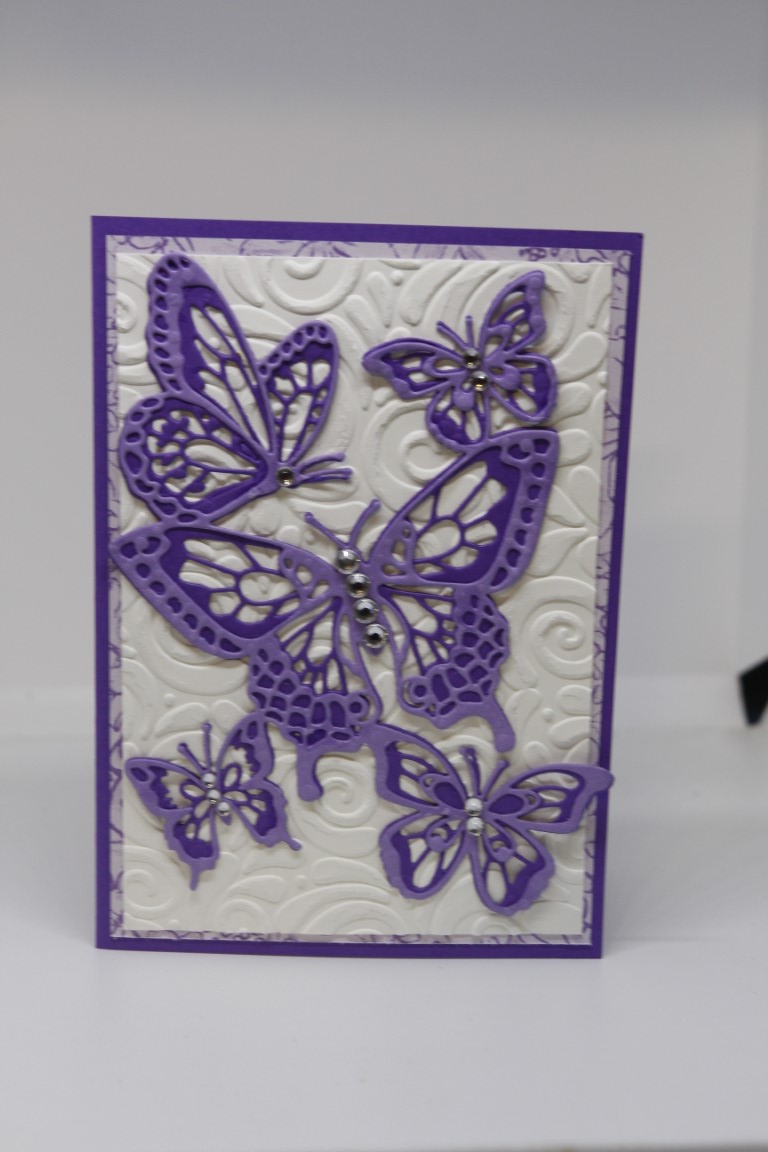 Today’s two cards have one thing in common – Butterflies! The top card has layers of black and white patterned paper, with the focus on the top piece of paper which is covered in butterflies. I fussy cut a couple of extra butterflies to pop on top for a bit of dimension. The papers are from Stampin up, but I am not sure if they are still available.The second card is a really simple card, a layer of patterned paper, an embossed piece of white cardstock, and then the butterfly die cut. The dies are all one piece, with the finer die stuck on top of the thicker die to make a shadow effect. It is a Stampin up die called Butterfly Beauty, and brilliant for quick makes. I just added some bling to the centre of the butterflies. Til tomorrow….
Stampin Up Tropical Escape…
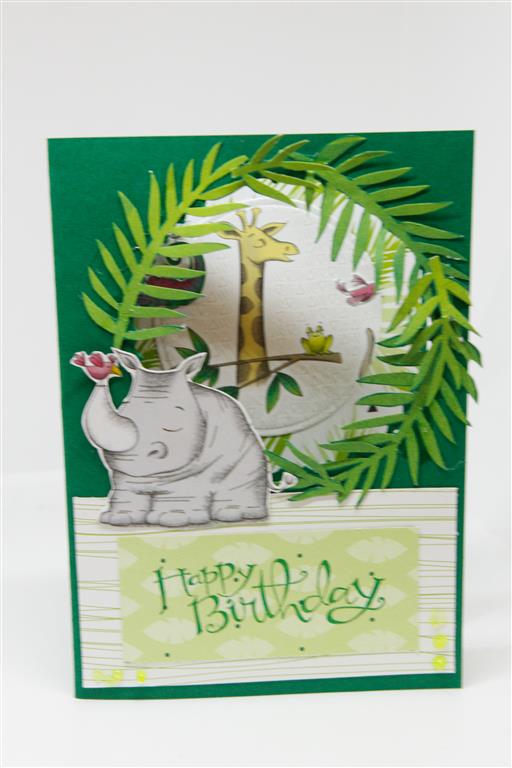
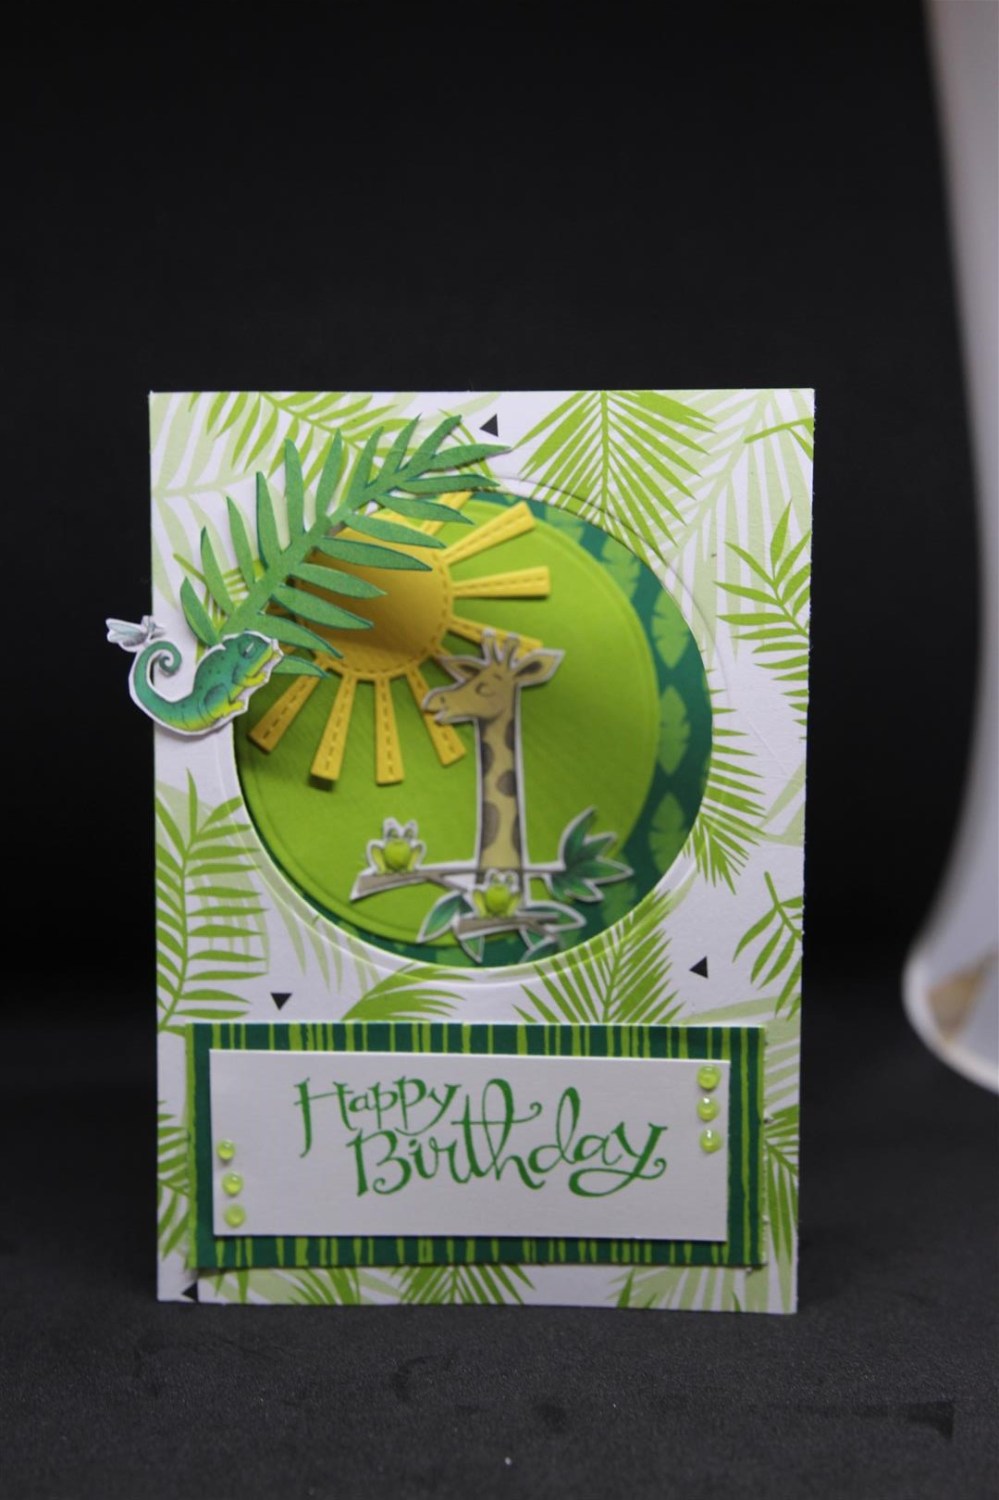
 I don’t know about you, but I need a break from Christmas card makes and I am ready to move on! We may revisit Christmas in the next couple of weeks but for now I am happy to show you all some cards i amde with Stampin Up designer papers. From memory the collection is called Tropical escape and I fussy cut various creatures, large and small. The top two cards are aperture cards – I die cut a circle out of the front of the card and most of the decorating inside, just making a leafy window to look through. The leafy fronds were all fussy cut from the papers. The sun was die cut from a Uniquely Creative die. Today is Cherry picking day, it is a little bit cooler, and the sun is hiding behind a blanket of clouds so good weather to harvest our crop! Til tomorrow…..
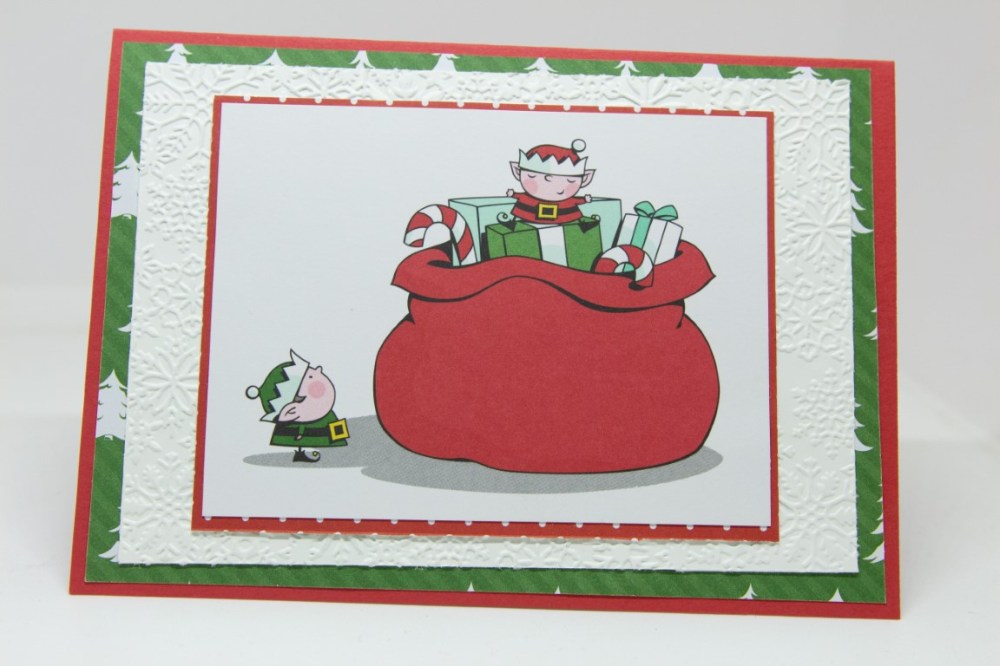
Stampin Up Santas Workshop..
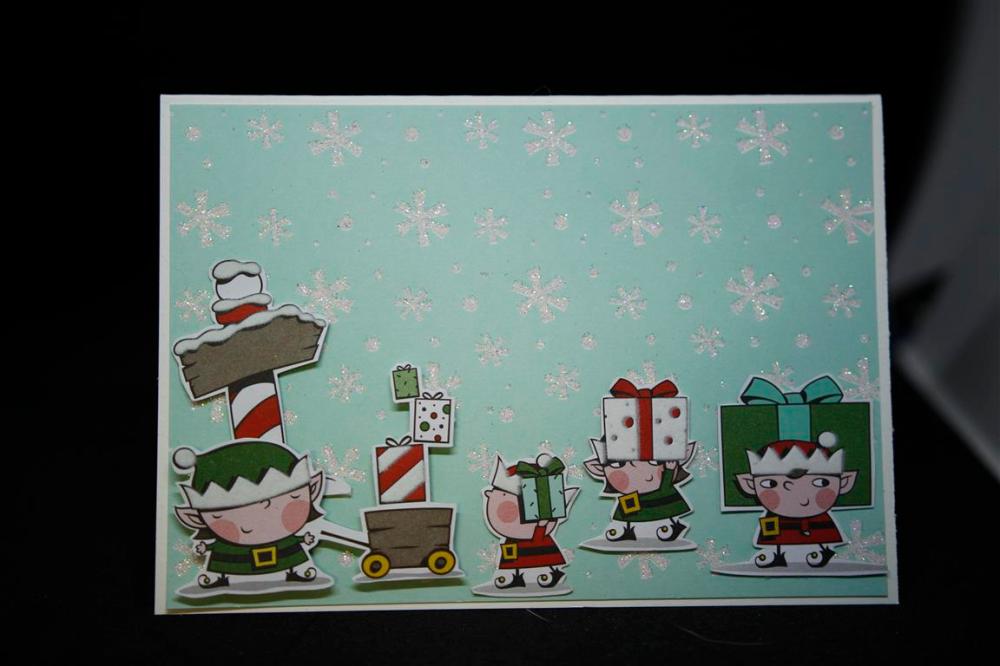
 Here are some more fun Christmas cards I have made with Stampin Up Santas workshop collection. I have added the bare minimum of embellishing to this group of cards, the papers are already embossed and / or glittered, and I have just fussy cut extra layers for some 3 D effects. I have finished my Christmas makes for this year,( but have so many more to show you ) and normally at this stage I pack up all the Christmas for next year, but this paper is staying out and I will continue to make cards with it throughout the year, it is so much fun to work with! Til tomorrow……
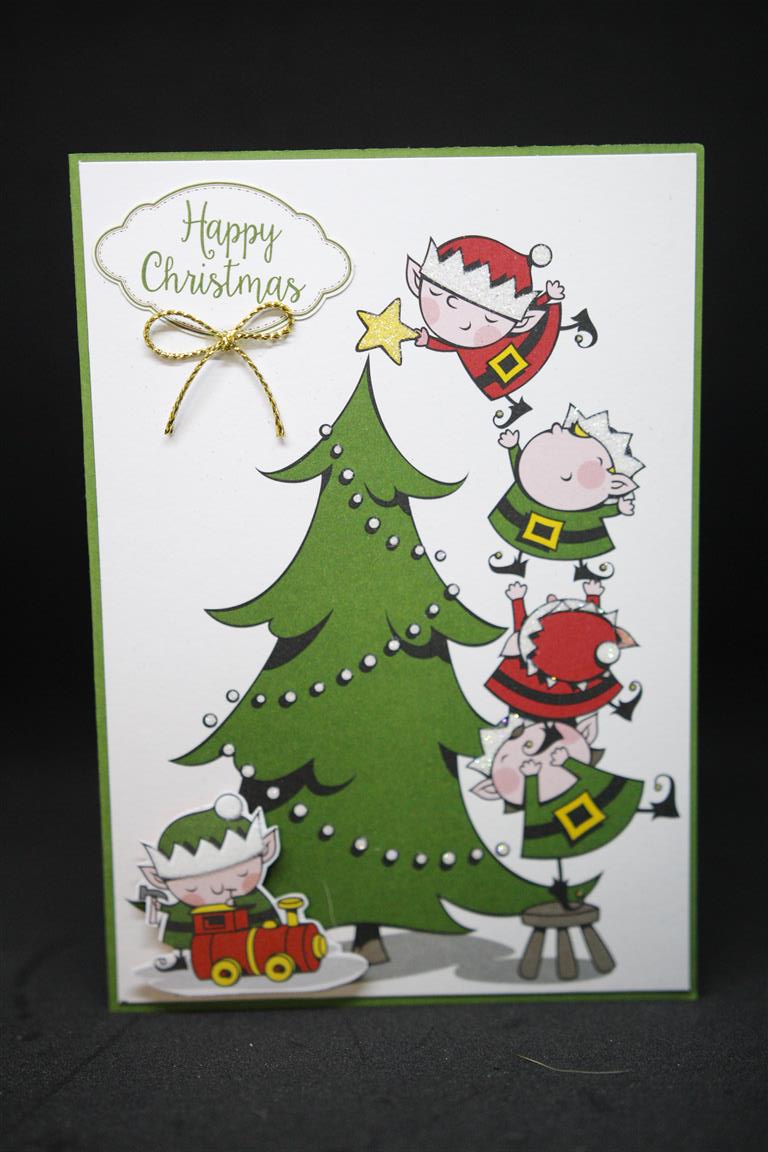
Stampin Up Santas Workshop
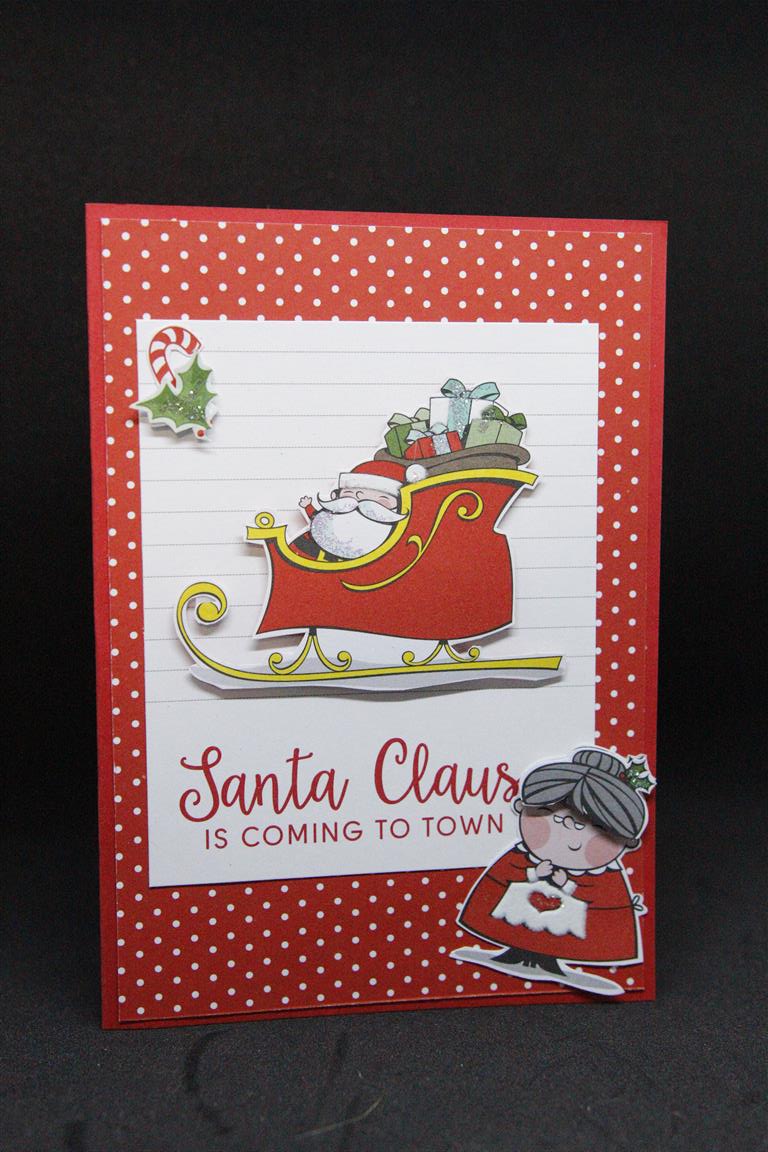
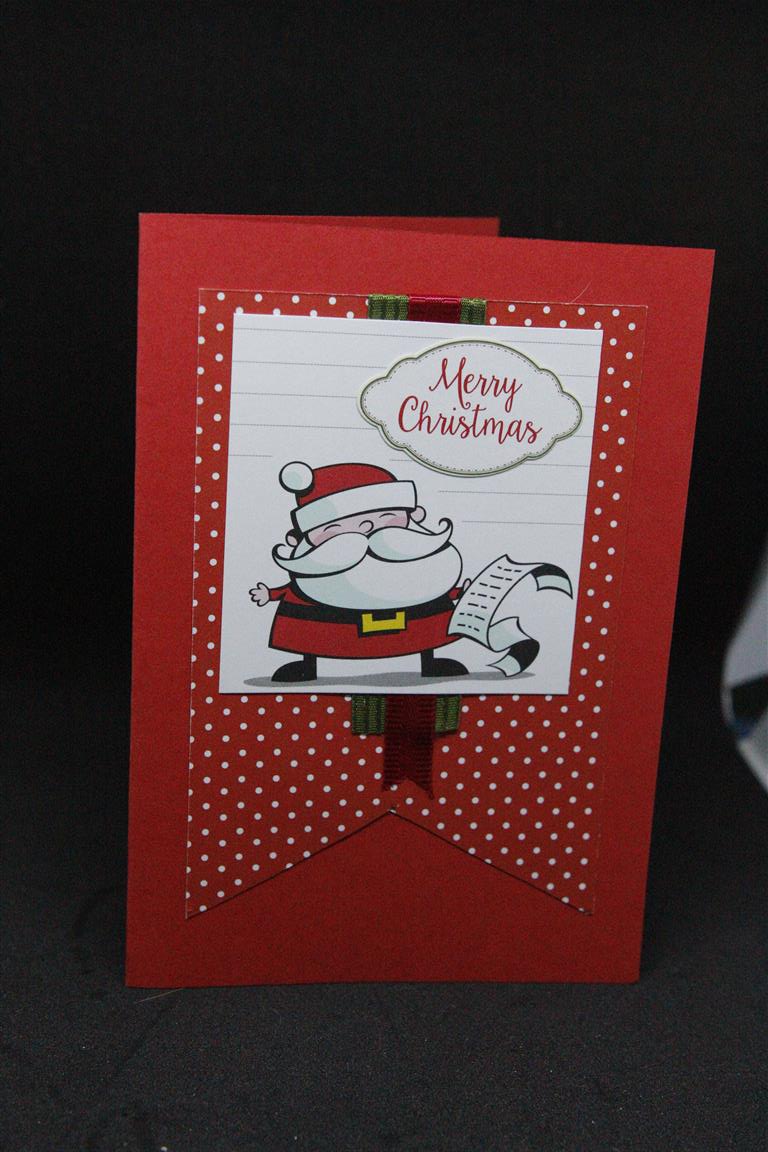 I had great fun creating with this collection of papers and matching card fronts from stampin Up ( Santas Workshop)..It was a change from the vintage and traditional papers that I have been working with. There were lots of images to fussy cut so I had fun building layers of the same image for a bit of dimension, and I really only had to add a little ribbon for texture as some of the papers were already embossed and glittered. tomorrow I will show you the other three cards I made before I had to pack up to create classes. I will get back to it though, I am going to be much more organised next year for Christmas – I think I will just keep creating all year ! Til tomorrow….
A Christmas village..
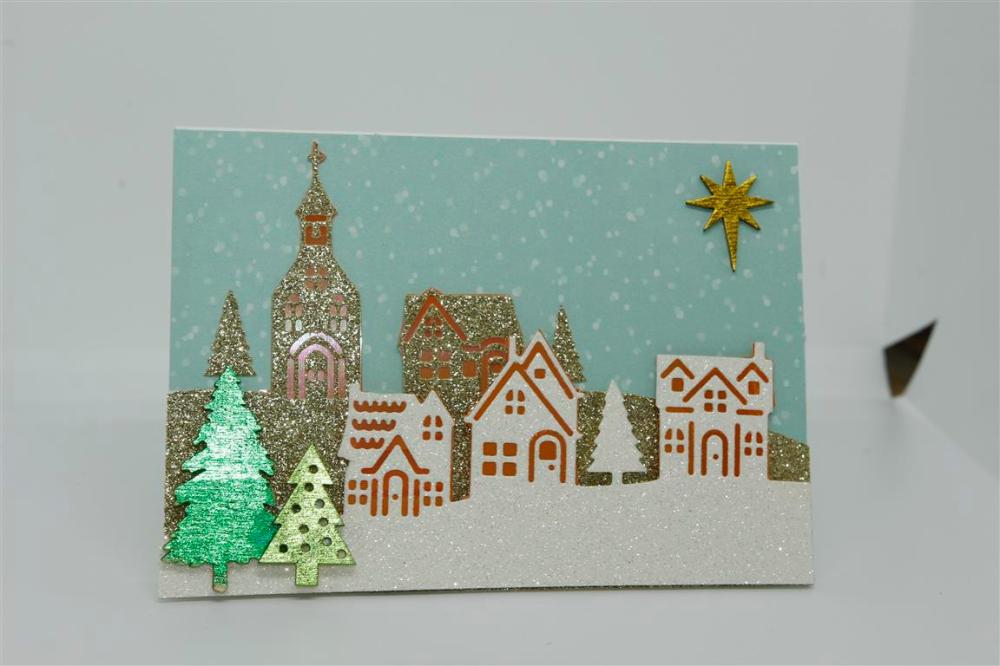 We are going to take a small pause in the Kaisercraft letters to Santa series today so that I can show you a card I made with Stampin Up Hometown Greetings Die set and a piece of patterned paper from their Christmas Around the the World designer series paper pack. I die cut the houses from gold and white glitter cardstock, and baqcked the houses with some shiny pieces of an acetate type piece.. I have no idea what it was, Mum handed it to me over the table, unsure of where she had got it, but it worked a treat as windows. Next time I do these, I will use some plain acetate as I have no more of the scrap mum gave me, and I will try colouring the clear acetate with Copic markers to see if I can get the same light shining through technique. The trees and star are Kaisercraft wooden pieces, foiled with my Go Press and Foil machine. Our clocks jumped forward an hour for daylight saving, and I have spent all morning chasing my tail, wondering where the day is going…Time is truly flying! Til tomorrow…..
Final Oh so succulent for now..
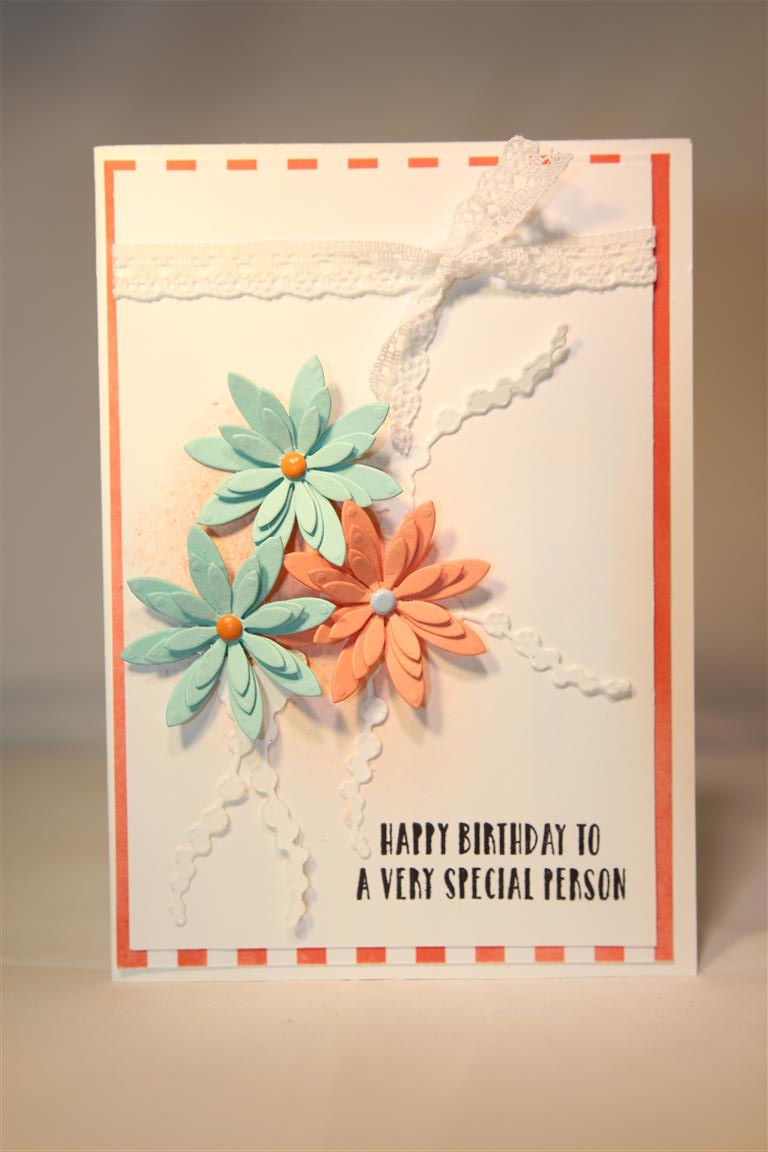
For this fianl card in the Stampin Up Oh so Succelent series I used the dies, stamps and papers from the collection.I die cut the flowers from stampin up cardstock, and used some brads that I had which matched the colours perfectly. I smudged some calypso coral ink ( stampin up) on a sponge behind the flowers and tied around the whole panel with a piece of dainty lace. I can’t wait to get back to this collection to try some other colour combinations! Til tomorrow…..
Oh so succulent stamp set..
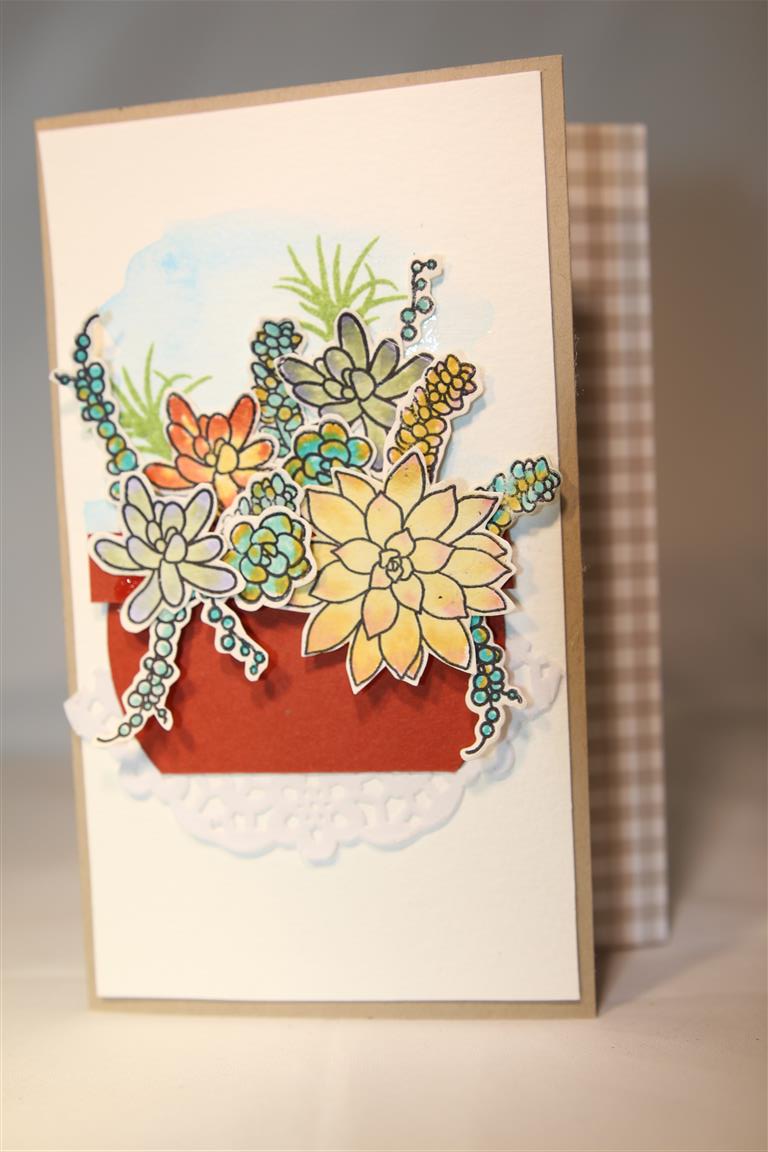 For this card I used the Stampin Up Oh so succulent stamp set, stampin onto watercolour card and colouring with inks. Although I have the matching die set i found it quicker and easier to fussy cut the images myself. On another piece of white card I did a watercolour wash in blue, stuck down half a doily, die cut a circle and trimmed it to a pot shape, and then arranged my plants! I trimmed some of the front of the card off, and added a strip of patterned paper on the back part of the card. I truly enjoyed making this card even if I did spend a little bit of time on it! I have been busy this week making orders, 12 at last count, but everything is caught up with now and I am hoping to cut into my new papers ( 2 lots now.. Kaisercraft High tea and sage and grace) in the coming days. til tomorrow….
