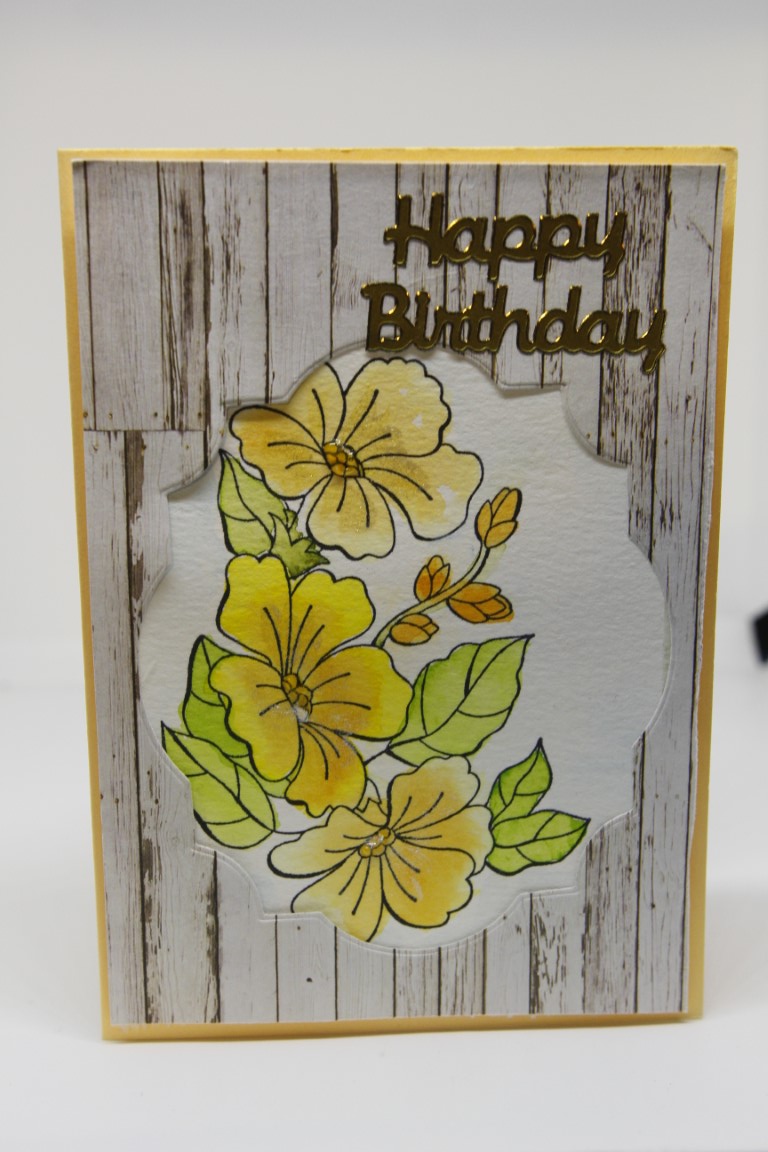
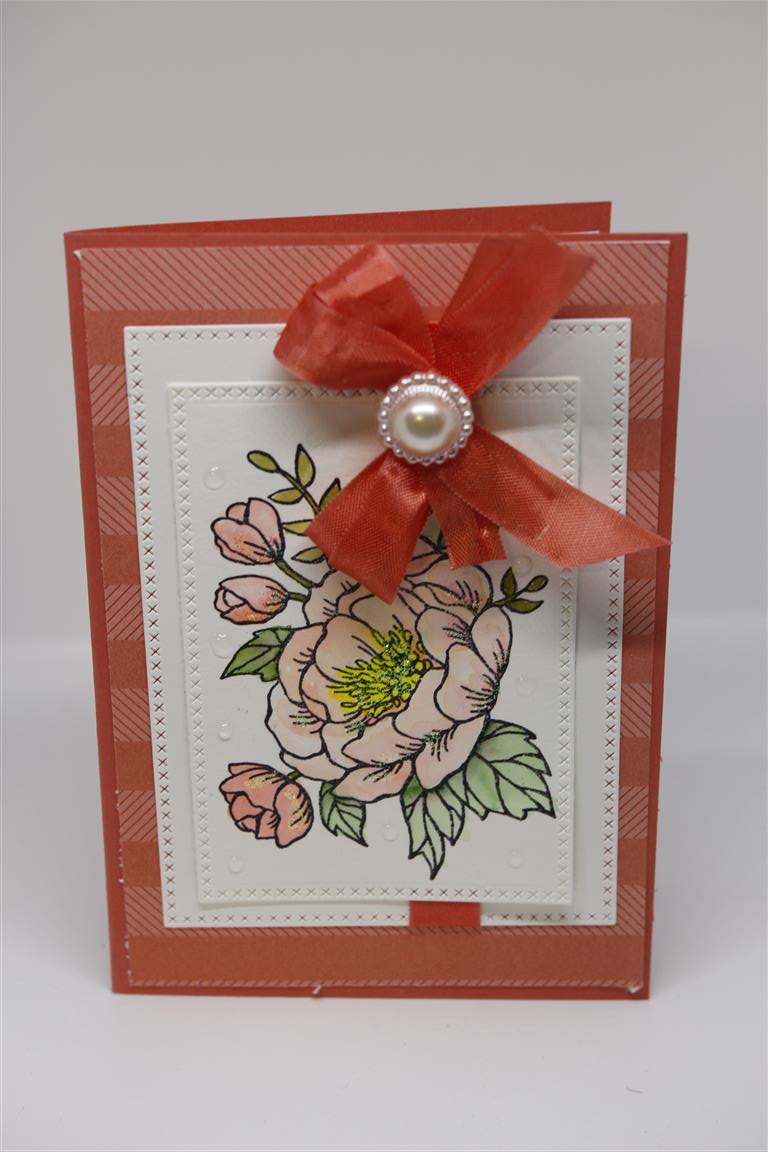
 My sister gave me a stamp set by Stampin Up before Christmas and I finally found the time to ink it up, with Archival ink stamped onto watercolour paper, and colour with my zig watercolour brushes in a few different colourways. Once I had experimented with colour all that was left to do was to turn my images into cards. I just used bits and pieces of odds and ends to make these three cards. I have been missing for a few days because I am trying to get ahead in my lesson planning as I lose a little bit of time when I go on my cruise next month. So looking forward to meeting new ladies ( and some gents) in my cruise classes!A day off today, so all the craft gear is out and I am off to do some more crafting! Til tomorrow….
Category: Flowers
Stampin Up Birthday Blooms..
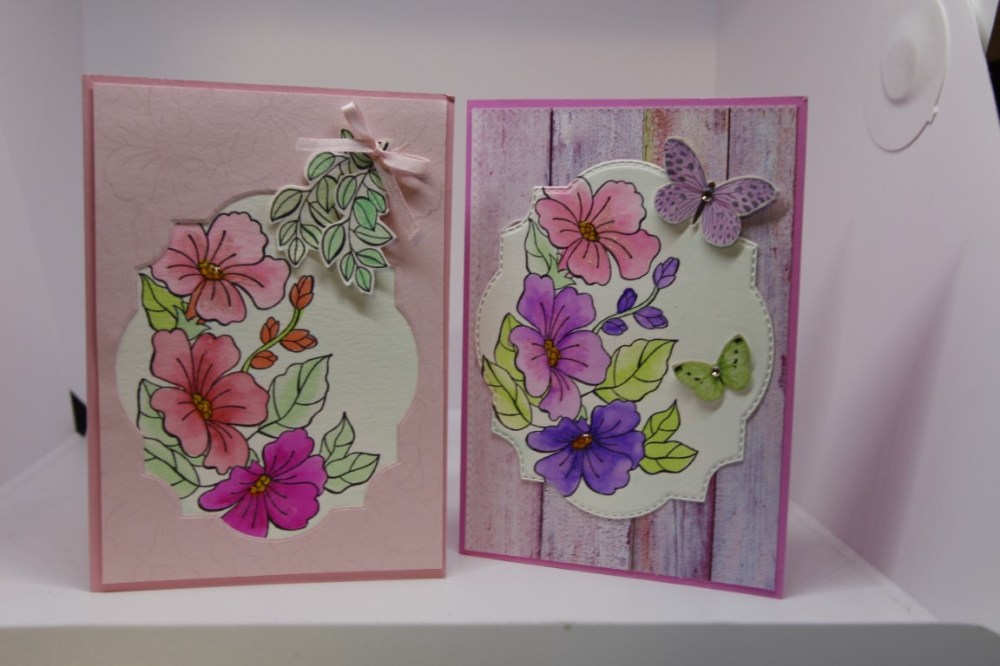
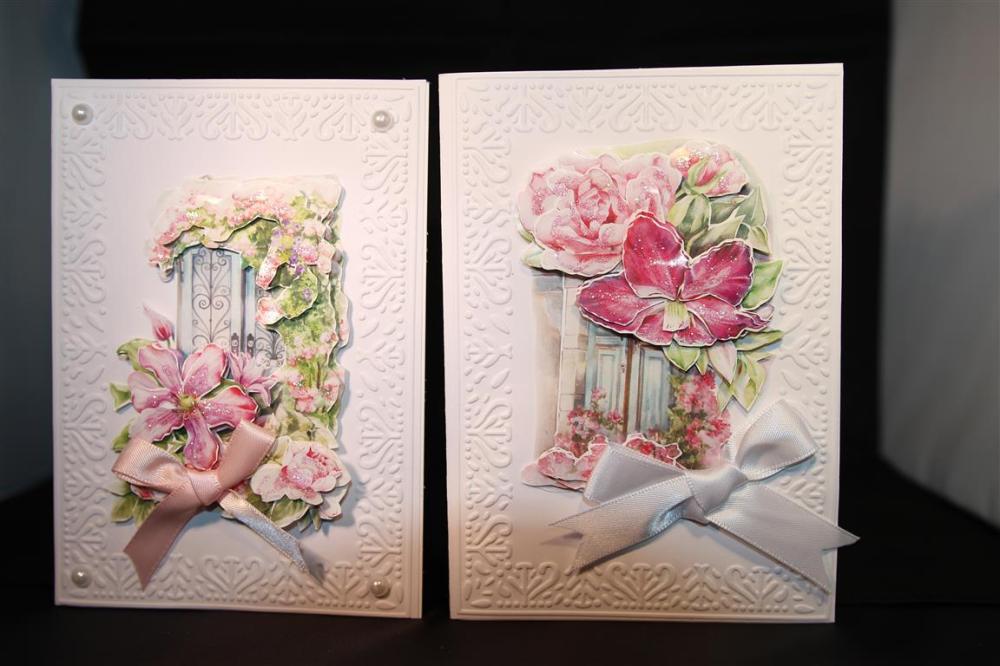
 Once again for some reason my computer has decided these cards look better on their sides! So please just imagine they are standing in a landscape format!! I have used the same stamp ( from Stampin Up Birthday Blooms) and I have stamped on watercolour paper and coloured with Zig markers as I was experimenting with these wonderful new markers. With one colour you can get a graduation of colour by colouring directly where you want the colour darkest, and then I just pulled the colour around with an aqua brush ( a normal paintbrush and cup of water would also do the job). I scattered some drops of clear Nuvo around to look like water drops, and the dies are a nesting stitch die by seven paper dolls. Matching ribbon trim, a bit of patterned paper on the top card, and a bling flat backed pearl and these were super easy and what I would call clean and simple! Til tomorrow…..
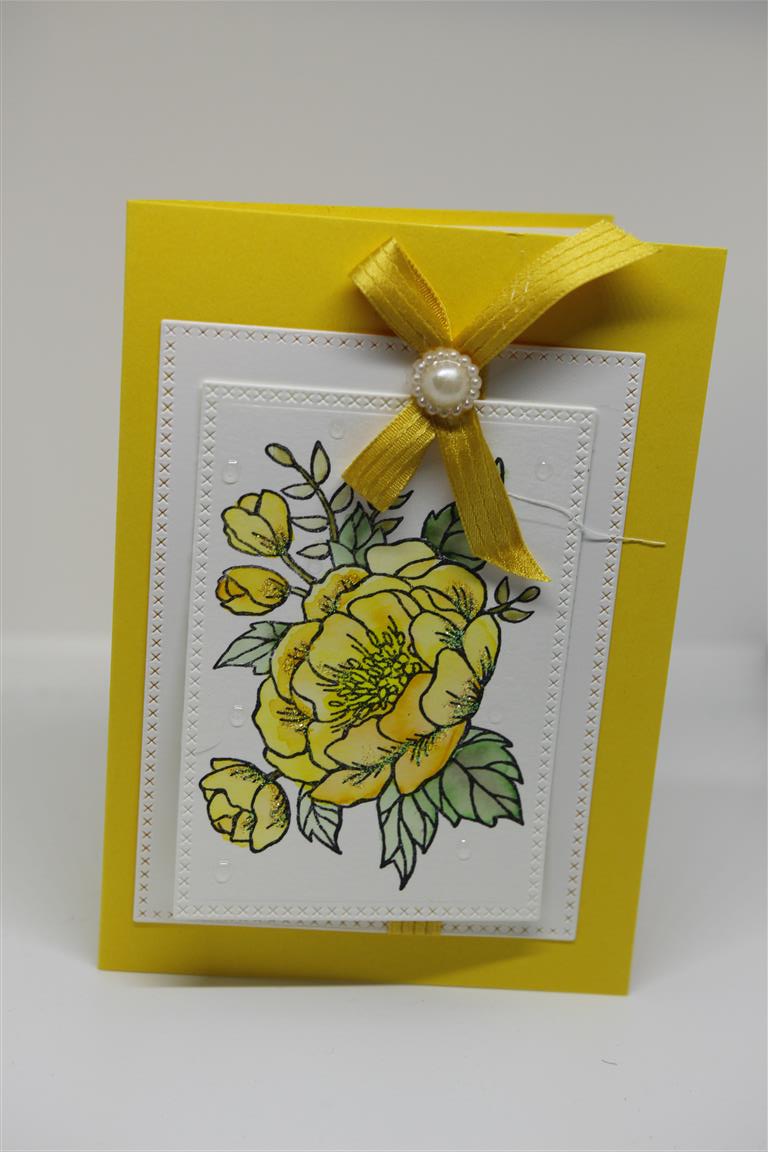
Spring flowers!
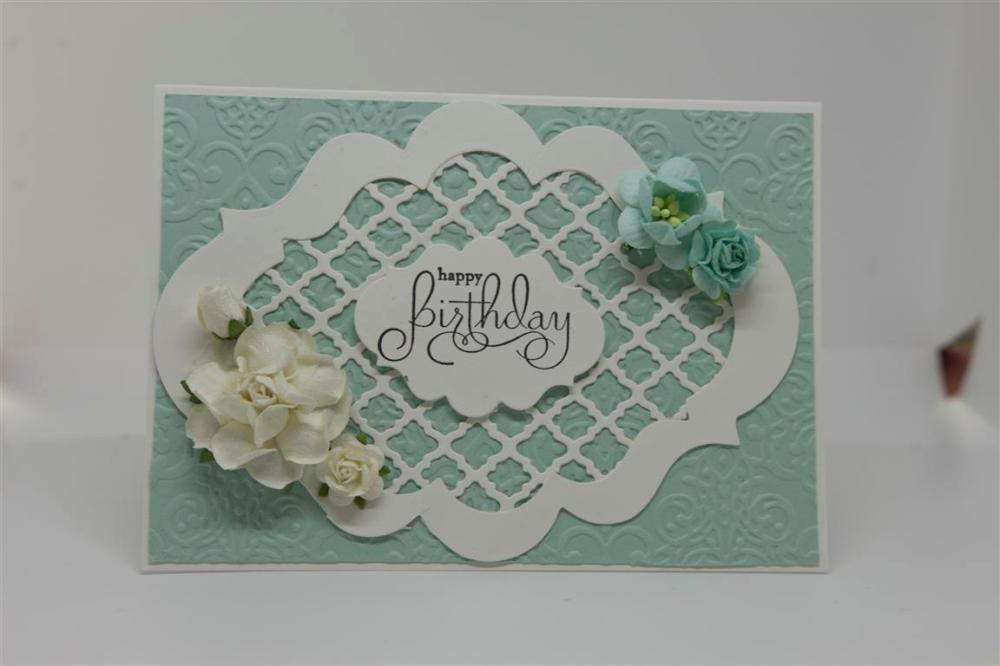
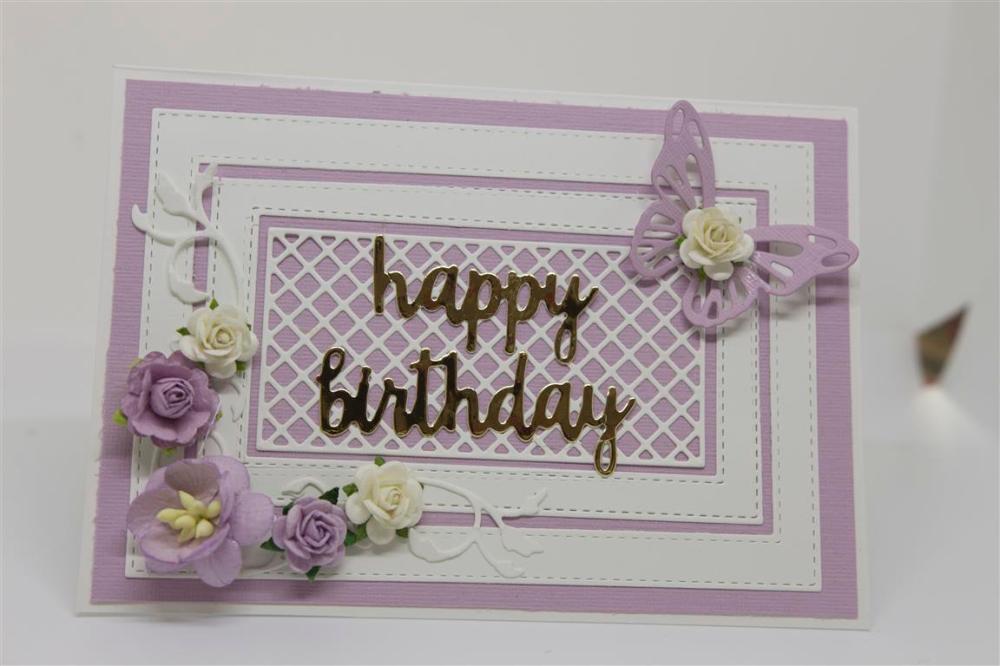 I have posted two cards today because Nathan and I did some photo’ing today and I have a lot of Christmas cards coming up so we will get started on them next post. Meantime, todays cards…the white/aqua card uses the same spellbinders labels dieas the card on the previous post but I also added a spellbinders lattice die to the back of the die cut frame,embossed some aqua cardstock, and added some flowers.The second card uses a Paper Rose die ..3 dies in this set which I die cut all at once and then just layered onto a mauve piece of bazzill cardstock. added a die cut butterfly and flourish,and flowers to finish. The greeting is a kaisercraft occasions die , die cut from foil cardstock. I am teaching a class tonight over at paper Flourish, so this morning I have been finishing a couple of projects left half way through on my craft table, and thinking about November lessons! Til tomorrow….
Pretty in Pink!
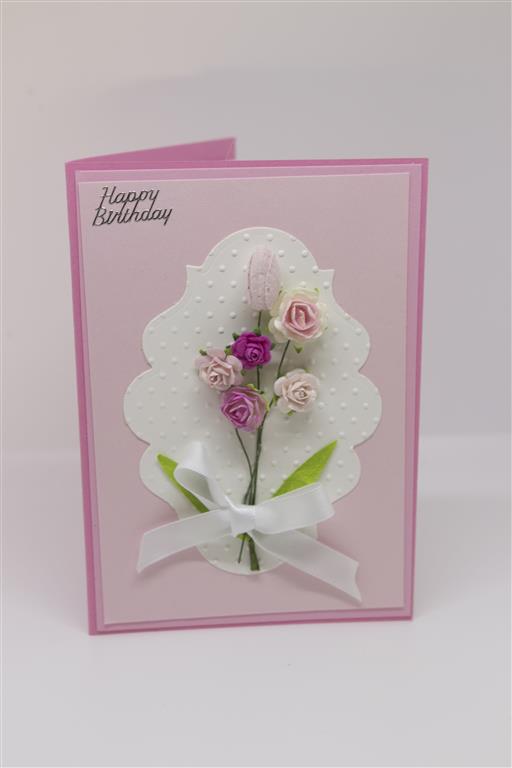 Todays card is a card i made with the retirement village ladies. I love layering up shades of colours and pink always looks gorgeous. The die is a spellbinders label die, and after die cutting in white cardstock I ran it through my swiss dots embossing folder..and oldie but goodie…never grows old! Then it was just a matter of gluing on some roses ( from Iam roses) and a ribbon. To glue on the roses I used 450 glue which is a clear fast drying glue perfect for this job! A rainy day here, and I have just got home from work so i am off to have some lunch! til tomorrow…..
Decorated folding box cards…
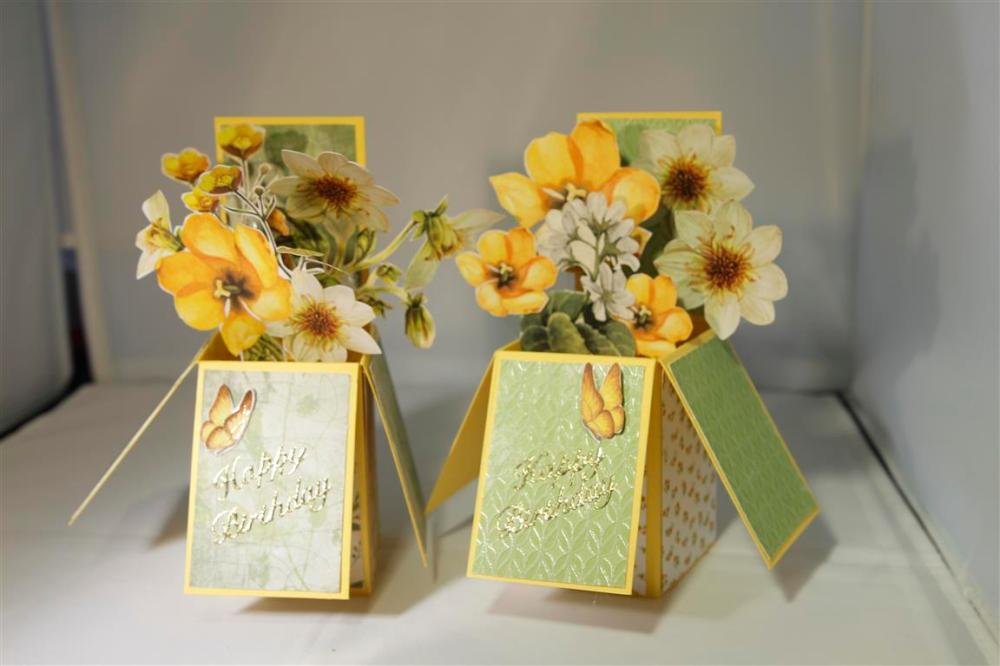 Today here the sun is shining, and the spring bulbs Nathan planted are starting to flower so these two cards were my first choice to post today. There is a link to my you-tube video here on my blog down on the right hand side to show you how simple these cards are to construct and once done decorate the panels…Here I used Kaisercraft Golden Grove papers from the 6″ pad. For the flowers I fussy cut them from a piece of Kaisercraft Golden Grove specialty 12 x 12 paper and attached each flower to a strip of acetate with 450 glue, which is a clear strong quick drying glue. This afternoon I am off to visit Mum and Dad, where Mum and I will enjoy a crafty afternoon while Dad will hide in his own craft room, away from the chatter and laughing…venturing out when he hears the kettle boiling to enjoy afternoon tea with us and exclaim over our wonderful crafty makes! Til tomorrow…..
Kaisercraft embossing folders..

I originally started making cards many years ago when I did cross-stitch and used to mount my little x-stitch designs on to card stock. From there I moved onto 3d sheets ( which is where my love of fussy cutting comes from) . Of course then I was hooked on all sorts of card making, but every now and again I go back to my beginnings and these are 4 of my latest 3d cards. I have used 2 different Kaisercraft embossing folders here, I love these frames and I have used them in a class I am teaching next week, as well as on some cards which I will post next time. We have lots of lovely new things coming into the shop this week, so now all I need is some time to play with all my new purchases! Til tomorrow….
Final Oh so succulent for now..
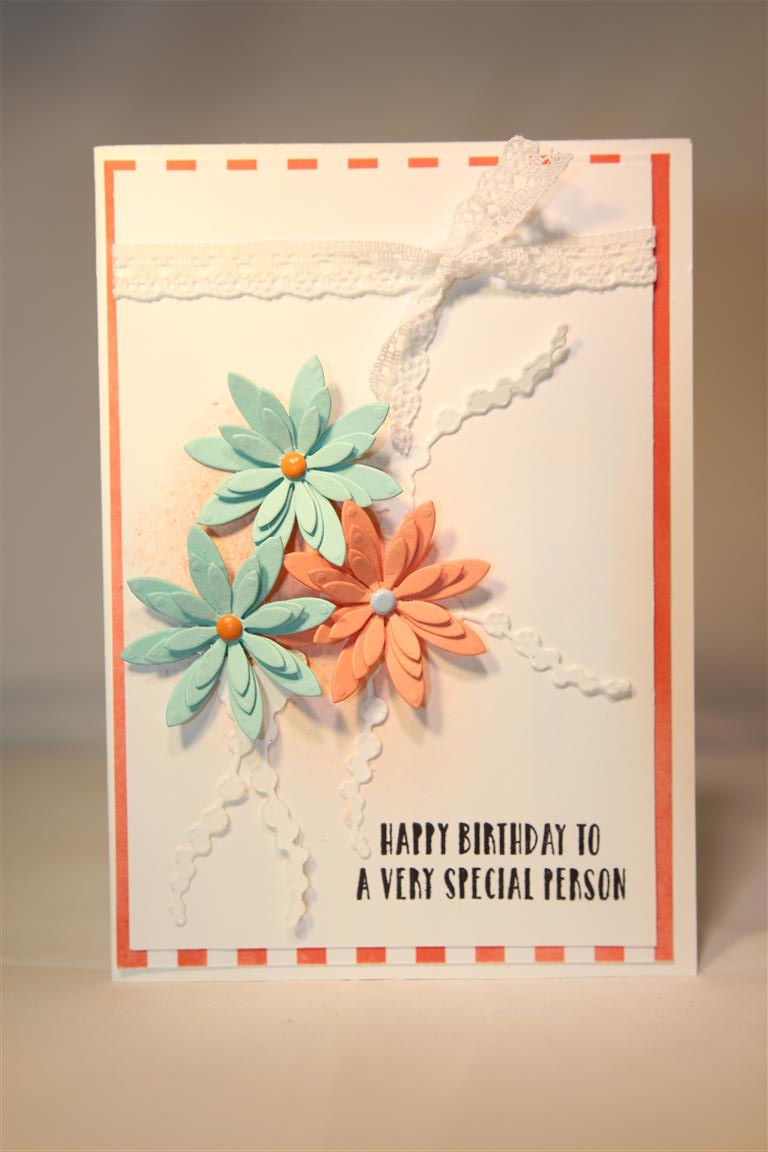
For this fianl card in the Stampin Up Oh so Succelent series I used the dies, stamps and papers from the collection.I die cut the flowers from stampin up cardstock, and used some brads that I had which matched the colours perfectly. I smudged some calypso coral ink ( stampin up) on a sponge behind the flowers and tied around the whole panel with a piece of dainty lace. I can’t wait to get back to this collection to try some other colour combinations! Til tomorrow…..
Oh So Succulent..
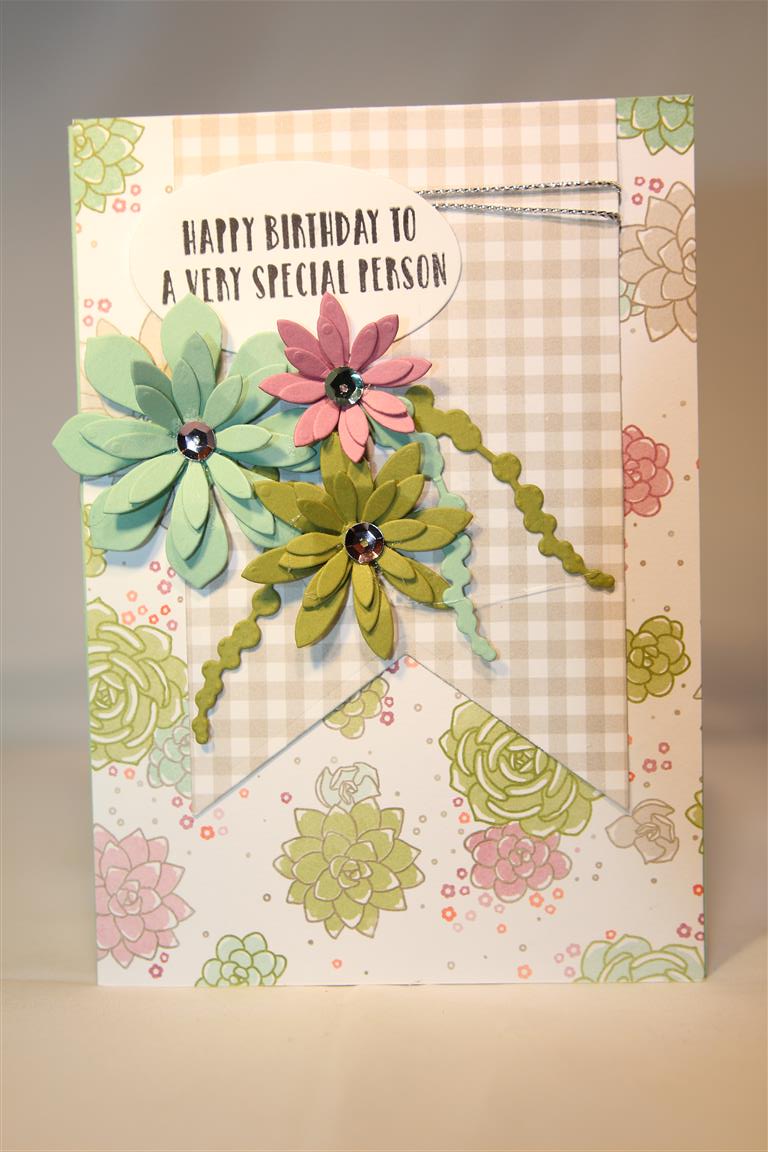 Over the next couple of posts I will show you what I have been making with my Stampin Up Oh so Succulent stamps, dies and designer papers. This one today uses all Stampin Up supplies, including the sequins and silver thread. The range of dies in this set are lovely,lots of opportunities for lovely built up flowers. Today I am taking a break from preparing for my craft fair and meeting up with some great ladies I converse with in our craft group. It will be a lovely afternoon of crafting and chatting! Til tomorrow…..
A die cut card..
 I have playing around with my dies and mixing them up a bit – normally I like to keep the different companies separated…but I am going to bite the bullet and experiment! The simplest way for me to start now that I can finally use my die cutting machine is with different dies, so on this card have mixed Paper Rose flower and flourish dies with a memory keepers die and a kaisercraft ( butterfly) die. Pearls for a bit of bling and a stampin up sentiment.This one is going to be adapted to a class in the near future. Roast is in the oven, leek and potato soup on the oven, and now it’s craft time! til tomorrow….
Age birthday card..
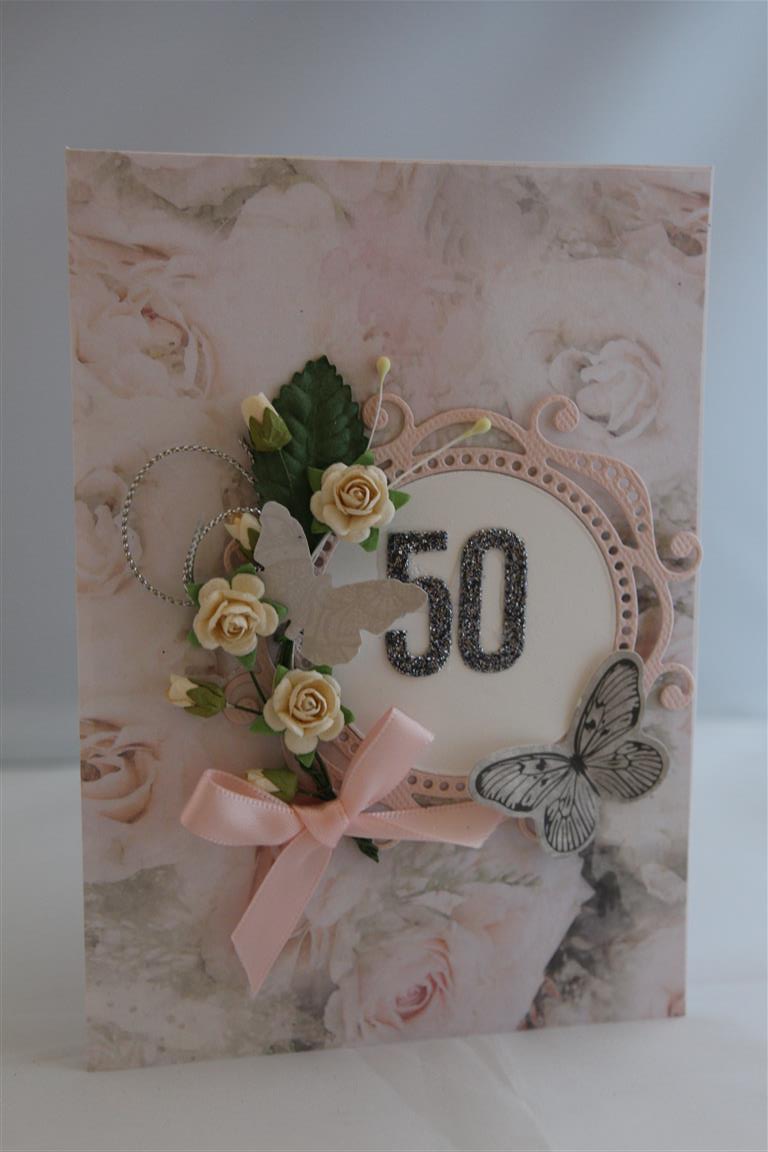 Todays card is the last for now of my age birthday series, and like the previous cards uses Kaisercraft PS I Love you paper for the bottom layer. The die is Paper Rose Ornate Circle,one butterfly is from the collectables pack of the same paper collection, and I made a small spray of flowers with a ribbon bow to finish. These are actually quite quick and easy cards if you take the time to prepare a few sprays while sitting watching TV in the evening, This one in particular was just a case of winding the flower stems around each other, placing them at different heights before winding. Once all joined together you can bend the wires to spread them out or shape them around the circle as I have done here. A leaf, stamens and some silver thread is all added after the spray is stuck on the card front. Another scorcher here today,no good for crafting as the glue drys before I am ready to stick anything to it! Til tomorrow….
