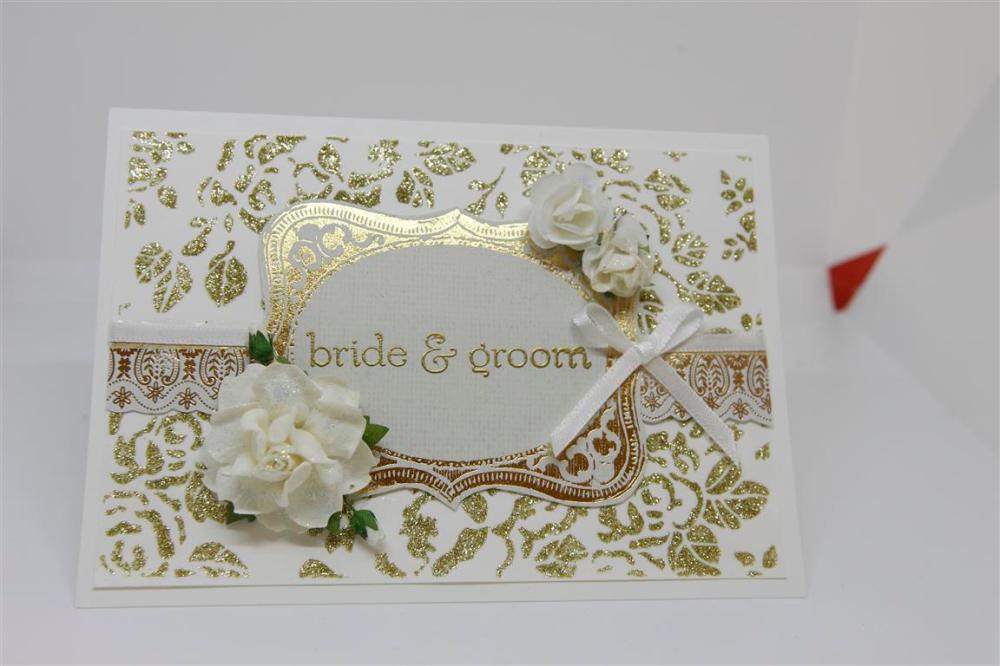
 Todays card is a wedding card which is a little different for me because I relied less on the papers( I just used a little Kaisercraft Romantique..the label for the sentiment and the gold embossed strip across the centre of the card) and I made my own background paper. I used Nuvo Gold glitter paste and brushed it through a kaisercraft stencil. This is so easy to do, and dries really quickly..so quickly that I suggest you wash your stencil straight away! I added some delicate ribbon and some gorgeous flowers from Iamroses. I brushed them with a little of the gold glitter paste. The sentiment is a Stampin Up stamp which I gold embossed. I have finally finished preparing my lessons for April, and today I hope to sit in the craft room and make some birthday cards I need for family and friends upcoming birthdays. It is finally cooler here ..not sure for how long but i am going to enjoy it while I can! Til tomorrow….
Tag: cards made with kaisercraft romantique
Making my own background papers!
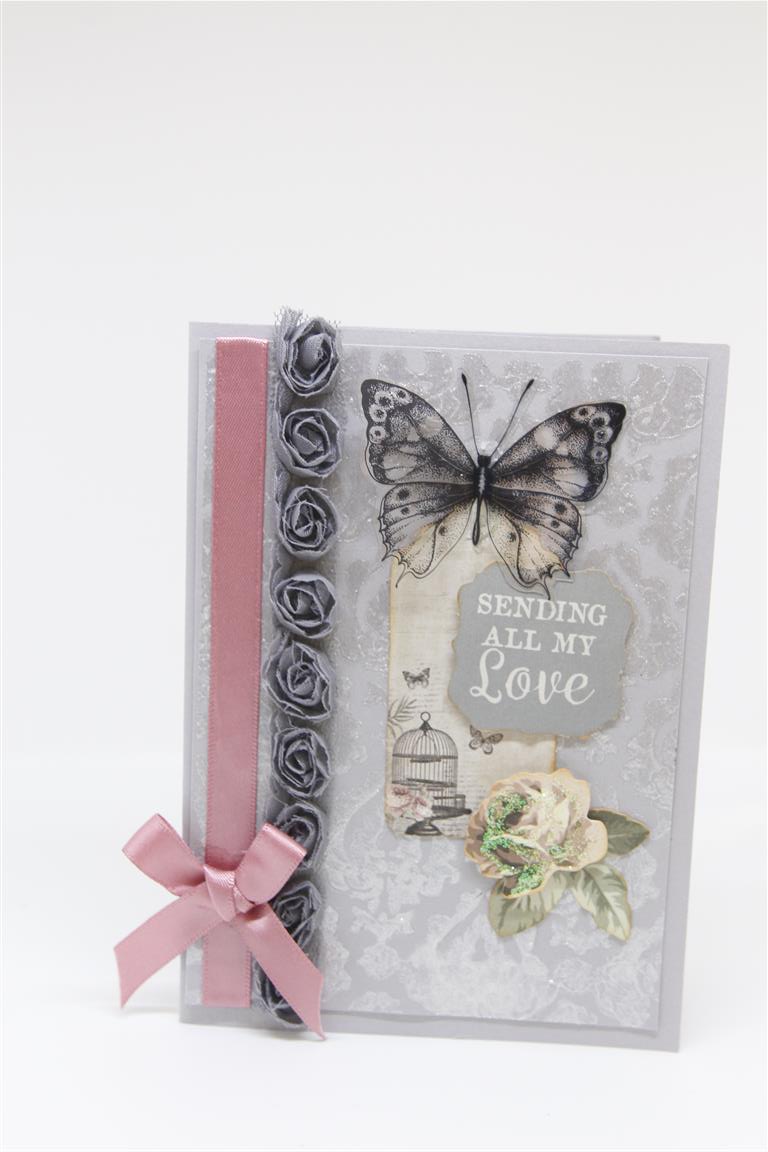 Todays card is a little different for me because I was experimenting with adding more to my background papers. I have used the Kaisercraft Romantique range, and taken quite a plain piece of the 12 x 12 paper from the range, used a kaisercraft stencil and brushed through the stencil with Liquitex iridescent medium. In real life this gives the paper a lovely sheen and I was quite impressed! I went on to decorate my card with some collectables from the same range and some trim and ribbon. The butterfly is on acetate which I fussy cut from a 12 x 12 sheet of them also from the kaisercraft Romantique range. Thats itfor today…I am off to the craft room to continue on planning my April lessons! til tomorrow….
What I did yesterday….
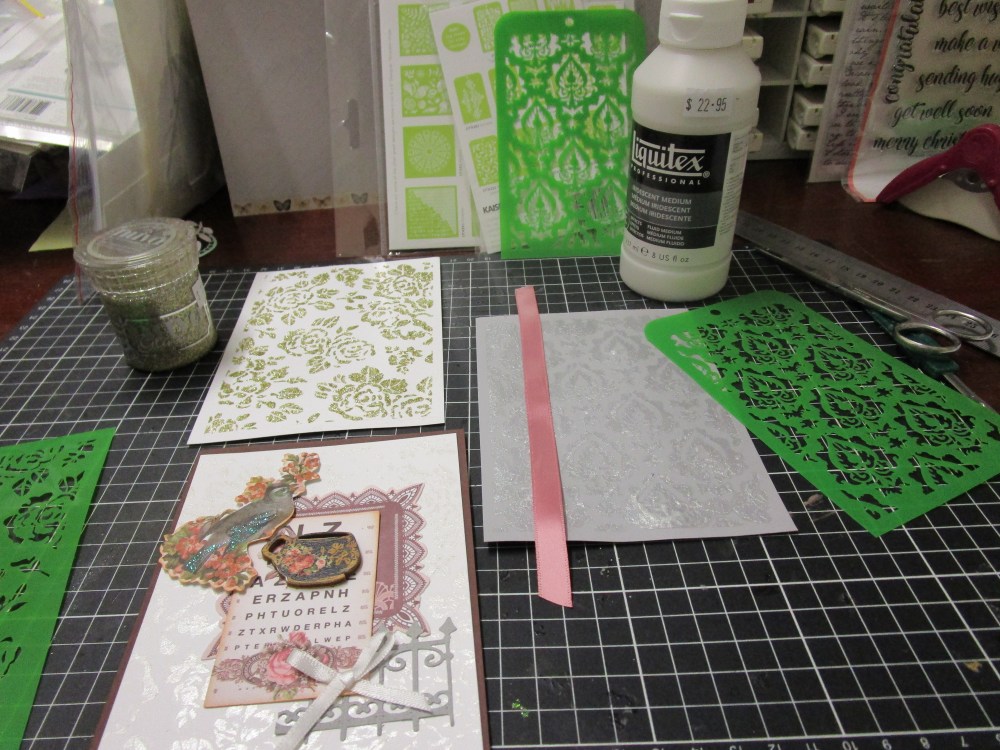
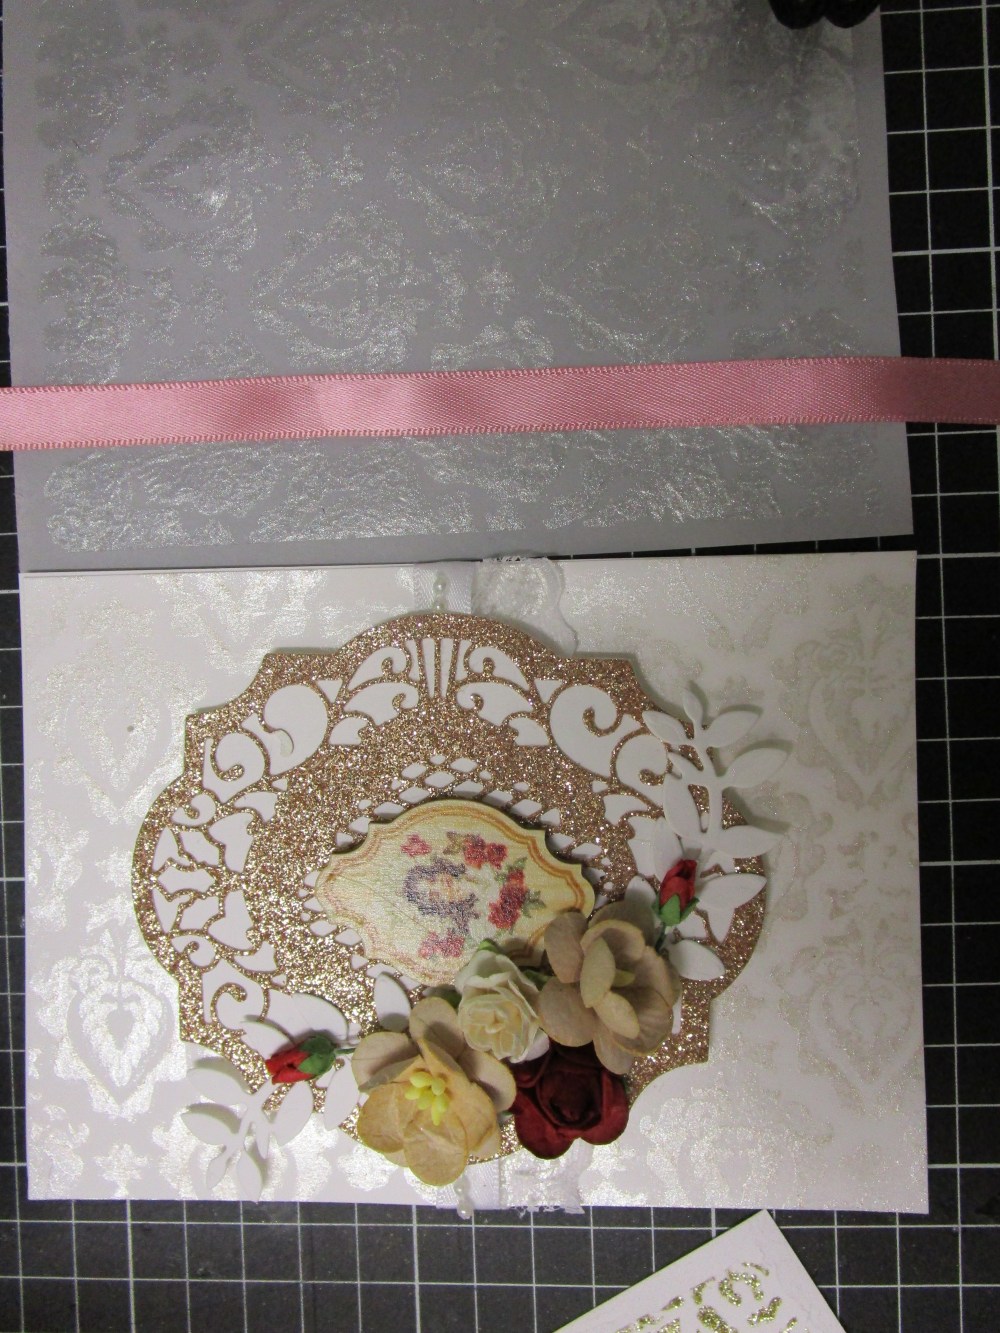
 I had a couple of new products to try out and a free afternoon yesterday so I sat down and just played! Up in the top corner of the first photo there is a jar of Nuvo Glitter paste ( gold) which I brushed through a kaisercraft stencil to make a great background piece which is now sitting on my desk ready to be transformed into a card. I used a paintbrush to spread the paste and it dried super quickly with no heat required. The second experiment was with Liquitex iridescent medium. Firstly I tried applying it through a stencil with my brayer, which worked to a degree but it was a little patchy ( I used that first piece on the card that is in the top photo. I discarded the brayer for a paintbrush and liked that way better.. I had more control over how thickly I applied it, and got a more even spread. I used a heat tool to dry, but could have left it to dry naturally if I had more patience! The bottom two photos show how I used those backgrounds. I am looking forward to more experiments with both these products on my next free afternoon! Til tomorrow…..
Kaisercraft Romantique 3 …Another Shabby!
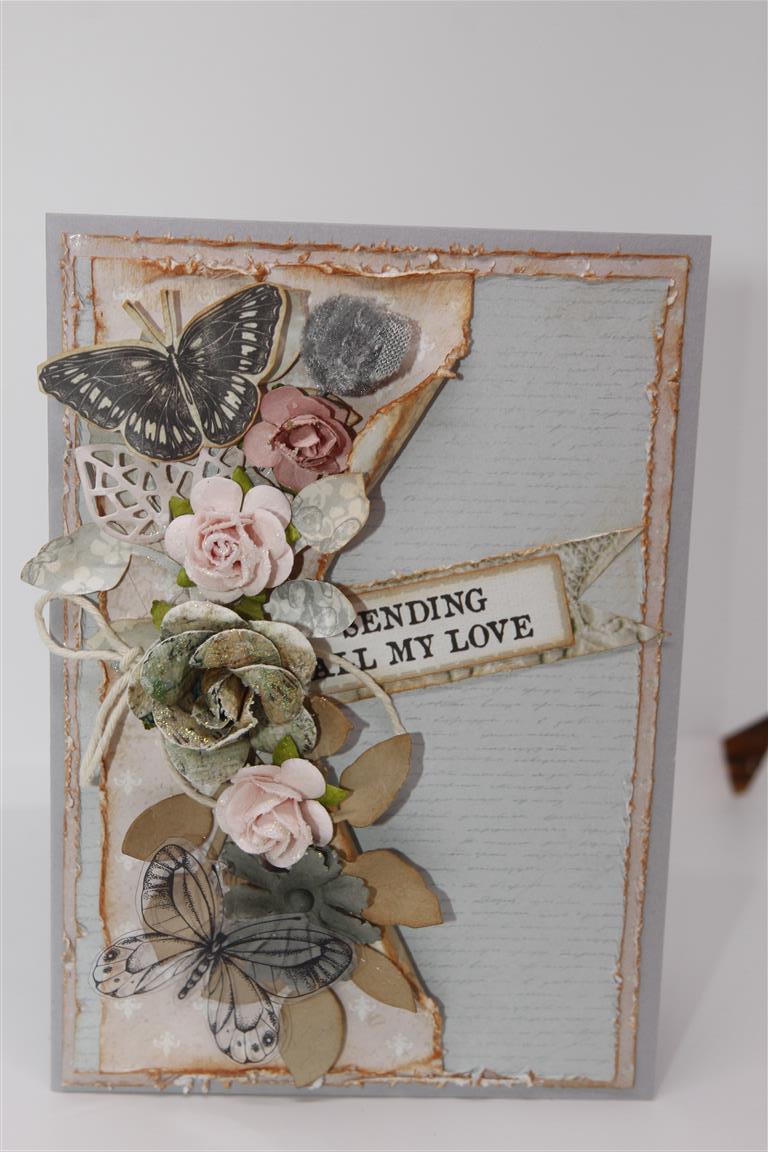 As you can see, the more I worked with this collection ( kaisercraft Romantique) the more I embraced the shabby! I distressed, ripped and rolled and enjoyed it so much …this card is going to be a lesson this month at Paper Flourish where I hope to inspire others to put down their scissors and use their fingers! All my edges are inked with Tea dye distress ink,and the top butterfly is from the collectables pack and the bottom butterfly is from the acetate sheet that kaisercraft brought out with the collection.Most of the flowers are by Prima, and all the leaves are various dies by Sue Wilson creative expressions. I used a flower tool die to encourage some lift and shape before inking them with my tea dye ink. Today is very very hot here and not good in the craft room.. my glue does not like this extreme heat so it is an ideal day to pack the cruise card classes suitcases and make sure I have everything I need. Finally I can say next month I am cruising! Til tomorrow…..
Kaisercraft Romantique number 2…
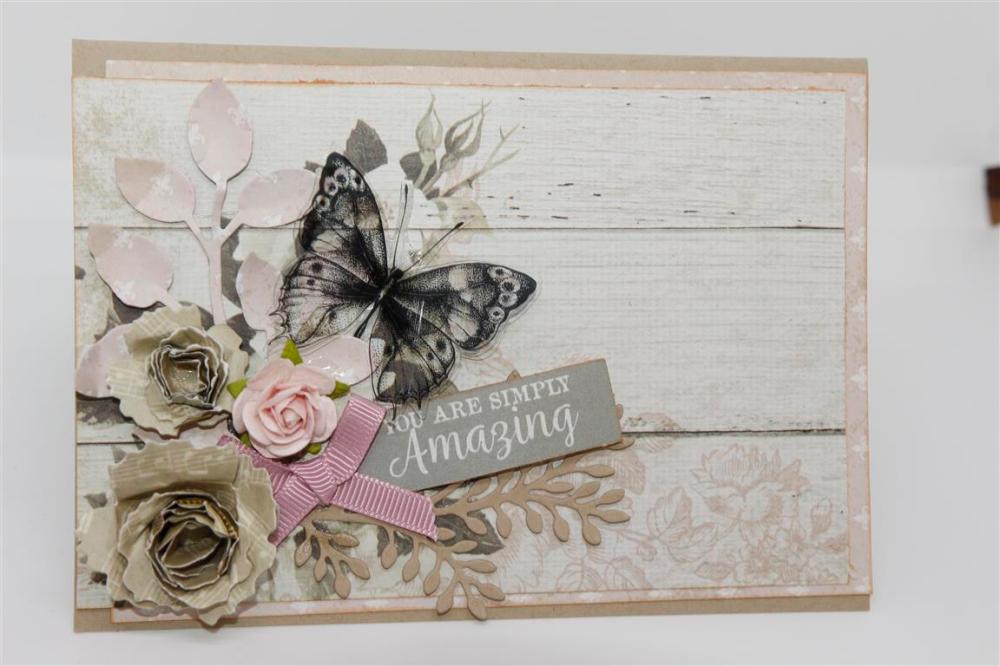 Kaisercraft Romantique paper collection again today, and this card and tomorrows card were the base beginnings of my class at at paper flourish this month which I have called (Not so) Shabby Chic. I have used a kraft base card, and layered some of the papers from the collection, and used a Uniquely creative rolled flower die, creative expressions leaf dies, a bought flower and a bow to decorate. the gorgeous acetate butterfly was fussy cut from a whole sheet of lovely butterflies that was brought out with this collection.The sentiment is from the matching 6″ pad. Happy and safe New Year to all my followers and visitors and I will see you all next year!!
Kaisercraft Romantique…shabby..
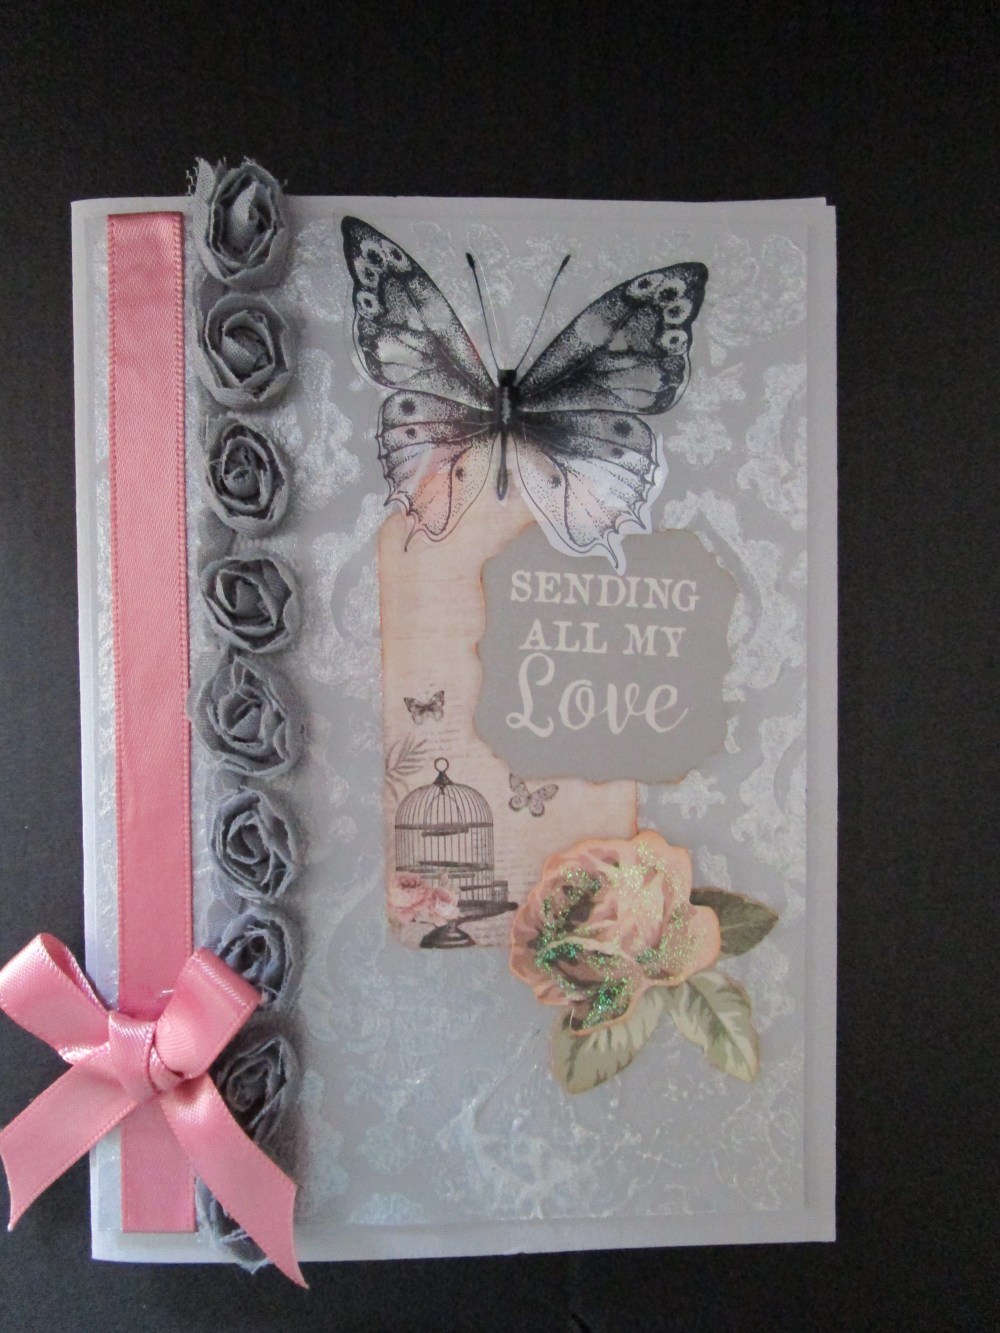
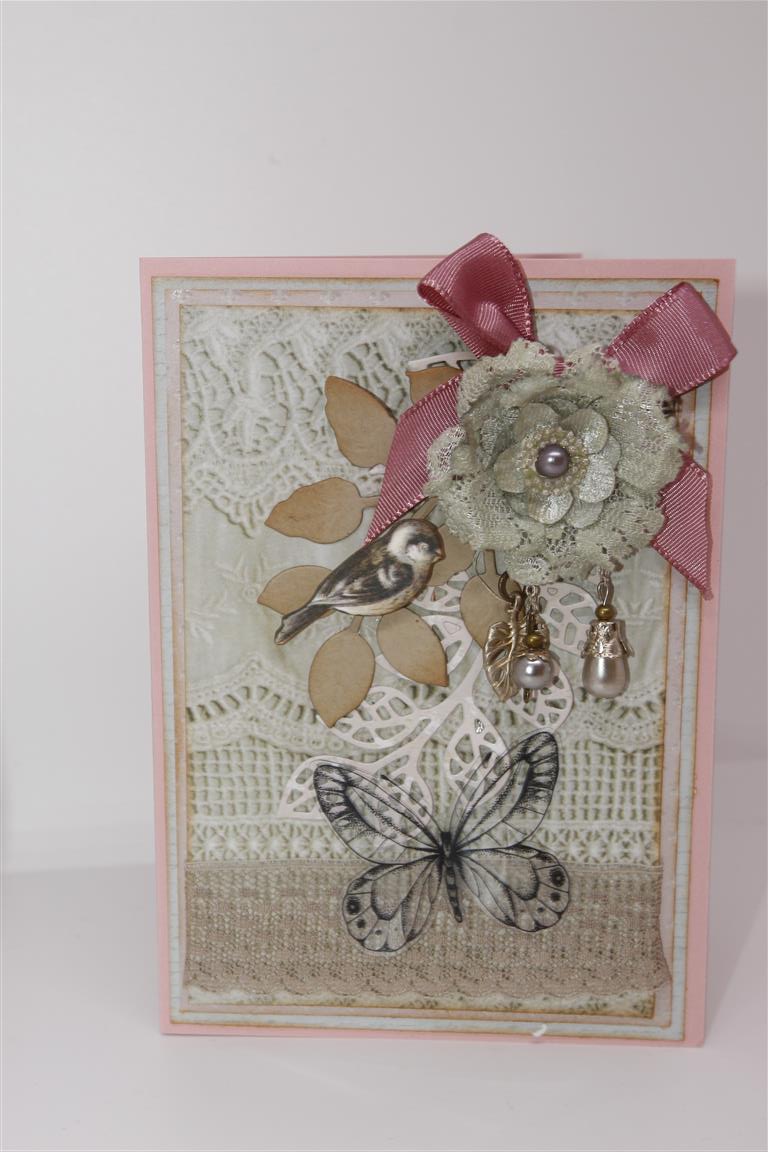 I really haven’t had the time to play with this collection, but I have made a few for you to see. It’s the Kaisercraft Romantique collection and it lends itself beautifully to the whole Shabby Chic style, a style I will embrace once I get over the whole ripping my paper hang up I have!Here, I have layered a few of the 12 x 12 patterned papers, and fussy cut an acetate butterfly – in this collection there is a whole sheet of these butterflies and I love them! The leaves are die cut with creative expressions dies, and I inked around every edge with Tea Dye distress ink. I tied a big bow and on top of that I glued a Prima flower with dangly bits that I have been holding onto for ages! The top layer of patterned paper has a lacey print but at the bottom of it I added my own lace in a taupe colour ( Stampin Up lace). I hope everyone had a lovely Christmas break, with family and friends, I can’t believe that’s Christmas over for another year! we still have our son home for another few days before he flys back to Sydney next week so the celebrations continue on here ! Til tomorrow….
