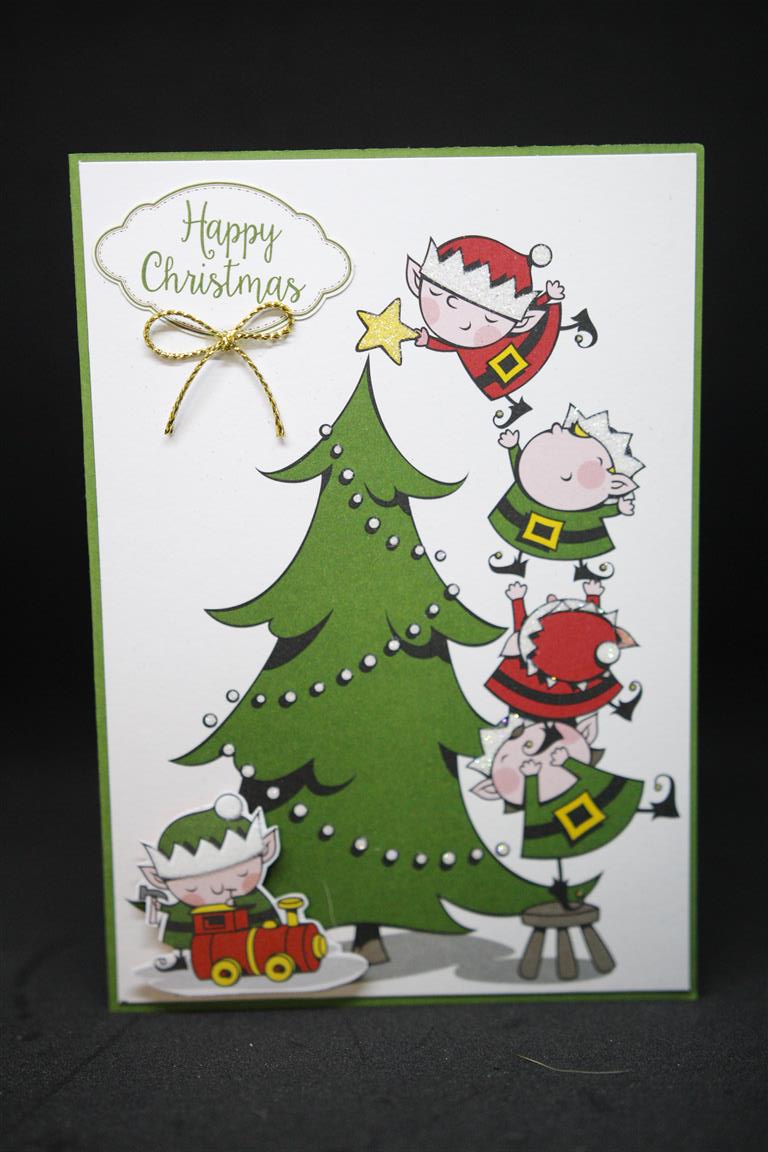
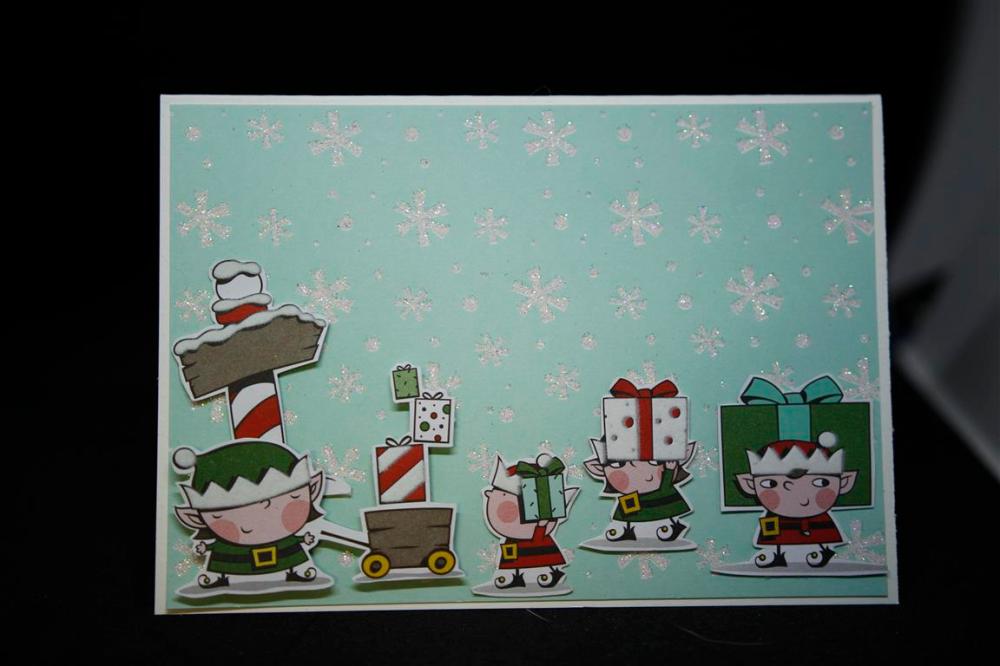
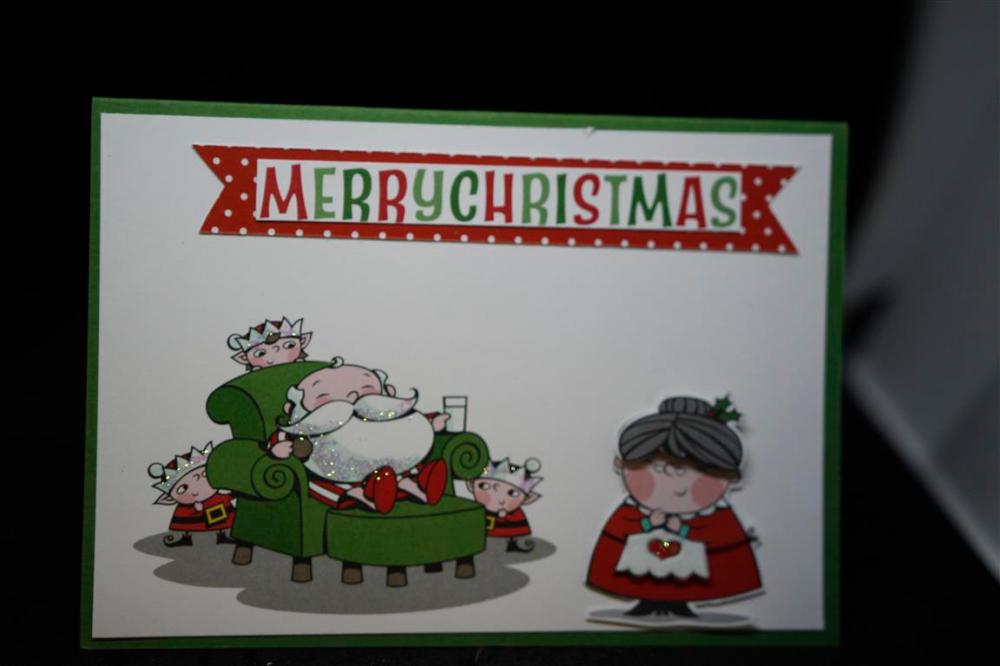
 Here are some more fun Christmas cards I have made with Stampin Up Santas workshop collection. I have added the bare minimum of embellishing to this group of cards, the papers are already embossed and / or glittered, and I have just fussy cut extra layers for some 3 D effects. I have finished my Christmas makes for this year,( but have so many more to show you ) and normally at this stage I pack up all the Christmas for next year, but this paper is staying out and I will continue to make cards with it throughout the year, it is so much fun to work with! Til tomorrow……
Tag: Christmas
Stampin Up Santas Workshop
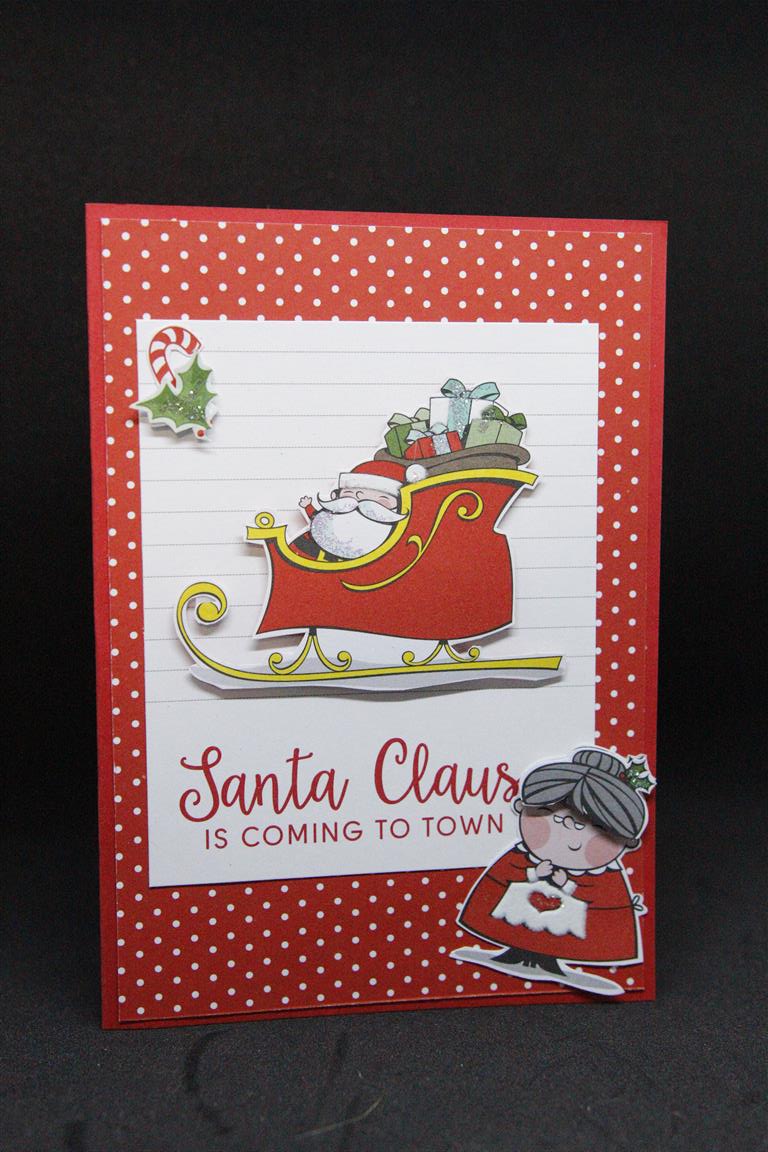
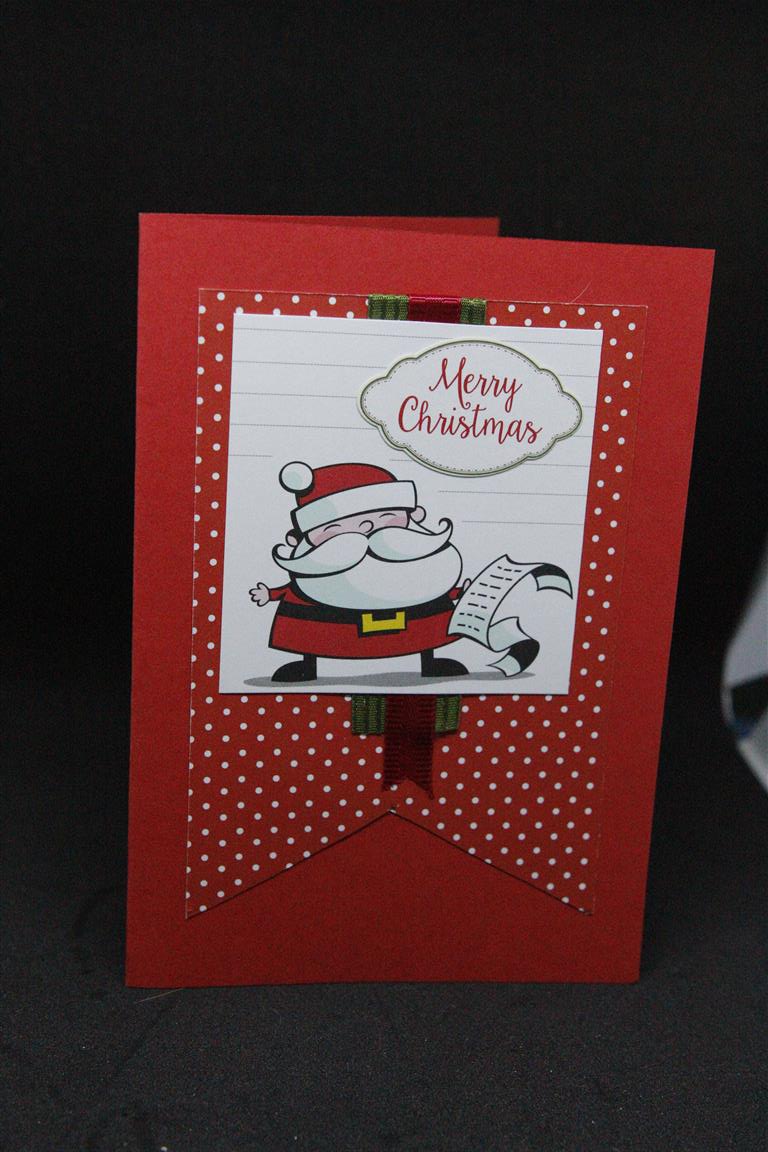 I had great fun creating with this collection of papers and matching card fronts from stampin Up ( Santas Workshop)..It was a change from the vintage and traditional papers that I have been working with. There were lots of images to fussy cut so I had fun building layers of the same image for a bit of dimension, and I really only had to add a little ribbon for texture as some of the papers were already embossed and glittered. tomorrow I will show you the other three cards I made before I had to pack up to create classes. I will get back to it though, I am going to be much more organised next year for Christmas – I think I will just keep creating all year ! Til tomorrow….
Stampin Up Christmas 2018..
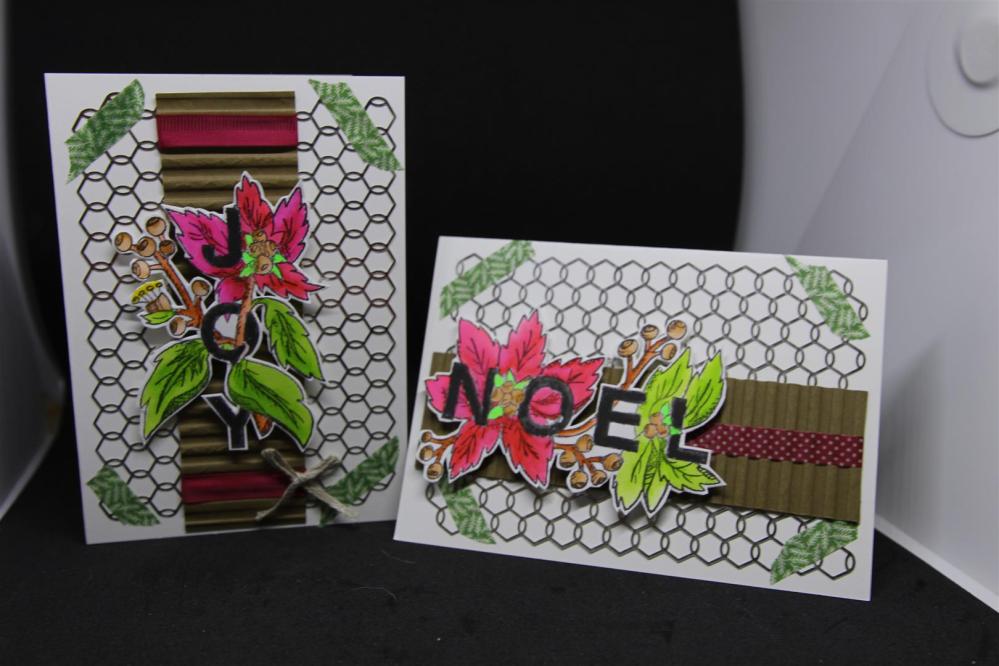
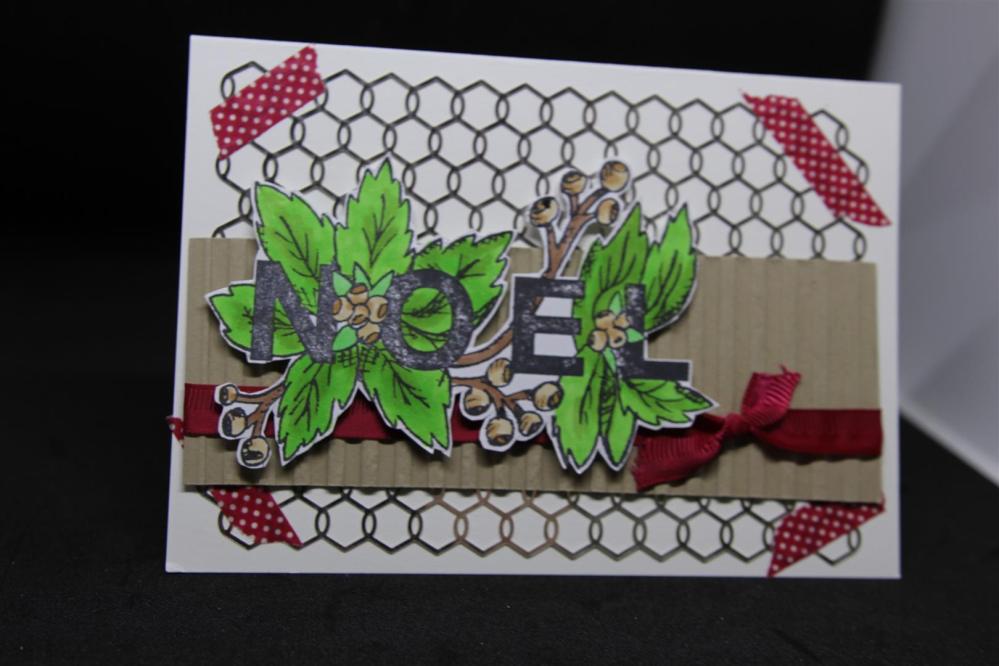
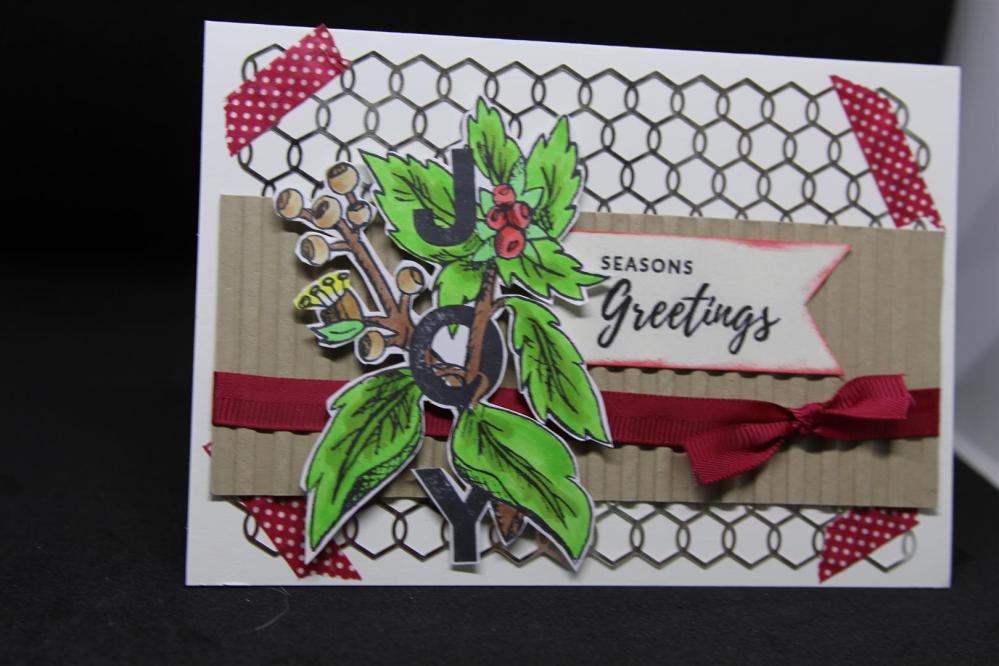 Todays Christmas cards use all Stampin Up supplies from their seasonal catalogue. I have used the chicken wire, washi tape, ribbon, and stamps ( stamp set is called Joy and Noel, and I coloured with Copic markers) and the corregated pieces behind are embossed with Stampin Ups new corregated embossing folder..this will be a favourite used all year round! It has been a busy week with work, and at home I have moved my craft room so that my second son can move back home for a short while, as he relocates from Sydney back to Adelaide for work. It was an eye opener to move that craft room and realise how much supplies I have gathered over the years. Time to start using all of it! Til tomorrow…..
Kaisercraft Christmas Wishes 13, 14, and 15….

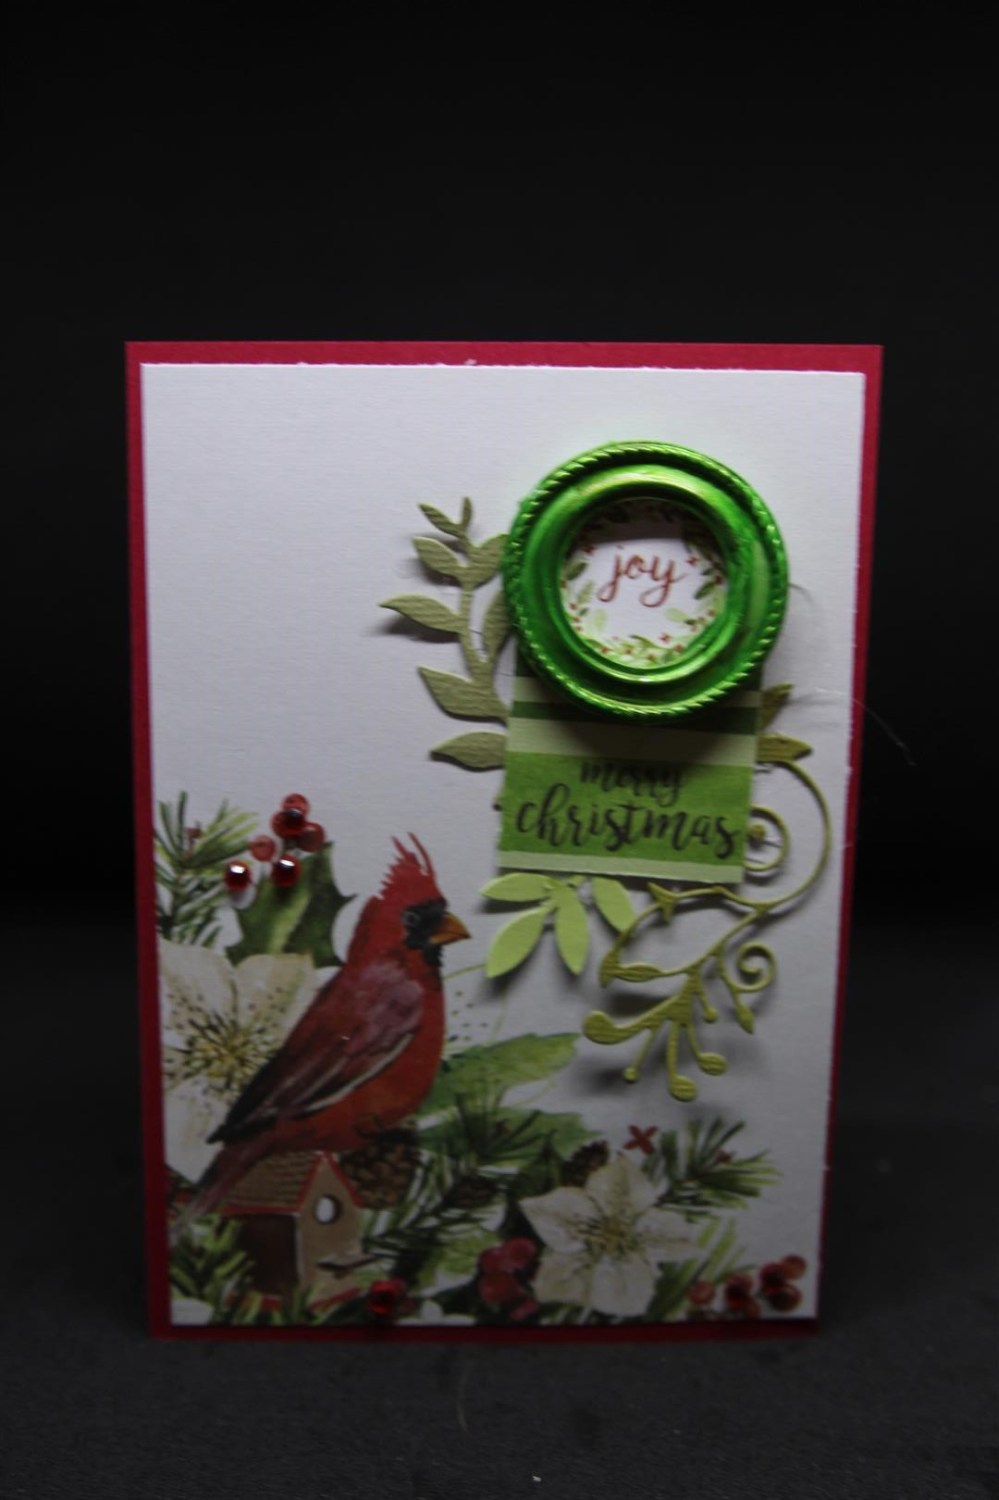 Today we are back to Kaisercraft Christmas Wishes paper collection. The top card has some matching collectables, and the lower 2 cards just rely on the papers within the collection. The bottom card has a Seven Paper Dolls resin frame which I painted with Prima Alchemy paints.Today is a working day at home while I plan out my december lessons, so I must get started! Til tomorrow…..
Kaisercraft Christmas Wishes 10,11,12..
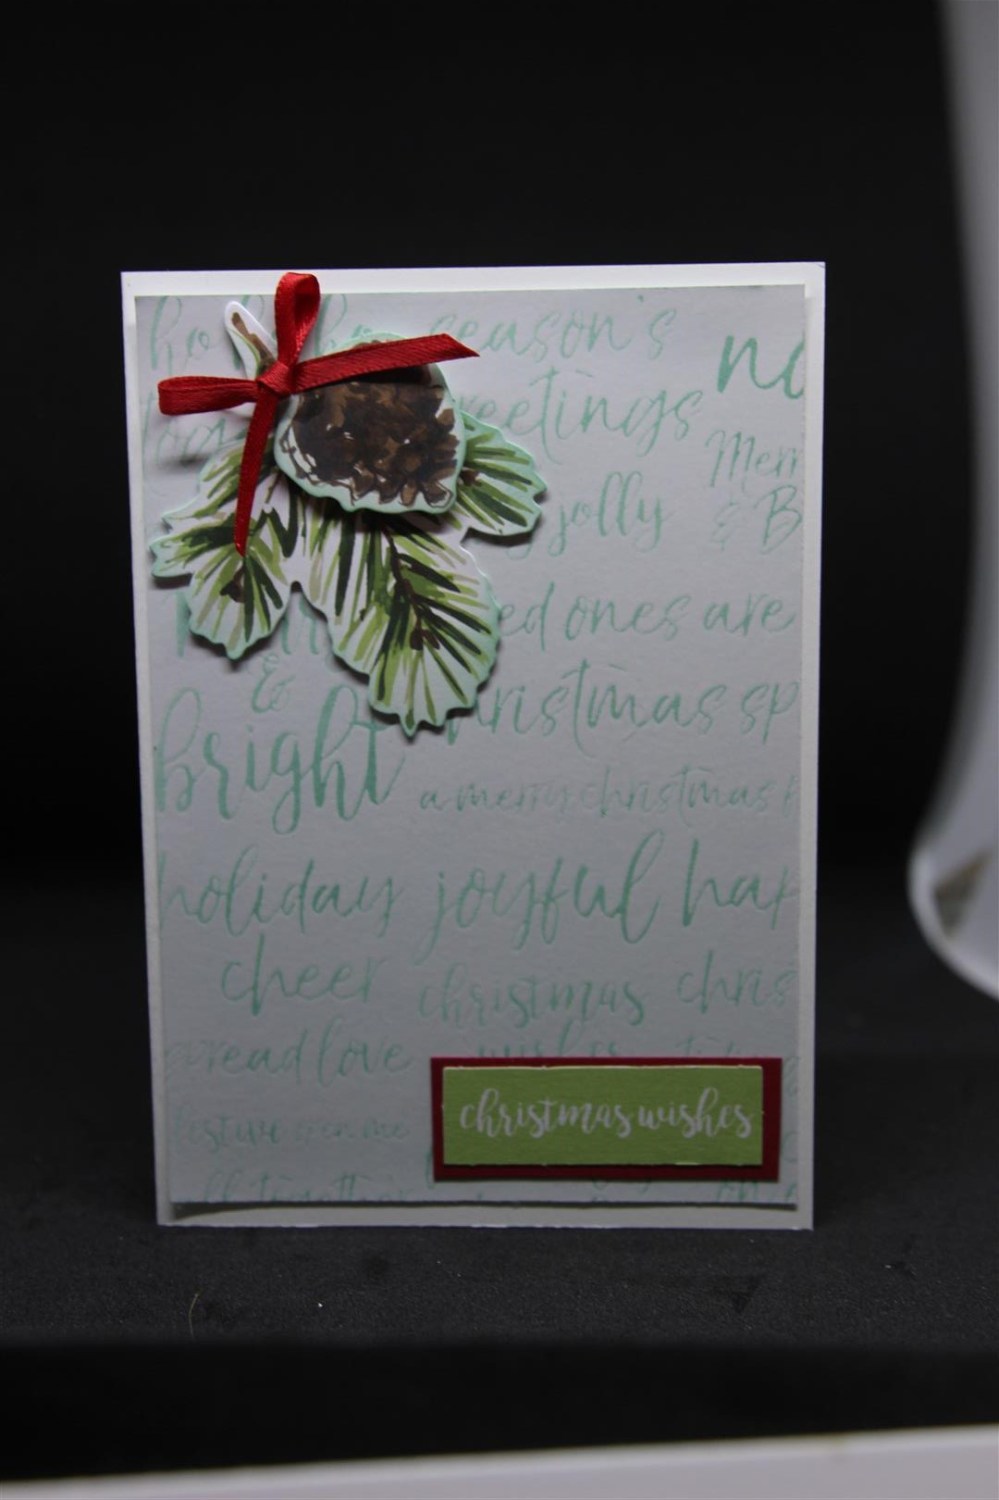
 I can’t say it often enough..this collection of papers and collectables ( kaisercraft Christmas Wishes) is so easy to use, and only requires a ribbon bow or a bit of glitter to finish the cards, as you can see in these most recent cards. The top card is particularly interesting. The background layer was a sheet from the 6′ pad which I ran over with a distress ink pad, then wiped off, and the words appeared as if by magic!! It has a gloss finish. I think all the embellishments on these three cards are from the collectables pack, so no fussy cutting to do, and all background papers were from the 6″ pad. Day off today, I have intentions of practising my freehand watercolouring after I have done some paperwork…til tomorrow….
Kaisercraft Christmas Wishes 7, 8, and 9
")
")
Continuing on with Kaisercraft Christmas Wishes, I used some of the matching collectables on the top card, and a few fussy cut elements on the lower two cards. On the top card I have used some Nuvo drops, and of course there has to be a card with a ribbon bow amongst the group somewhere! Today is the start of daylight savings here, the clocks have gone forward, I have lost an hour and I am running behind in everything! Til tomorrow…..
It’s time for Christmas!
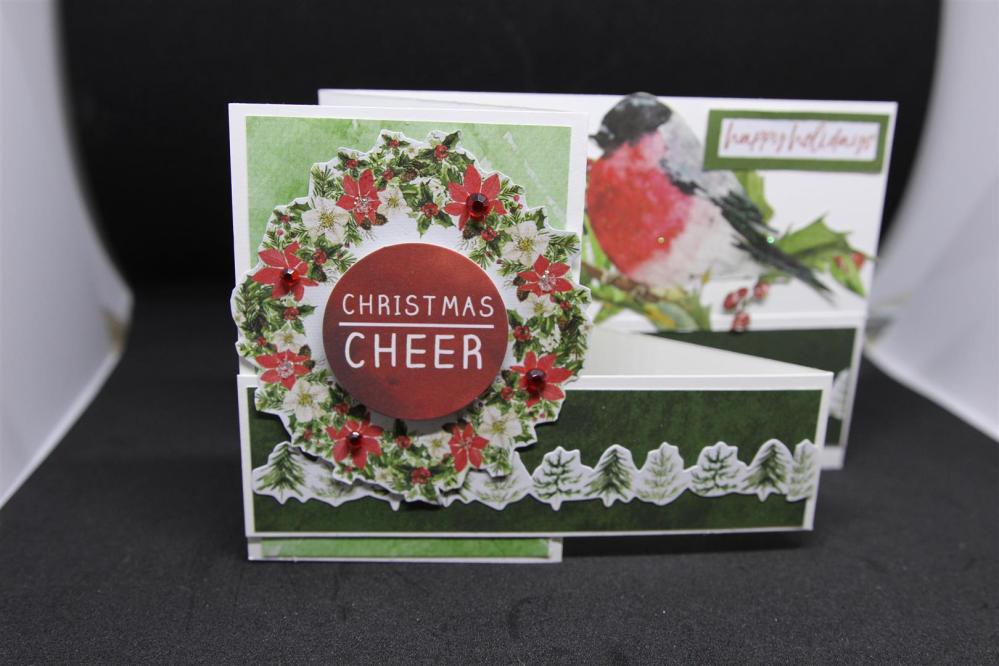
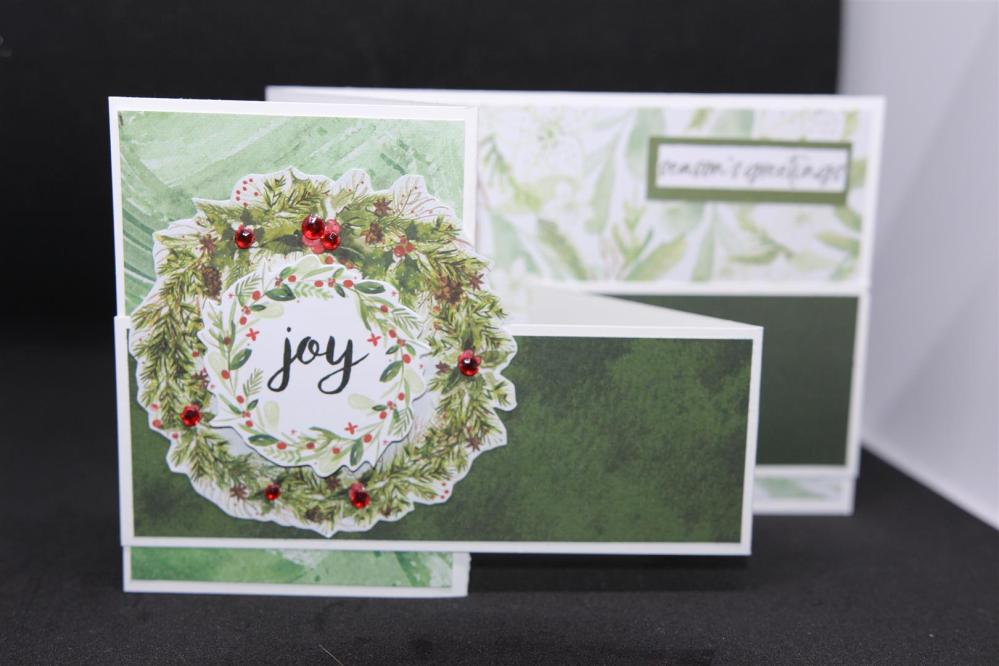
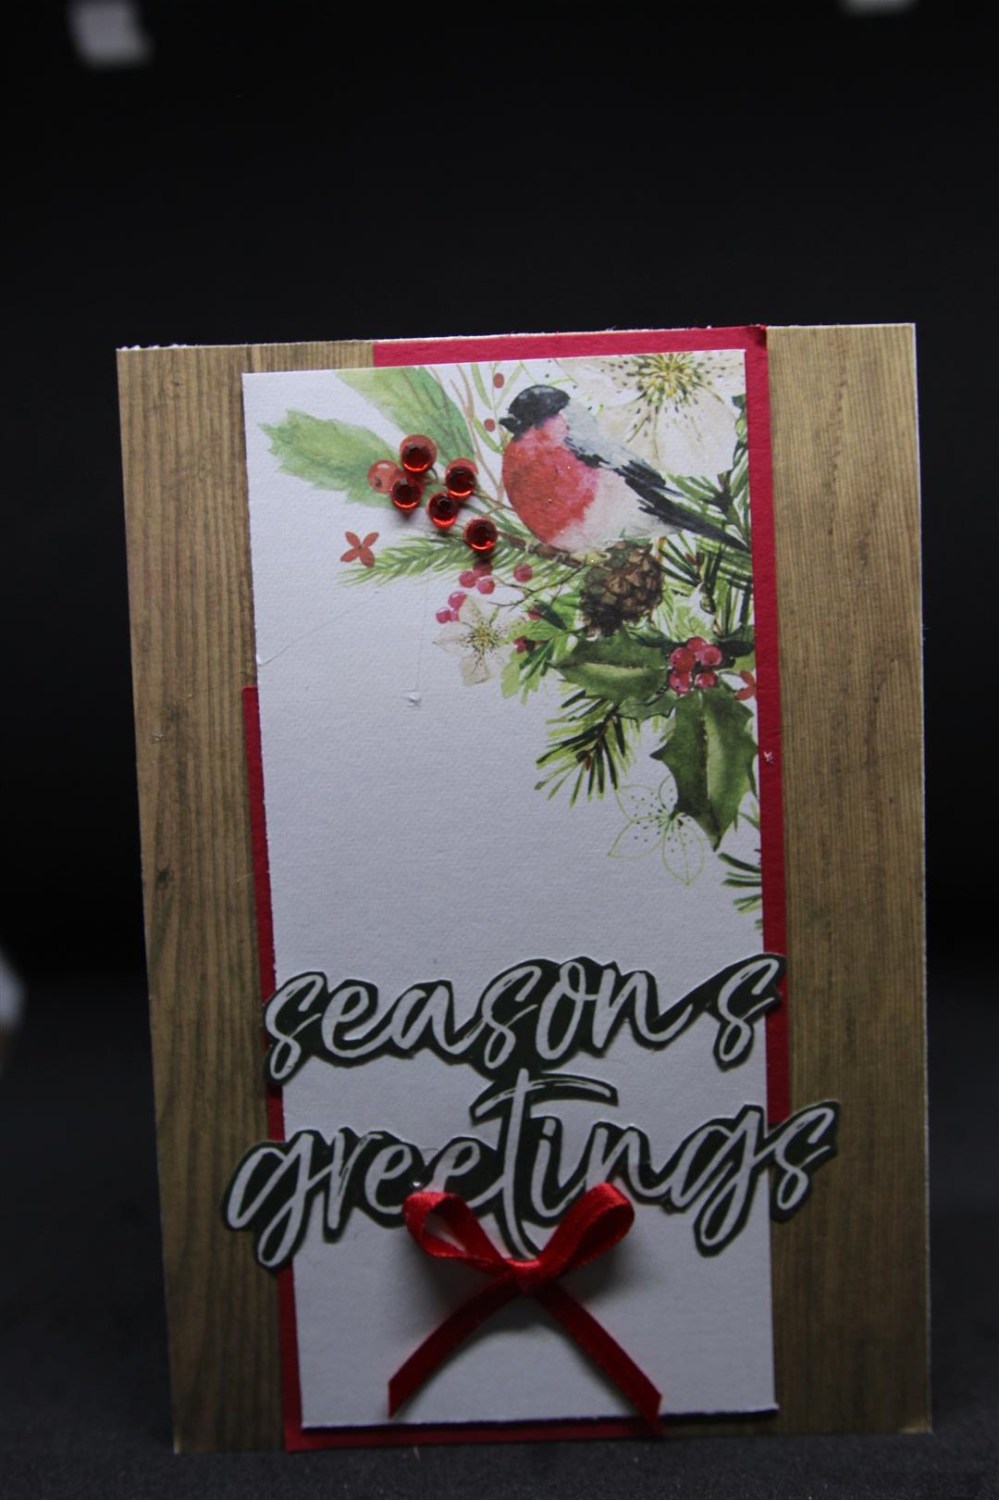
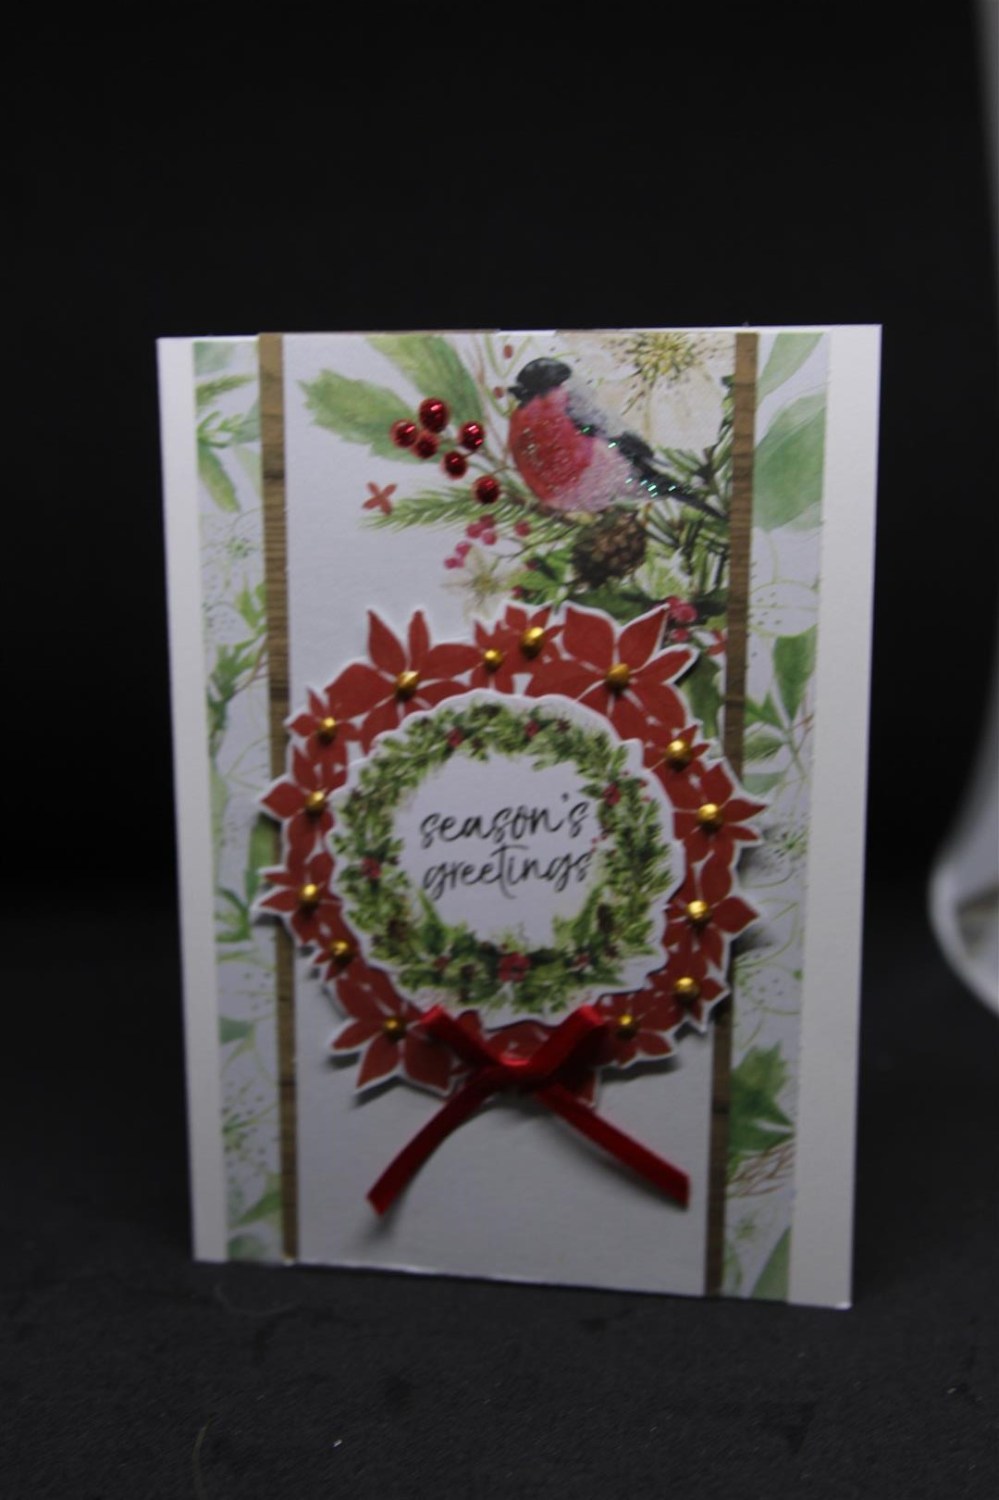
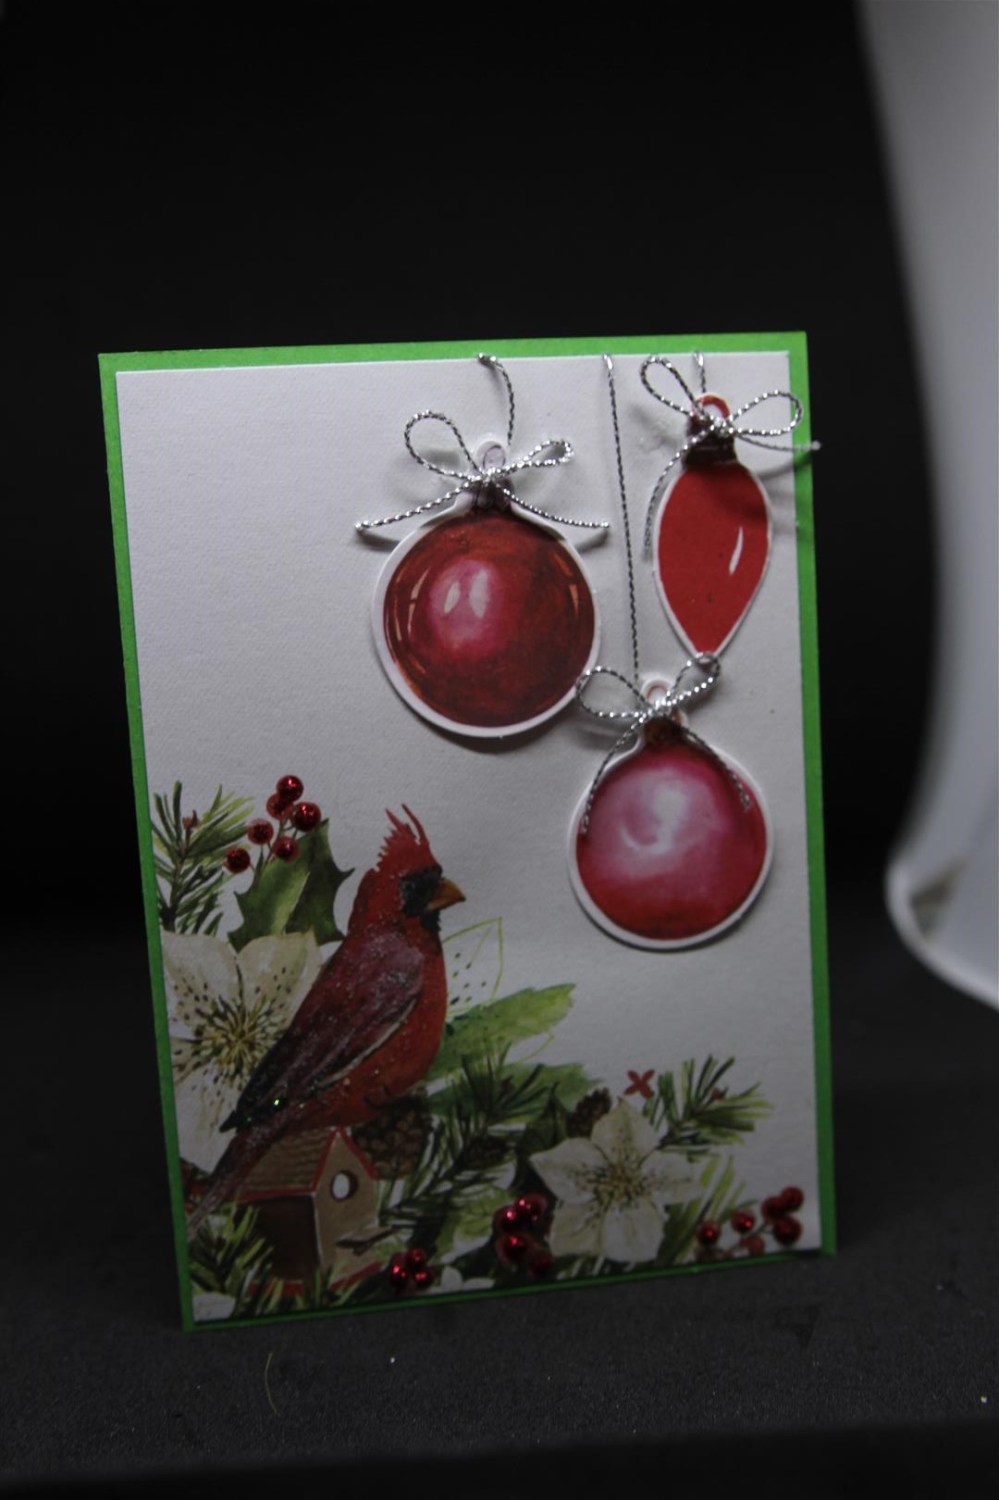
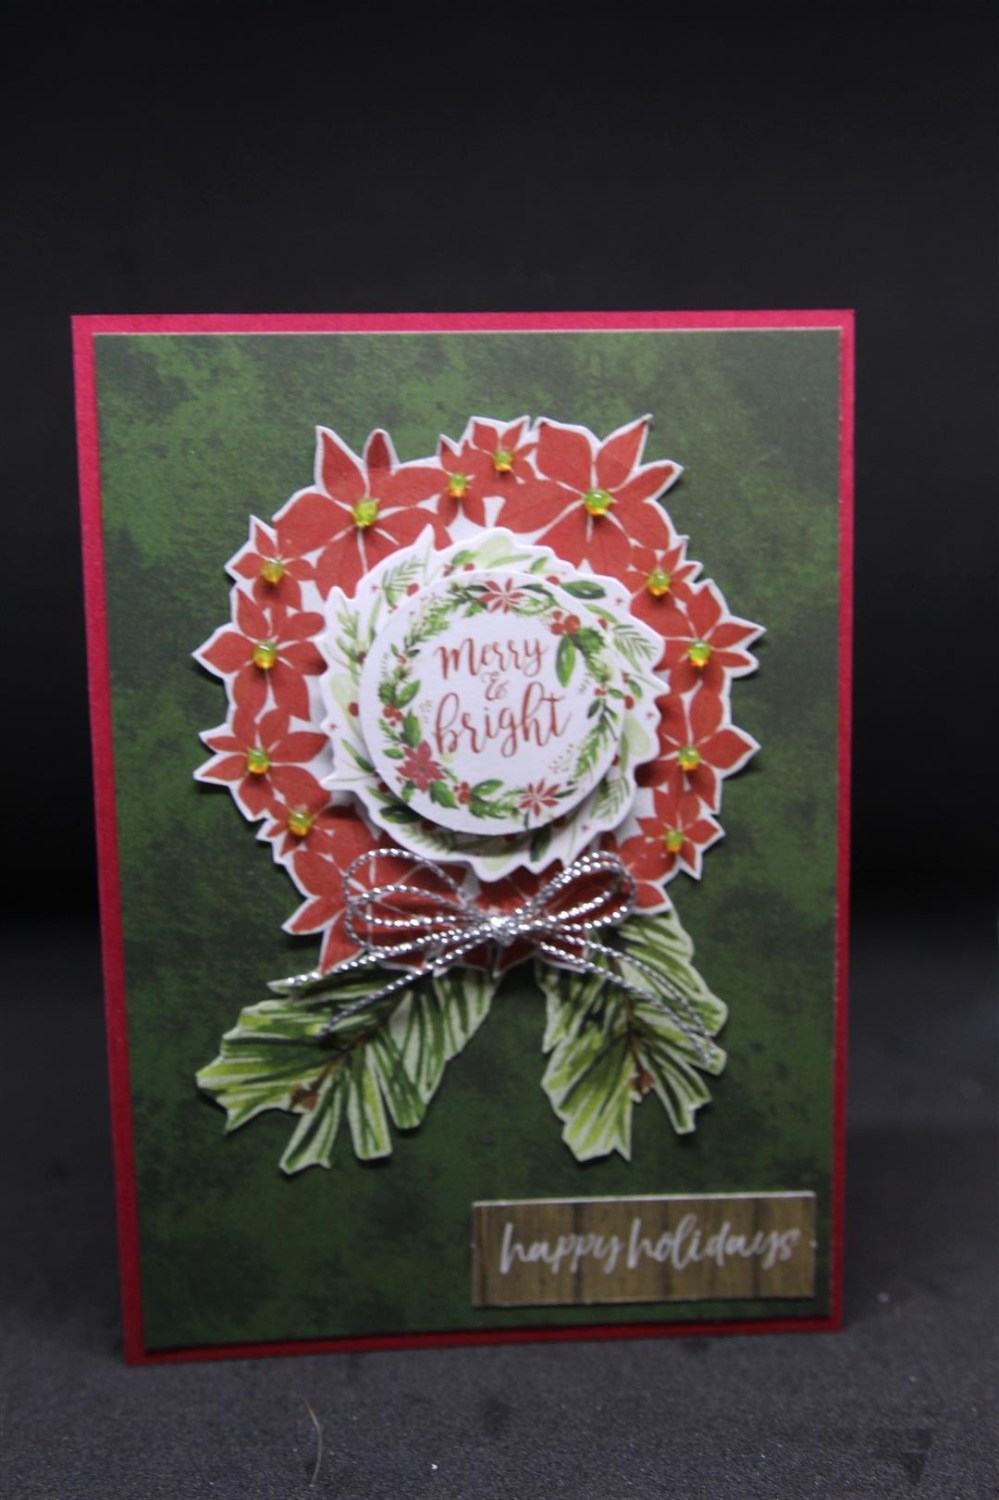
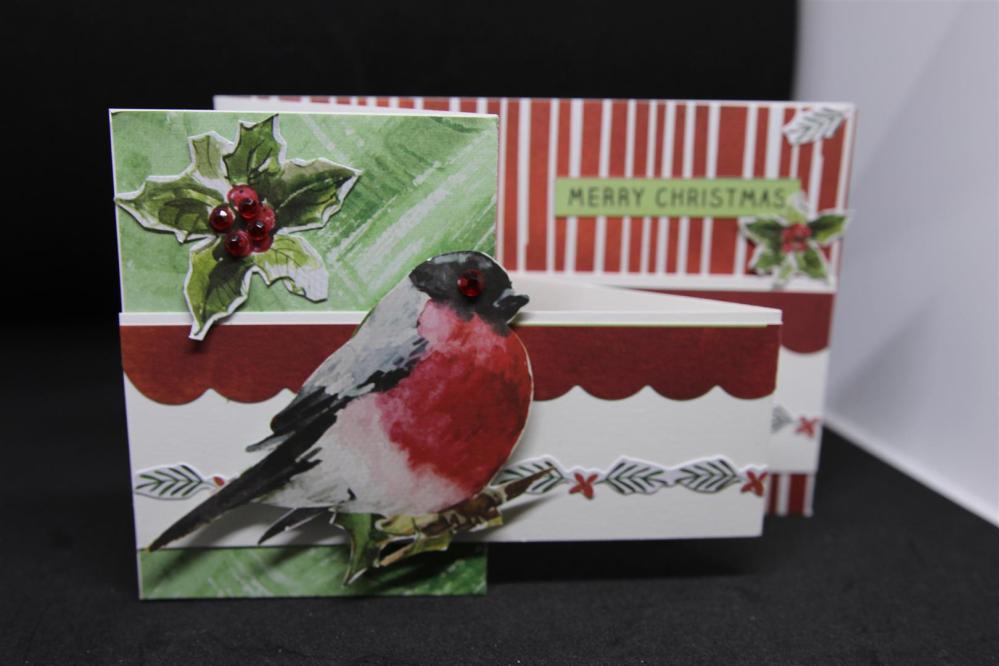 Today begins the official start of my Christmas card makes..and I am starting off with cards made with kaisercraft Christmas Wishes paper collection. I purchased the collection pack, collectables and the 6 ” pad, and I have made so many with this collection already. I will ( to alleviate boredom!) put them up 3 at a time and we will have a couple of breaks through out to also see other cards I have been making. My favourite card fold this year has been the double zig zag card so the first few are all in this design. Everything on these cards except for the bling has come from the listed supplies at the start of the blog, the collection pack comes with a sticker sheet which has come in handy for the strips across the smaller zig zag fold. I have done a little fussy cutting from some of the papers – the birds and the holly for example. Today is a day off but I am off to have a cortisone injection in my foot…not happy as I have had these before and they hurt!! I am hoping for short time hurt for long time gain! Til tomorrow…..
kaisercraft Mint Wishes number 6
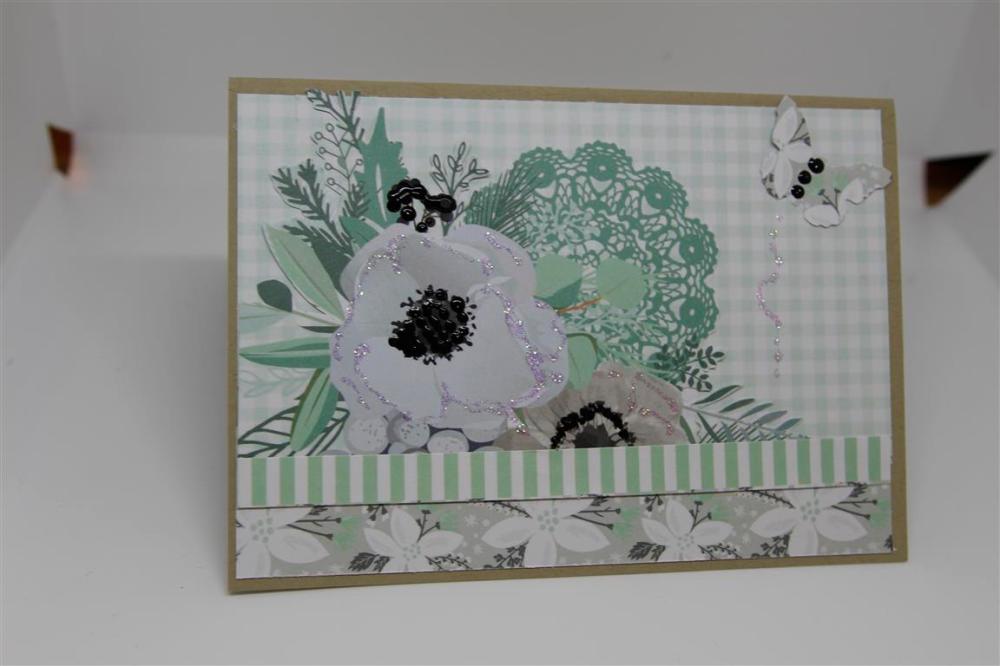 This is the last of my Kaisercraft mint Wishes cards. The left over of my 3 sheets of paper I gave to Mum. This one isn’t a Christmas card, it’s a card for any occasion! I did like the pastel green colour used in this range, and really this was just a corner panel of one of the sheets of paper, with a strip stuck across the bottom and a punched butterfly in the top corner. I highlighted little bits of the design with kindyglitz.A whole new series starts tomorrow! Til tomorrow…..
The last of the Christmas Z-fold cards!
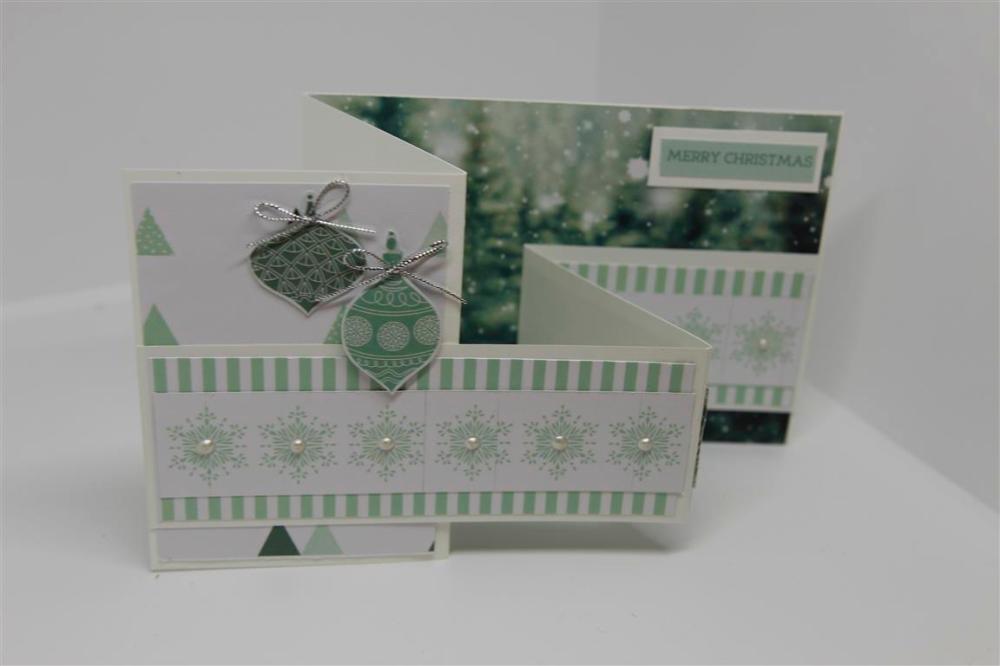
 Here are my last two Z-fold cards made with Kaisercraft Mint Wishes, still the same 3 sheets i purchased with just the addition of some pearl bling and silver twine. I think I mentioned that i bought the sticker sheet in this range, but I didn’t! the strips on the smaller z-fold pieces were conveniently on one of the sheets of paper already to size which made these cards really quick and easy to put together, and the merry christmas sentiments that I used were on the bottom of one of the sheets on that identity strip that we usually trim off and throw away! Tomorrow one last “normal” card that I made with the leftover pieces and then we move on to something completely different! Til tomorrow…..
Kaisercraft mint wishes double z fold cards..
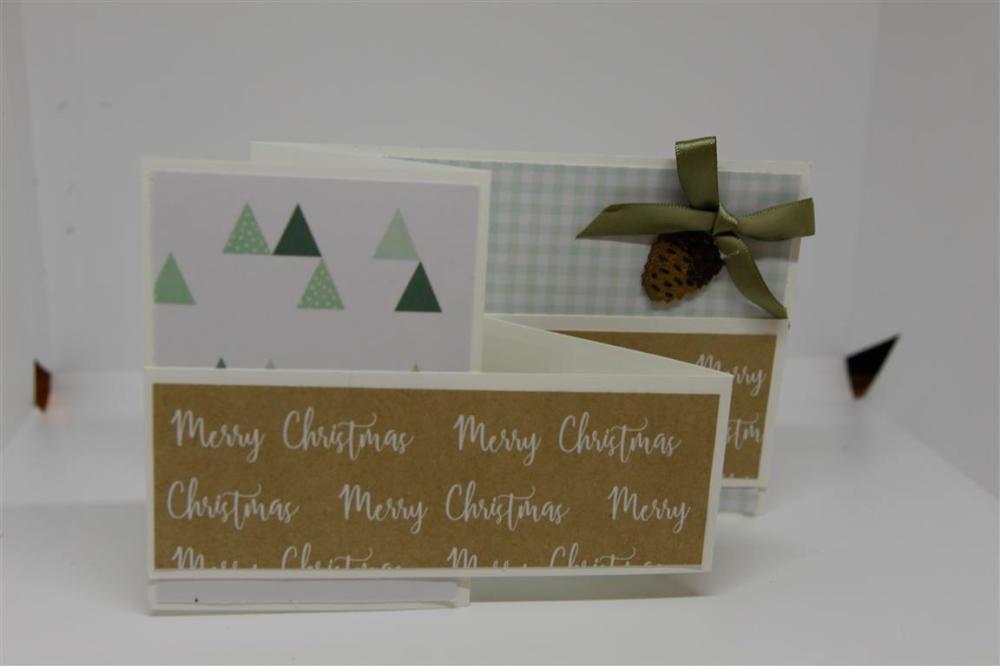
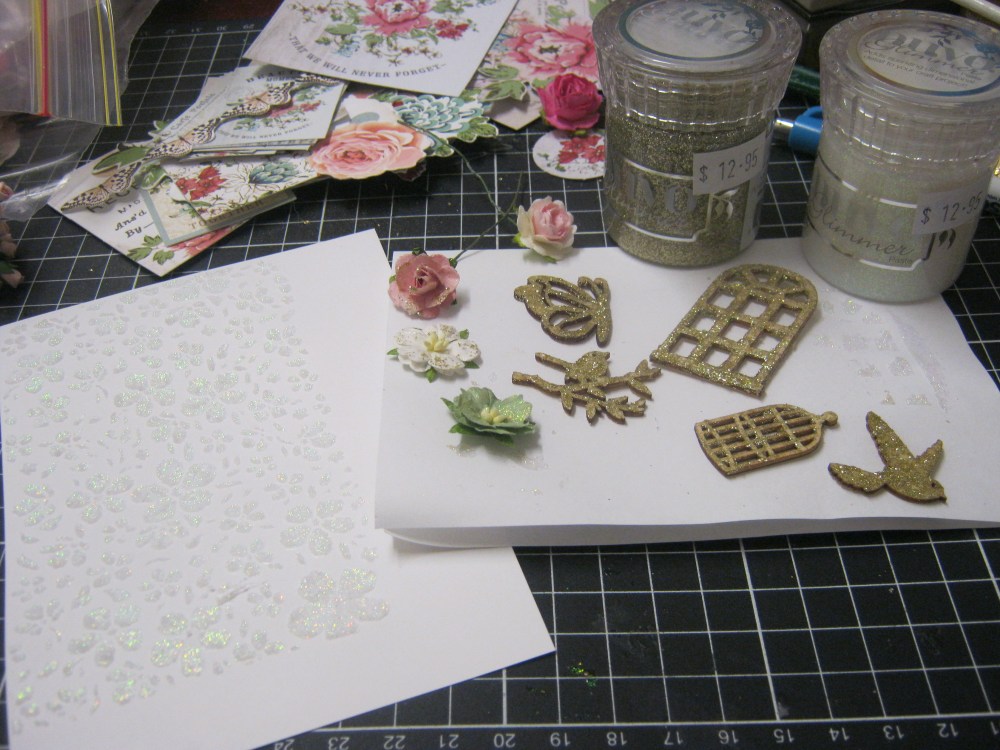
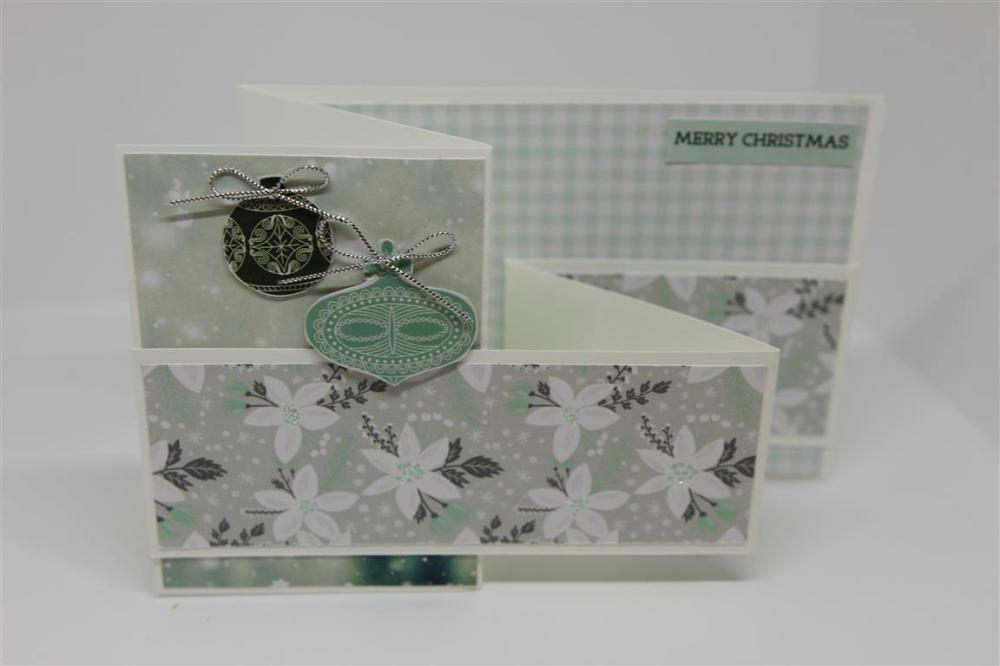 two more double z – fold cards just using a couple of bits of paper from Kaisercraft Mint Wishes collection. The pine cone on the top card pictured is a kaisercraft wooden piece which I foiled in chocolate through the Go Press and foil machine. The Baubles on the second card are fussy cut from a piece of the patterned paper from the collection.I have added a photo under my script to show you what I spent last evening doing! We got in some new Nuvo Products at paper Flourish and I just had to try them out.They are Nuvo glimmer paste and come in a range of colours, but I just picked up the clear and the gold, and so far I have tried it out on wooden pieces,painted on with a paintbrush, dabbed little bits ( mainly to clean my brush off) on flowers, and then I found a stencil, attached it to some cardstock and painted the glimmer paste through the stencil..this technique looks amazing! It dries in about 10 minutes, so no long waiting around for it to dry.