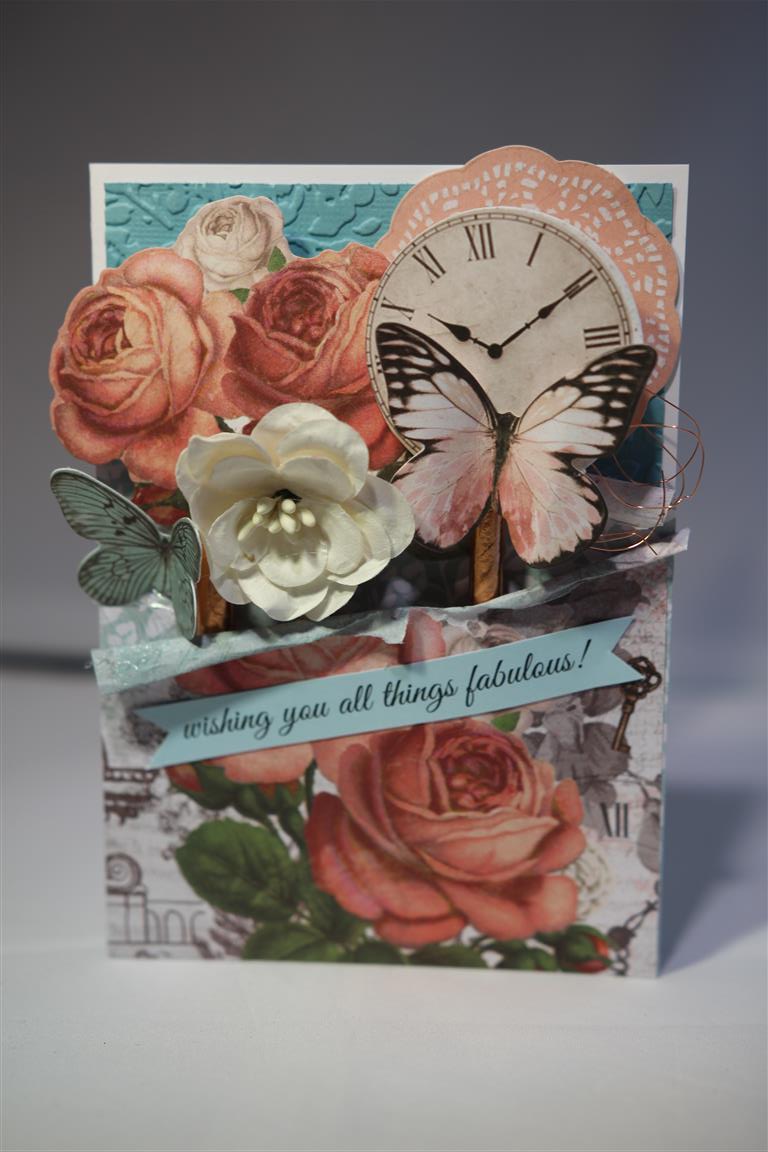
 Kaisercraft Ooh La La 6″ pad and collectables for this one with a bit of fussy cutting!I did cut a frame using Kaisercraft rectangle dies,and layered up a doily and some collectables with sequins and a ribbon bow to finish. I have spent a lovely relaxing time in the craft room this weekend gathering my strength for this last week of retail before Christmas – really looking forward to my 4 day break at the end of it! til tomorrow….
Tag: easy homemade card ideas
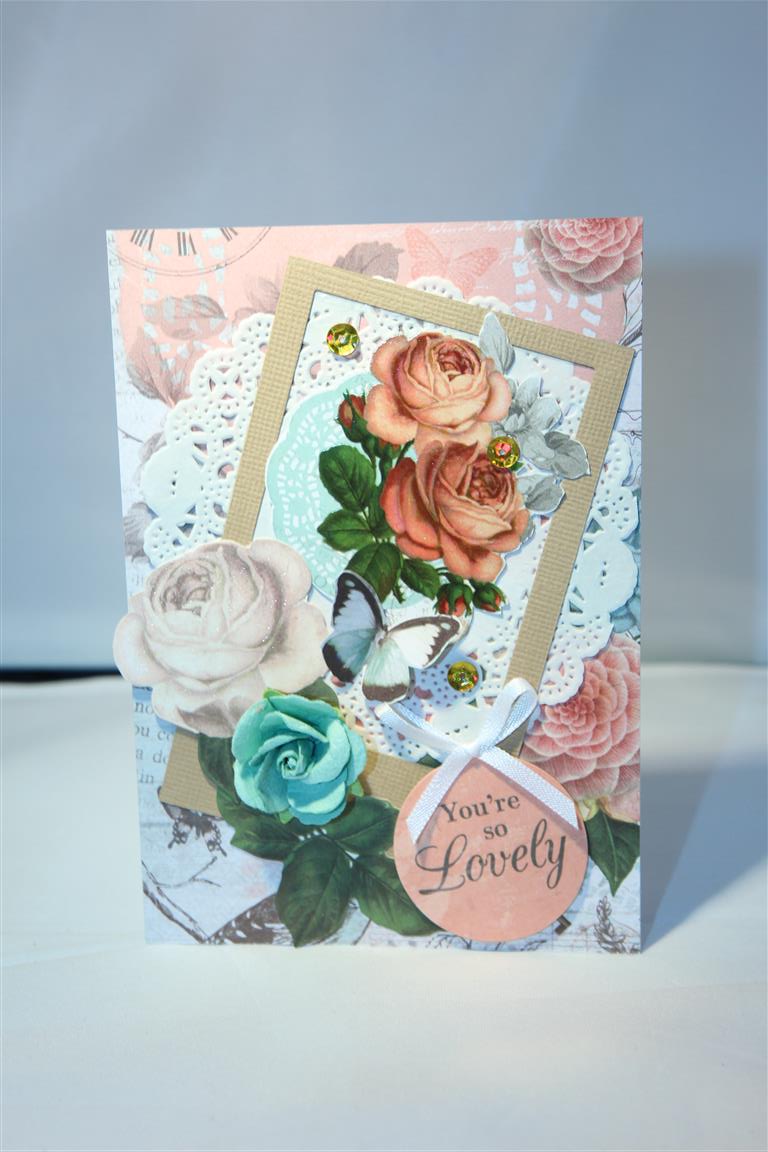
Kaisercraft Ooh La La number 4..
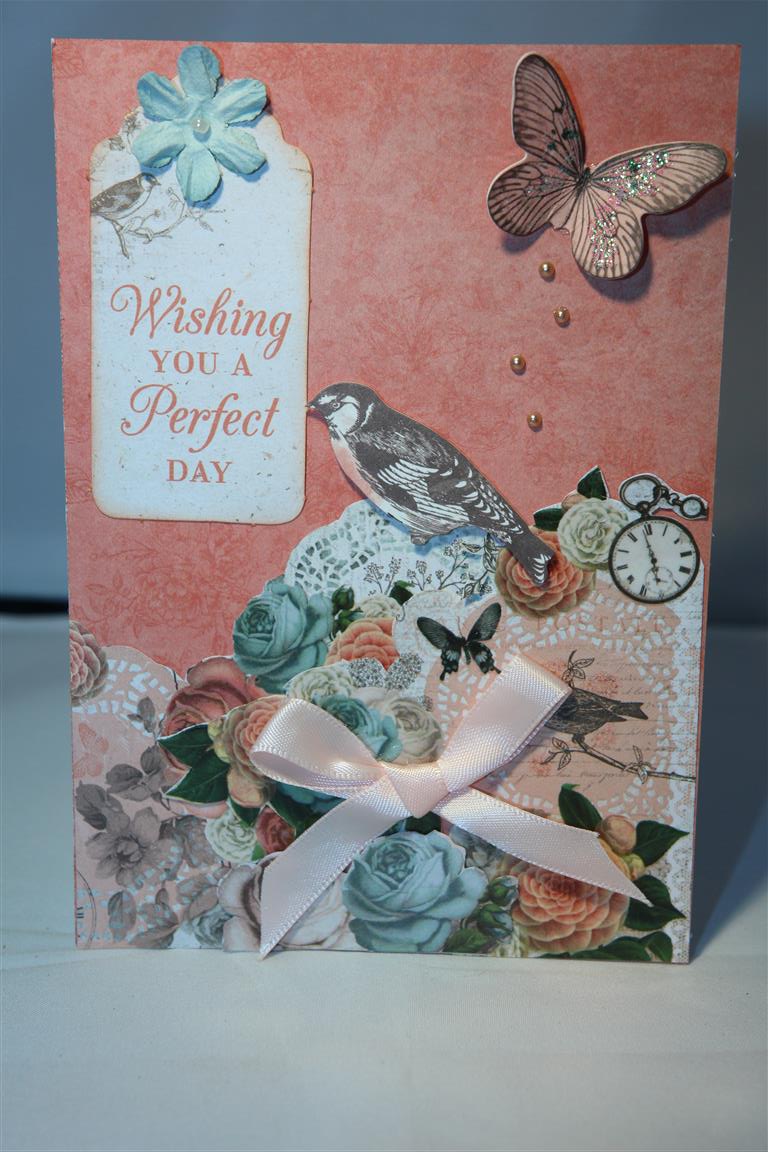 Sorry I have been missing a little bit this week, but I have been working extra hours due to the Christmas rush at work.Over the next couple of weeks I may be posting a little less due to the same reason. We are going back to my Ooh La La cards made with Kaisercraft Ooh La La paper collection and matching collectables. This is the paper I reached for when I damaged my shoulder and couldn’t do any die cutting – things have improved only a little but I have become adept at die cutting with my left hand, but still avoid it when I can! For this card I used papers from the 6″ pad., and layered them up, fussy cutting around the tops of the flower paper layer, and a tag from the pad. A collectables butterfly ,ribbon bow, kaisercraft pearls and green Tara flower all added texture. Til tomorow….
Religious Christmas card..
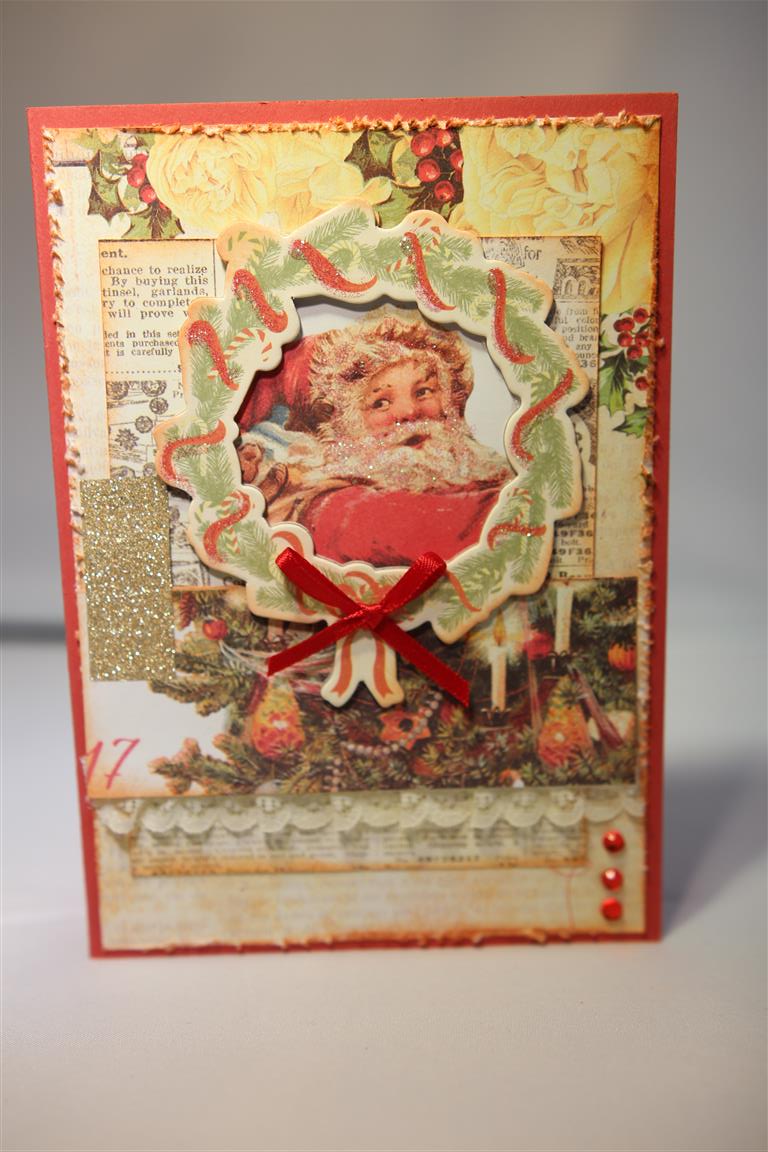
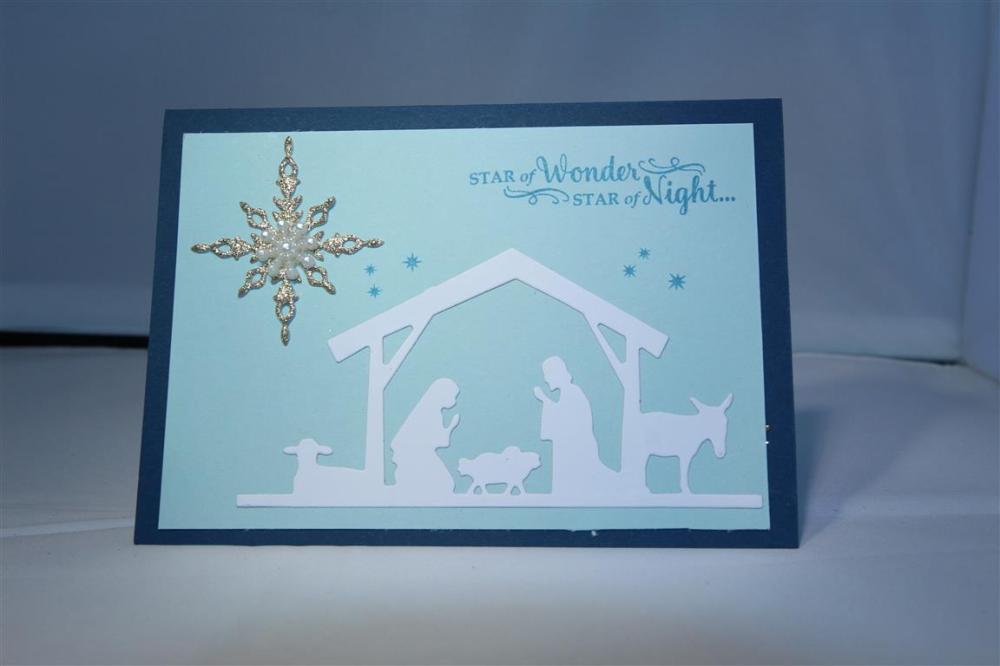 Mum purchased this die by Kaisercraft and cut me a couple of shapes, and I couldnt resist teaming it up with my Stampin Up Starlight dies and stamps. The cardstock is Stamp[in Up,and the little snowflake bling was from Paper flourish – I have stocked up on these snowflakes so that I can start on Christmas cards earlier next year! Til tomorrow….
Graphic 45 Cafe Parisian 3 and 4
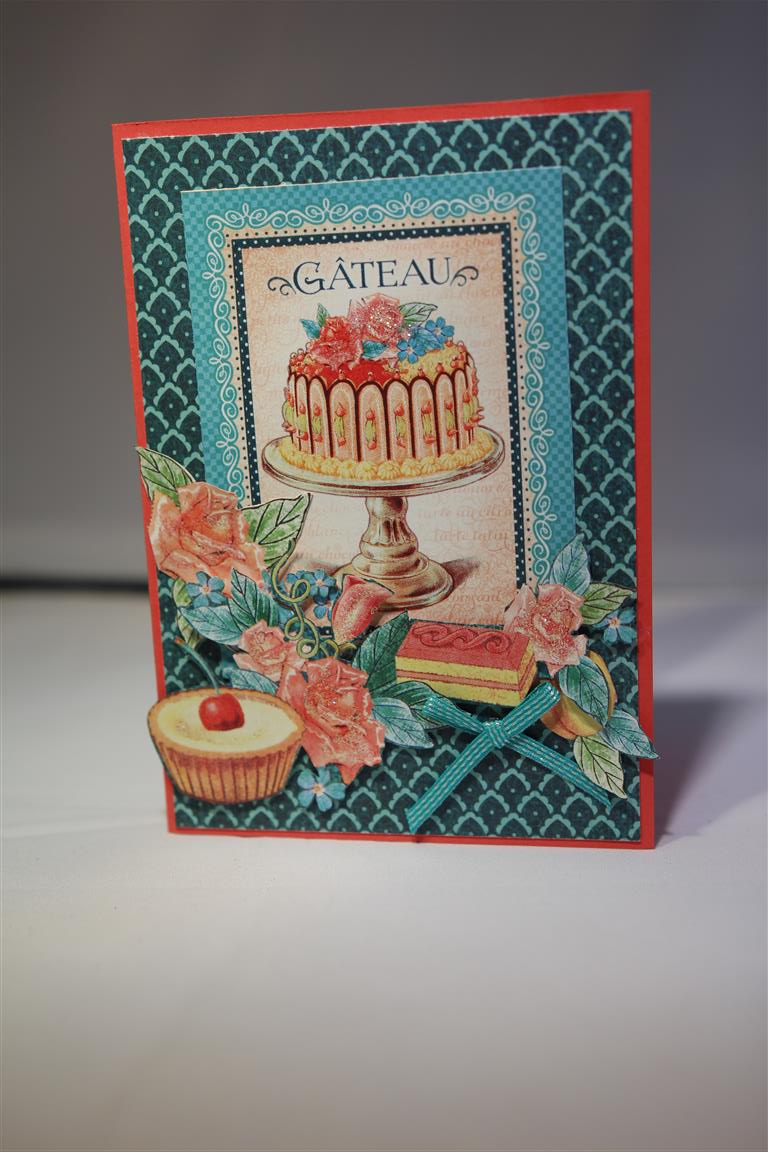
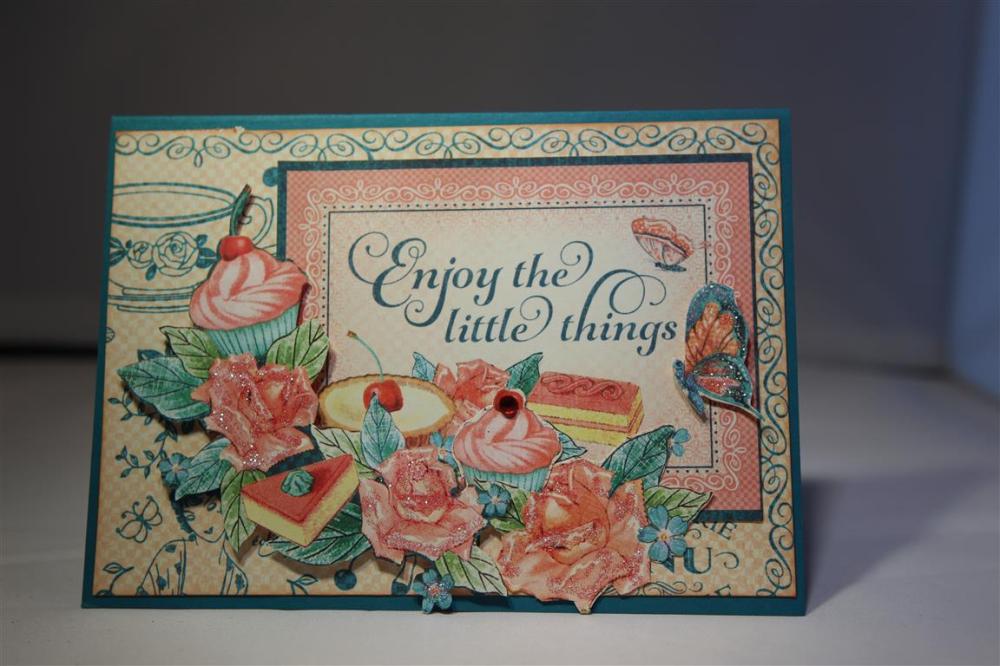
 More Graphic 45 Cafe Parisian today, and aren’t those cakes yummy-looking? The colours are gorgeous on this paper, and with some fussy cutting and mounting on foam pads only a bit of kindyglitz ( and a ribbon bow) is required to finish these ones! til tomorrow….
Graphic 45 Cafe Parisian 1 and 2…
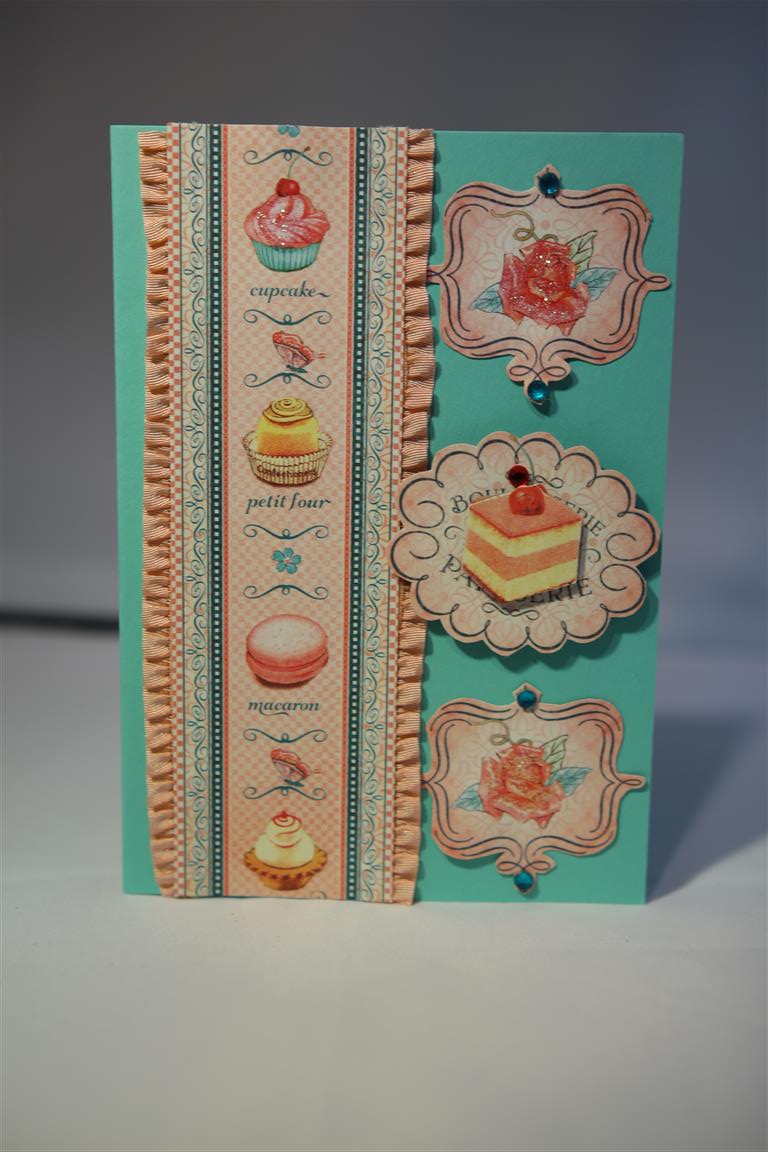
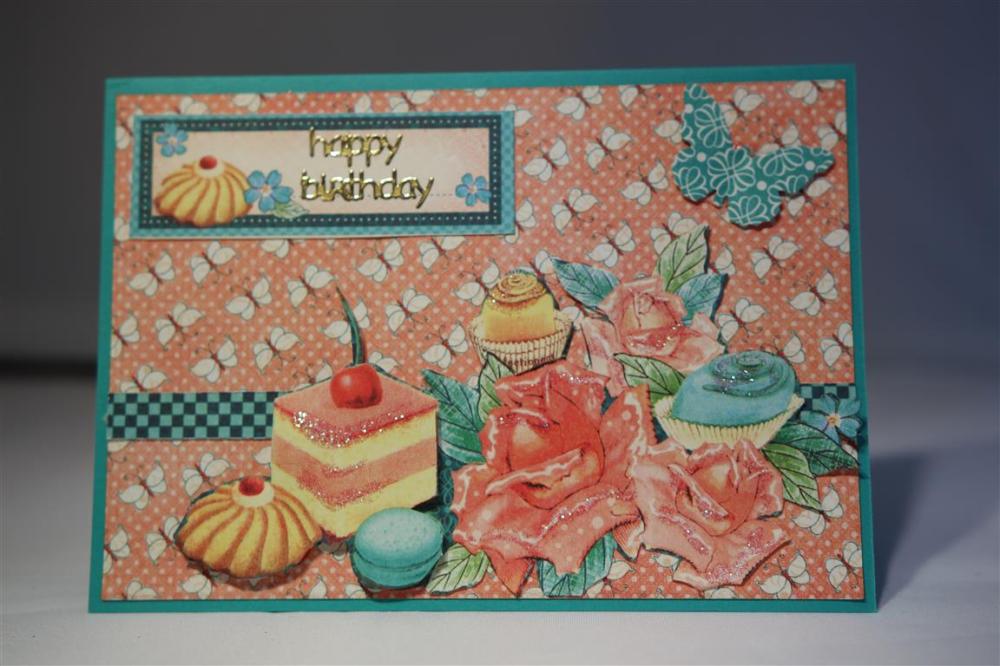
 Today we start a new series – Graphic 45 Cafe Parisian. I purchased a few sheets of the 12 x 12 of this collection and relied on fussy cutting. A lot!. The first card was just an easing in to get a feel for the papers ,so very simple. The cardstock and trim are from Stampin Up. The second card is much more interesting,with some inking of edges and layering fussy cutting and a bit of kindyglitz. This paper is so very colourful and busy it really doesn’t need much embellishing, just layering is enough. The whole time I was working on this series I wanted cake!I am easing back into the craft room – still no die cutting, but fussy cutting and punching is fine so I have rediscovered all my punches. Isn’t it funny how some things go in and out of vogue..let’s start a movement to bring back punches! They are so portable, quick ( no big machinery required) and with a bit of imagination you can get the same layered effect as dies!The cards Nathan and I photographed this morning will show you all how I re-employed my punches, but we wil finish this series first. Til tomorrow….
The last two Prima Sweet peppermint..
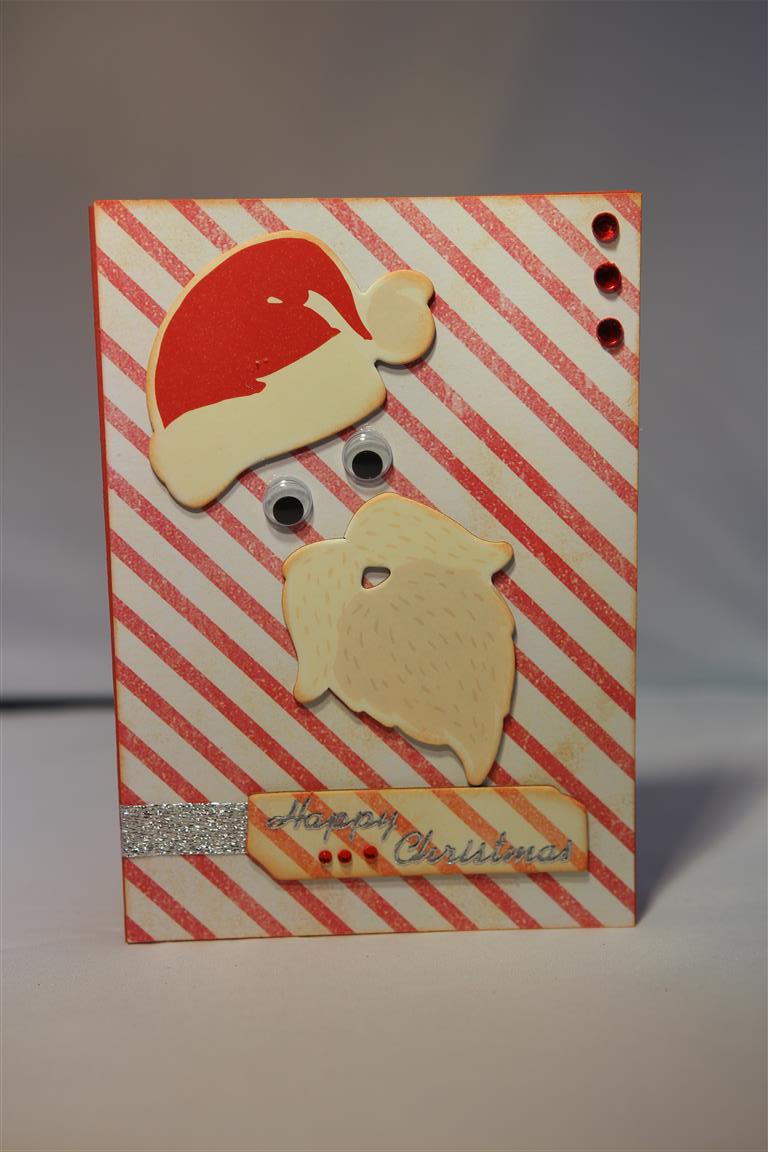 Here are my last two christmas cards using the Prima Sweet Peppermint range, I have lots left over so will return to it for next years cards! The top card is very vitage with lots of inking, distressing, lace, ribbon and bling, while I had a lot of fun with the bottom ( and final) card I made. The chipboard pieces just begged for googly eyes,and not much more to finish this one. Til tomorrow…..
Prima Swet Peppermint 7 and 8..
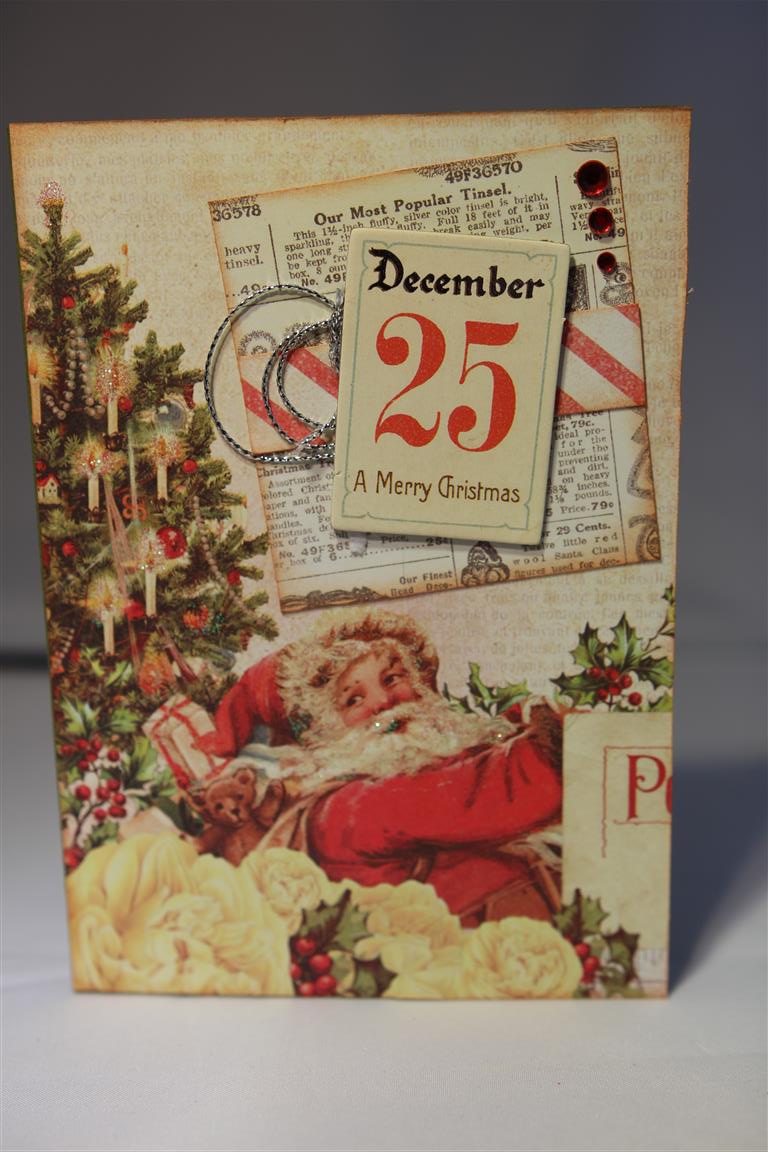
 We are very close to finished my prima Sweet Peppermint card collection..One more post after this one, and then we will move on to some gorgeous Graphic 45 papers ( not Christmas!)Once again, not much more is needed with this collection of papers and matching chipboard pieces, just a little bling and ribbon. The silver glitter strips on the bottom card are from Kaisercraft.Quick post today.. Til tomorrow….
Prima Sweet Peppermint

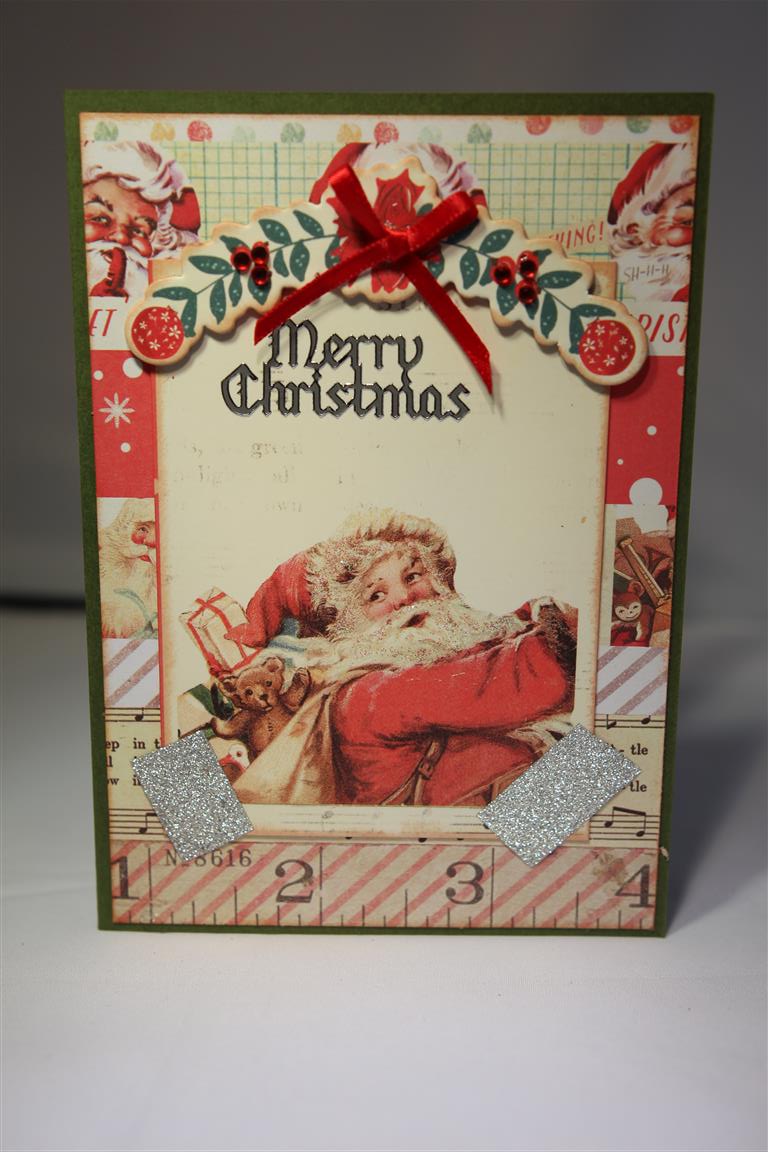
 Today we start a new series, Christmas cards made with Prima Sweet Peppermint.I purchased a few sheets of the 12 x 12 paper, and a bag of the chipboard collectables and for all the cards I made I only added some trim and kindyglitz for texture and sparkle.I edged around all my edges with Tea Dye distress ink as some of the background papers got lost next to each other, and inked edges helps solve that problem.This morning I am off to teach my class at Paper Flourish and I am so looking forward to catching up with everyone! Til tomorow….
Kaisercraft Ooh La La 3..
 Straight away I must confess this is not my design..it is the design of my good friend Mandii, who designed it for the Class in a box kit that I bought from Paper Flourish.I don’t usually do the designs suggested in the box, I go off on a tangent and do my own thing, but I fell in love with this one of Mandiis. Everything on the card was in the box, and of course the main item is the gorgeous Kaisercraft Ooh La la papers.This is the last with this paper for now, I have many more waiting to be photographed so we will be returning to it soon, but next up on the blog list is some more Christmas cards, we are getting to the end of them now! Today is my little puppy’s first birthday so i must go and make a fuss of her…til tomorrow….
Kaisercraft Ooh La La 2..
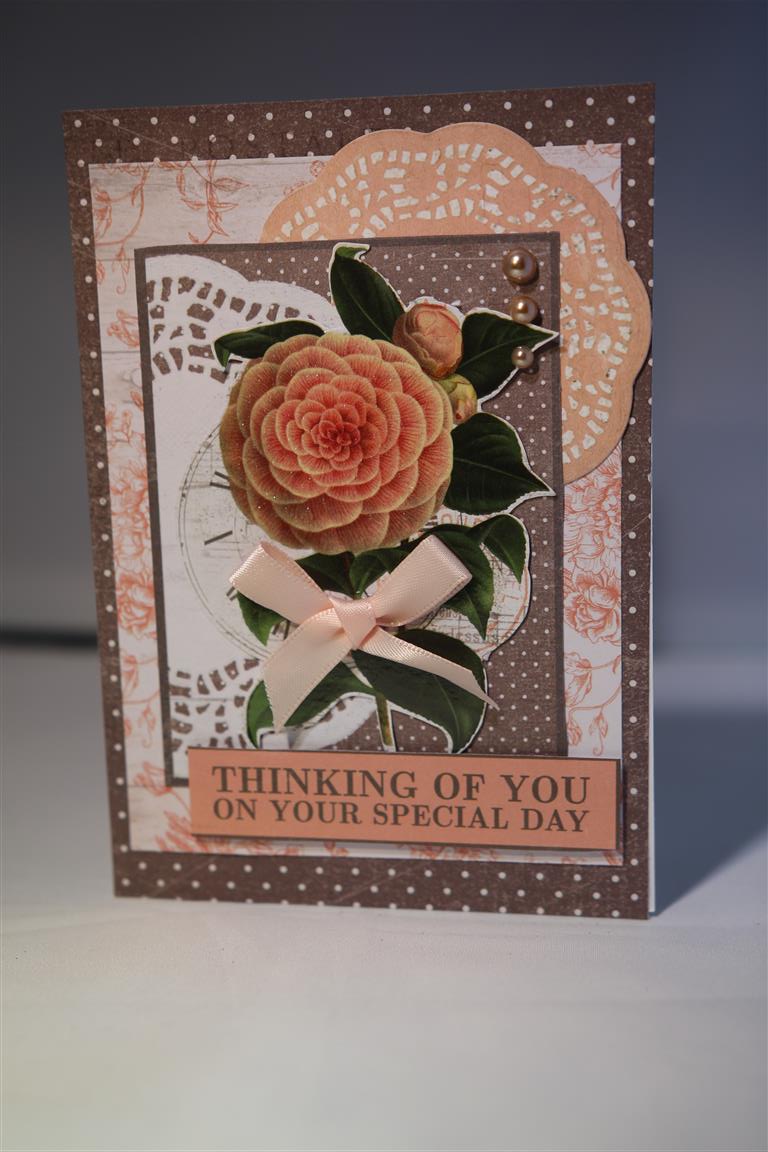 My second Kaisercraft Ooh La La cards, still using the papers from the 6″ pad for the background layers – they were the leftover pieces from the first card..and the inner layer is from a sheet of 12 a 12 paper, as is the flower which I fussy cut.kaisercraft pearls,ribbon and a sentiment from the sheet in the class kit from Paper Flourish to finish.I am going to venture into the craft room this morning for an hour, no die cutting, but I will see if I can make at least one simple card ..it’s that or go crazy!! Til tomorrow…..
