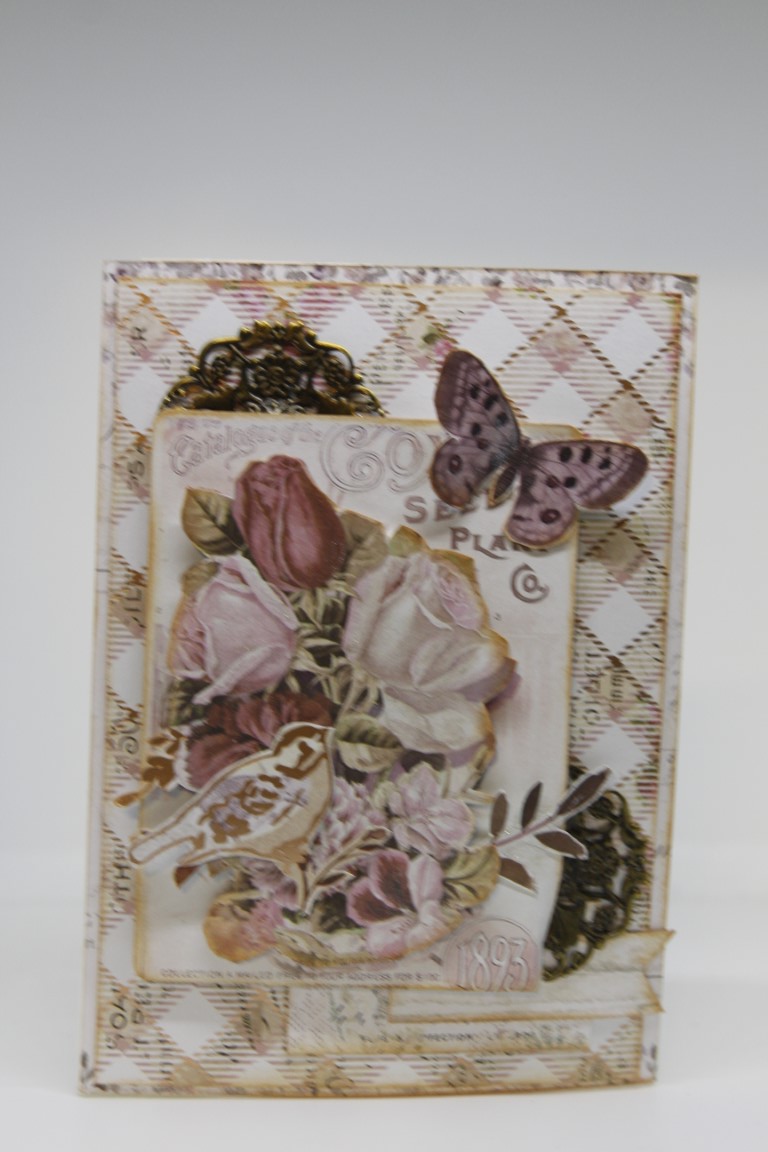
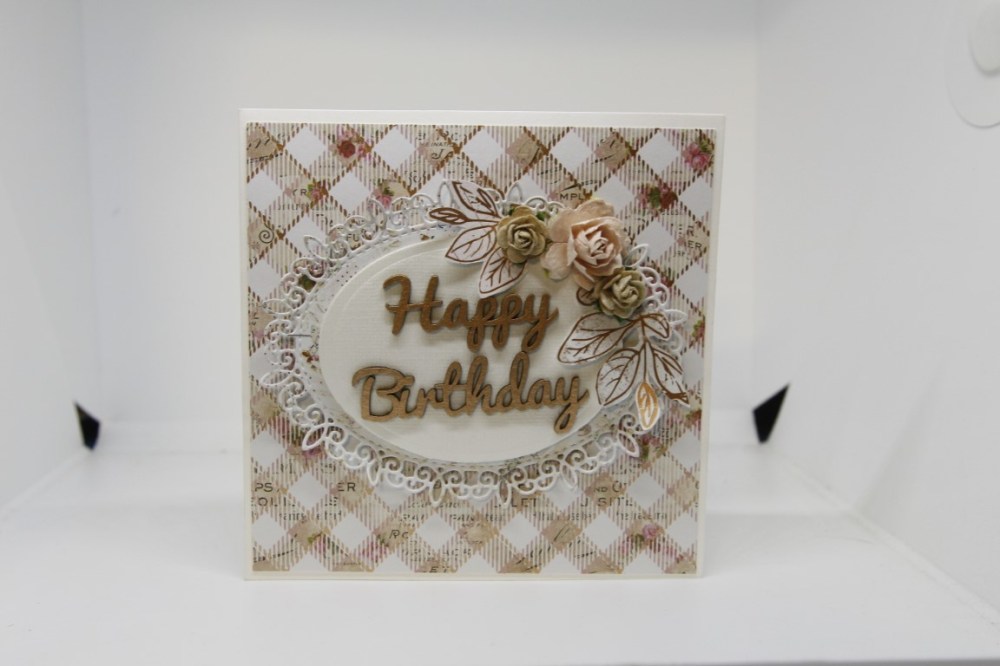
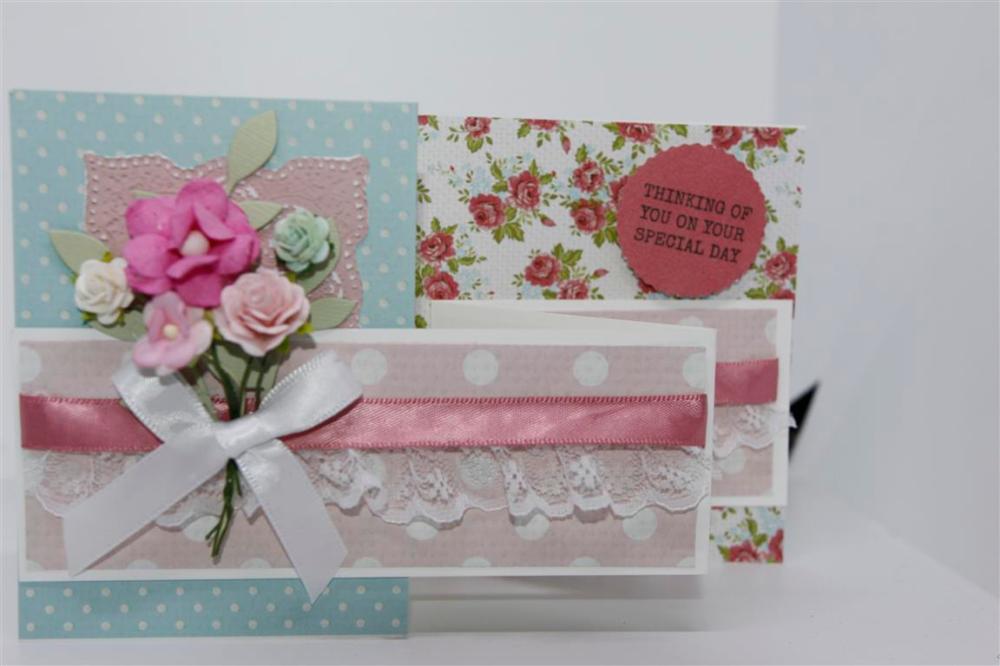
 Today we are back to Prima Lavender Frost range of papers, and assorted matching emphemera. The top card is made with papers from the 6″ pad, and a couple of the 3 x 4 journalling cards. I fussy cut the top card and mounted it with foam pads, and cut a round metal finding in half and slid it in under the foam mounted card. The two lower cards were cards I taught in a Paper Flourish class, using the Prima Lavender frost paper and some foiling with the Go Press and Foil machine, which is how I did the gorgeous rose, ( it is a Couture Creations stamp and foil die). We foiled our chipboard happy birthday for the top card. I taught another class this week with this paper range – just love it!! Til tomorrow…
Tag: Go press and foil
Go Press and foil ..simple..
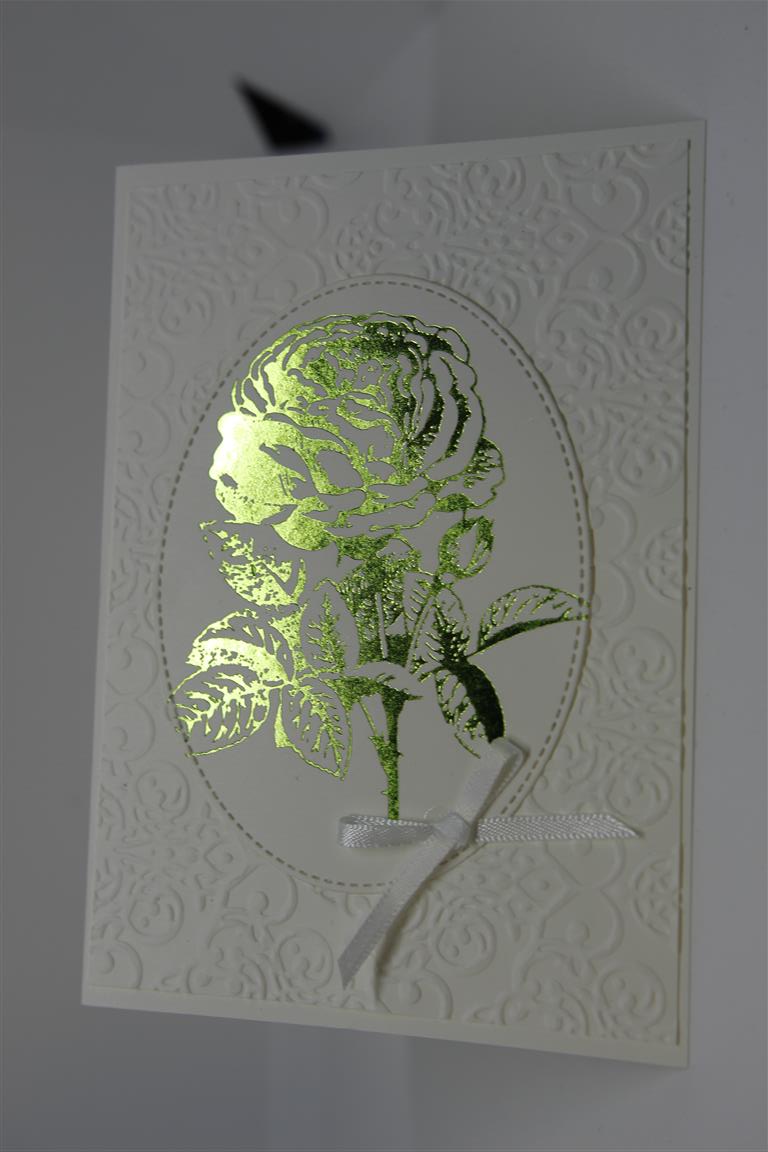 Todays card is a very simple one made with my Go Press and Foil machine to foil the Rose hot foil stamp ( couture Creations) in green foil, and then white cardstock for the rest. I dry embossed a piece of cardstock with a stampin up embossing folder,and Die cut a stitched oval ( Seven Paper Dolls die) One little white ribbon and this all occasion card is finished! I have a day off today and quite a bit of housework to catch up on, but I am sure I will find some spare time to unwind in the craft room…til tomorrow….
Kaisercraft miss Betty double zig zag..
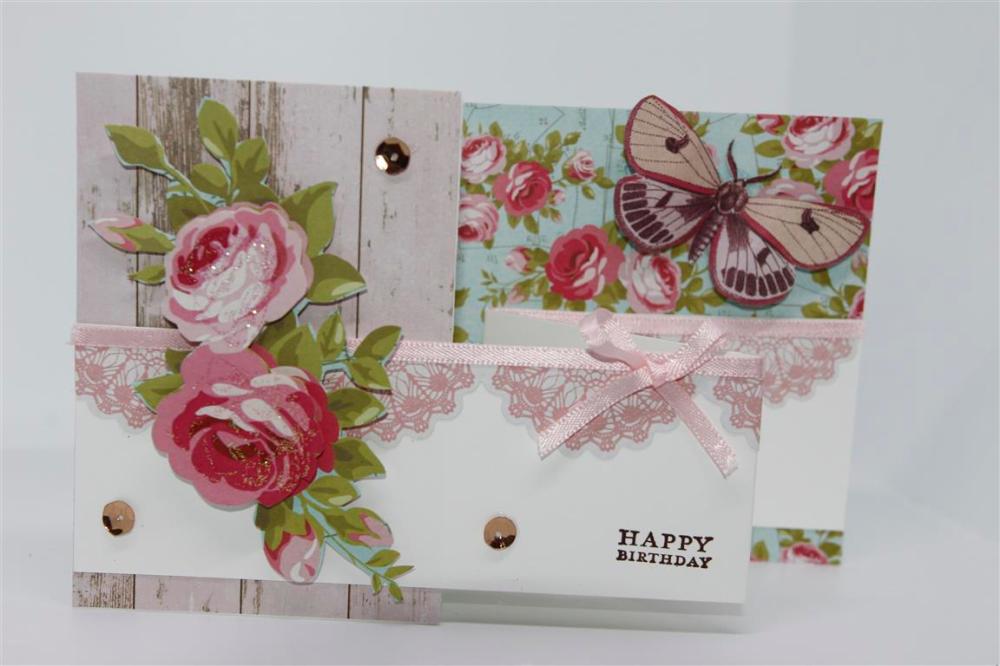 The Kaisercraft Miss Betty collection worked perfectly as a double zigzag card,and here are two that I made with this collection. I used a mix of 12 x 12 papers, some papers from the 6″ pad and the matching collectables. On the top card i made the most of my lace, ribbon and flowers whereas on the lower card I only added a little ribbon and a few sequins. I had a great day yesterday playing with my new Go Press and Foil cut, foil and emboss dies, here is a selection of completed cards!
Happy Anniversary!
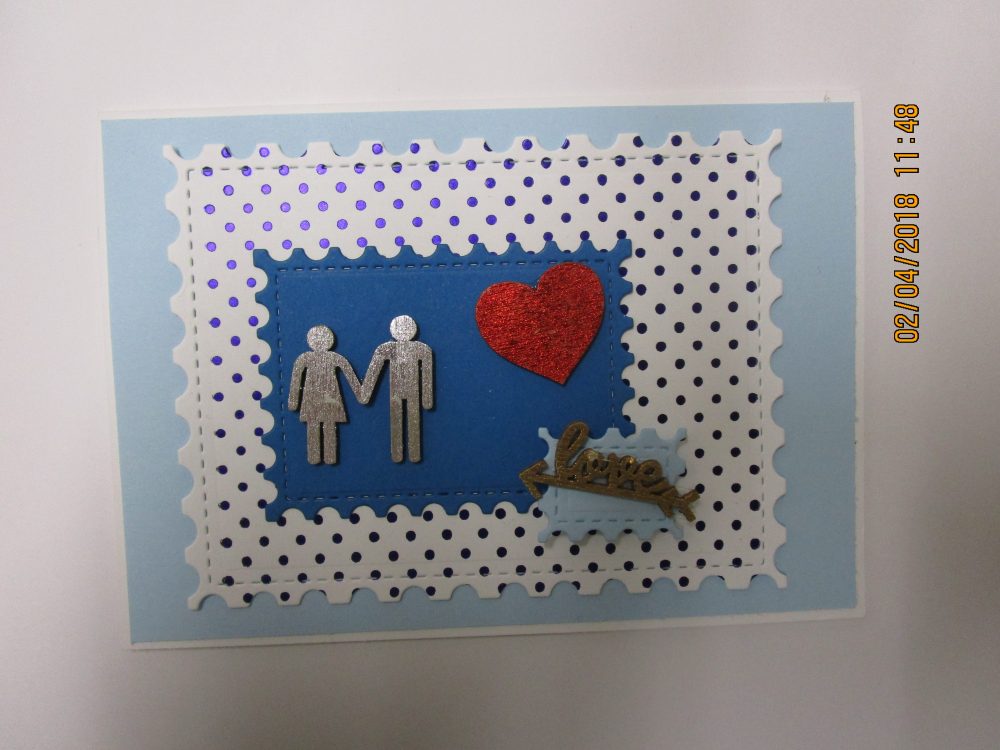 Today is our 37th wedding anniversary and I made this card for my husband. Sorry it appears to be on its side, although I did rotate it so not sure what is happening there, but hopefully you get the idea!I used my go press and foil to foil emboss the spotty background, and foil all the wooden pieces too. All i had to do after that was die cut the layers with a postage stamp die set. Today I paid for my stall at the June long weekend craft and hobby fair at parafield gardens, ( the recreation centre) so after the busy week I have work wise this week it will be time to sort out all my cards for the stall. But as I said, before that a very busy few days at work organising our stall at marion Leisure centre craft fair on Sunday. I am really looking forward to taking our shop on the road! I may not get back here until next Monday so until then ……
It’s all about the Shoes!
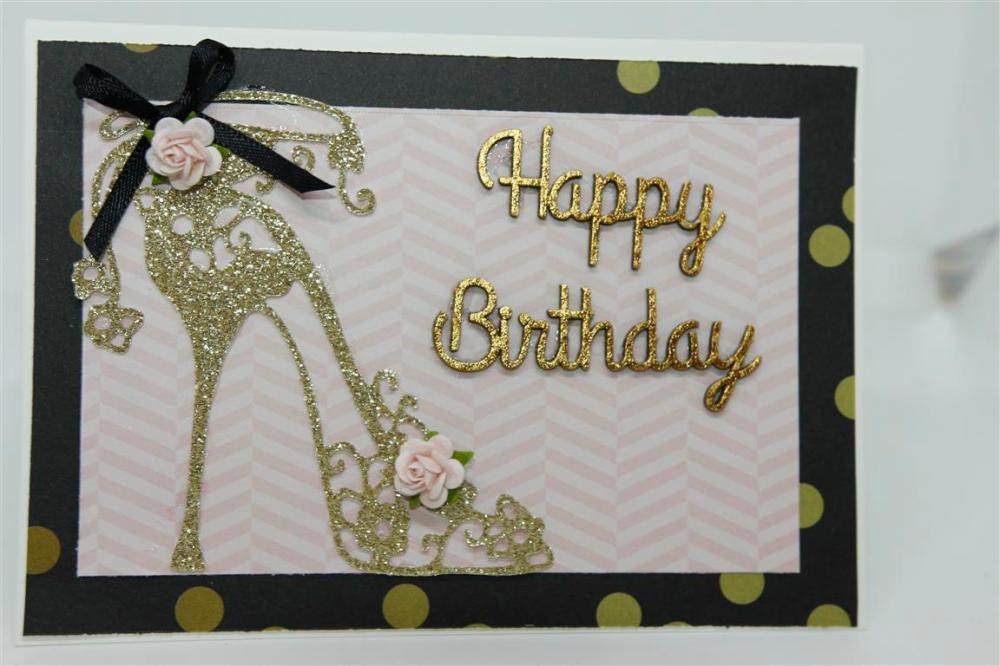
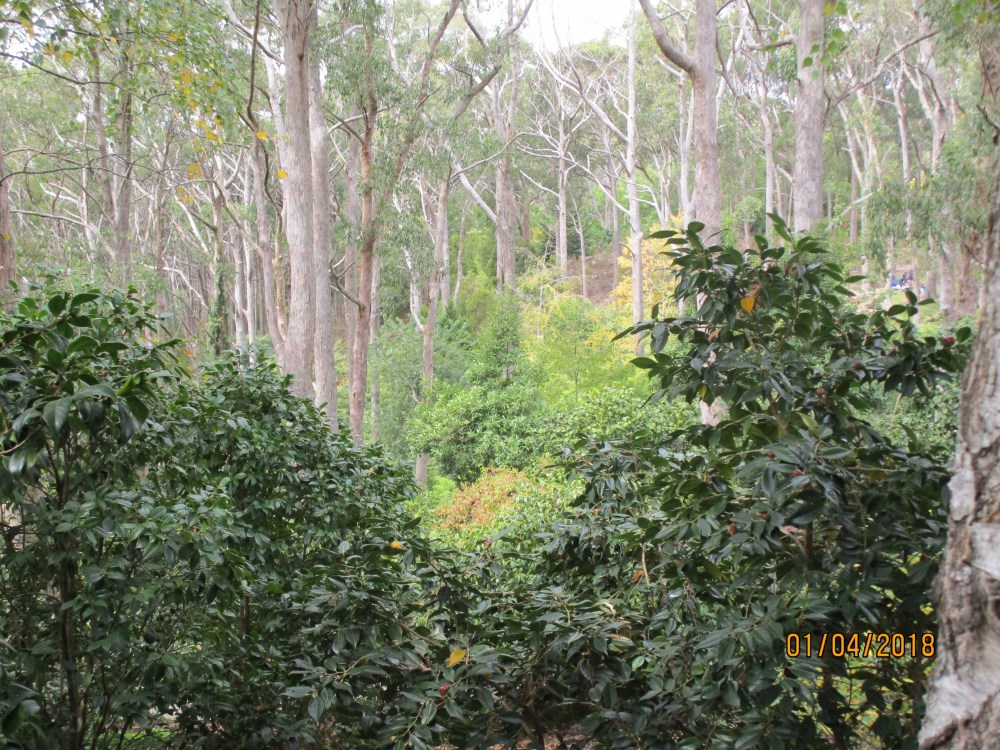
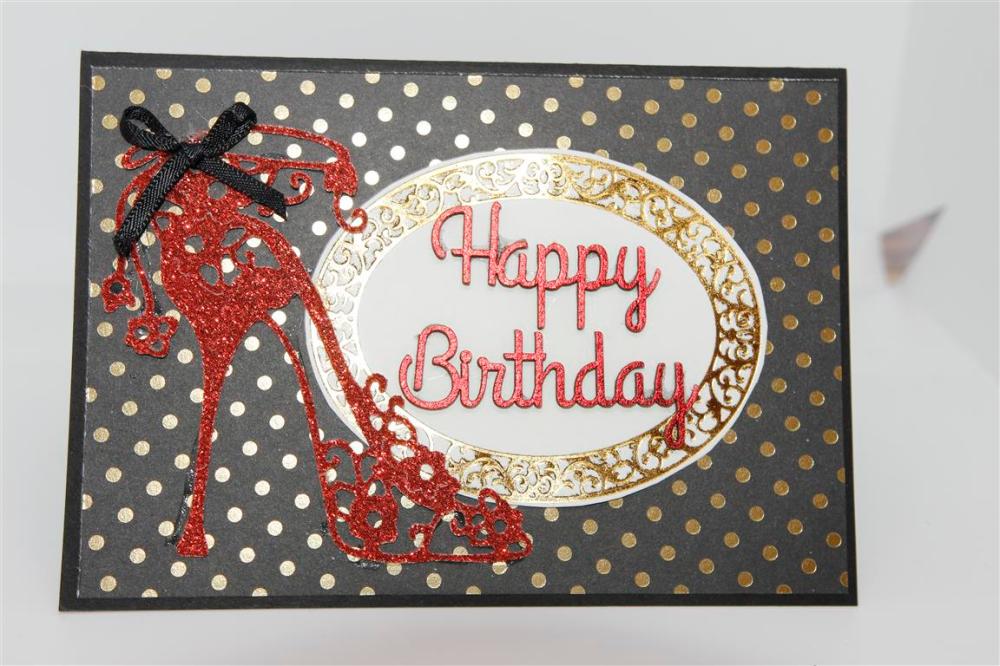 A pair of shoes today! The patterned papers are from my 12 x 12 Mambi Happy pad,and i die cut the shoes from glitter cardstock ( american crafts brand). I have also done some foiling with the Go Press and foil machine ( couture Creations) The Happy Birthday pieces are Dusty attic and foiled, and I also foiled the oval with a couture creations metal stamp specifically designed for foiling. Some flowers and ribbon bows and these two were complete! I have had a relaxing Easter break,prepared all my May lessons, and yesterday Joe, Nathan and I went for a drive up to Mt Lofty Botanical gardens. It was a beautiful day weather wise, and we all enjoyed strolling up and down the paths where we saw the leaves on the trees turning their autumn colours. Til tomorrow…..
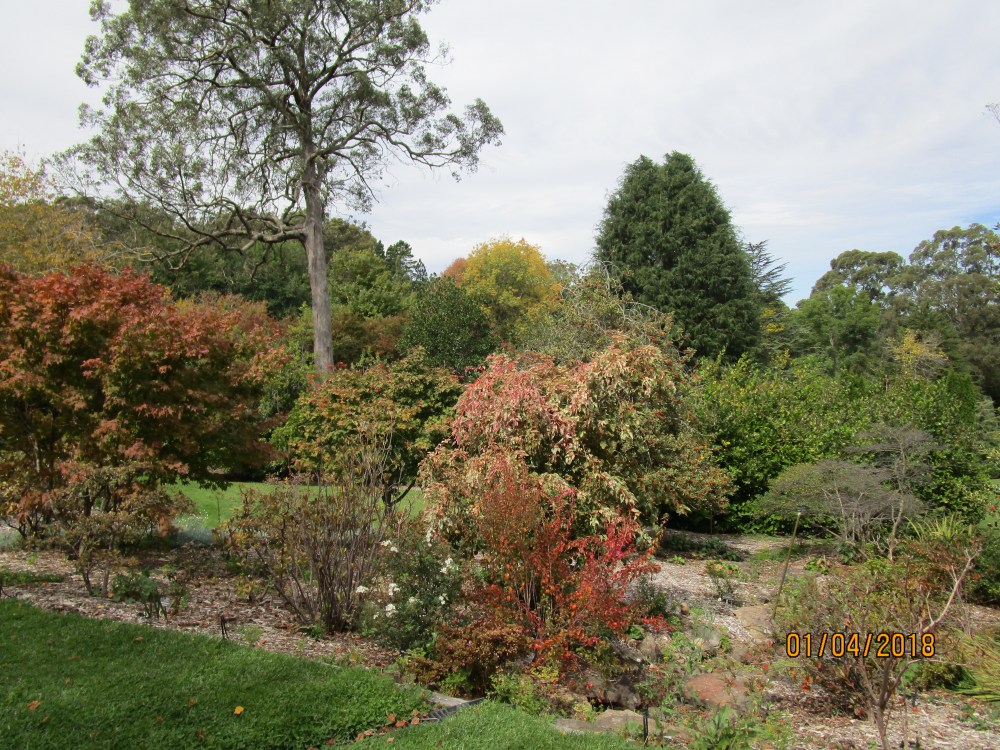
Go Press and foil anna griffin rose
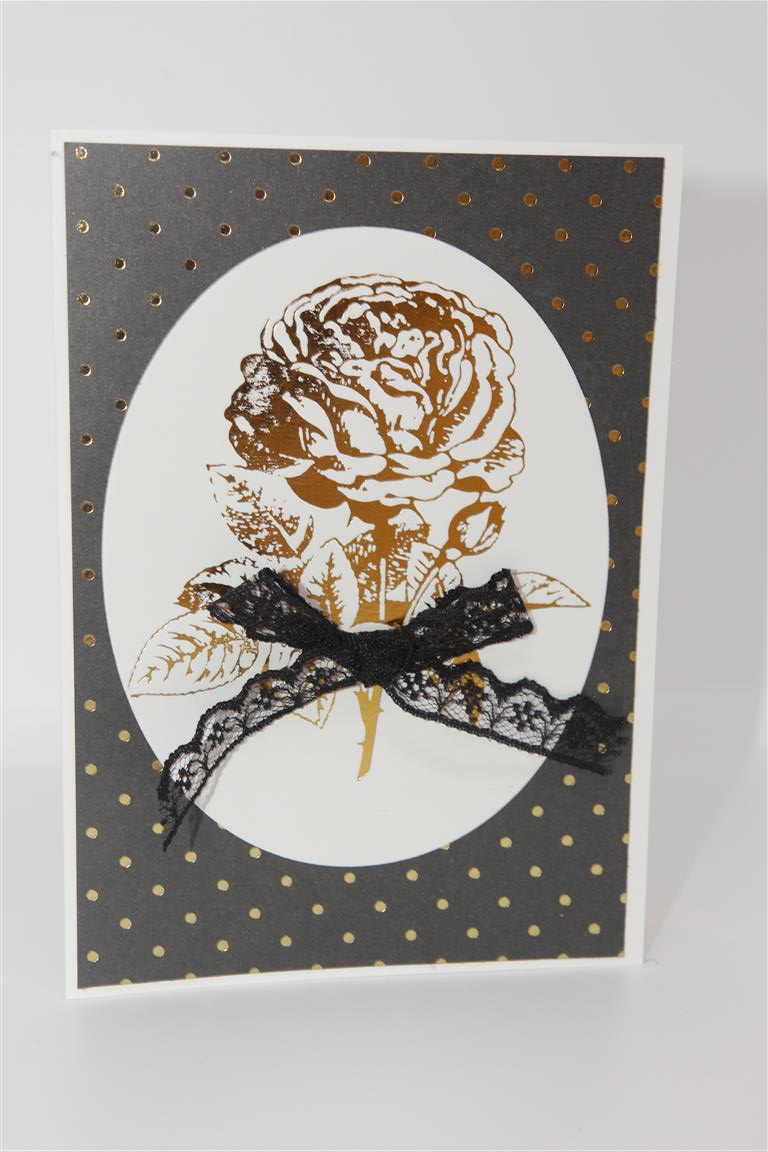
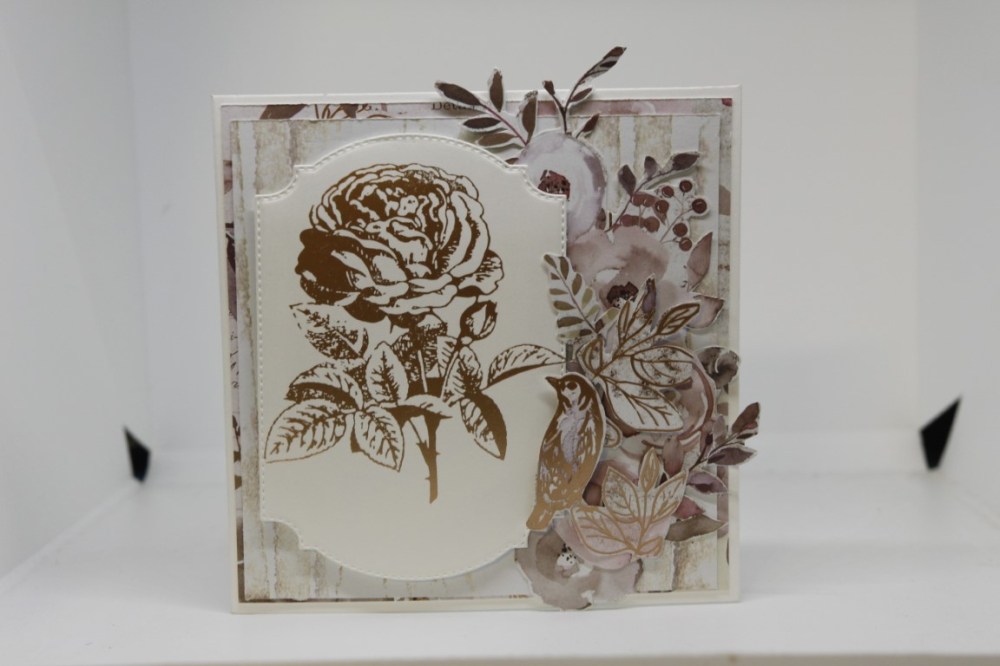
Todays card is a very simple elegant card made with just a couple of products. The background paper is My Minds Eye In Bloom and I made the rose with my Go Press and foil machine and an Ana Griffin foil stamp, which I then die cut with an oval die. A black lace bow and that is finished!We have a very hot day today, a bit cooler tomorrow though so that will be a craft day for me while I think about some classes for March!
Go press and foil…chipboard die cuts..
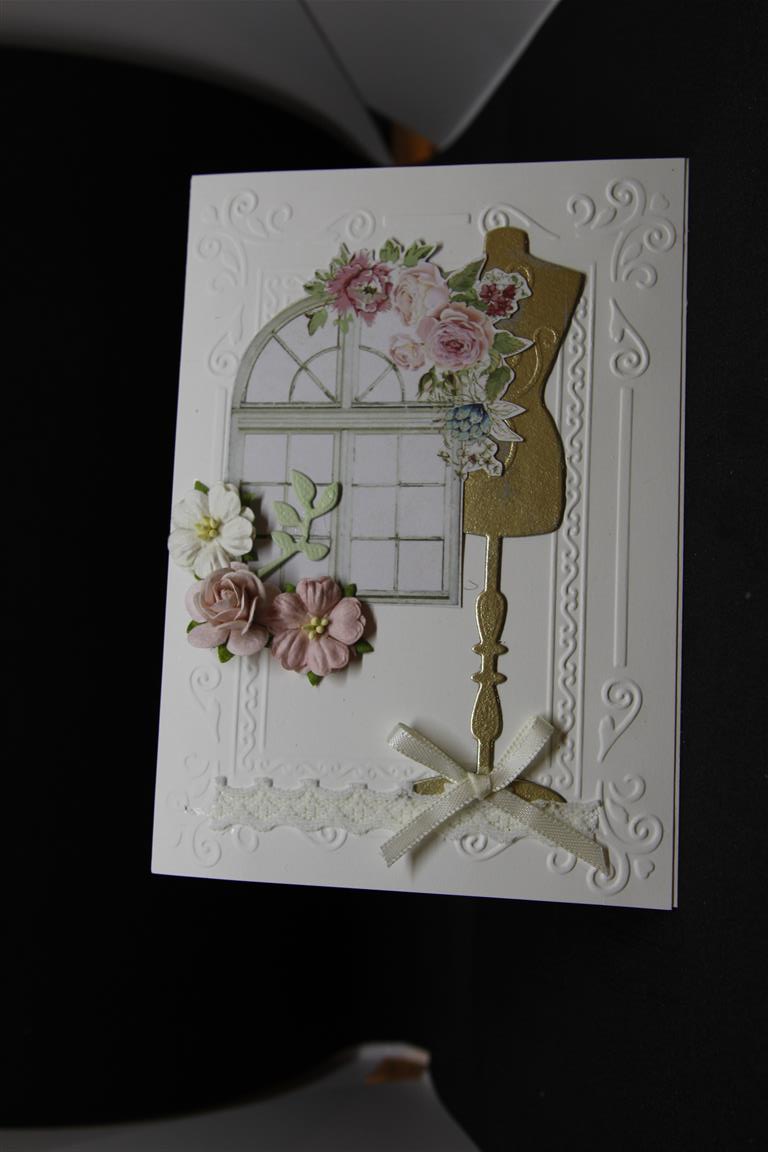
I have started to experiment a little bit with my Go Press and foil now that I have mastered the basics, and the first thing i wanted to try was die cutting my own chipboard shapes. I have used a thin piece of chipboard here, and used a Kaisercraft dress form die. I used the instruction book and followed the instructions for bought chipboard shapes, and found I just had to add an extra shim – I dint have any waste though, I just ran it through again with some more foil to cover the patches! For the rest of the card i used a Kaisercraft embossing folder, and Kaisercraft Rose Avenue paper ( from a piece of the 12 x 12 paper). Some flowers, lace and ribbon to finish! Til tomorrow….
Go Press and Foil Christmas
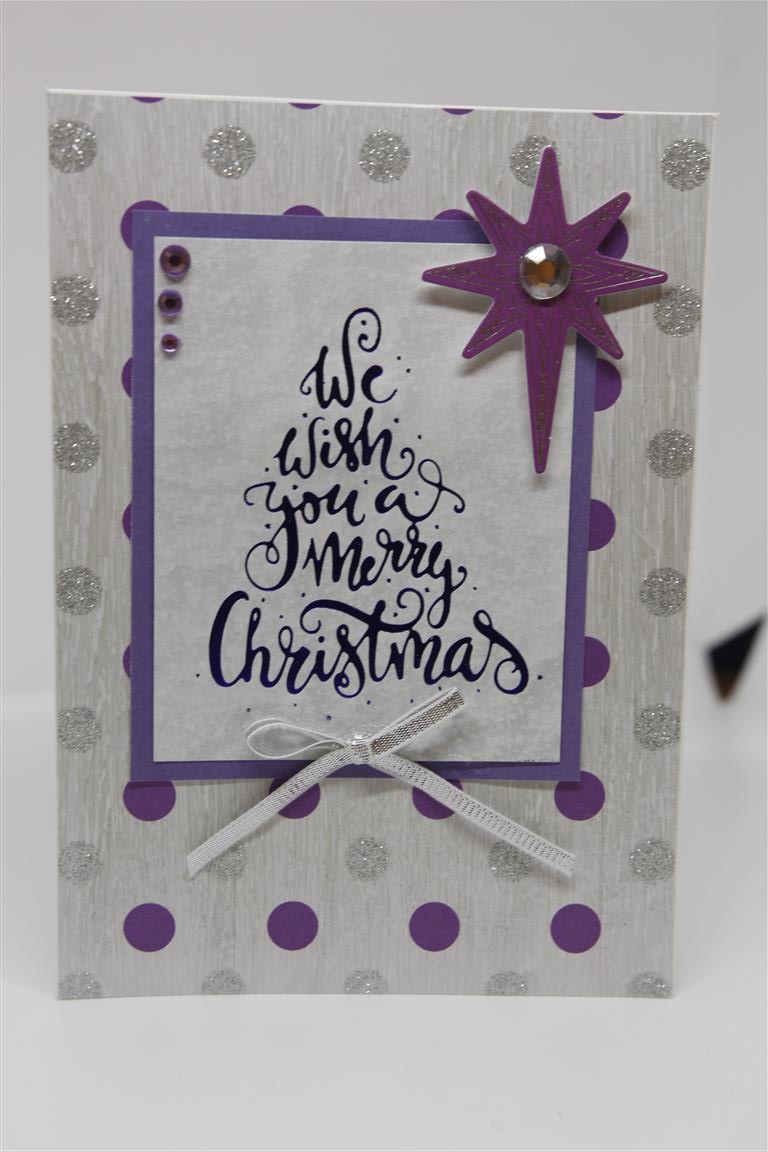
Some Kaisercraft Christmas Jewel paper collection today, and an experiment using a Go Press and Foils stamp on patterned paper. it worked a treat, and I will be doing this a lot more!The background papers are from the 12 x 12 papers in the Kaisercraft Christmas jewel collection, and I foiled a lovely purple foil onto the patterned paper for the sentiment. a matching collectable and ribbon bow to complete a very simple Christmas card. i have been foiling this morning…. I have been die cutting my own chipboard pieces and foiling them. The secret is in getting the shim correct. I have found that using a piece of the chipboard cardboard is just the right thickness for a shim on my die cutting machine, but everyone’s die cutting machine is different depending on how loose it is so experimentation is essential. If your first run through is patchy, you need a thicker shim and you can just foil over the top with another piece of foil.Til tomorrow…..
A Christmas village..
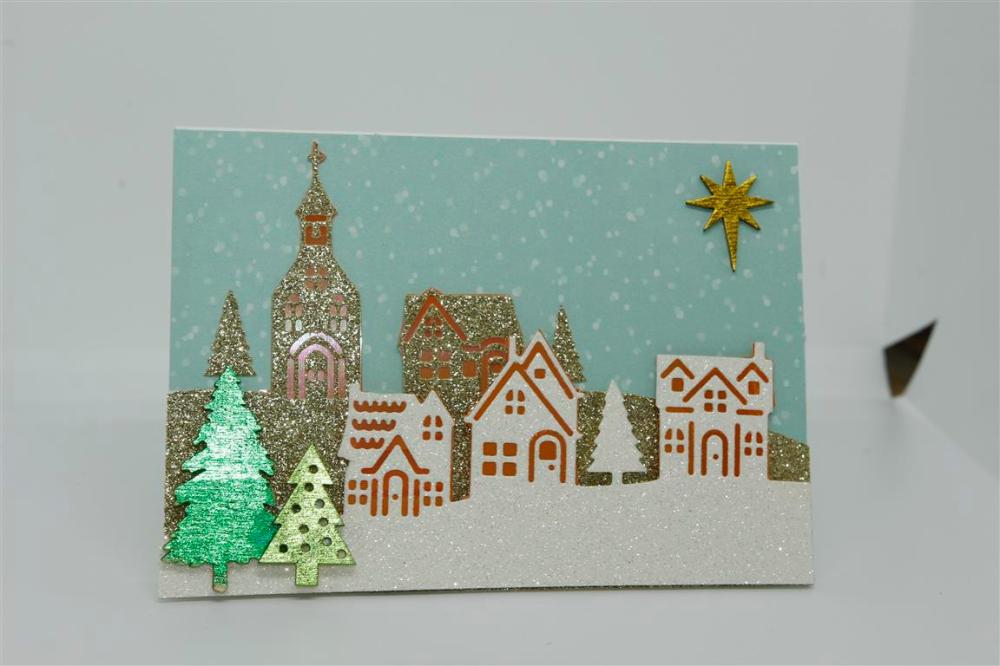 We are going to take a small pause in the Kaisercraft letters to Santa series today so that I can show you a card I made with Stampin Up Hometown Greetings Die set and a piece of patterned paper from their Christmas Around the the World designer series paper pack. I die cut the houses from gold and white glitter cardstock, and baqcked the houses with some shiny pieces of an acetate type piece.. I have no idea what it was, Mum handed it to me over the table, unsure of where she had got it, but it worked a treat as windows. Next time I do these, I will use some plain acetate as I have no more of the scrap mum gave me, and I will try colouring the clear acetate with Copic markers to see if I can get the same light shining through technique. The trees and star are Kaisercraft wooden pieces, foiled with my Go Press and Foil machine. Our clocks jumped forward an hour for daylight saving, and I have spent all morning chasing my tail, wondering where the day is going…Time is truly flying! Til tomorrow…..
Not so shabby….
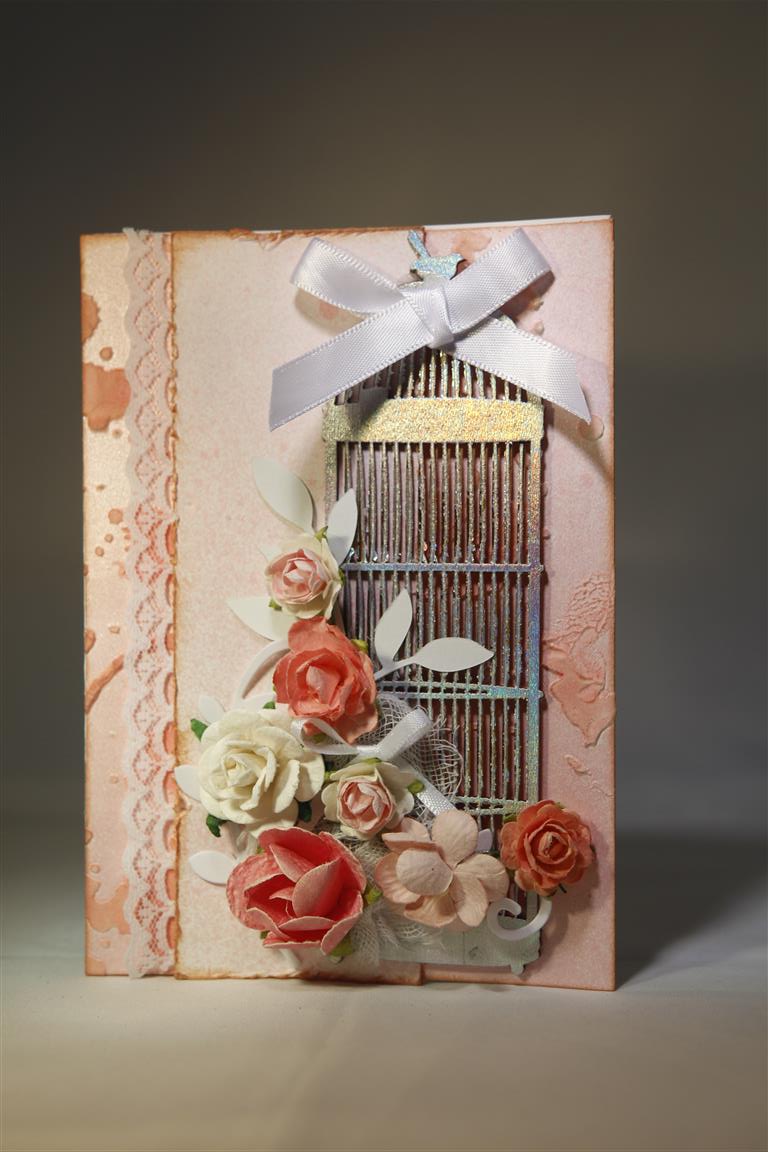
On the previous post I explained how I made the background paper, and I used an A4 piece of cardstock. This actually gave me enough shabby cardstock to make a second card. For this one I foiled a chipboard birdcage, layered a piece of lace under one of the layers, inked around everything with distress tea dye ink, and then just layered up the flowers, gauze ( from the chemist) die cut leaves ( memory box loralai leaf branch) and ribbon bows. The weather here has been lovely…we even saw some sunshine for a brief time but it has turned cold again today, so this afternoon I am s5taying put in the lounge room, sorting out my dies into a more manageable system of storage and ability to find! Til tomorrow….
