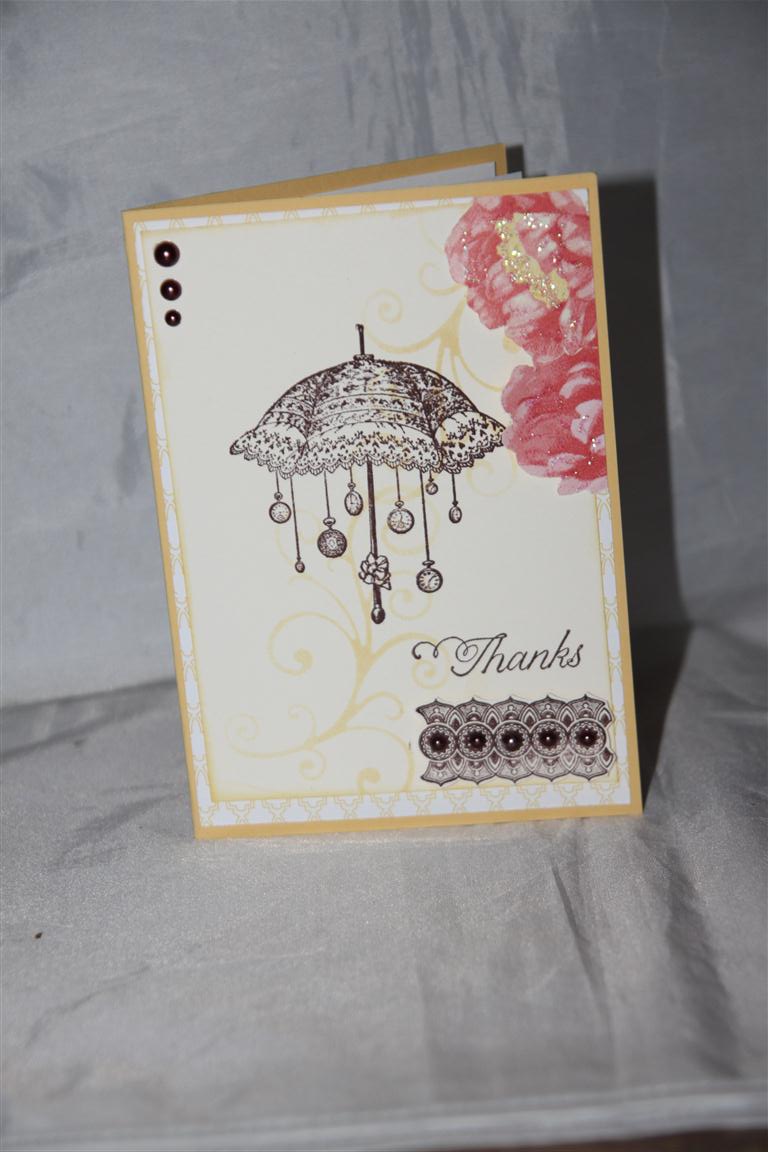
 here is number 2 in my Stampin Up Rue Des Fleurs stamp set series. I also used Stampin Up attic Boutique designer paper, and so saffron an very vanilla cardstock. I stamped with choc chip ink, and added a few Kaisercraft pearls. You will notice a flourish design on the very vanilla cardstock – that was created by sponging so saffron ink through a piece of paper that I had previously die cut a die-namics fancy flourish from – I just used the waste as a stencil… nothing wasted here! Til tomorrow….
Tag: handmade card ideas
Rue Des Fleurs number 1
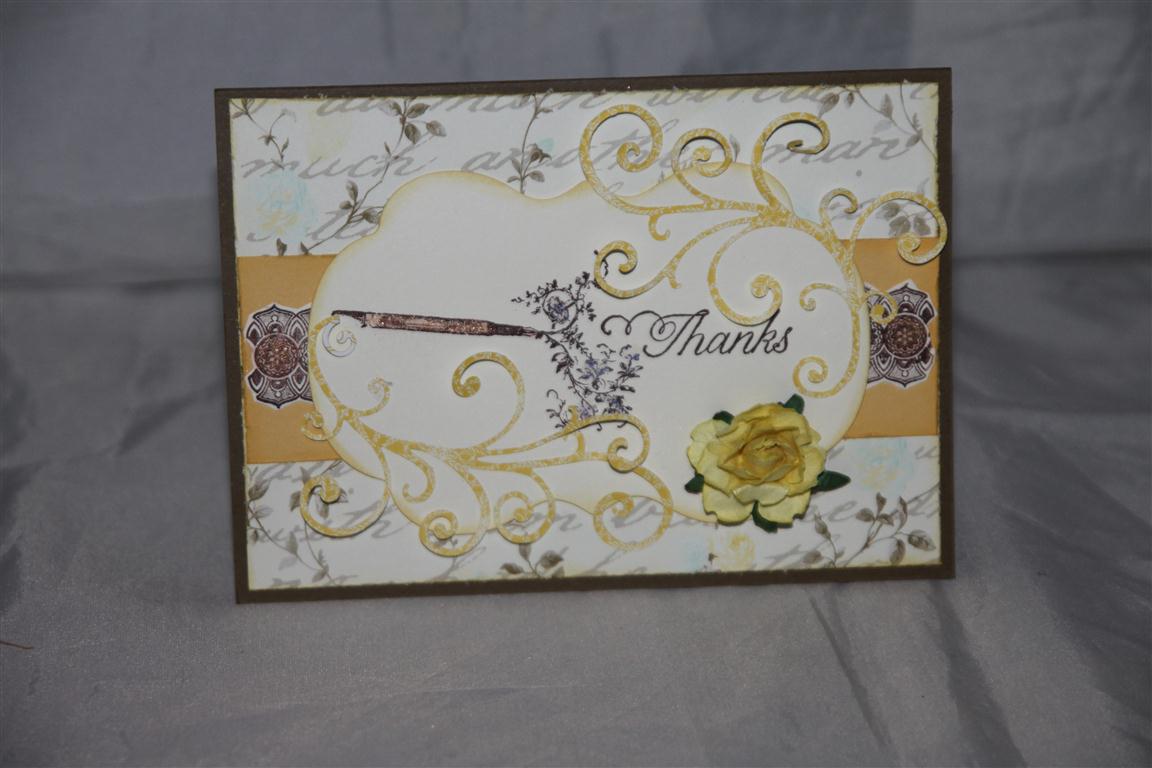 Stampin Up have a great mini catalogue running just now, and I have bought lots of new stuff from it and this stamp set and paper are two of my purchases. The stamp set is called Rue Des Fleurs and I love it so over the next few days you will see what I have created with it so far… The paper is also stampin Up – attic boutique. The fancy trim behind the main element is a stamp from the set – its quite neat because the design of the stamp allows the image to be interlocked to make a long border strip and I stamped it in choc chip ink. I stamped the main image with choc chip as well, and I die cut a label using spellbinders label 14. The flourishes are from a die-namics die – fancy flourish. The cardstock is Stampin Up – early espresso and so saffron. I also inked around my label eges in so saffron.In fact looking more closely I think I inked around everything….A busy day today, organising my market boxes to see what cards I am short of – still have a few to make for that….. and as I am off to Canberra with my sister next week for a great girly holiday scrapping and cardmaking and hopefully learning lots of new techniques that I can translate into lessons and cards I thought I would schedule my posts for that time ahead so that my blog will still be posting even if I am not here. Anyway I am so excited cos I actually worked it out myself without any help from my techie son Nathan! This evening – more cards! Til tomorrow….
English rose stamp number 3
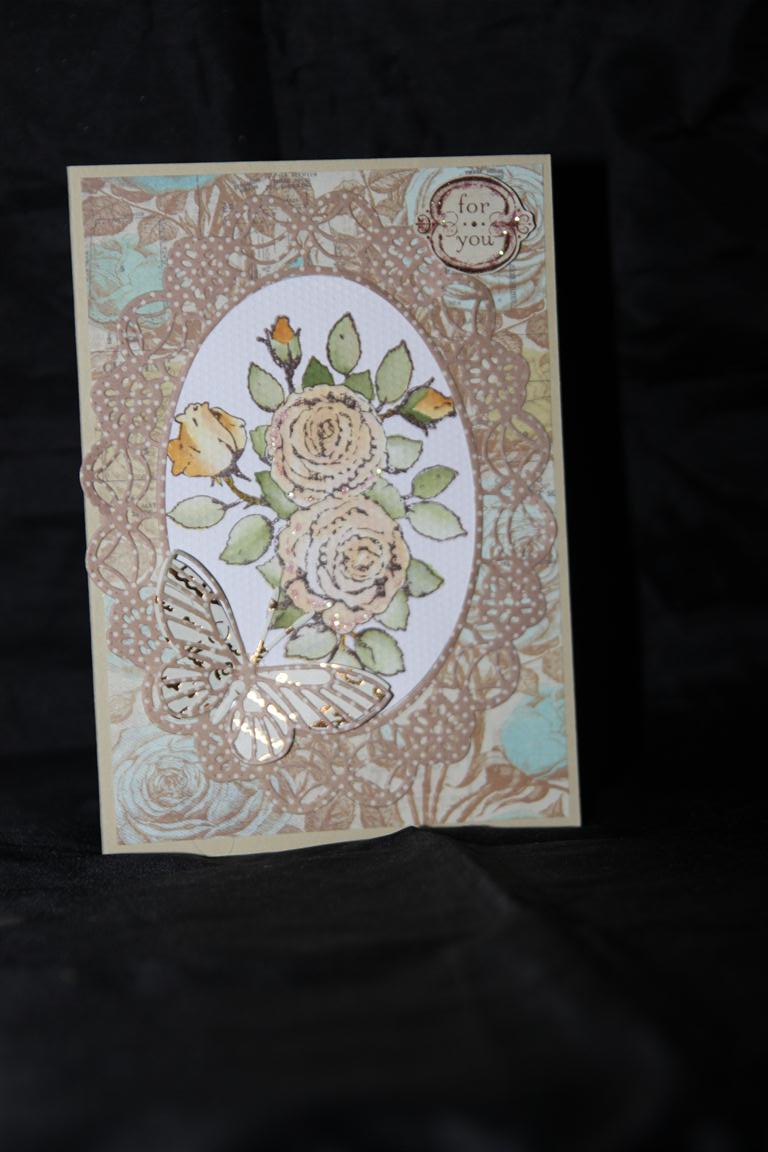 here is my final card in my Kaisercraft English Rose stamp series. This time I have teamed it with Kaisercraft Madame Boutique paper for a totally different look. I coloured it with tim holtz distress inks and my aquabrush, and used the Cheery Lyn Polynesian sails oval die. I also used Memory box moonlight butterfly and kaliedascope butterfly dies, and the For You sentiment was stamped using a stamp from Stampin Up elements of Style set and fussy cut. It’s been very cold here today, and I am thinking of dragging the heater into the card room before I go through there later! Til tomorrow….
English rose stamp number 2
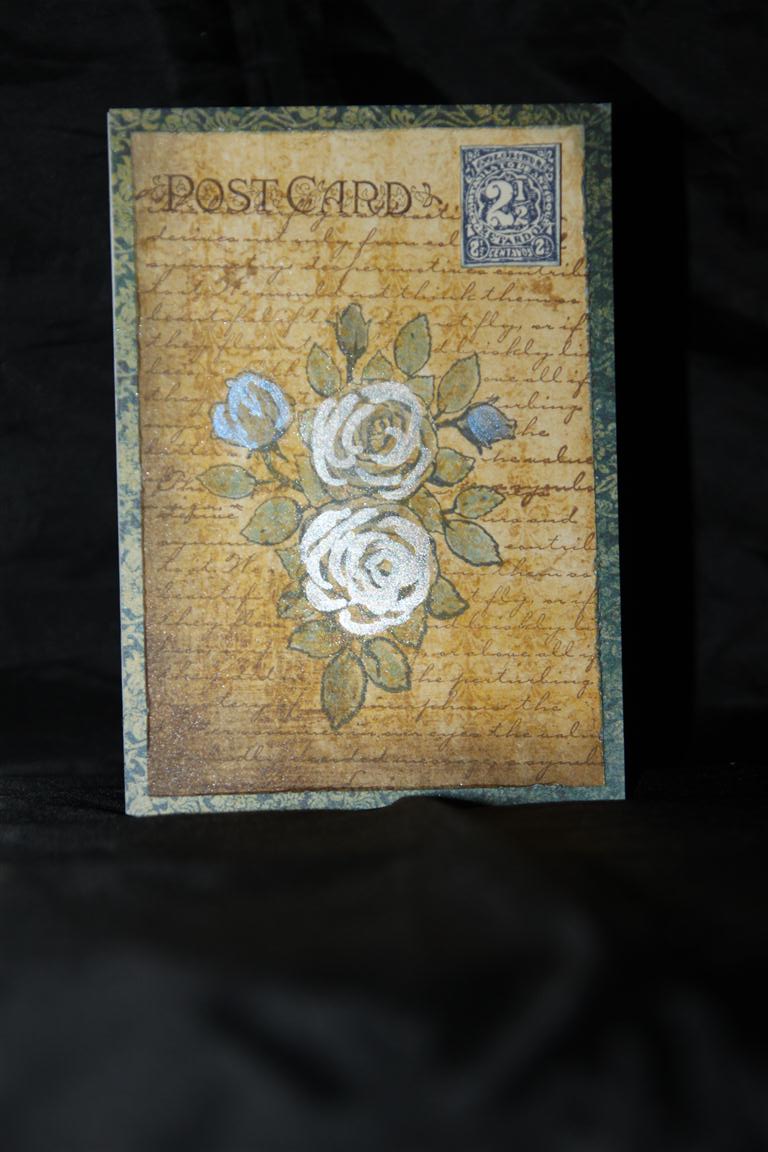 Yesterday i showed you 3 cards simply stamped and coloured with my Kaisercraft English Rose stamp. Today I am showing you what happened next with the same stamp – I stepped it up a little and did some “what ifs” so – the papers I used were Bo Bunny Weekend market, and I stamped a script stamp ( Stamp It Butterfly script but any would do) across the whole of the beige coloured patterned paper. I stamped Post Card across the top ( Prima stamp) and stamped a stamp ( My minds eye Rosy Everything set) onto cardstock, cut it out and stuck it on the corner. You will also notice that I mix and match my stamp sets – just cos they come in the same packet doesn’t mean you can only use them together!Now I stamped my English Rose on the centre of the card and coloured it with my little pots of perfect pearls powder. For those of you following closely ( and I know there are a few of you because I have had e-mails asking about colouring my images, and so I am putting together a short video stepping out the methods I use)the way I did this – I hand coloured my image with a Versamark pen, and then used a paintbrush to paint the powder on. The beauty with this technique is you don’t have to be perfect – the powder only sticks to where the versamark pen has been.And the flowers have a glorious shine to them!Today I have made great inroads on the male card front and have lots to photo for future blogs! Til tomorrow…..
A found stamp…
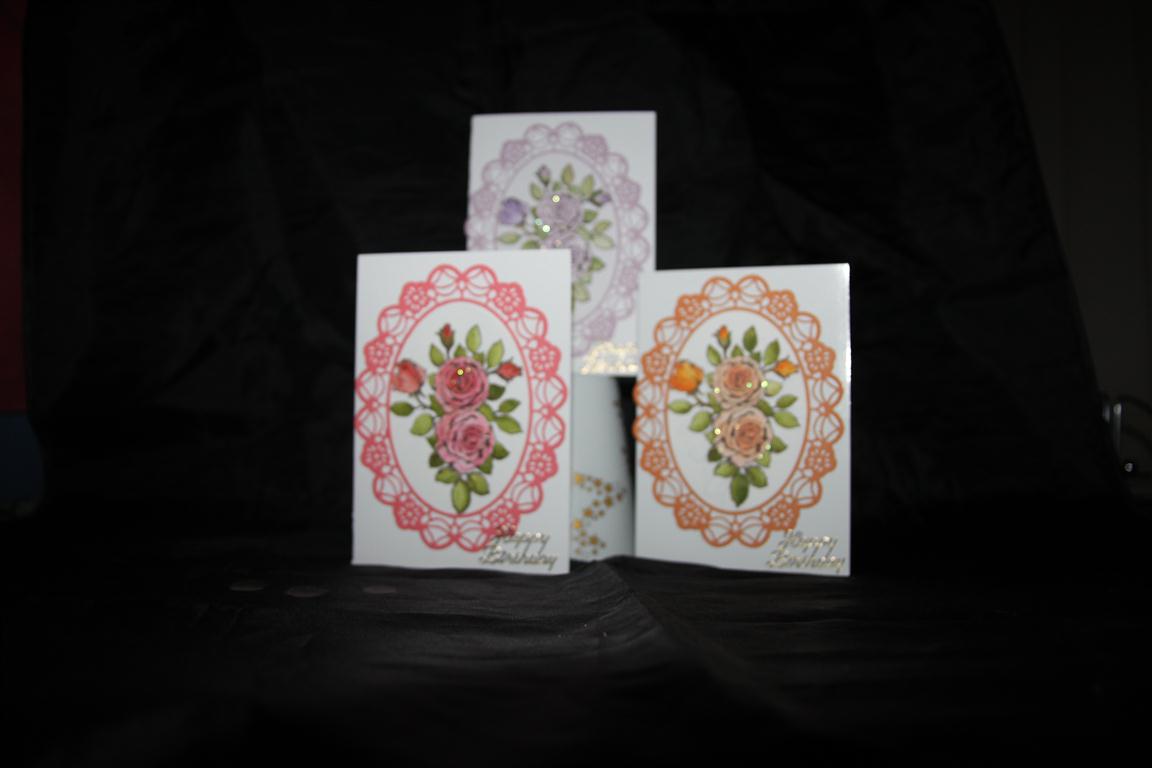 While I was looking for something else entirely I found a stamp I had purchased at the same time I bought the matching papers ( kaisercraft English Rose) and filed away and then promptly forgot about, so I thought it was about time it was inked up, and I made this series of cards, same design, just changing the colourways.I used my new Cheery Lyn Polynesian sails Oval die, and coloured the stamped images with Tim Holtz distress inks and an aquabrush.I have found the perfect paper for male themed cards, ( Simple stories Awesome) and today I have been on a creative roll making lots of boys and mens cards.Til tomorrow….
Vintage Anniversary
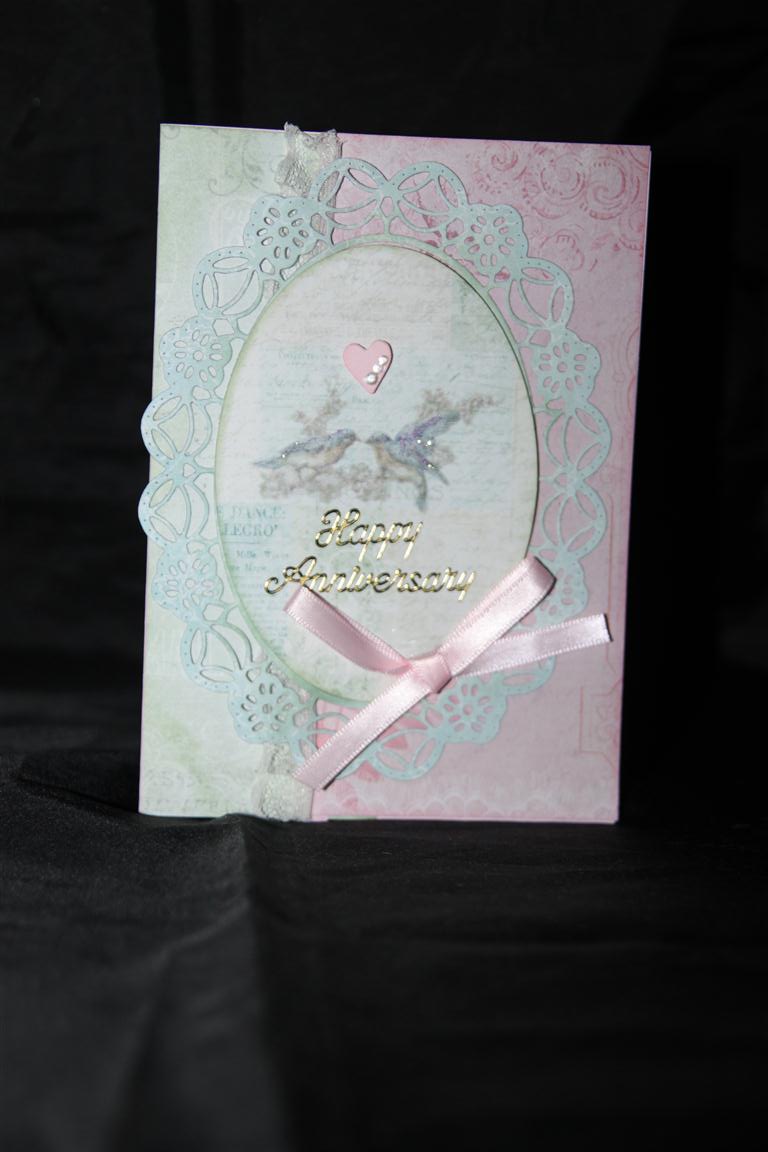 This is a weddding anniversary card that I made for my market box. I used my new Cheery Lyn Polynesian Sails Oval die, which I like, but found I had to use my metal plate with it to get the delicate cuts, although that could be my cuttlebug, as it is the first major item I bought when I started cardmaking, and I use it on almost every card I make and I think the rollers are a bit loose. The papers I used here are from Melissa Francis C’est La Vie range and I just added a little ribbon and lace. I bent over yesterday, and my back decided that it liked that position and I couldn’t straighten up so I have been in a fair bit of pain, and no cardmaking has been happening. I have given myself a stern talking to, and it is a little better so I might be able to sit in the card room tonight.. Til tomorrow….
Butterflies!
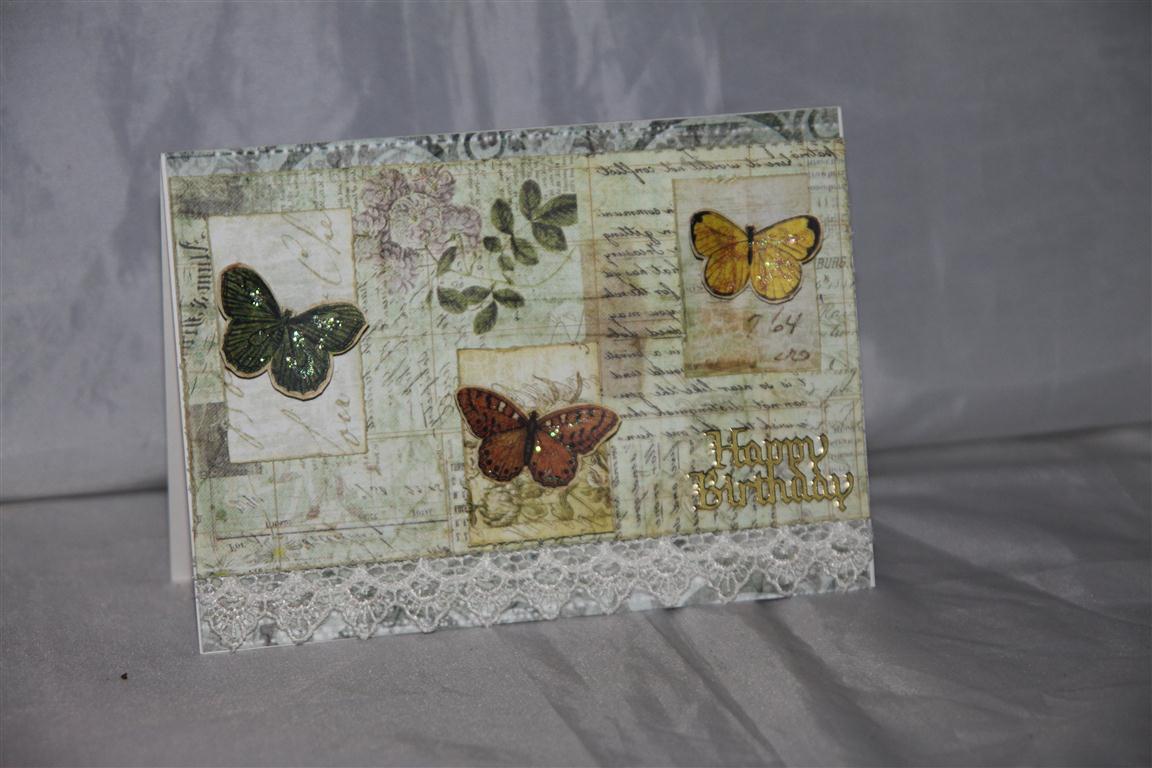 I have mixed and matched a little bit on this card.The papers are all Prima paper, there are two main layers, and the one most visible is Prima Botanical paper. I cut rectangles from more prima paper, and distressed and sponged all my edges. The butterflies were cut from a sheet of graphic 45 paper which was a full sheet of gorgeous butterfly images which are now all fussy cut and waiting to be put on more cards! I just added a little lace and kindyglitz.I have now officially started my 4 weeks holidays, and I am so looking forward to all the crafty things I have planned! Til tomorrow….
Elegant Bird number 2
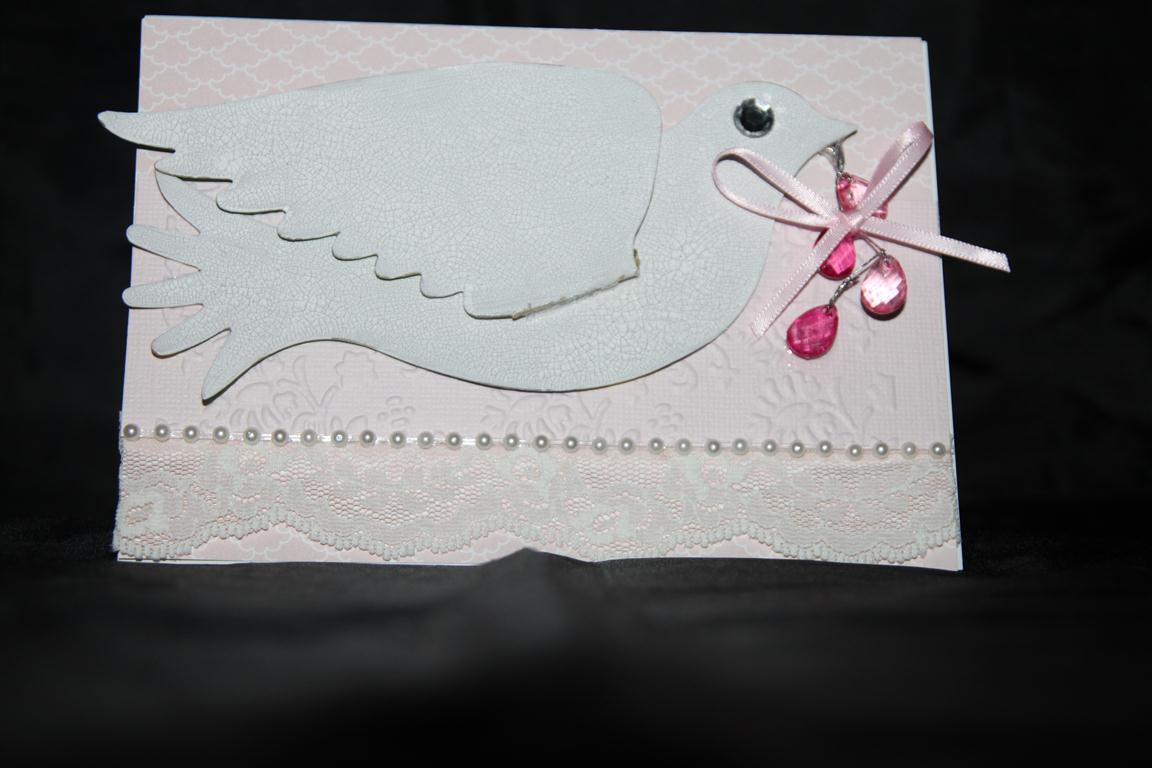 This is the other card I made with my new Stampin Up Elegant Bird die. I cut this one out of an old cornflakes box, as I wanted a strong base for the crackle paint which I painted over the whole of the bird and wing and left over night to dry. It doesn’t show too well in the photo, but as the paint dries you get a lovely crackled effect.The background paper is from Stampin Up Twitterpated range, and I ran some pink Bazzil through the cuttlebug with my Craft Conceptes cottage floral embossing folder. I just had to add some lace, ribbon, Magnolia chandelier garland, and a strip of kaisercraft pearls.Had a lovely morning with my ladies,then this afternoon a short time in the craft room where I have been working with Kaisercrafts new release, but I am afraid my mind rebelled, and I found myself packing away the muted tones and digging out my brightest ribbons and buttons and papers to come up with some very bright and sunny cards, which we will photo next week when I am on Holiday ( Yay…) Til tomorrow….
Apothecary Art number 3
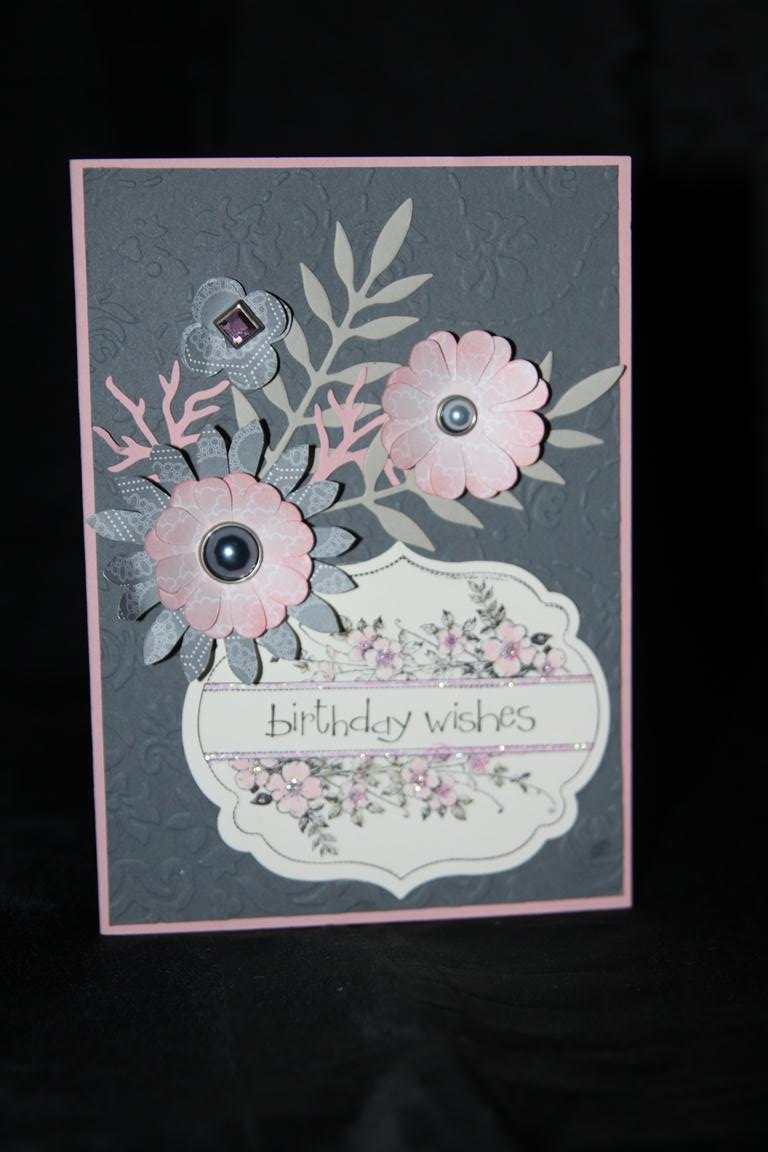 Here is number 3 in my Stampin Up Apothecary art stamp set series. I have used my Stampin Up blossom party die to make the flowers, and die cut the leaves with my Meadow leaf memory box die. Also used on this card are – Stampin Up twitterpated designer paper, Drifting Endless embossing folder by Couture creations, a Martha stewart punch, and My Minds Eye brads. The stamped image was die cut with Stampin Up Labels collection . The Stampin Up cardstock is Basic grey and Blushing Bride. Tonight i intend to spend a little time in the card room coming up with some new designs – I have finally prepared all my lessons for the next couple of months, so now to fill the market boxes! Til tomorrow….
Final Mothers day card
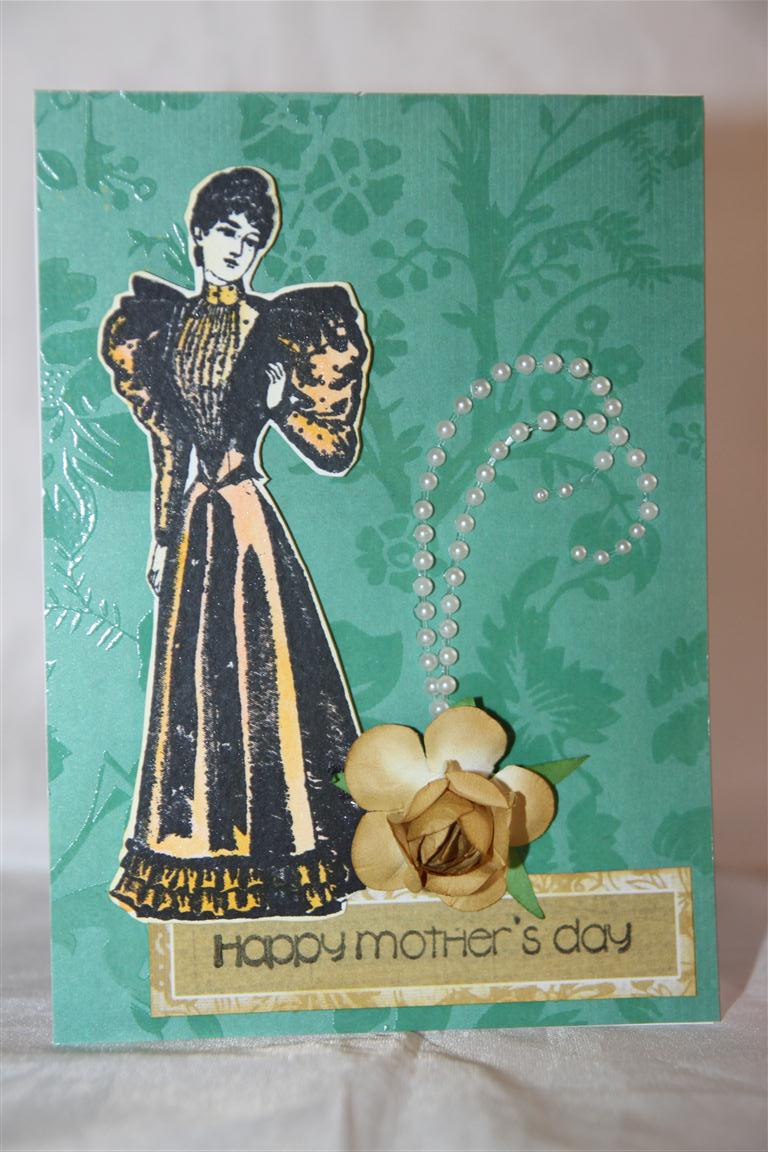 Here is my final Mothers day card for the year! A quick and easy one for those of you who left it til the last minute! The paper is Kaisercraft madame Boutique, and the stamp ( which I coloured with tim holtz distress ink and a waterbrush) is Kaisercraft lady Jude. Just a pearl flourish and a flower to finish. I hope everyone has a lovely Mothers day tomorrow, I am hoping for a day of no cooking – but I am not holding my breath on that one! Til tomorrow…..

