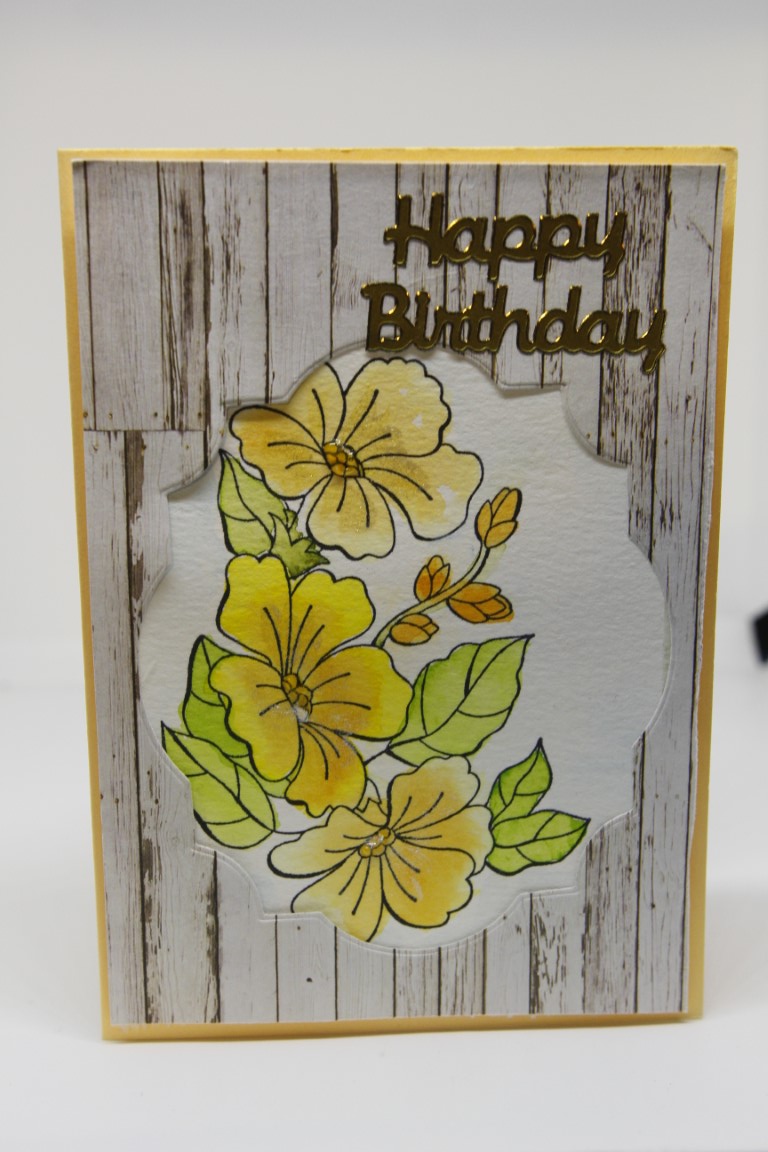
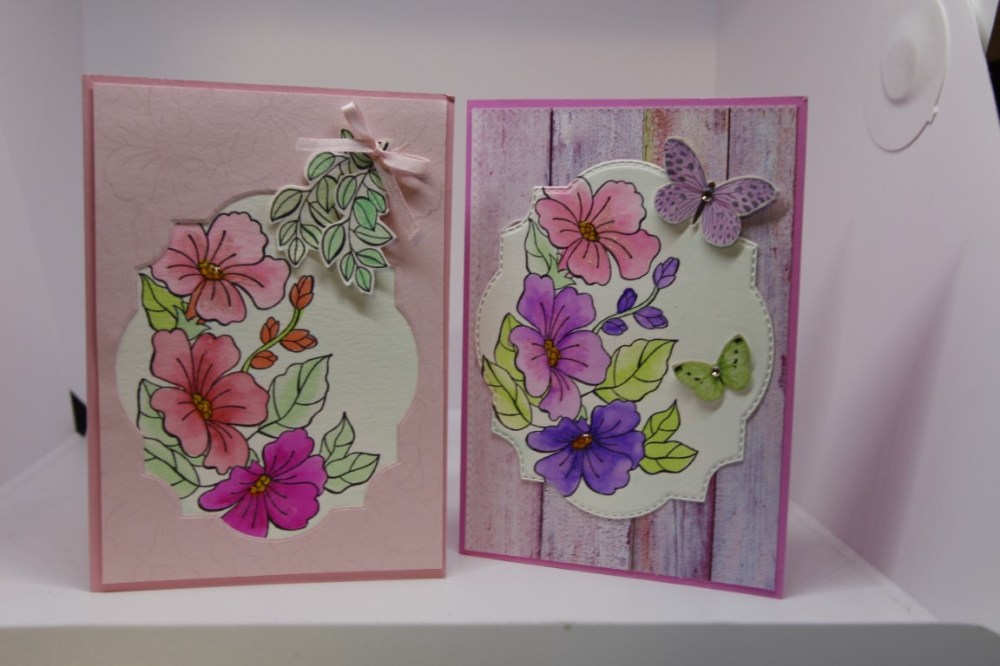
 My sister gave me a stamp set by Stampin Up before Christmas and I finally found the time to ink it up, with Archival ink stamped onto watercolour paper, and colour with my zig watercolour brushes in a few different colourways. Once I had experimented with colour all that was left to do was to turn my images into cards. I just used bits and pieces of odds and ends to make these three cards. I have been missing for a few days because I am trying to get ahead in my lesson planning as I lose a little bit of time when I go on my cruise next month. So looking forward to meeting new ladies ( and some gents) in my cruise classes!A day off today, so all the craft gear is out and I am off to do some more crafting! Til tomorrow….
Tag: home made card ideas
Pion Days Gone By continued….

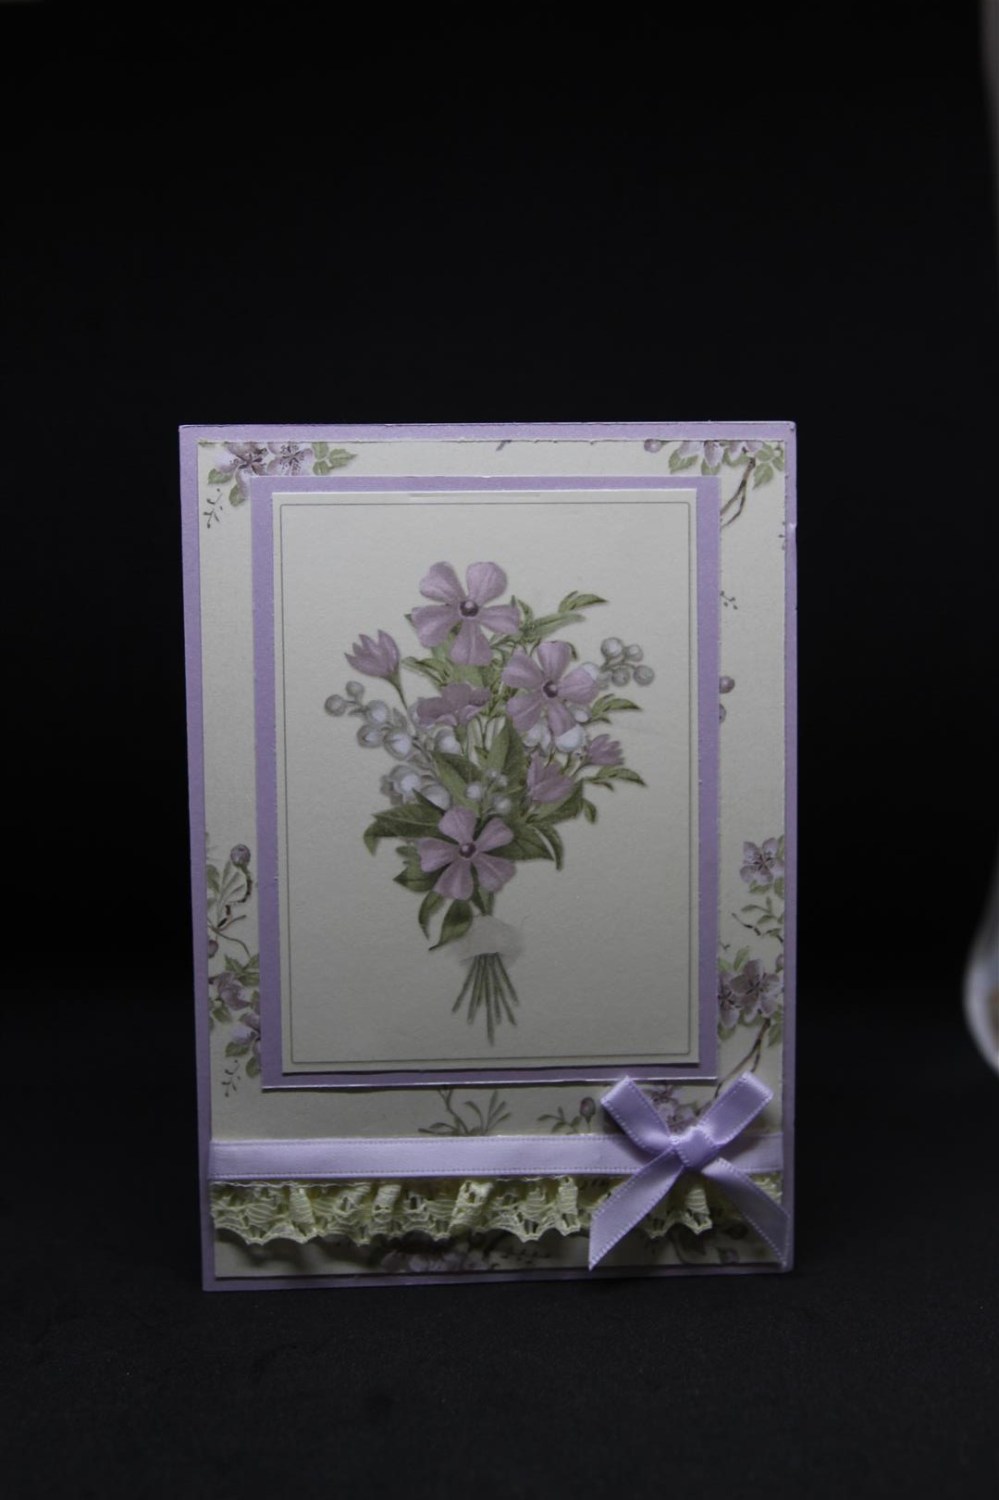
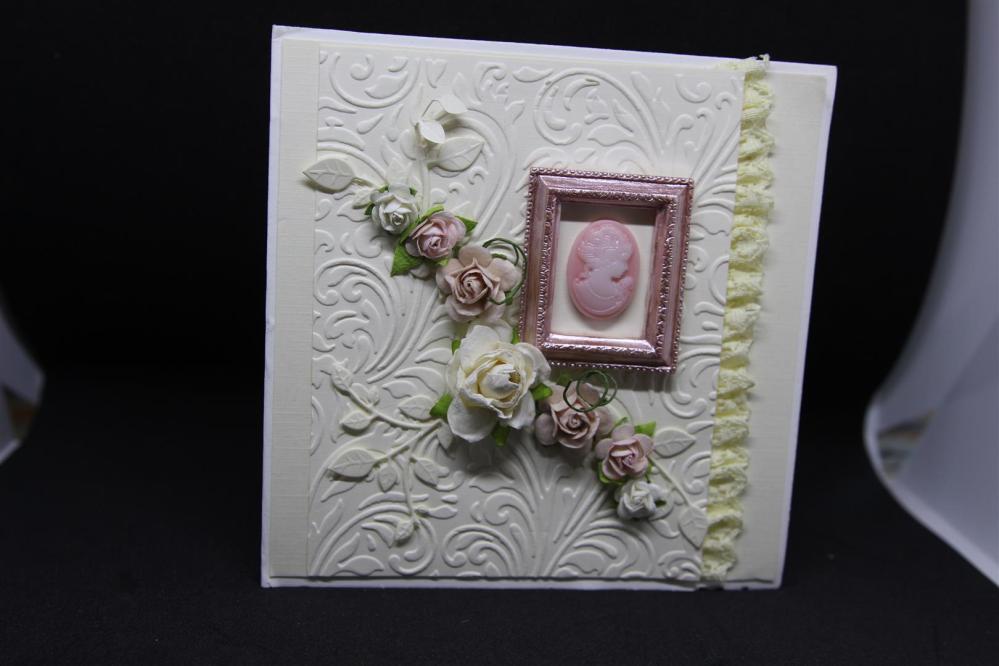
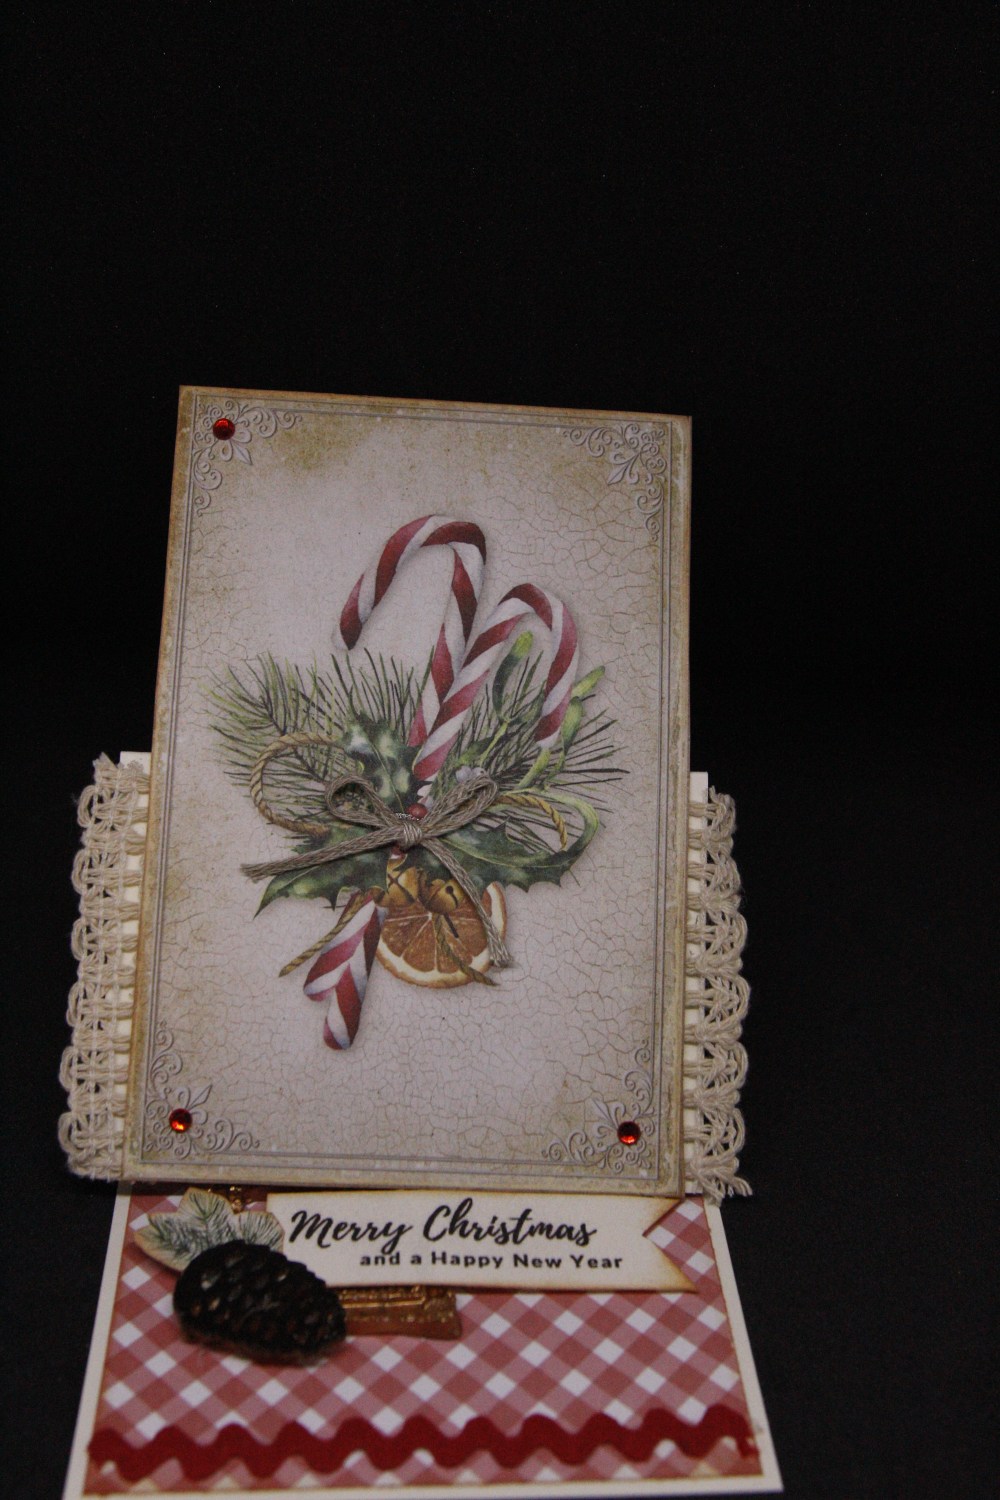
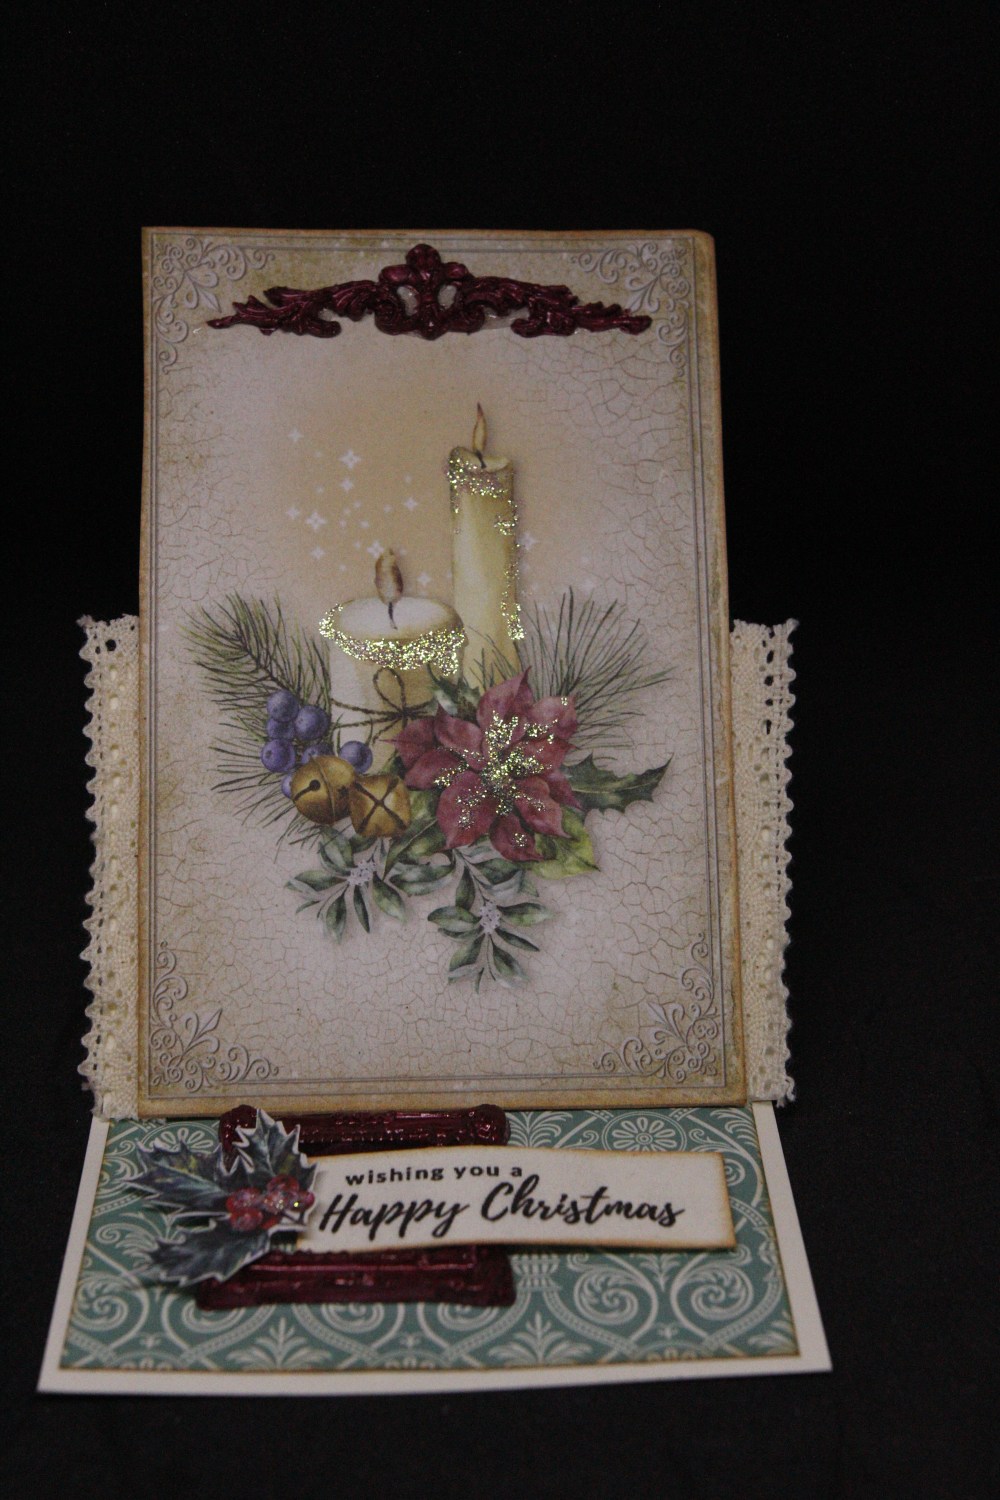
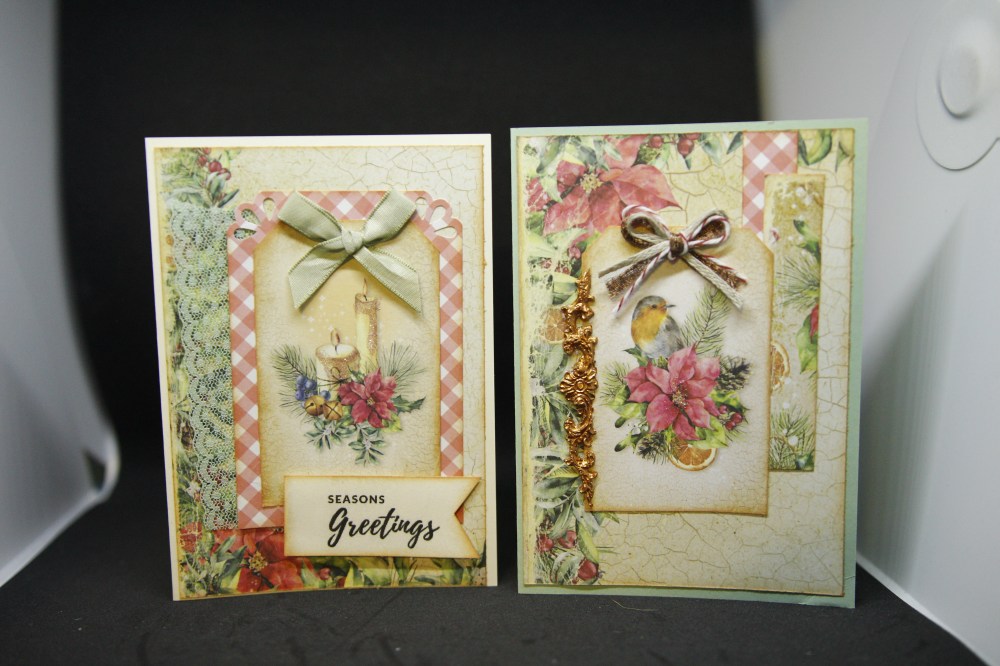
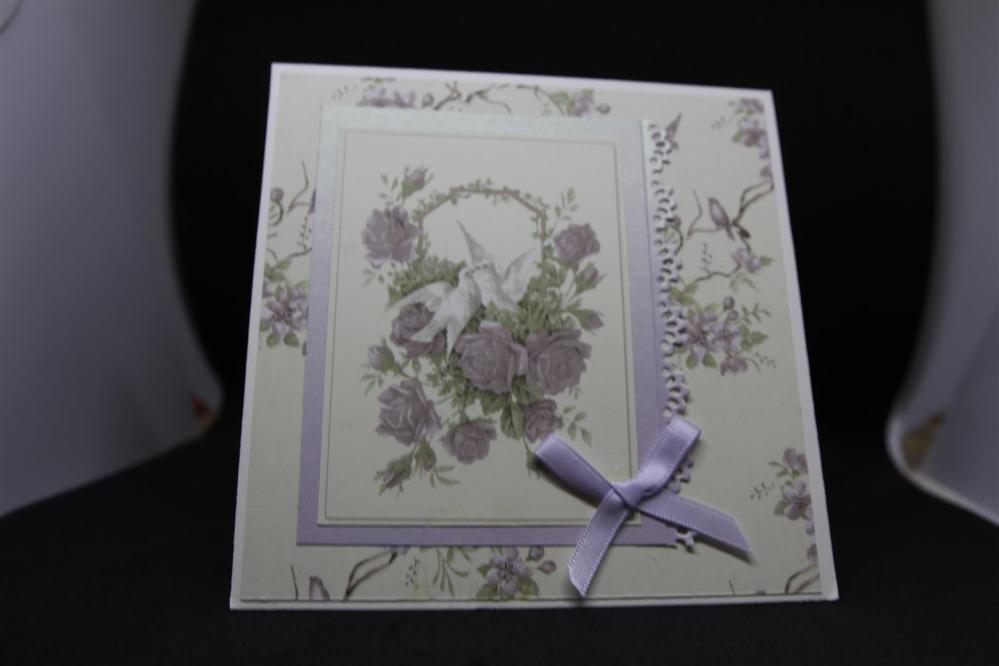 Here are todays cards, still with Pion Days Gone By collection,beautiful soft colours in this range, and I have just added some lace and ribbon with a little fancy die cut borders . These cards didn’t need anything else, they have a lovely vintage feel about them! Its very warm here just now, I have been lazily playing in the craft room, but also enjoying the season and spending most of my free time with family. I have worked a few days in between and we have been busy putting out all our new ranges.. some gorgeous papers coming through from Mintay , Photoplay and Prima – so lots of ideas buzzing around in my head! Meantime, til tomorrow…..
Pion Days Gone By…
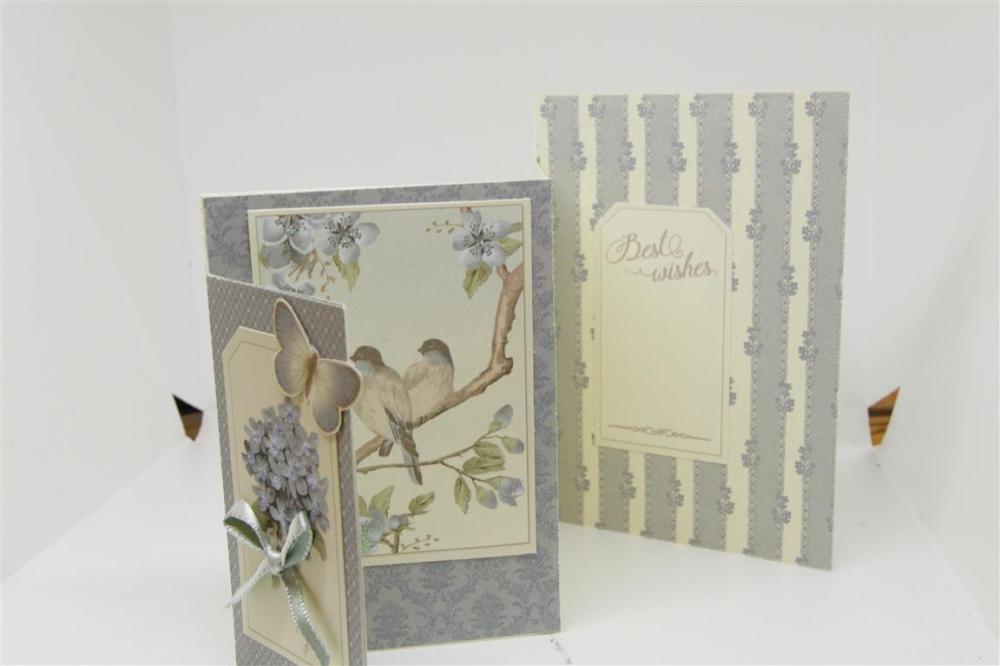

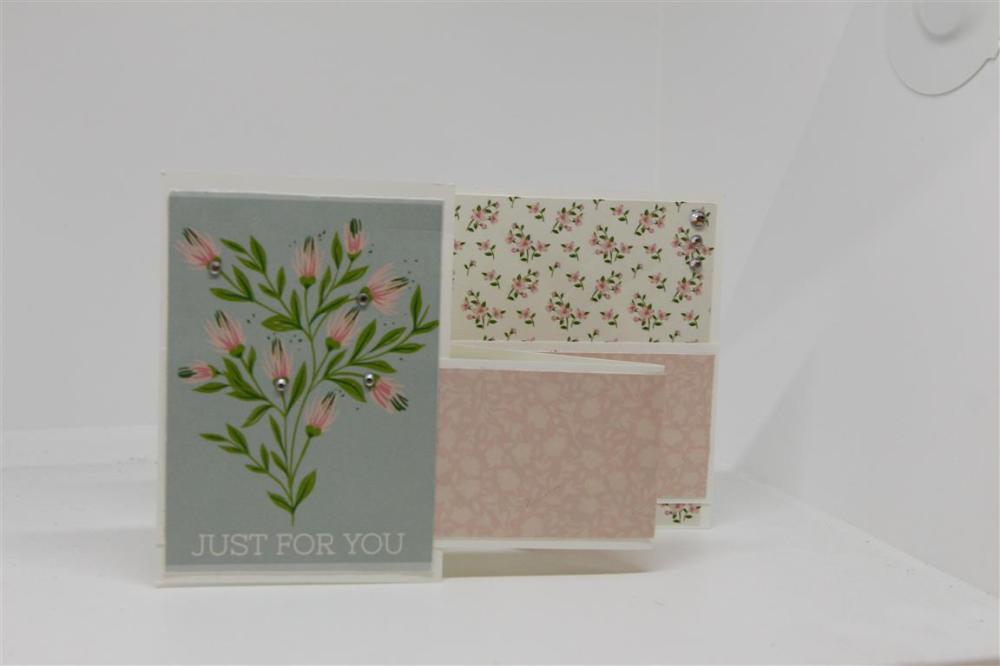
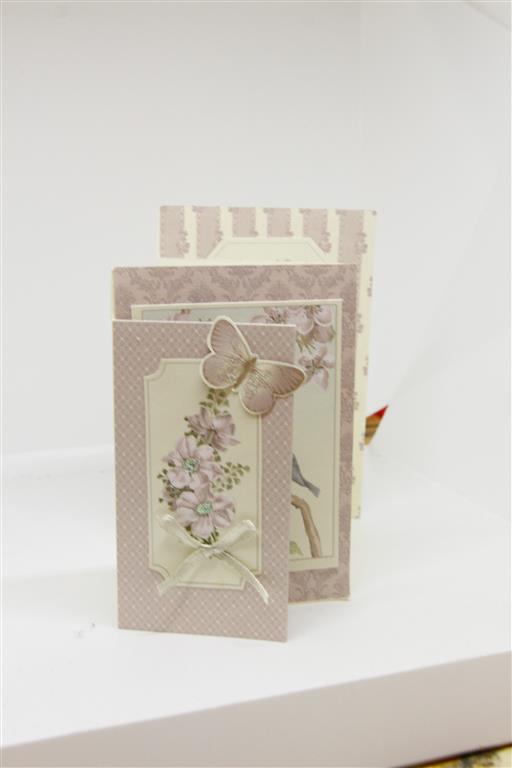 Todays cards are made with Pion Designs papers, and I have done a different kind of card base…I guess you could call it a triple fold step down?I have used a 12 x 12 cardstock base, and scored it every 10 cm.( the height is 15 cm for the back panel, and stepped down on the other two panels). The front panel is an extra piece of cardstock, and I cut it with a tab which is attached to the front 10 cm panel and that is all hidden with papers. I have shown you two views of the top card so that you can see what I am talking about! I am officially all organised for the Christmas break, I hope you all have a safe and happy holidays and I will see you all after the festivities!
Helens Not So Shabby…
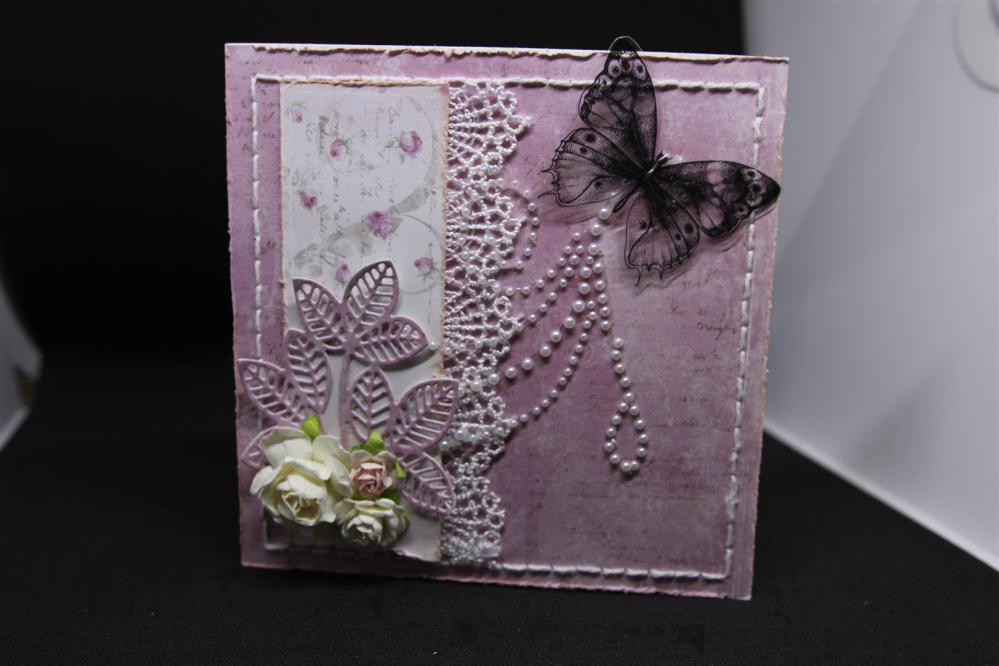
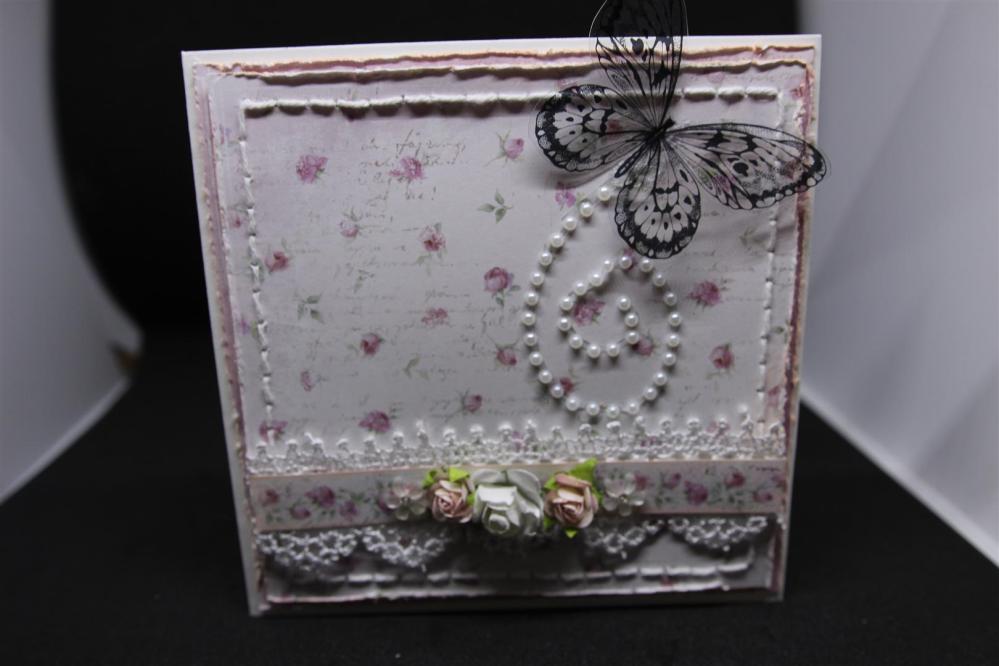
 Here are a few cards I taught in my Not So Shabby class at paper Flourish. I call them Not So Shabby because no matter how hard I try my shabby cards still come out looking quite clean! On the top two cards we did some stitching, layering and distressing, while on the bottom card we painted our frame with prima sparks paint and did some embossing. The weather here is so strange, we have had thunder, rain and lightning this morning, but it is 35C so very hot and humid. Not good weather for anything except sitting under the air con vent! We have picked all the cherries ( 15 Kilos this year) and this morning have started picking the apricots and tomatoes so the garden is very productive just now.. Til tomorrow….
Kaisercraft Full Bloom..

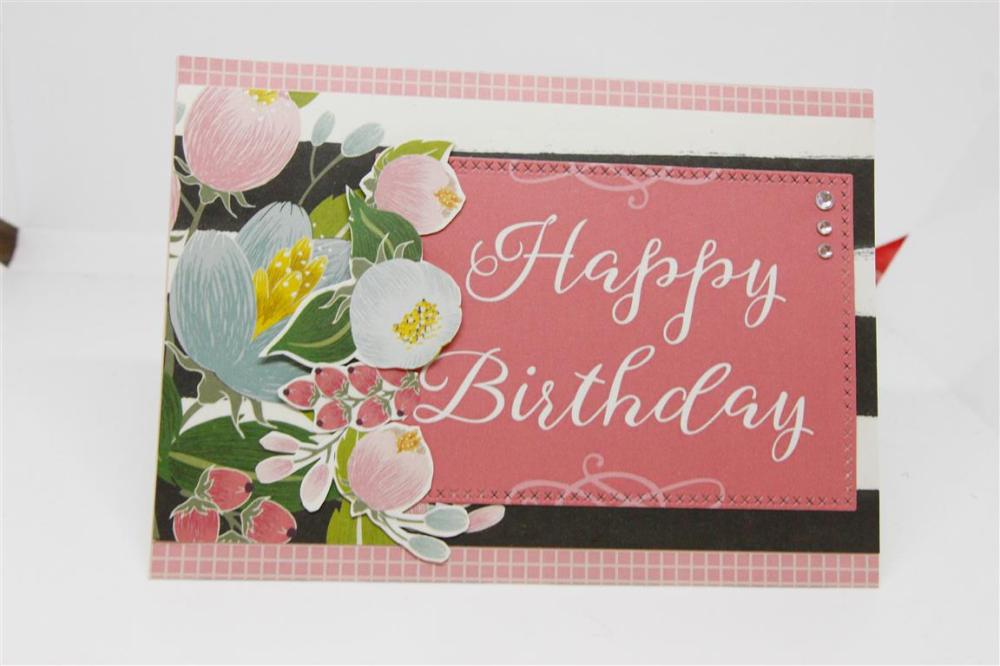 Today I am posting three cards I made for a class using Kaisercraft Full Bloom paper collection. All three cards rely only on the papers, and if memory serves it was only three different papers from the collection. I have the whole range here at home but as yet ( because of Christmas makes) have not done anything with it yet but look forward to in the new year as it is a beautiful range and I have lots of ideas! There is so much happening here just now, working, getting organised for Christmas, putting final touches on my cruise lessons, and trying to get ahead of my lessons , my personal crafting has taken a back seat, but things will get back to normal after February! Til tomorow…..
Stampin Up Tropical Escape…
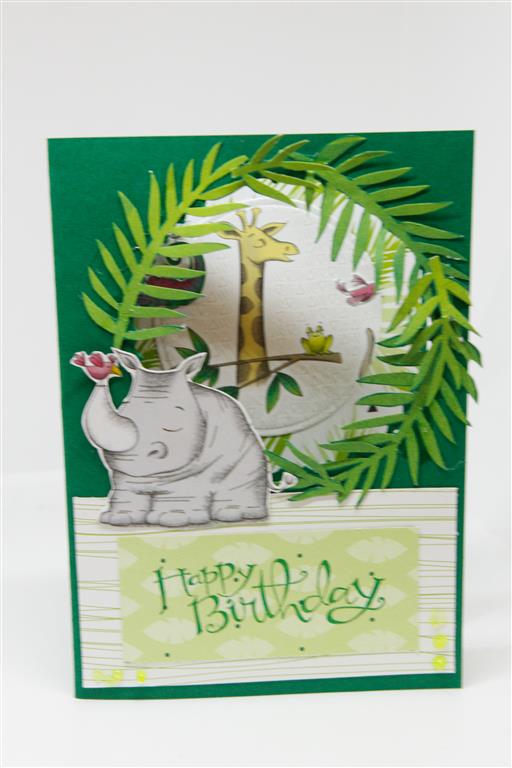
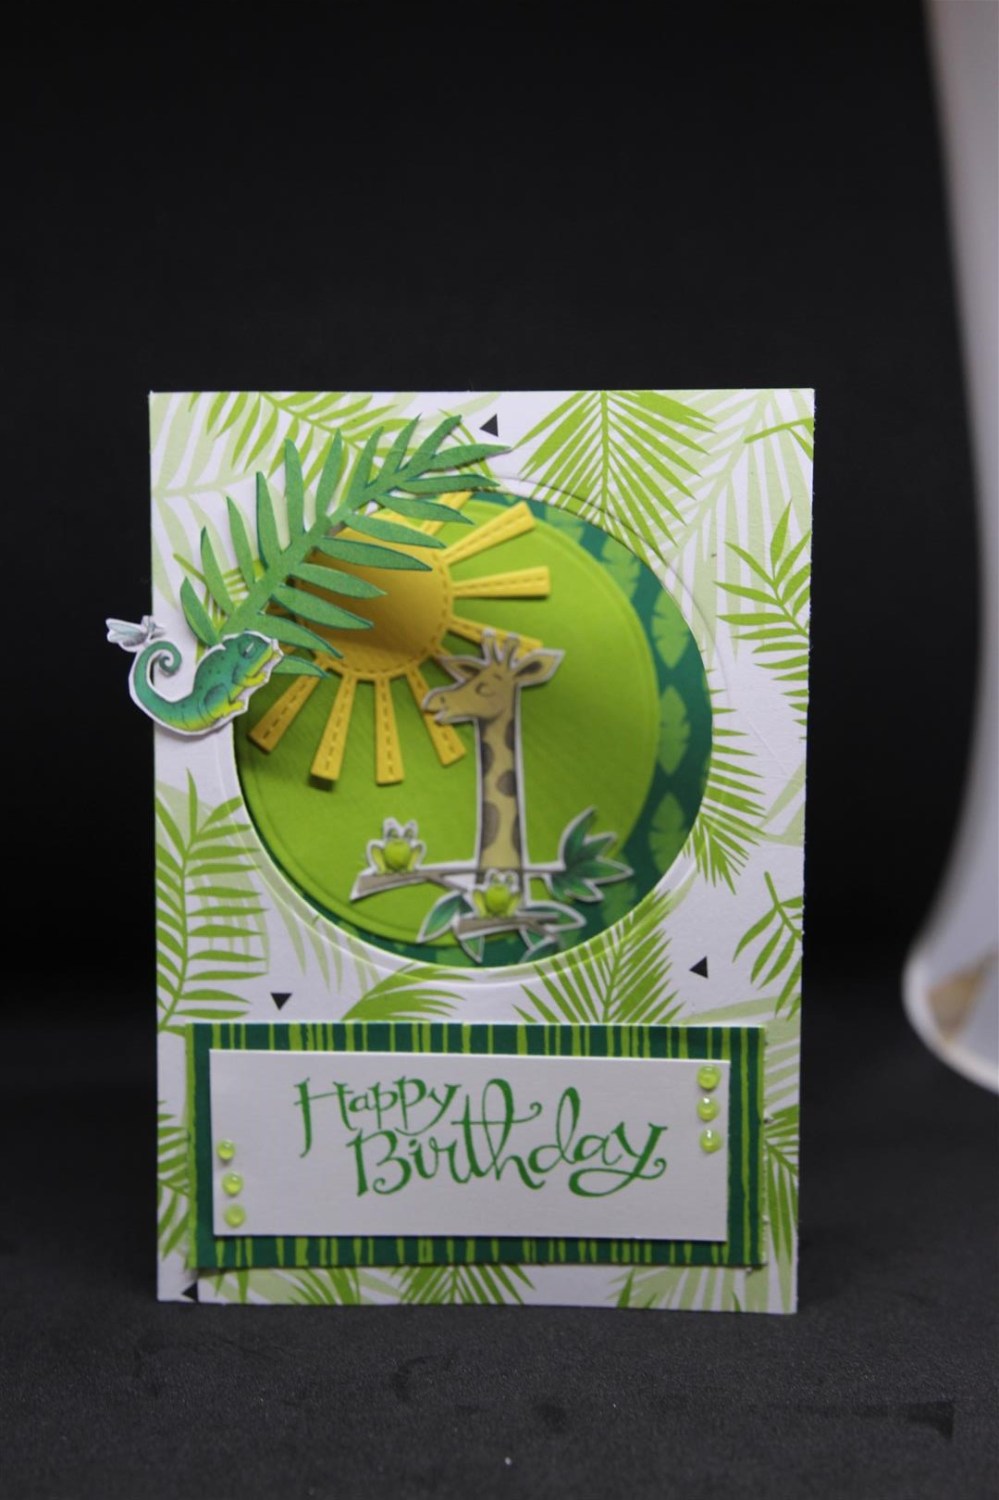
 I don’t know about you, but I need a break from Christmas card makes and I am ready to move on! We may revisit Christmas in the next couple of weeks but for now I am happy to show you all some cards i amde with Stampin Up designer papers. From memory the collection is called Tropical escape and I fussy cut various creatures, large and small. The top two cards are aperture cards – I die cut a circle out of the front of the card and most of the decorating inside, just making a leafy window to look through. The leafy fronds were all fussy cut from the papers. The sun was die cut from a Uniquely Creative die. Today is Cherry picking day, it is a little bit cooler, and the sun is hiding behind a blanket of clouds so good weather to harvest our crop! Til tomorrow…..
Last three lemoncraft Yuletide today..
 Today we say farewell to my Lemoncraft Paper makes, and these three are made in the same way as the cards on the previous post. I have used a lot of the molds that I made on these cards, and I painted them with prima alchemy paints. I have been busy finishing off my January classes, and they are done now so I have a little window of time to do some ” me ” crafting, and I am thinking wedding cards,I have some new stamps and dies to try out although you know these plans could go out the window when I actually sit down to craft! Til tomorrow….
Lemoncraft yuletide continued…
 Sorry I have been missing , but we had a computer hiccup here this week,and thank goodness it is fixed now with no loss of files! Today we are continuing on with Lemoncraft yuletide collection,which is perfect for vintage style cards.I did a bit of layering with bits of offcuts on these two, and added a ribbon to the left and a ribbon and a flourish that I made with a silicone mold and gap filler (!) and painted with prima alchemy paint.meanwhile i have finished my January lessons and have a couple of new stamp sets on my desk to play with. I have to make two male birthday cards and one of the stamp sets is perfect for both boys so that will be first on the agenda! Til tomorrow…..
A box for the book cards..
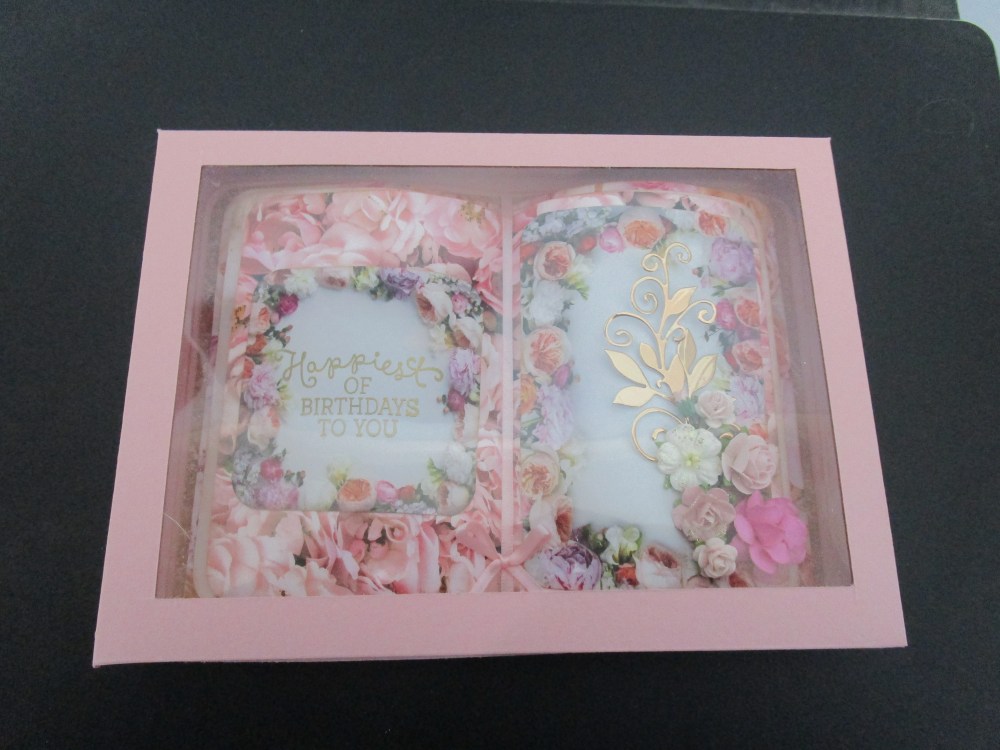 In the previous post I explained how I made my book cards. After I had made them I realised they needed boxes to put them in so I made a box with a lid , but then realised that the lid needed decorating too, which all adds to the time and cost of making them so for this third book I made the box and cut a huge part of the lid away and backed it with a sheet of acetate so that you can see the box inside and it eliminates the need for decoration. Finally I am happy with the process and ready to make many more! we are going to a wedding in a couple of months so the next book card I make will be a wedding design. Til tomorrow…
Kaisercraft Limelight 5
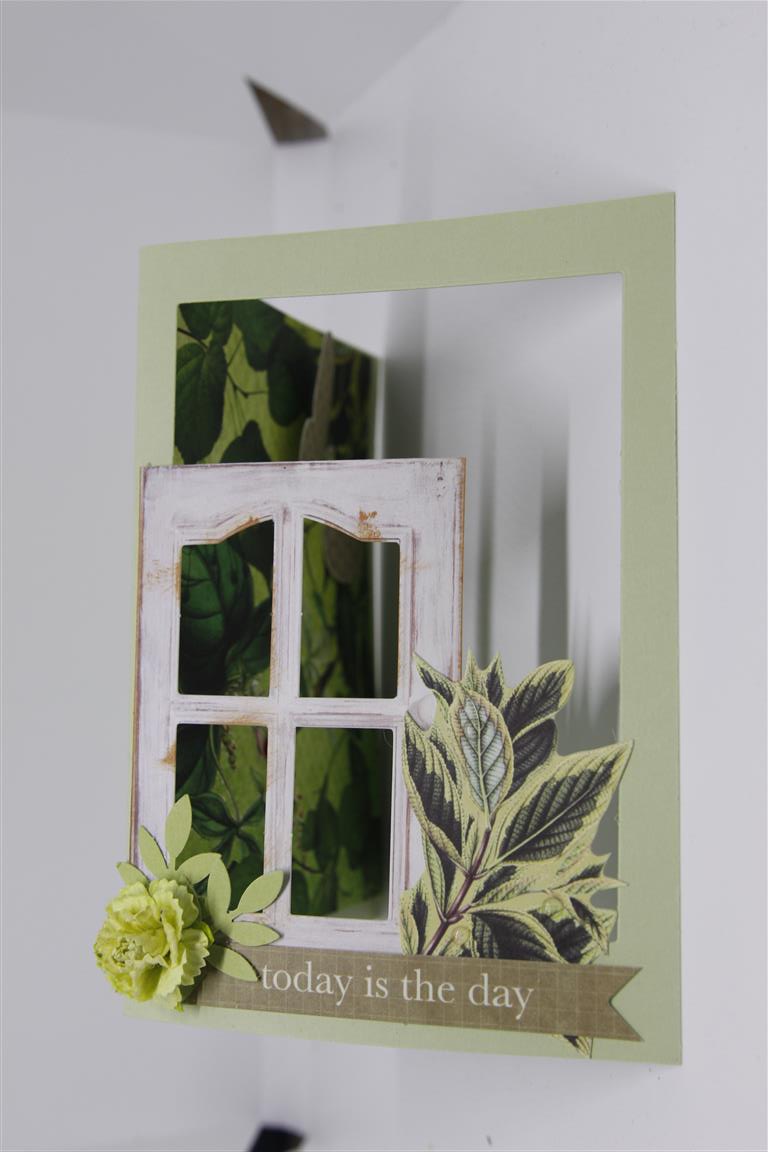
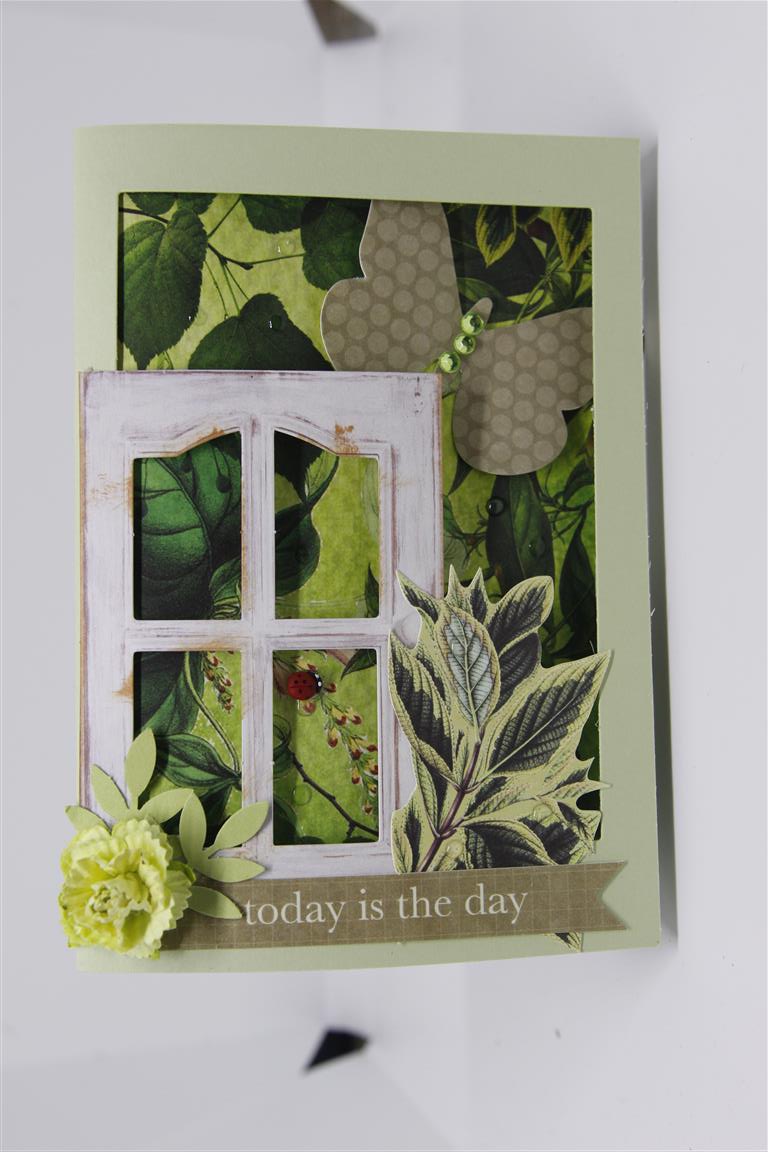 There are two photos of the same card today to show more closely the effect I achieved by die cutting a rectangle from the front of my card to create a window to the inside, so the top image is the open card and the lower image is the same card when closed. A lot of the bits and pieces on this card came from the collectables from the kaisercraft limelight collection, but I added a gorgeous pre- made carnation, some punched leaves,rhinestones and a cute little ladybird. Til tomorrow….
