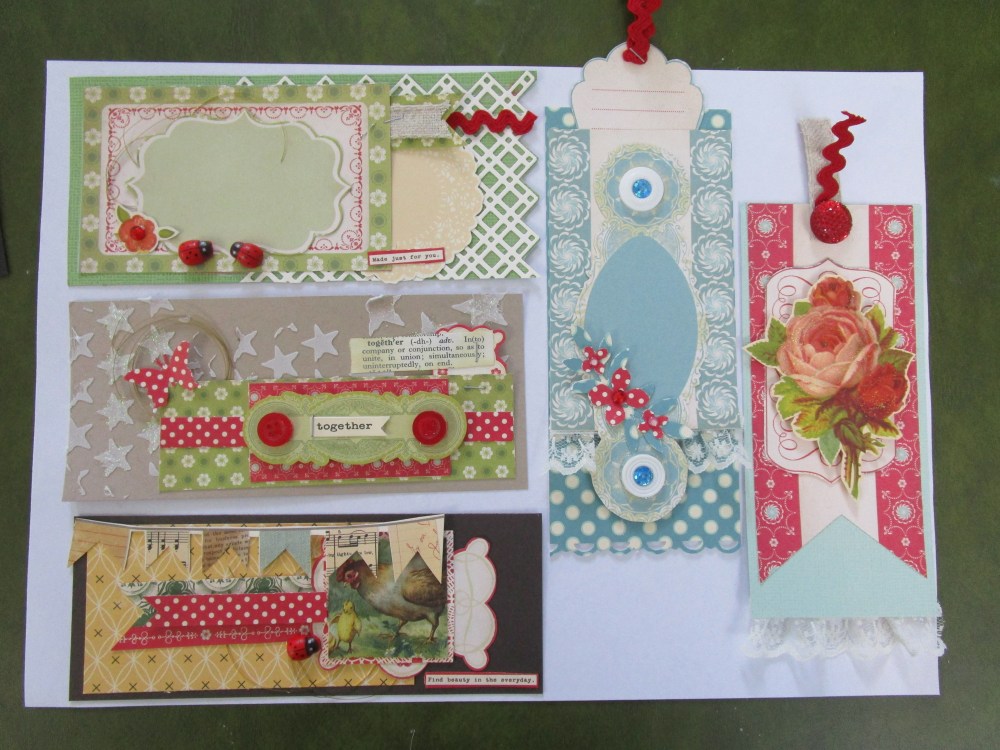
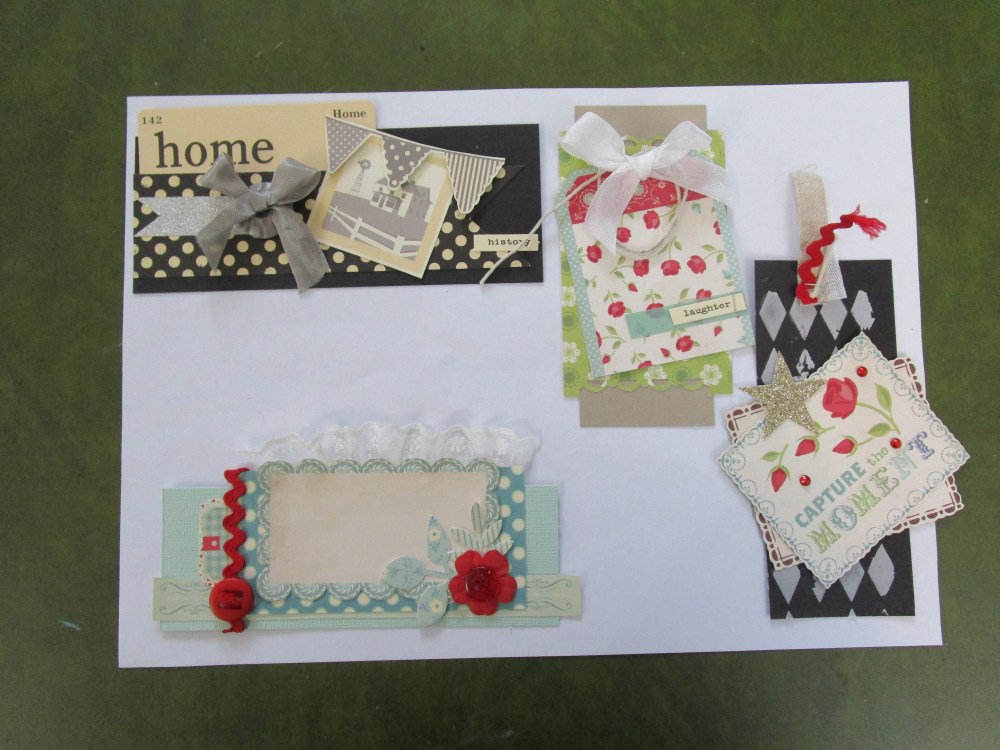
 I know I said we would see the second shabby lesson card today, but I wanted to show you all something else I have been working on..something new!(We will get to the other shabby card tomorrow) . My workmate Lydell , who is a true artist, is running a class in August called Use your stash, and her ideas and samples are truly amazing and inspired me to grab all the bits and pieces ( die cuts, odds and ends of ribbon,buttons, flowers and papers) that were piled on my desk and turn them into what I am calling Stash Tags. These are made ready to pop on cards and scrapbook layouts and can be stored in one tidy box ready for when I need to make a quick card. Each time I finish creating I will whip up a couple of these to clear up my desk ( that’s the theory anyway!). These ones are actually going to America as a thankyou to a very lovely lady who sent me some beautiful things. I have a few more to make for her and a folder to file them in. I hope this inspires you all to use your stash! Til tomorrow….
Tag: inspire
Kaisercraft Limelight 5
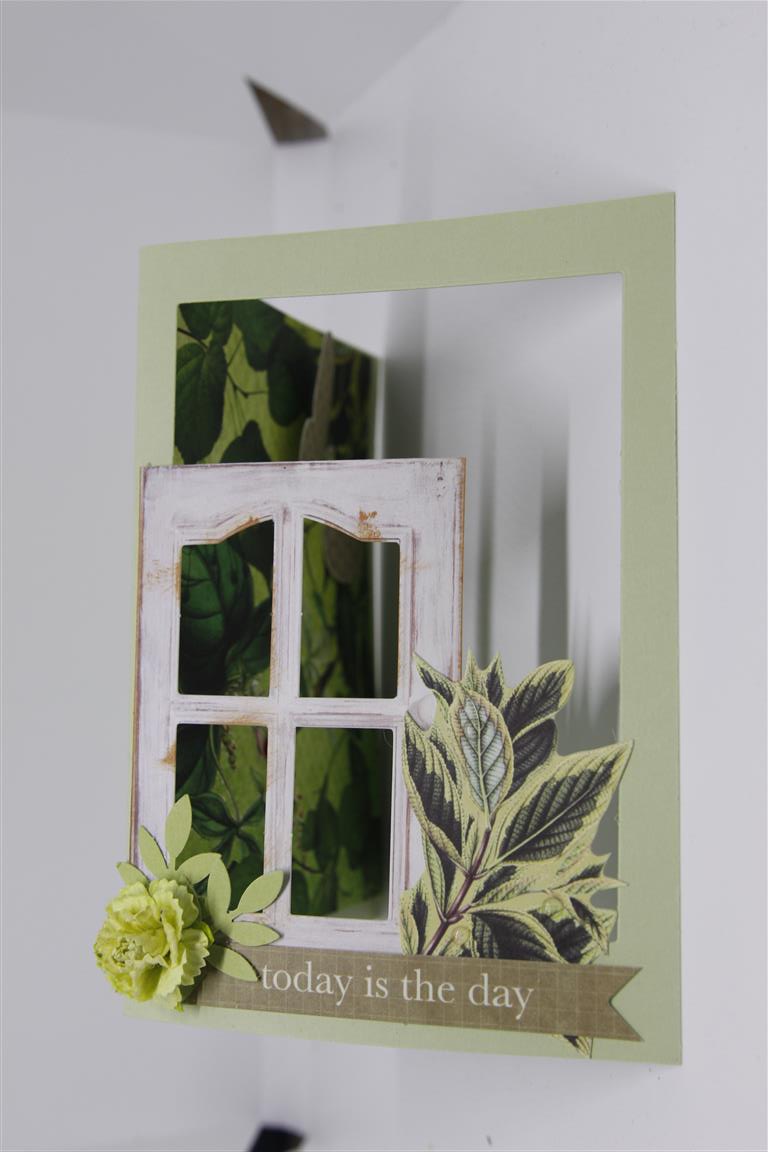
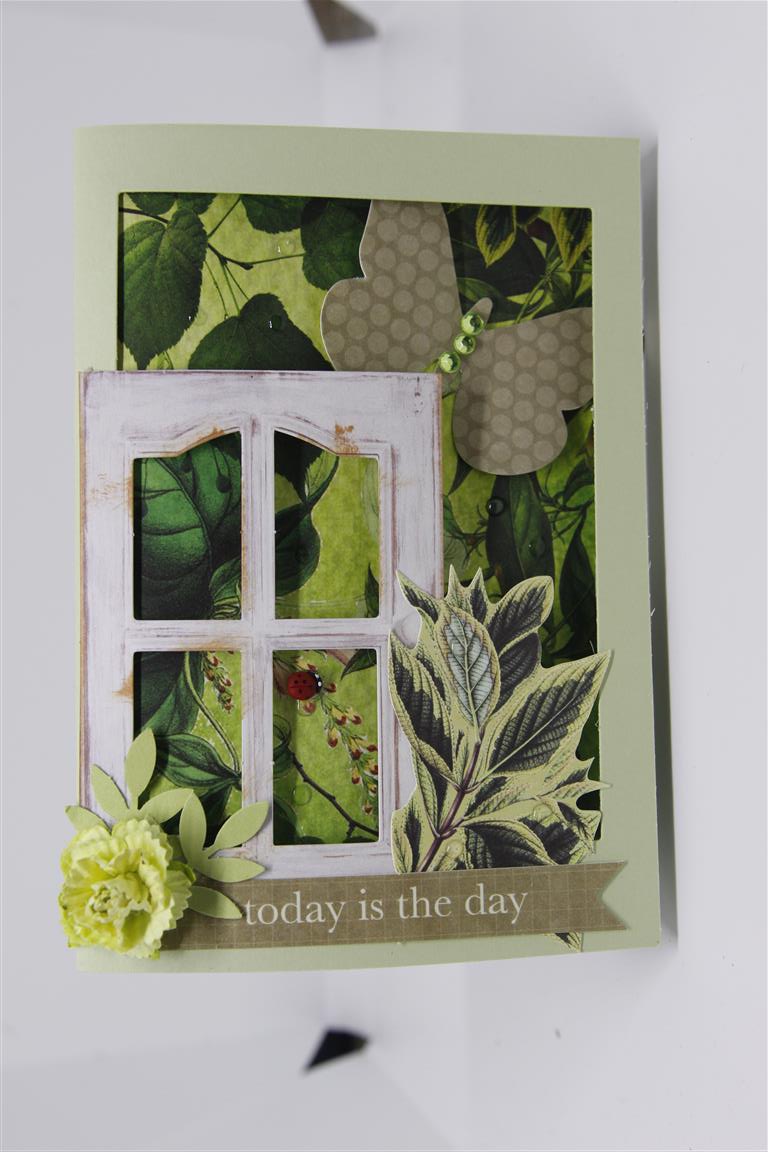 There are two photos of the same card today to show more closely the effect I achieved by die cutting a rectangle from the front of my card to create a window to the inside, so the top image is the open card and the lower image is the same card when closed. A lot of the bits and pieces on this card came from the collectables from the kaisercraft limelight collection, but I added a gorgeous pre- made carnation, some punched leaves,rhinestones and a cute little ladybird. Til tomorrow….
Kaisercraft limelight 4…
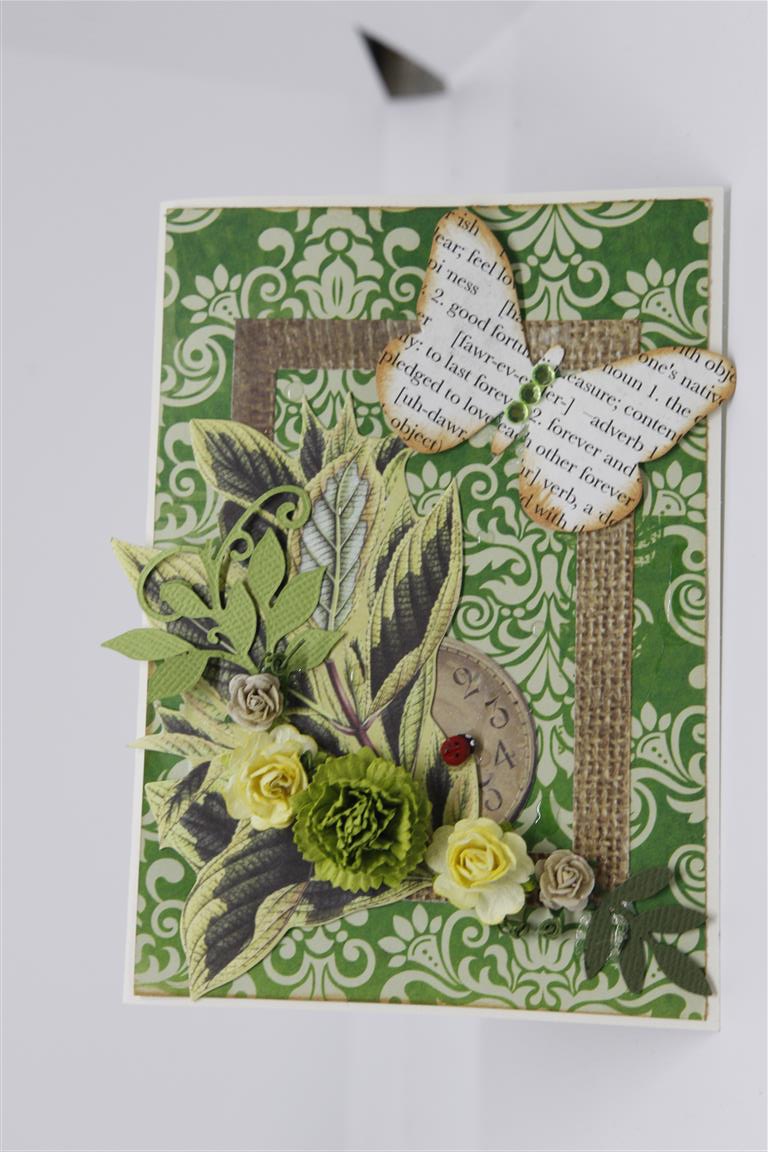 I have so many paper collections where I have only made a couple of cards and moved on, so my goal is to re visit these and get my moneys worth! This collection is an an older Kaisercraft collection called Limelight, and originally I had only made 3 cards with it so I have made another couple and this is the first of those. The good thing about going back to collections is that since purchasing I have gathered other bits and pieces that may work with said collections! A case in point here is the little ladybird – Nathan found a pack of 100 of these little cute bugs so you will see them popping up everywhere on my projects!I used matching collectables, flowers, and a couple of die cut leaves and lots of layers to complete this card. Til tomorrow…
Not so Shabby Chic…
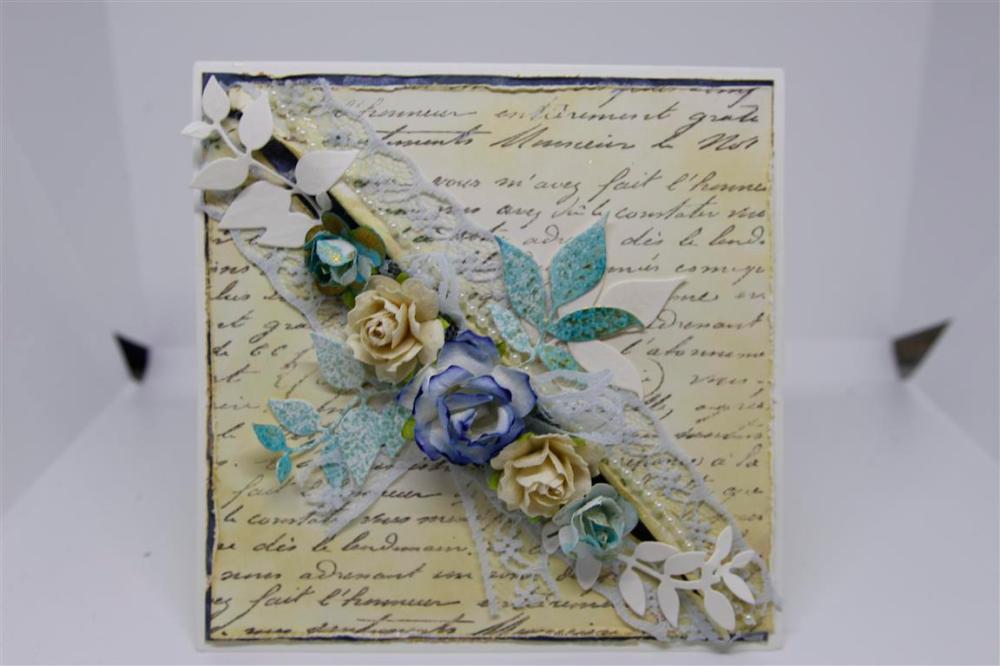 I have been experimenting with Shabby Chic, and although I really still haven’t mastered the whole “rip the paper” technique ( too fond of paper to willfully rip it!)I have been teaching my experiments every month at Paper Flourish.This card is one of two we did a couple of months ago. I will pop up its partner next post.For this one we took a white sheet of cardstock and coloured it with Antique Linen distress oxide ink and stamped over it with a Darkroom Door French script background stamp, distressed the edges and inked with tea dye ink. Cut diagonally and roll those inner edges in and ink again.Add lace, string of pearls,flowers and die cut leaves. Some of the leaves and flowers are coloured with a spray we made with Tumbled glass re-inker ( just a drop in a spray bottle topped up with water) and a small scoop ( just a smidgeon!) of gold mica powder .Give it a good shake before use. Today is going to be a crafty day… I am working on a technique to teach in september and continuing on with cruise card ideas, and of course my mind is starting to drift towards Christmas card ideas! Til tomorrow…..
Carta Bella Flora..
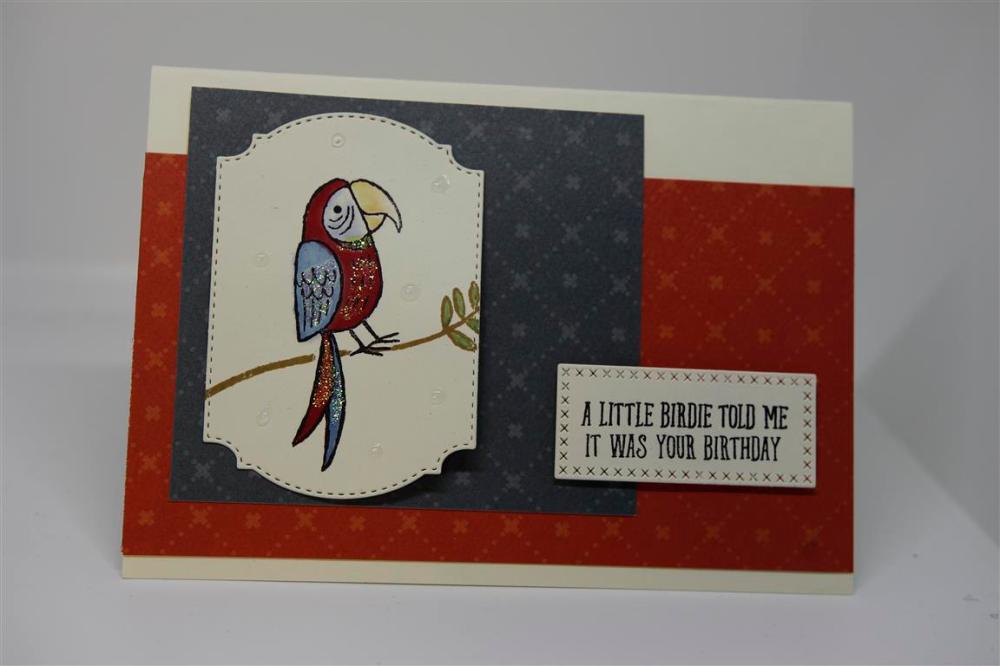
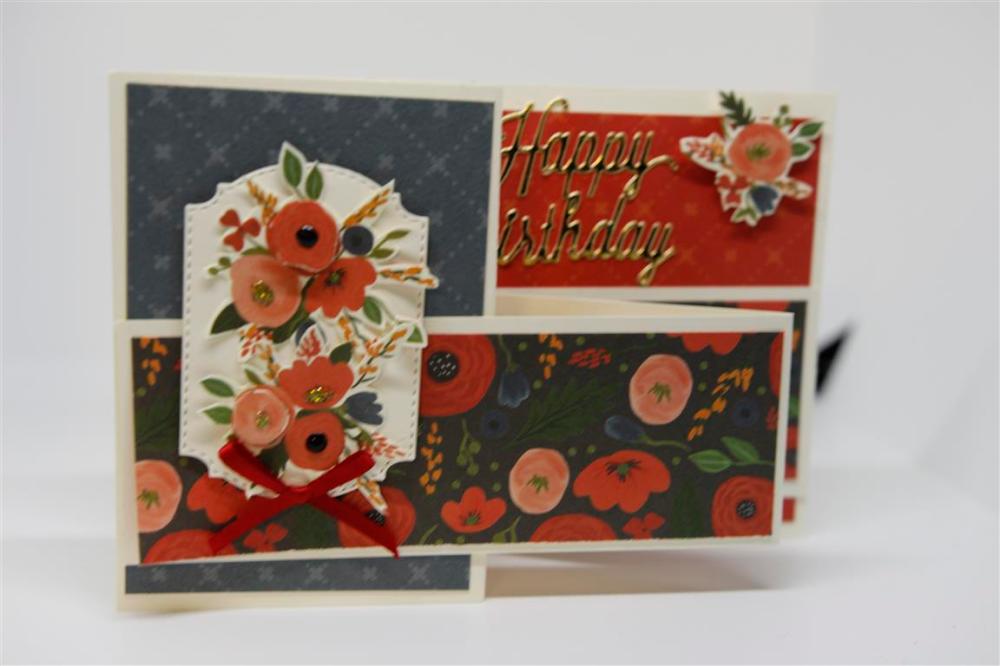 I had a couple of sheets of paper by Carta Bella from their Flora range, and I thought I would show you a couple of cards I made with it. The bottom card is made relying on the papers to do the talking, with a bit of fussy cutting involved in this one, and the top card I had a new stamp set from Stampin Up called Bird Banter, which I stamped ( I used a Tim Holtz stamp press to line up the branch) and coloured my bird with Zig markers and a water brush. I dabbed a little Nuvo crystal drops around the bird just to add a little texture. The dies I used were by Seven Paper Dolls, and I used Canson watercolour paper to stamp on. I have found when watercolouring the best paper to use is the most expensive you can afford, in the case of watercolouring, the better quality the better. The Canson I used is a cold press paper, but the girls at work swear by hot press paper so I have bought a couple of sheets to experiment with and I will let you all know my findings! Meanwhile in the craft room I have organised all my fair boxes ready to go, completed an order, prepared my July classes , so up to date and doen’t it feel great! Til tomorrow…..
MIss Betty ( Kaisercraft) number 5…
 I seem to be jumping all over the place with my photos this month,but I had a lot of random bits and pieces on my desk and had a bit of a push to try and use them up, so this is a card I made with leftover bits and pieces from Kaisercraft Miss Betty collection. Lots of layering, and a bit of fussy cutting, and just a little ribbon bow! Today i bought opur puppy a winter coat. She is not sure about it, and sat in one place for a long time ( highly unusual for her!) deciding if she should move or not. I have included a photo here for you all! Til tomorrow….
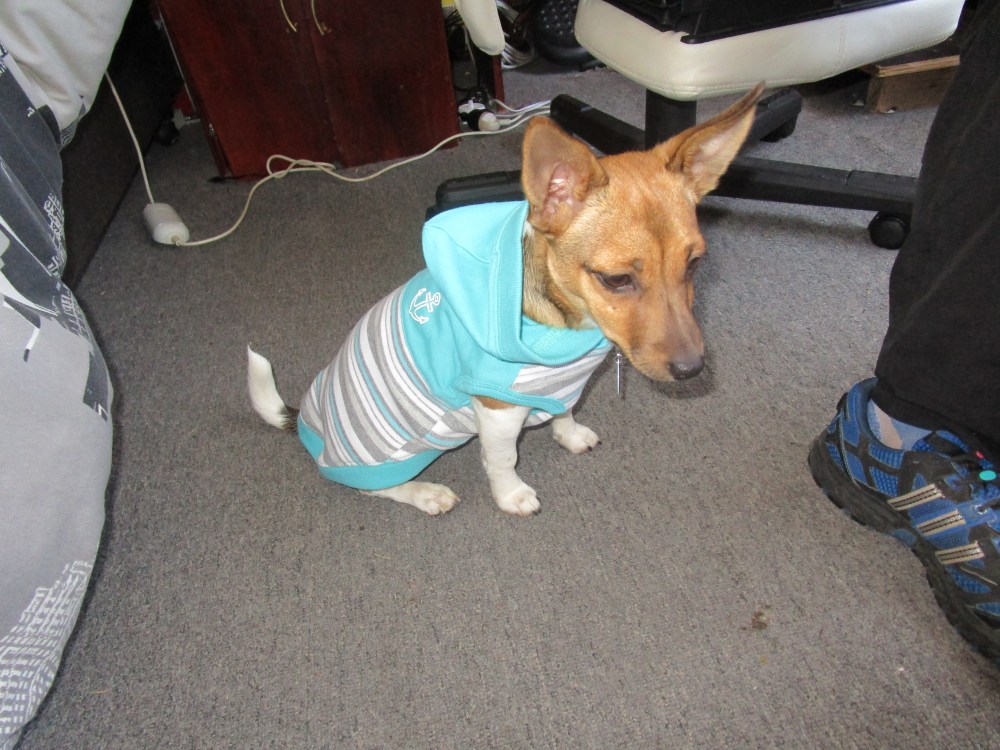
Go Press and foil ..simple..
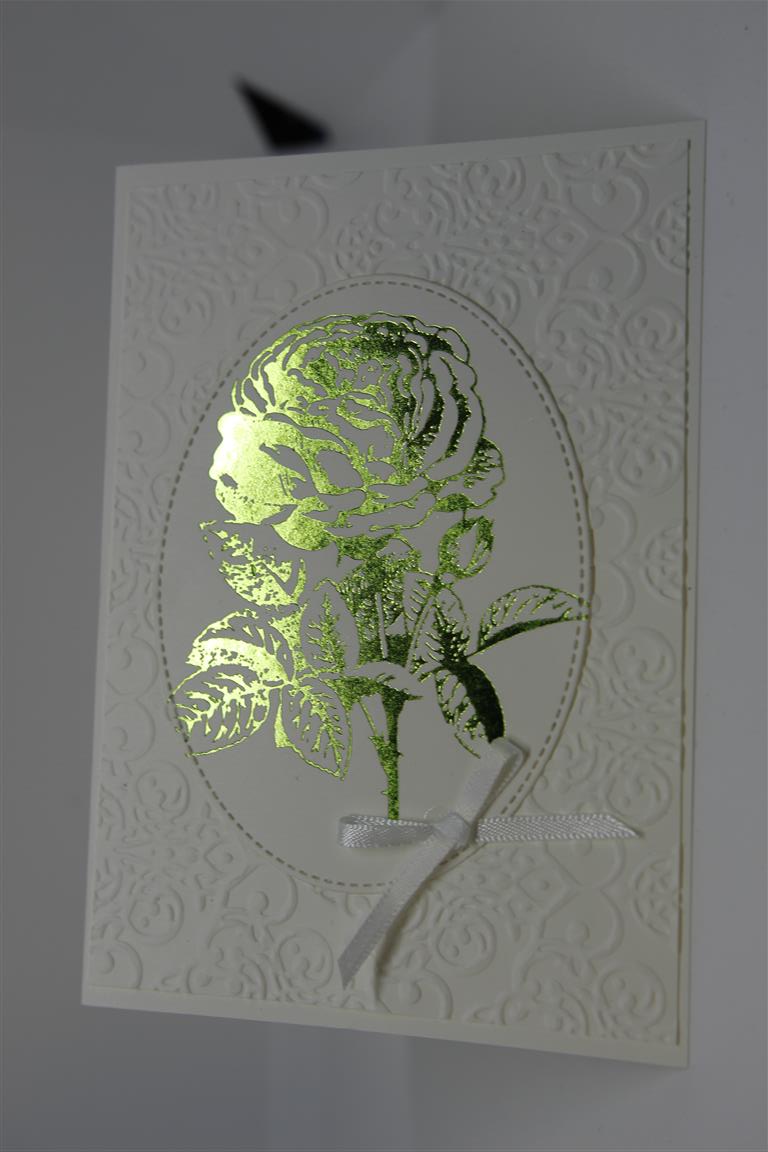 Todays card is a very simple one made with my Go Press and Foil machine to foil the Rose hot foil stamp ( couture Creations) in green foil, and then white cardstock for the rest. I dry embossed a piece of cardstock with a stampin up embossing folder,and Die cut a stitched oval ( Seven Paper Dolls die) One little white ribbon and this all occasion card is finished! I have a day off today and quite a bit of housework to catch up on, but I am sure I will find some spare time to unwind in the craft room…til tomorrow….
Cute Pandas!
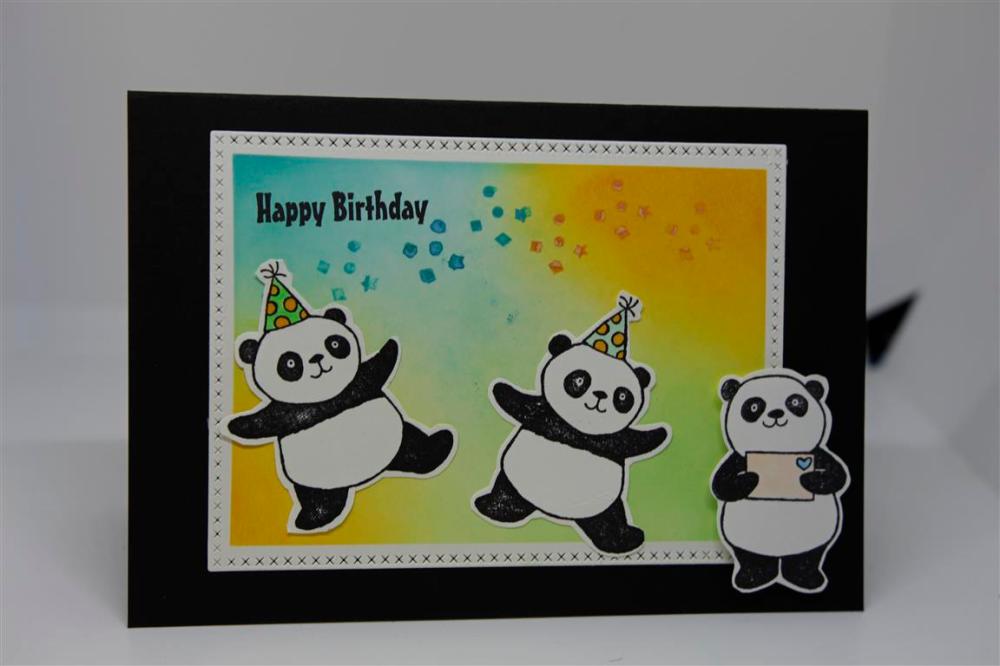 These Pandas are so cute! they are from a stamp set by Stampin Up (party pandas),and I stamped them and fussy cut them out,doing a little colouring with copic pens. I prepared a background piece by using Distress oxide ink pads, and die cut the rectangle with a Seven Paper Dolls cross stitch die. Such a simple card to make and a favourite of mine…Til tomorrow….
All White..
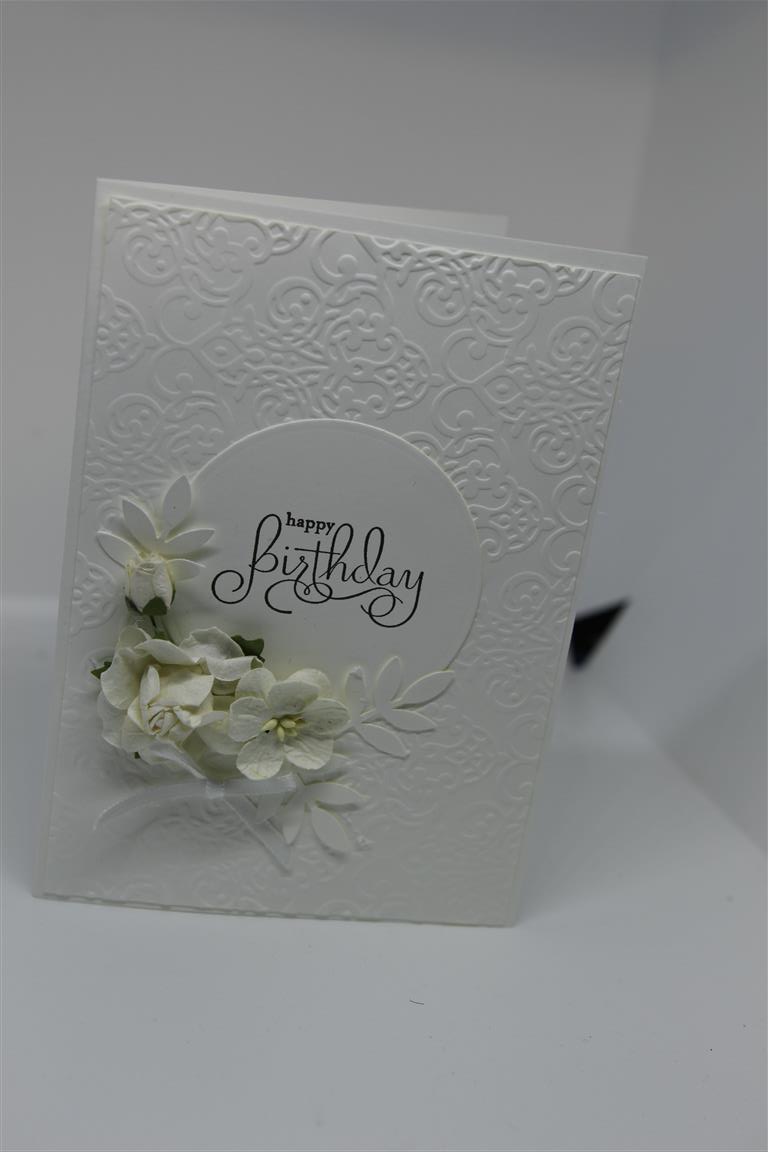 One of my favourite cards to make is all white. I usually do all white for wedding cards when I am not sure of the colour scheme used in the wedding, but this time I made a birthday card. I have a lot of embossing folders, they are great for adding texture – imagine this card without the embossing!.This embossing folder is from Stampin Up as is the birthday stamp sentiment. I die cut the circle, punched out the leaves, and added flowers and a ribbon bow. I have lots of new things to play with this weekend. This is almost the best part of my job..trying out new stuff! this weekend I will be road testing the Tim Holtz travel stamp platform, and the new magnetic die cutting plate from Couture Creations. I also have new papers – (yay) Memory Lane by kaisercraft – gorgeous pastel greens which I think will also work with Christmas cards later in the year so it doesn’t matter if I don’t use all of it just now. That said I am off to open new things! Til tomorrow….
Mums Birthday card..
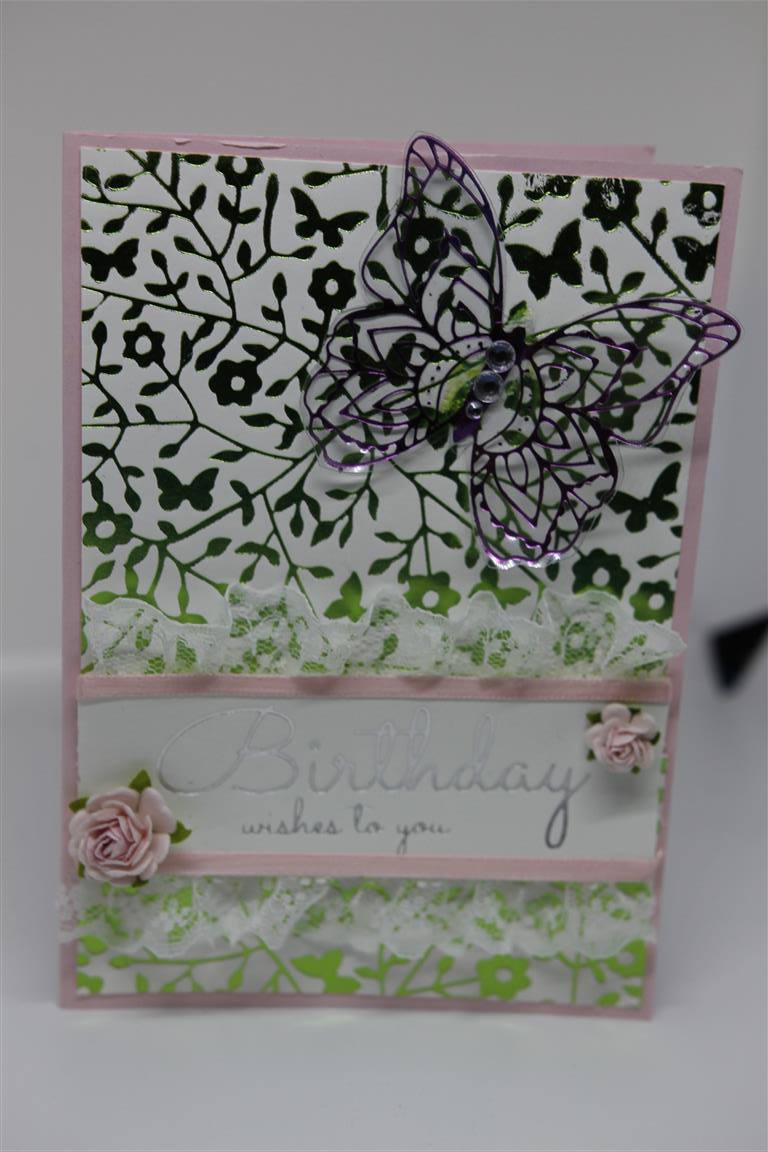 It is my mums birthday, and this is the card I have made for her, although to be completely open and honest, once this photo was taken I added a couple more flowers ( in white) in the left hand bottom corner!It is all done with my Go Press and Foil machine,including the foiled embossed background. The butterfly is foiled on acetate, and I foiled the sentiment as well. a bit of layering and lace, ribbon and flowers and this one is ready for giving to Mum today. Yesterday was spent ( after a two hour trip to Bunnings to purchase various garden items for Nathan and house paint for me) in the craft room preparing all of June lessons. Glad they are organised because I really have to concentrate on the craft fair in June now. I am looking forward to an enjoyable afternoon at Paper Flourish ( where our on line shop goes live on Tuesday!) with my craft and chat group. til tomorrow…..
