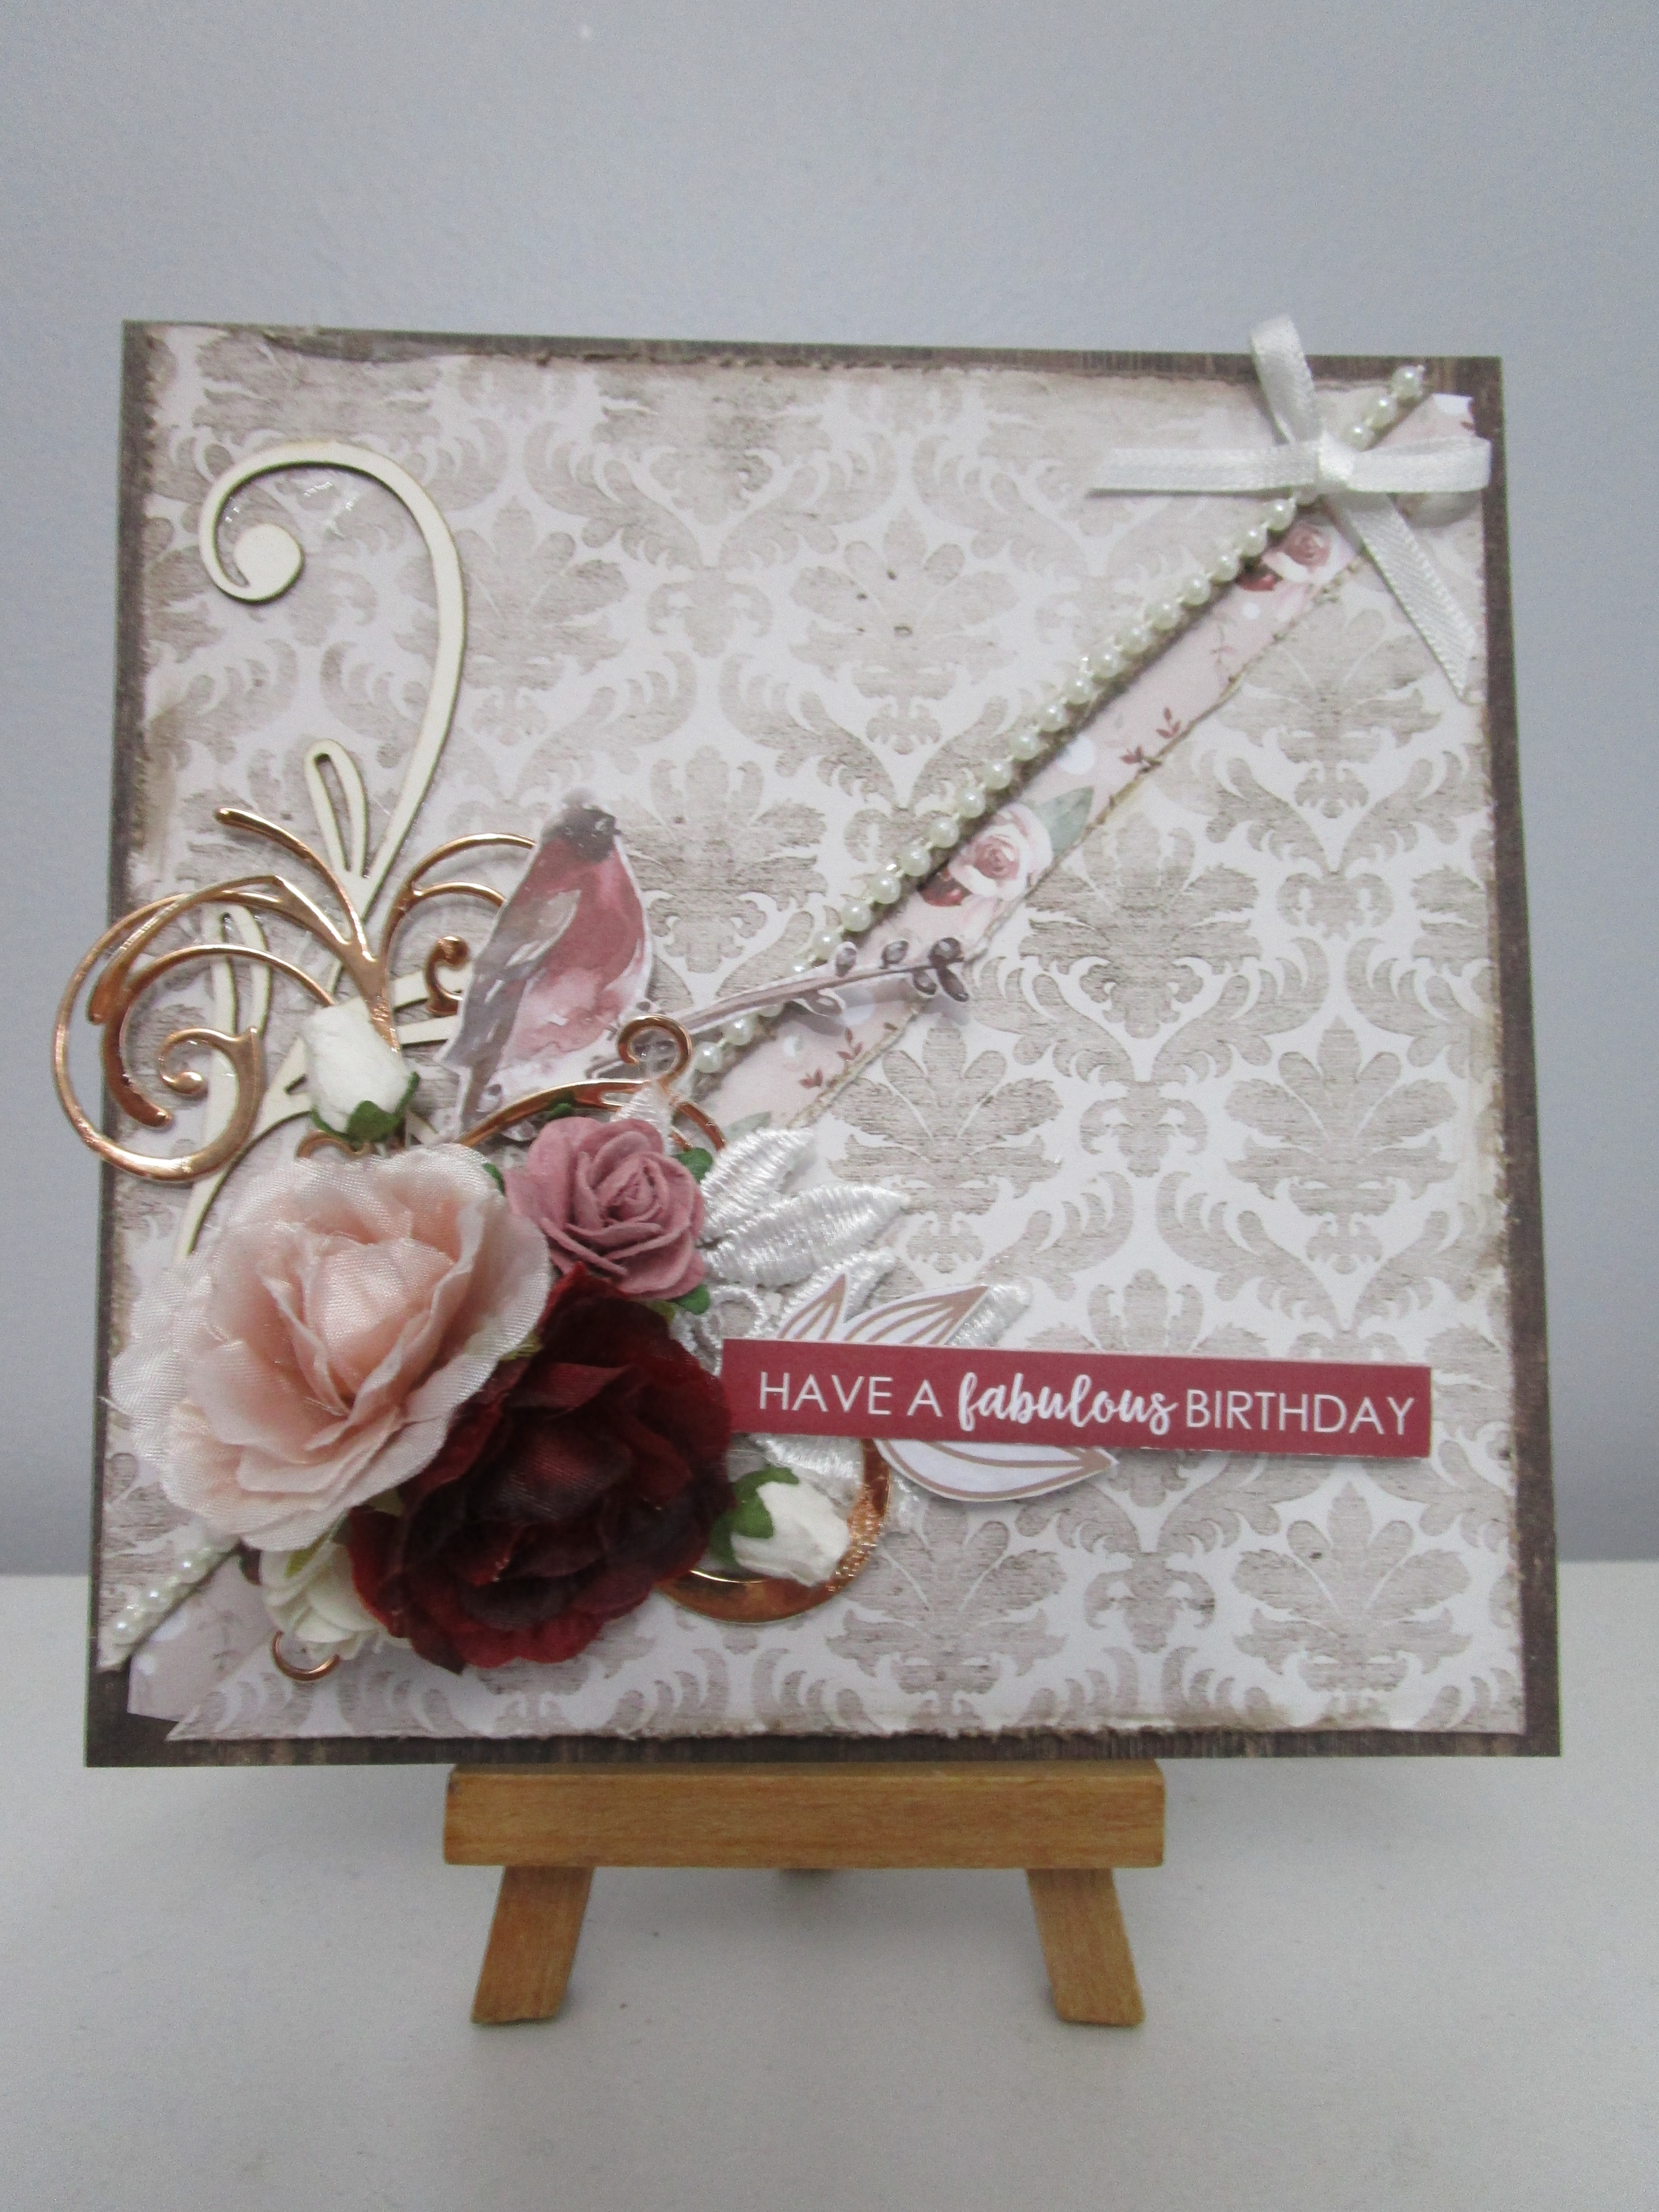
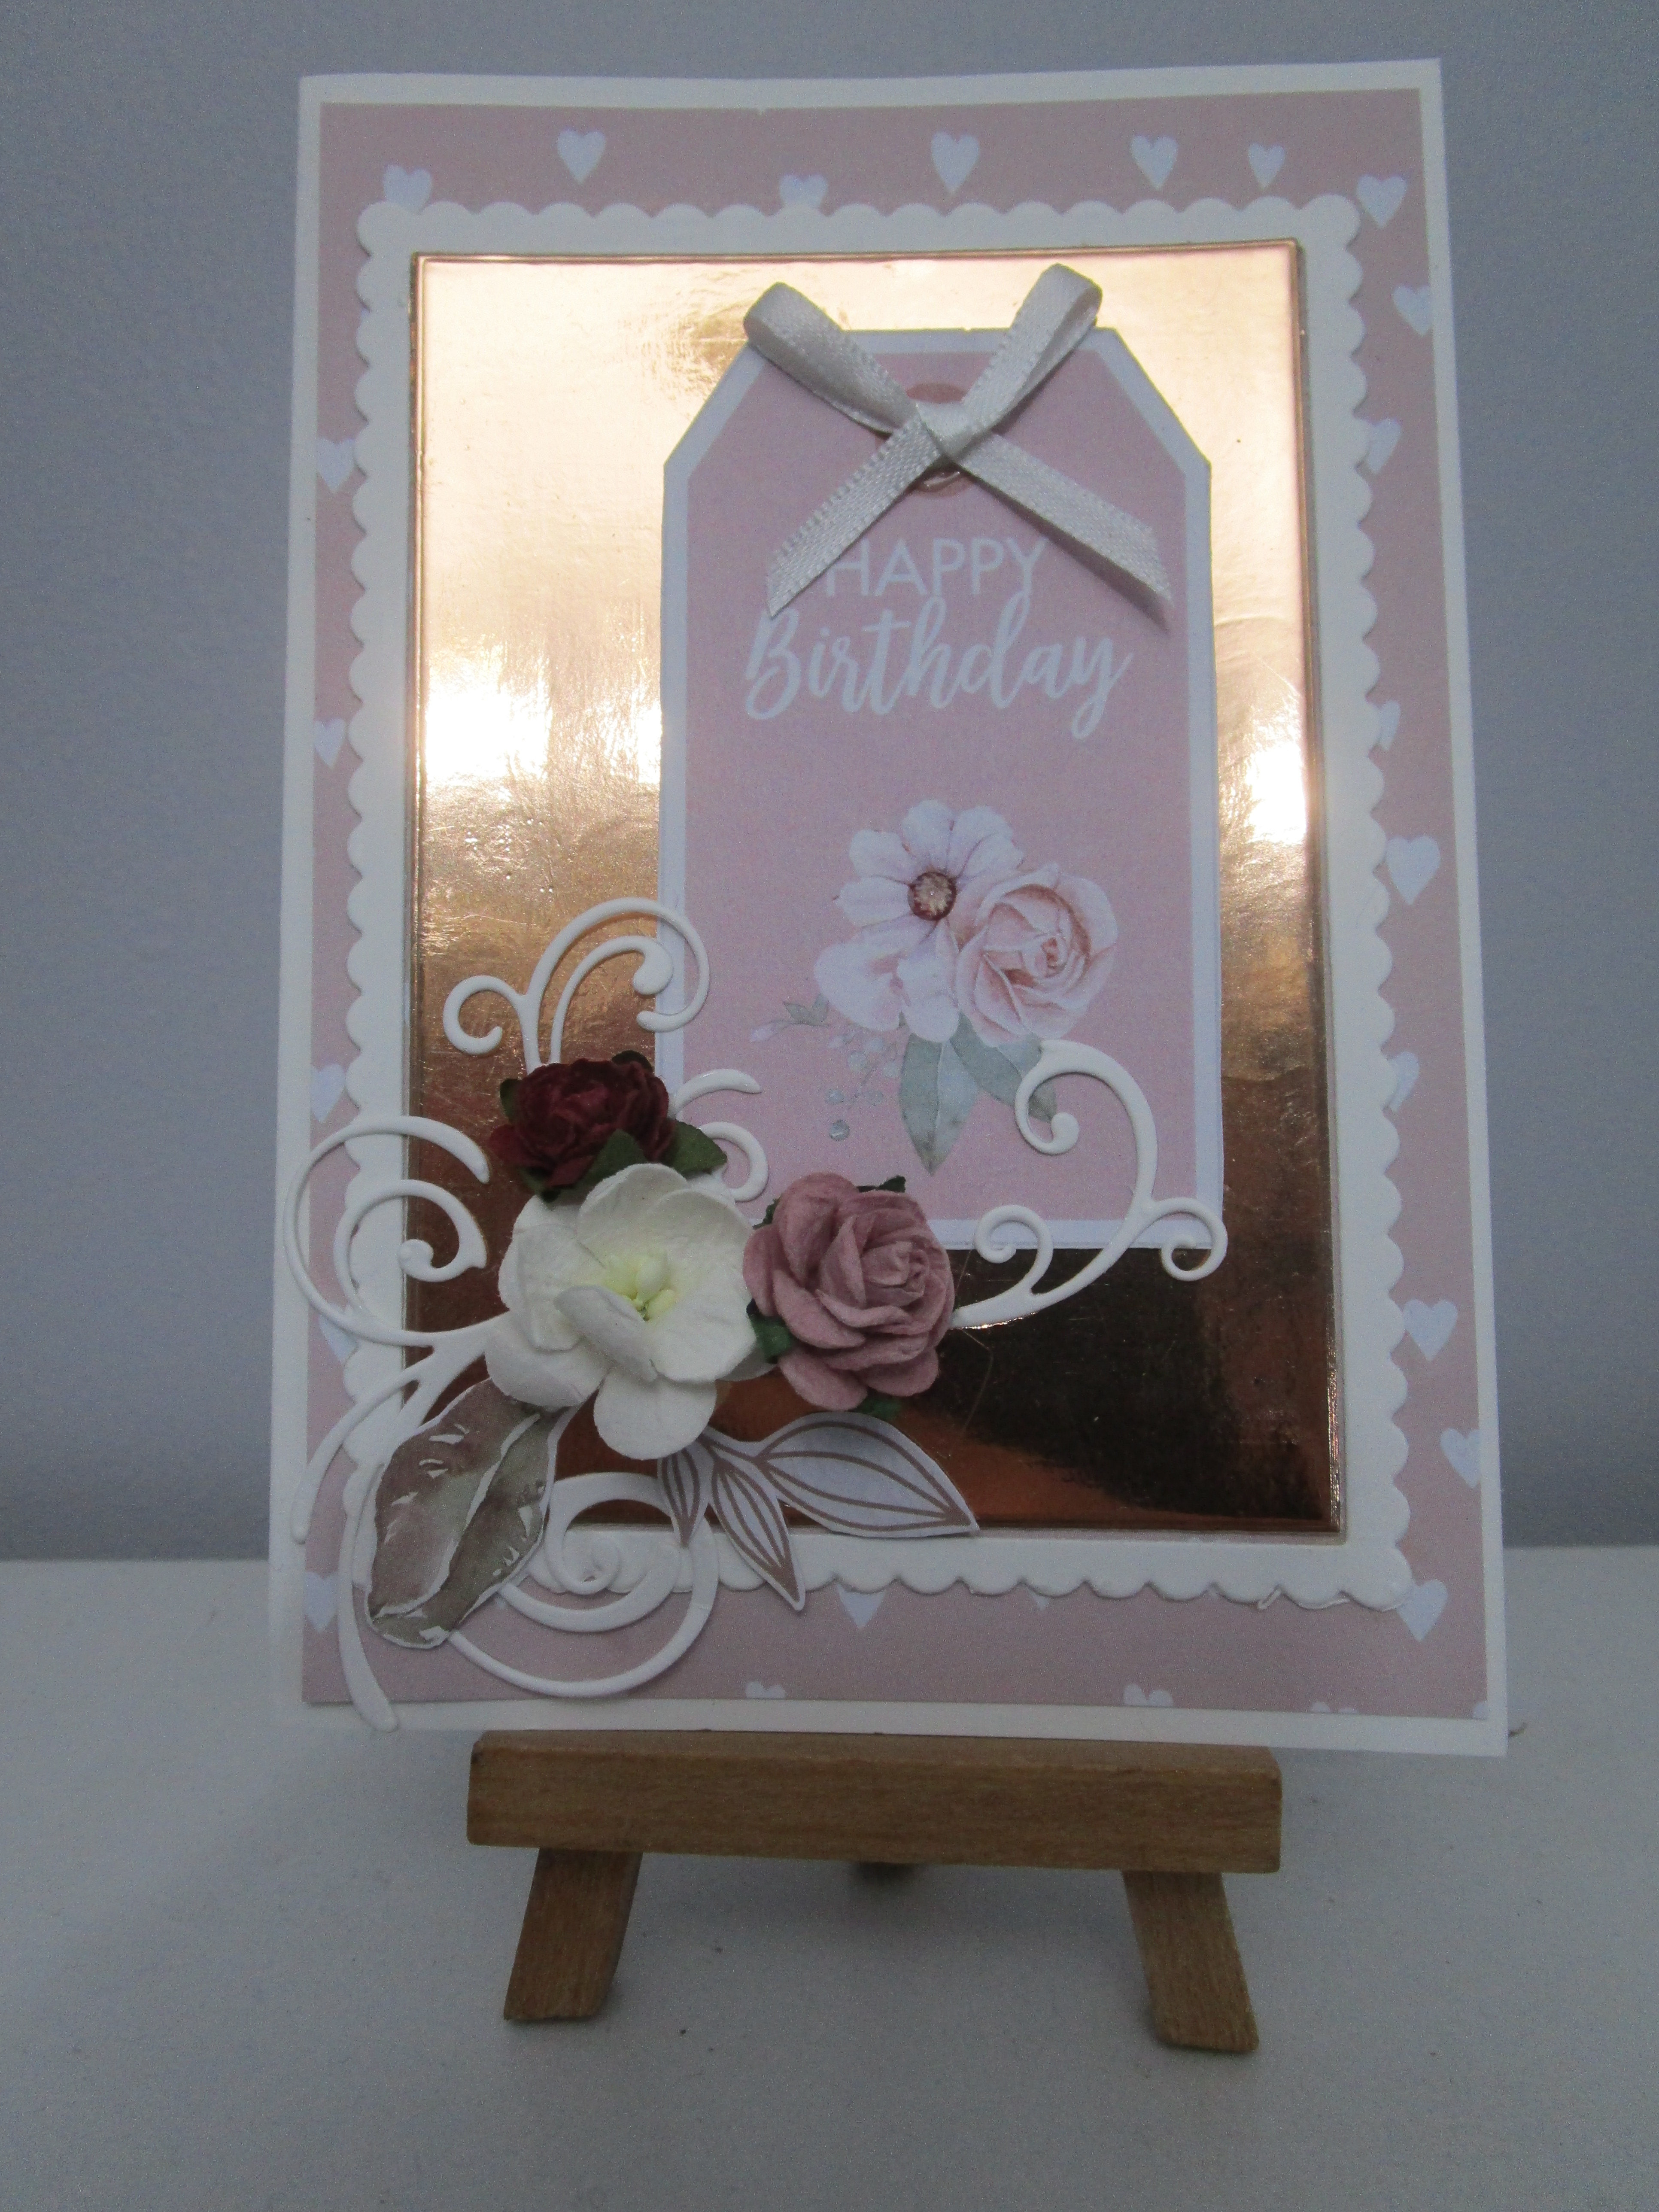
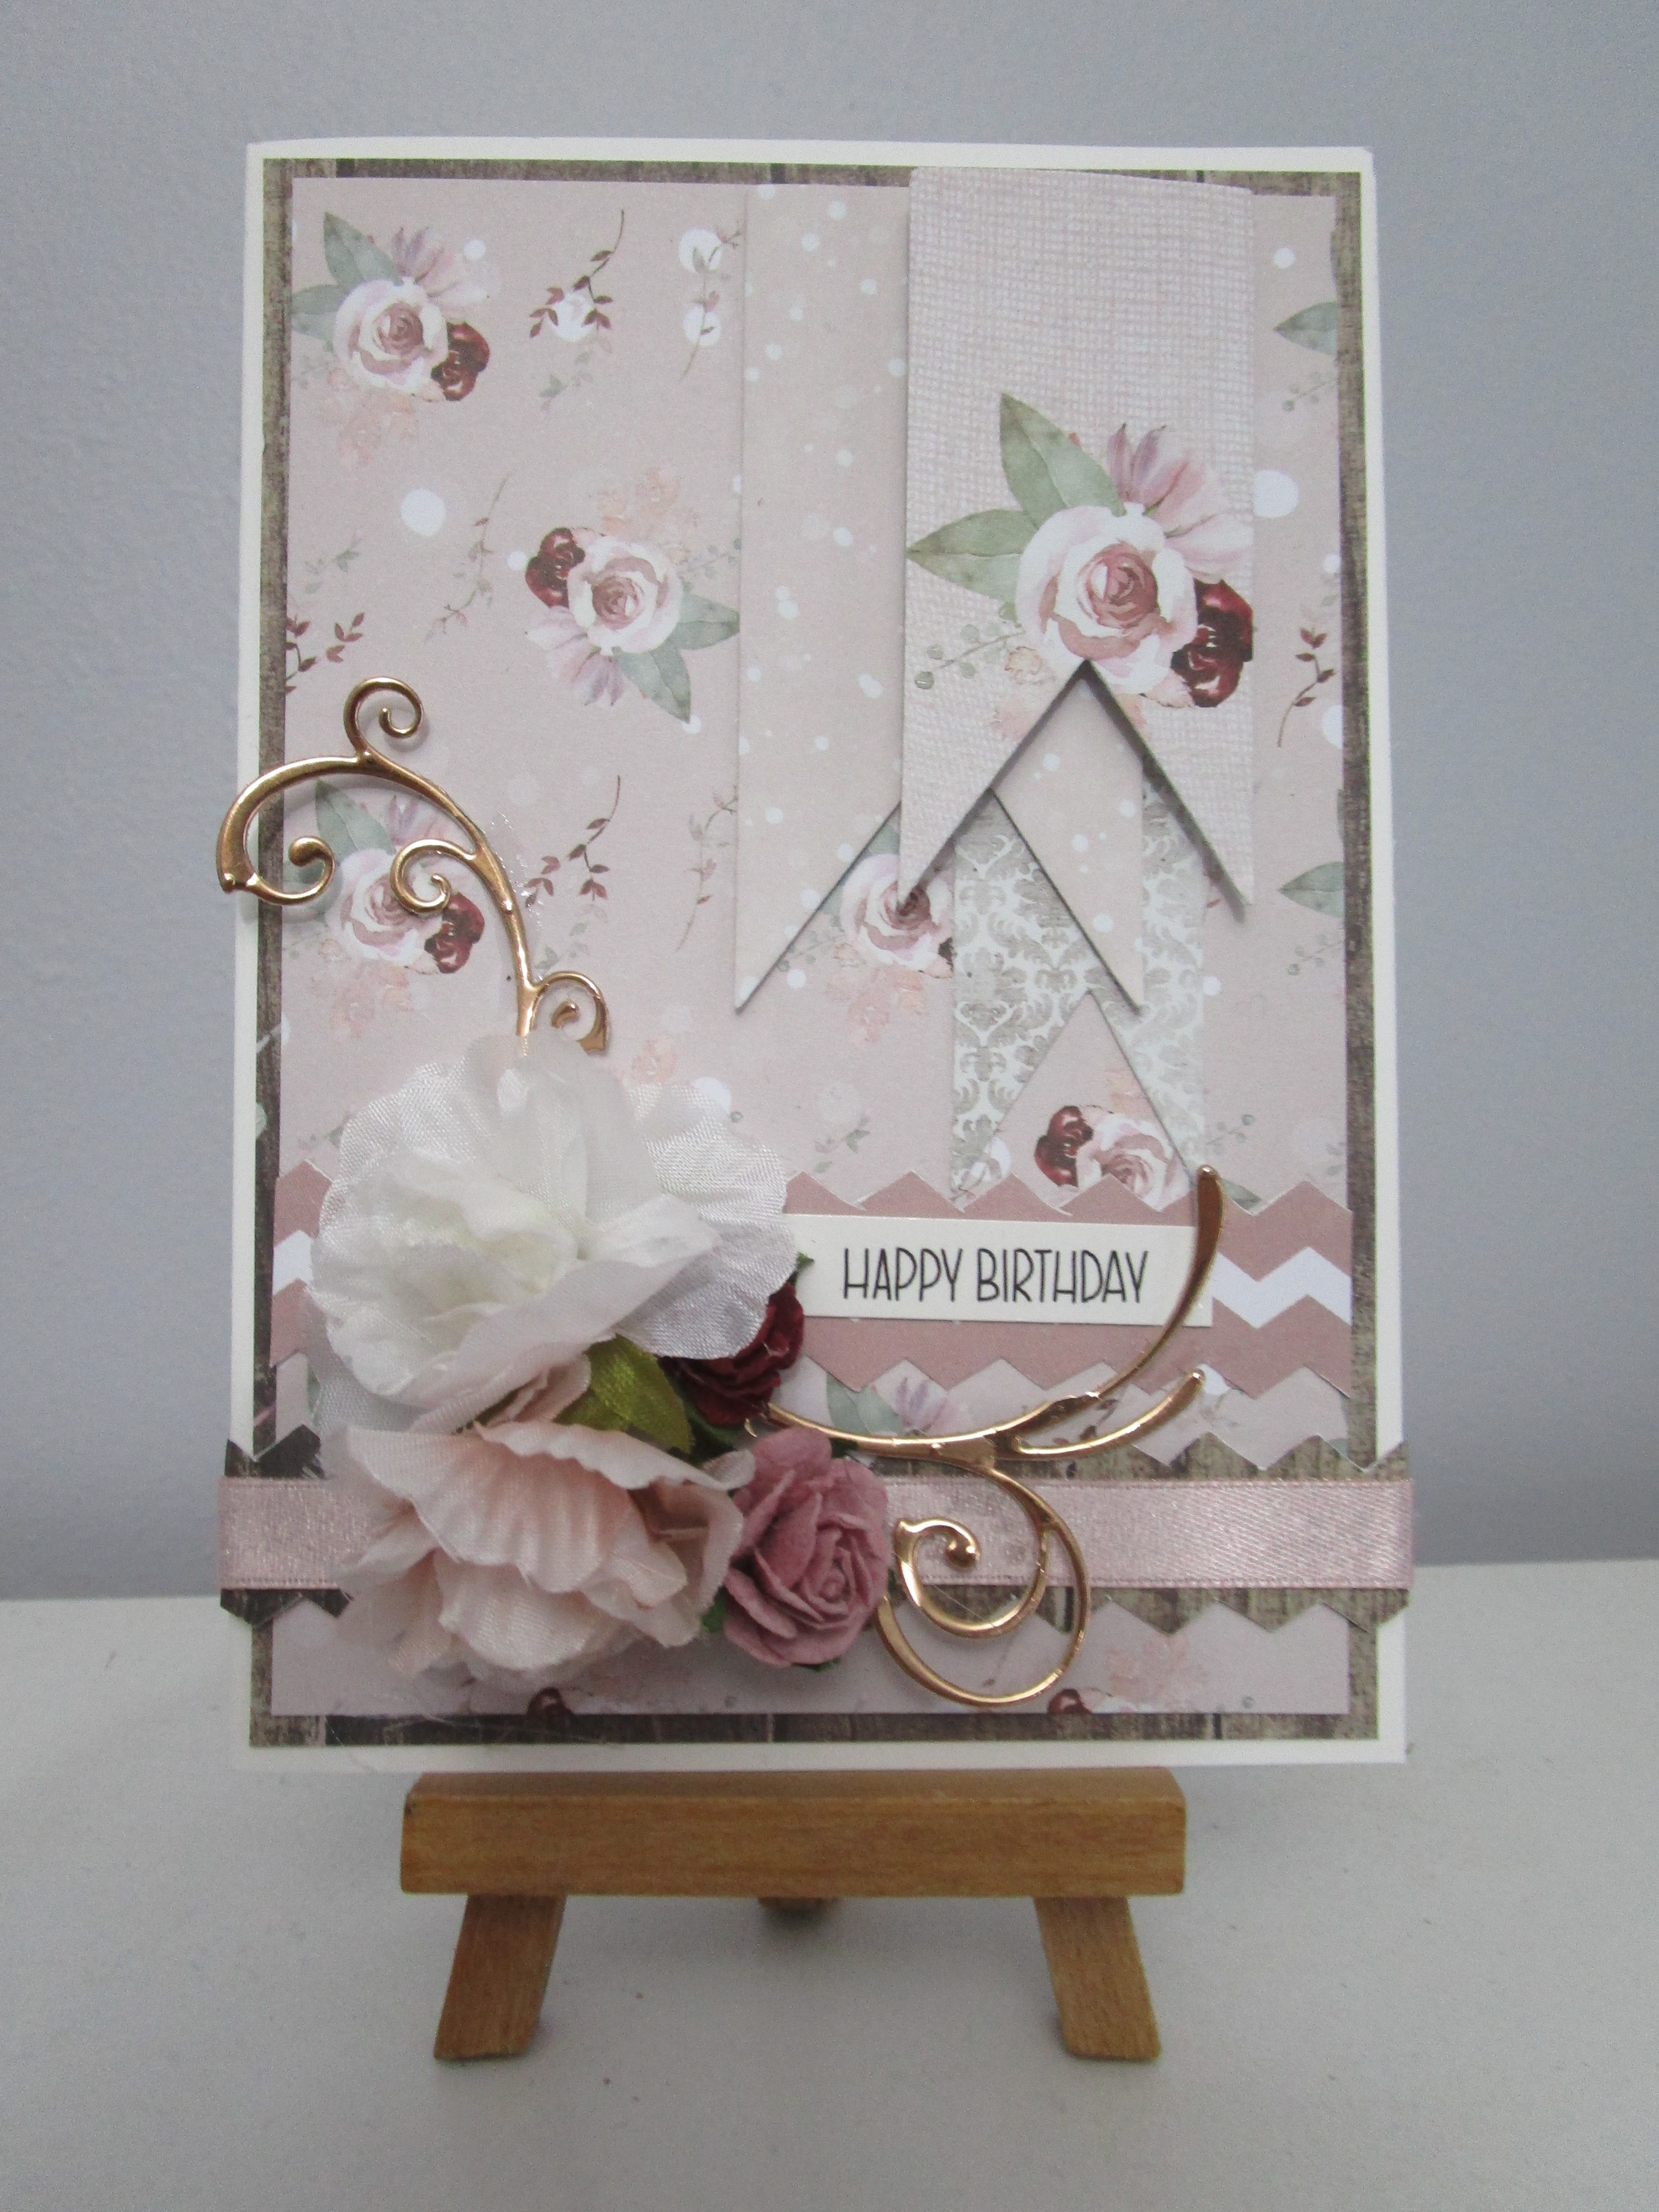
 Some of you may notice a few little changes to my blog.. Nathan has been busy updating, and cleaning ..I guess after over ten years it needed it but hopefully you can still find the things you want to see. Let me know if any of you have any issues! Today’s cards are the final four I made with Uniquely Creative Winter Rose paper collection, and matching collectables. I have added an assortment of embellishments..flowers, fussy cutting, flourish die cuts,pearl strings and ribbon. sad to put this collection away for now but I have new papers to play with!Til next time.. stay safe..
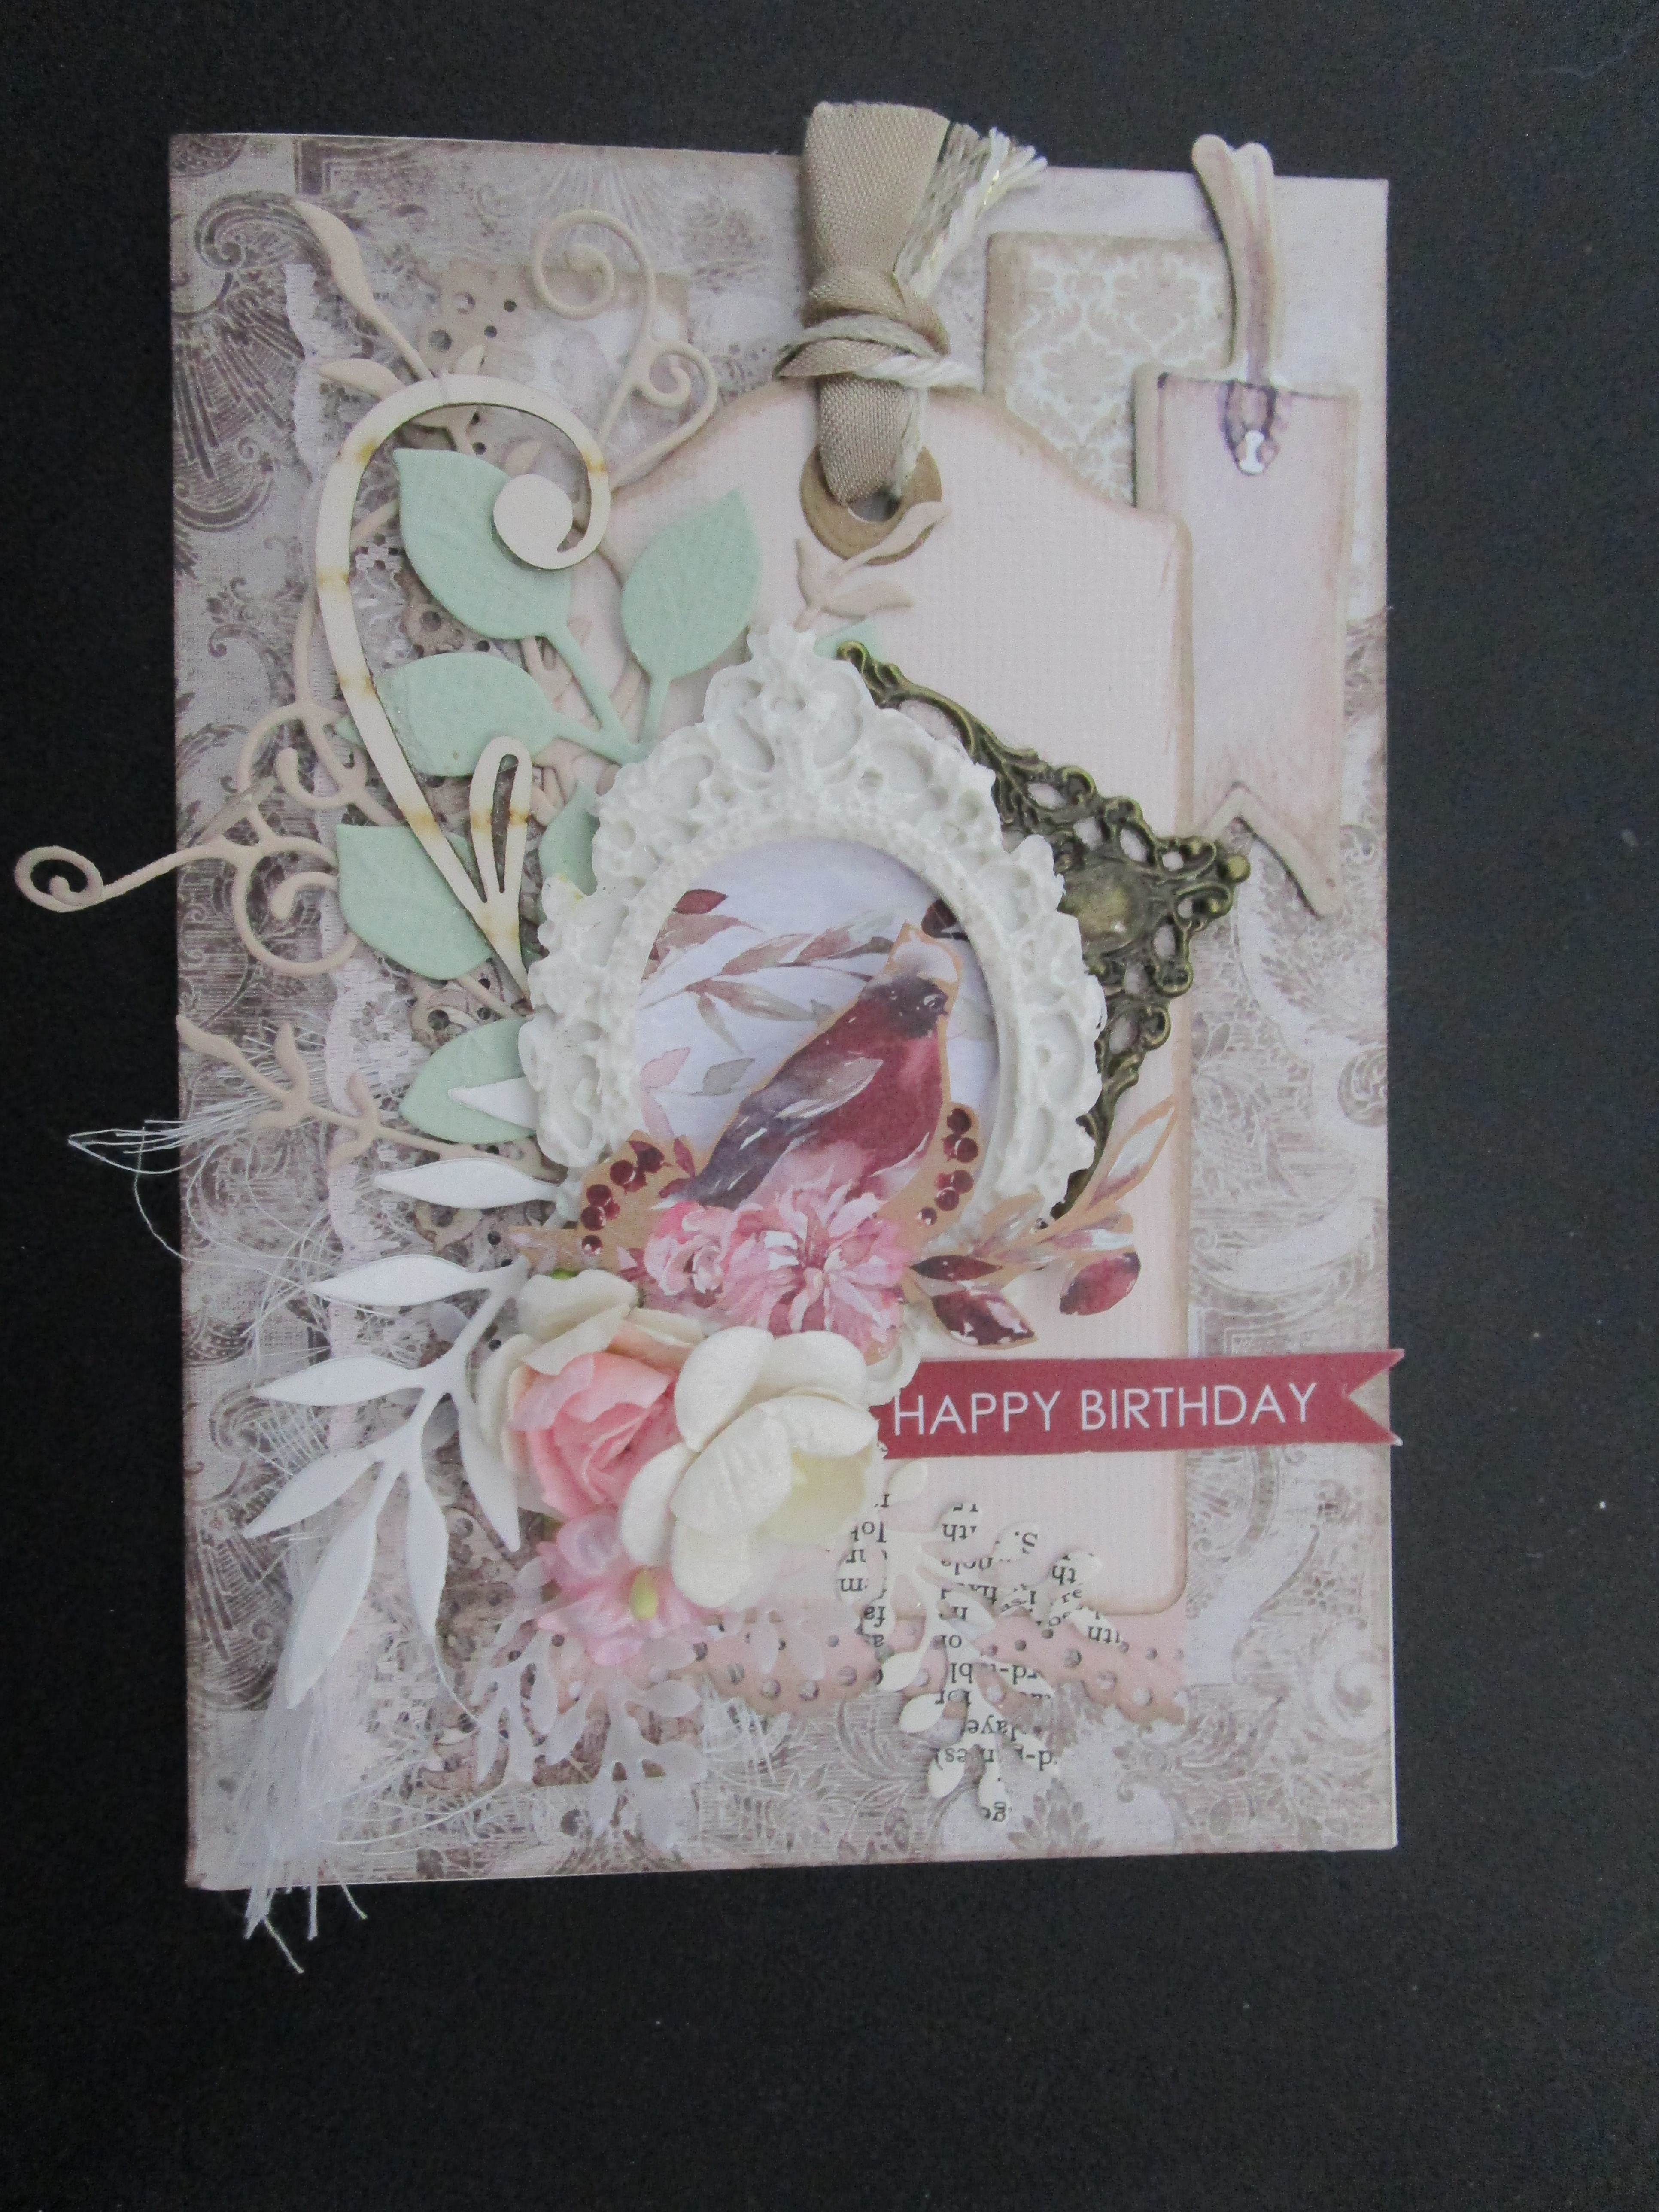
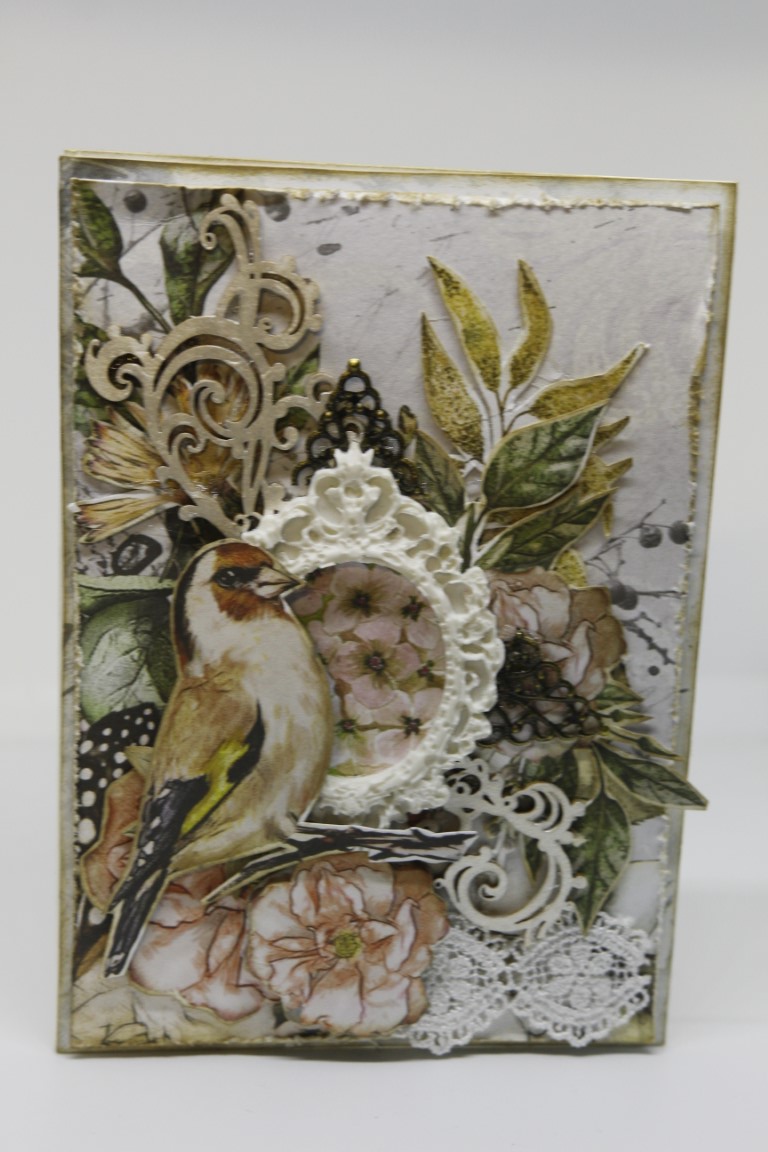 Todays card is made with a piece of AB Studio paper I picked up because I loved the bird! He was fussy cut as was some greenery from the page and the card was added to from there. Some lace, a metal finding cut in half and slipped in under one of the frames I made, and some Scrapeniac chipboard which I painted with Prima alchemy paints.My edged were distressed, and inked with frayed burlap distress ink. Just a quick post today, as I am busy preparing for the 3 day yearly craft fair I attend in June which is only a few weeks away now..Til next time…
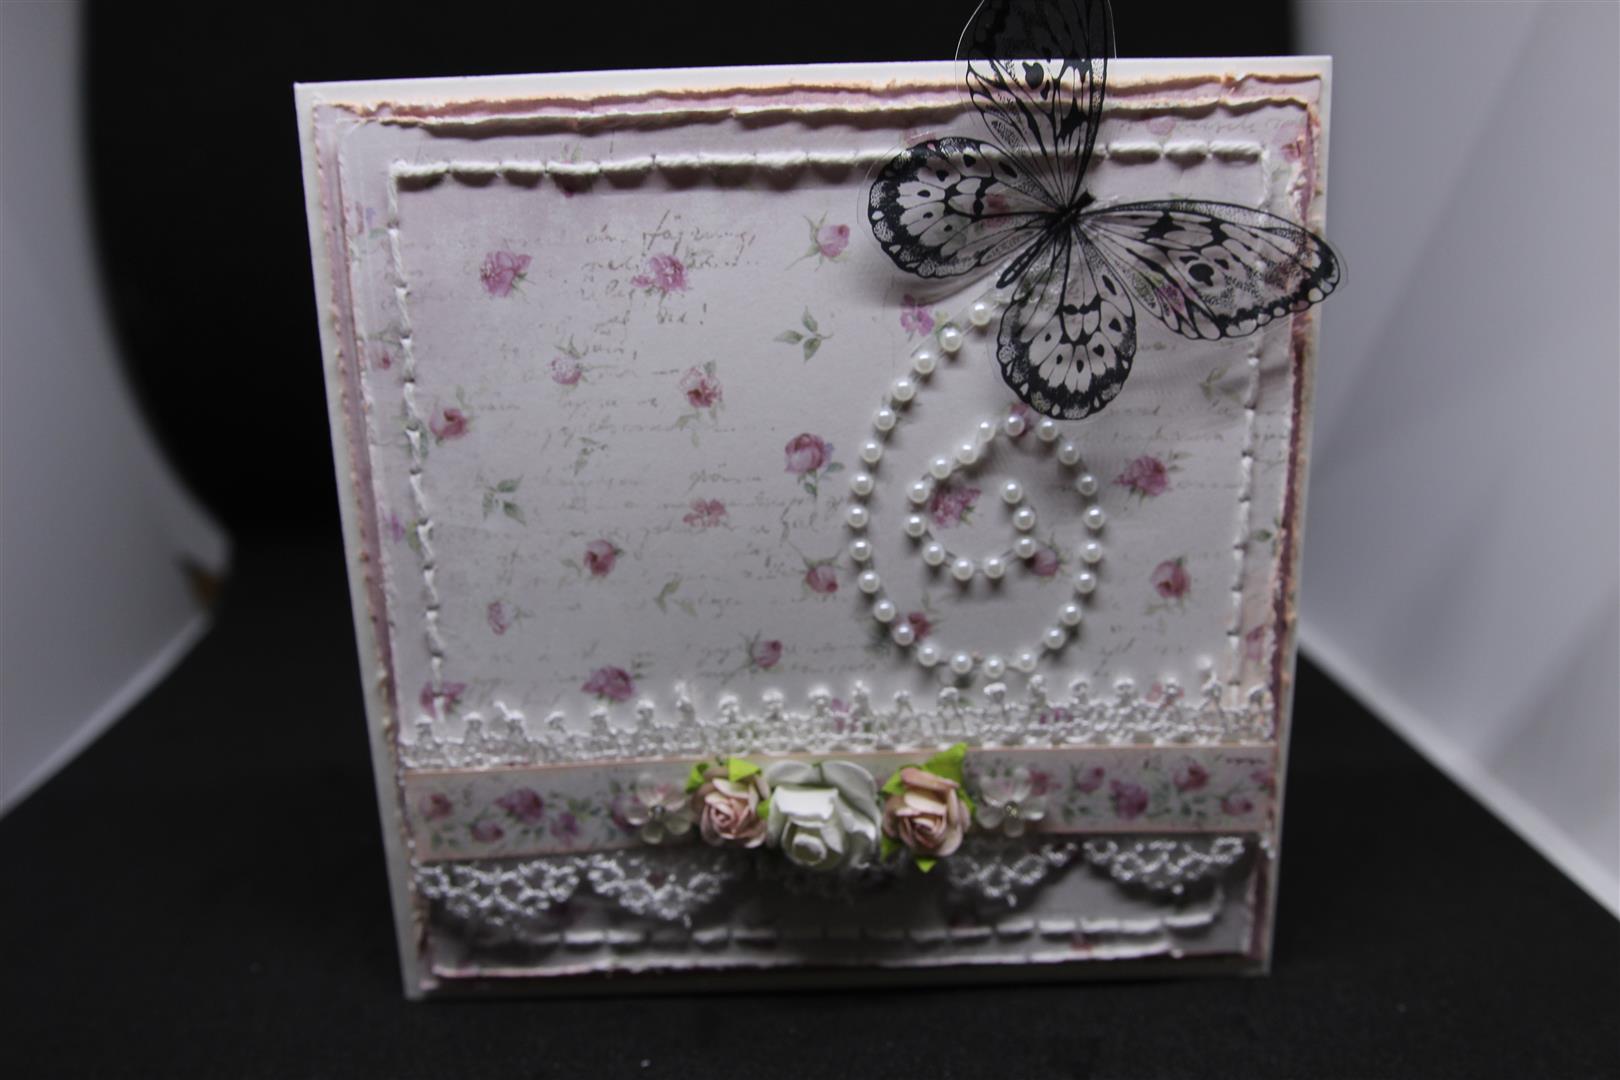
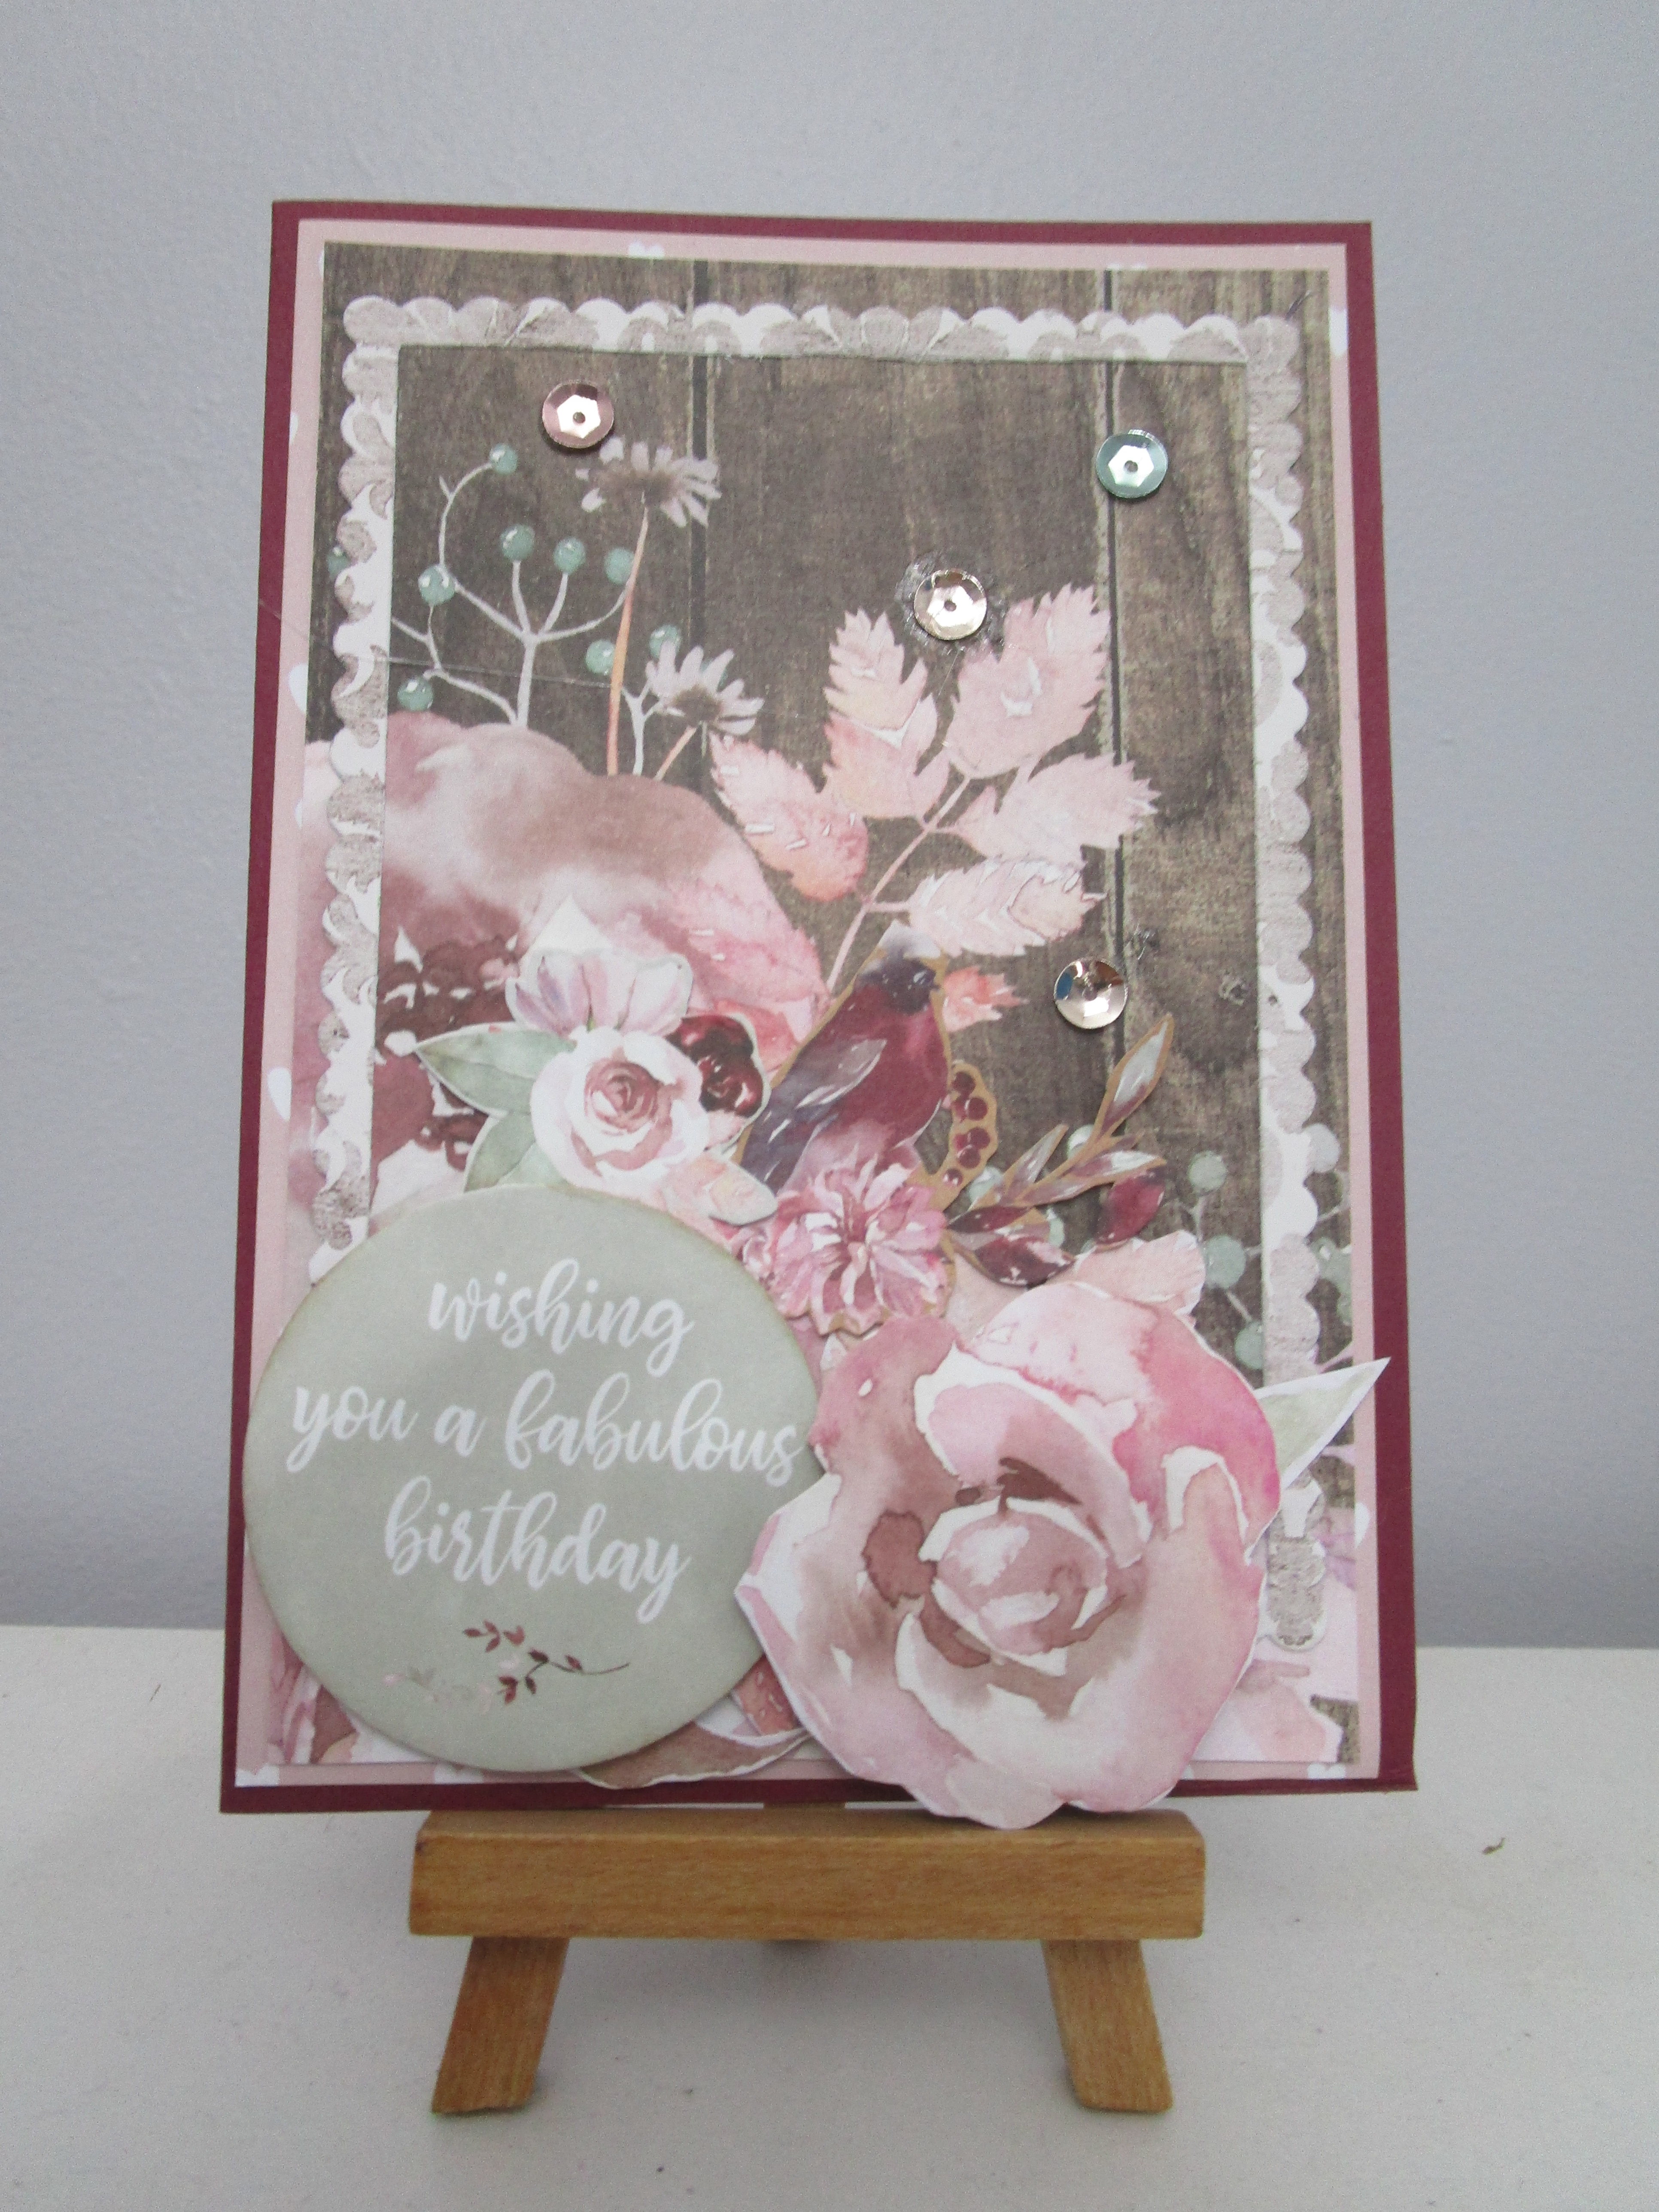
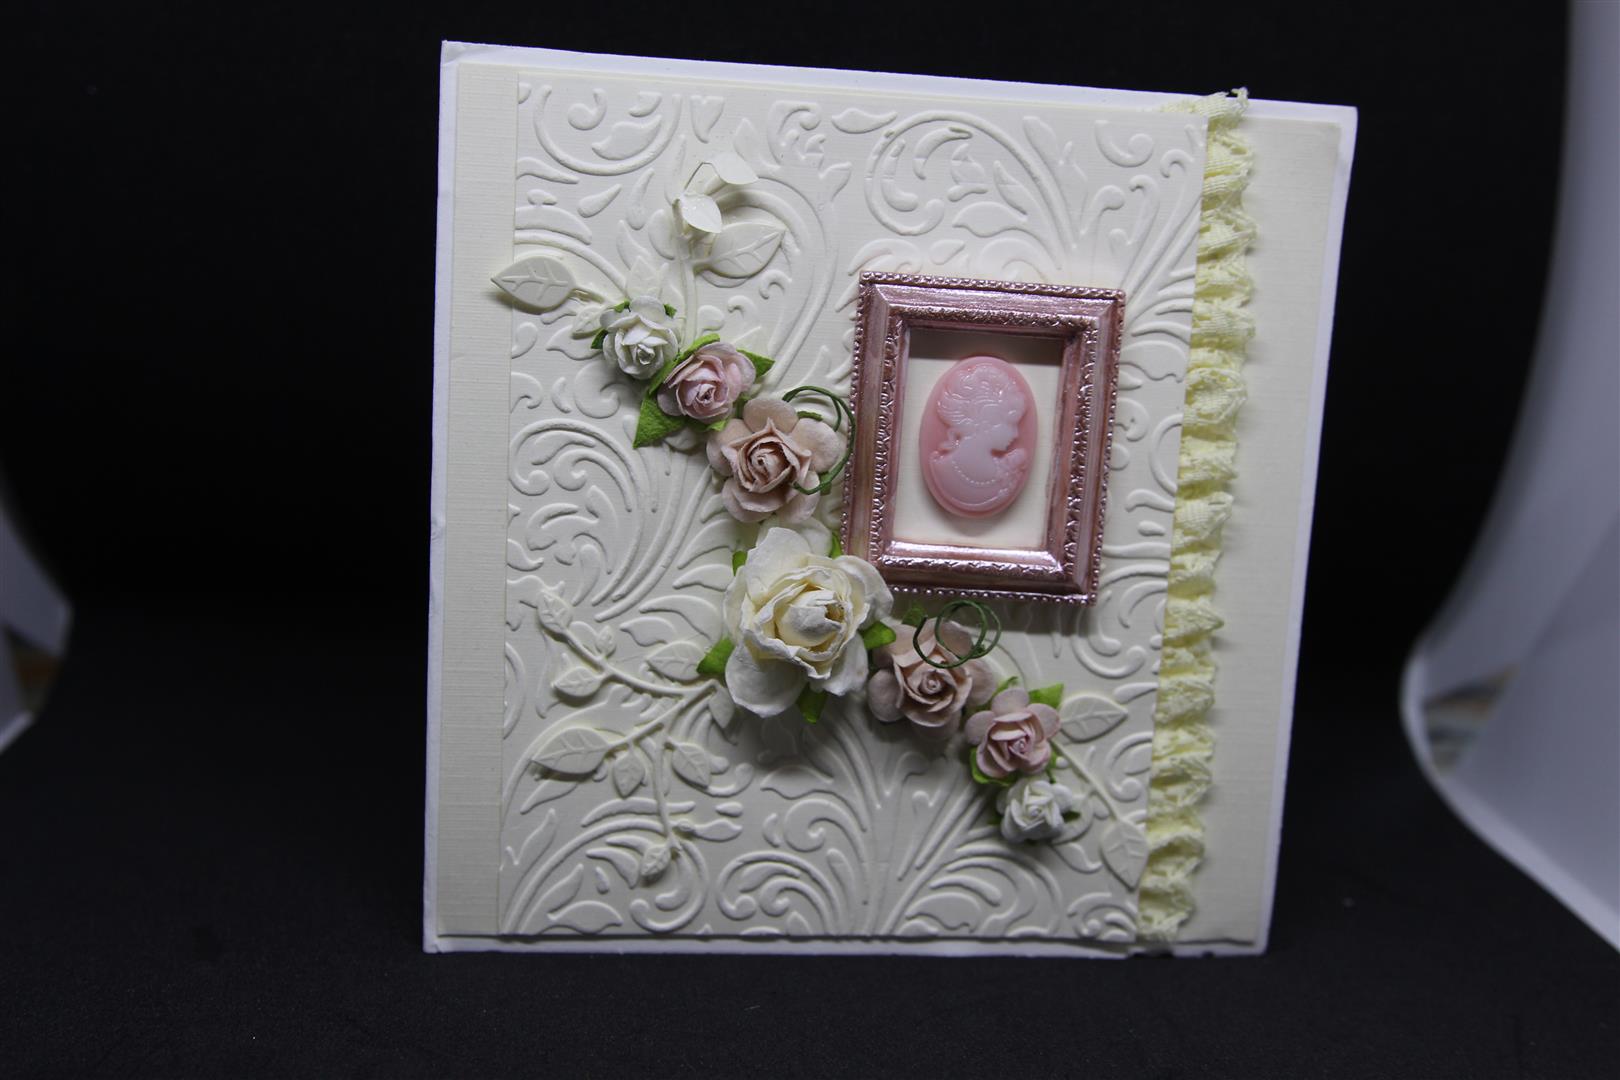 Here are a few cards I taught in my Not So Shabby class at paper Flourish. I call them Not So Shabby because no matter how hard I try my shabby cards still come out looking quite clean! On the top two cards we did some stitching, layering and distressing, while on the bottom card we painted our frame with prima sparks paint and did some embossing. The weather here is so strange, we have had thunder, rain and lightning this morning, but it is 35C so very hot and humid. Not good weather for anything except sitting under the air con vent! We have picked all the cherries ( 15 Kilos this year) and this morning have started picking the apricots and tomatoes so the garden is very productive just now.. Til tomorrow….
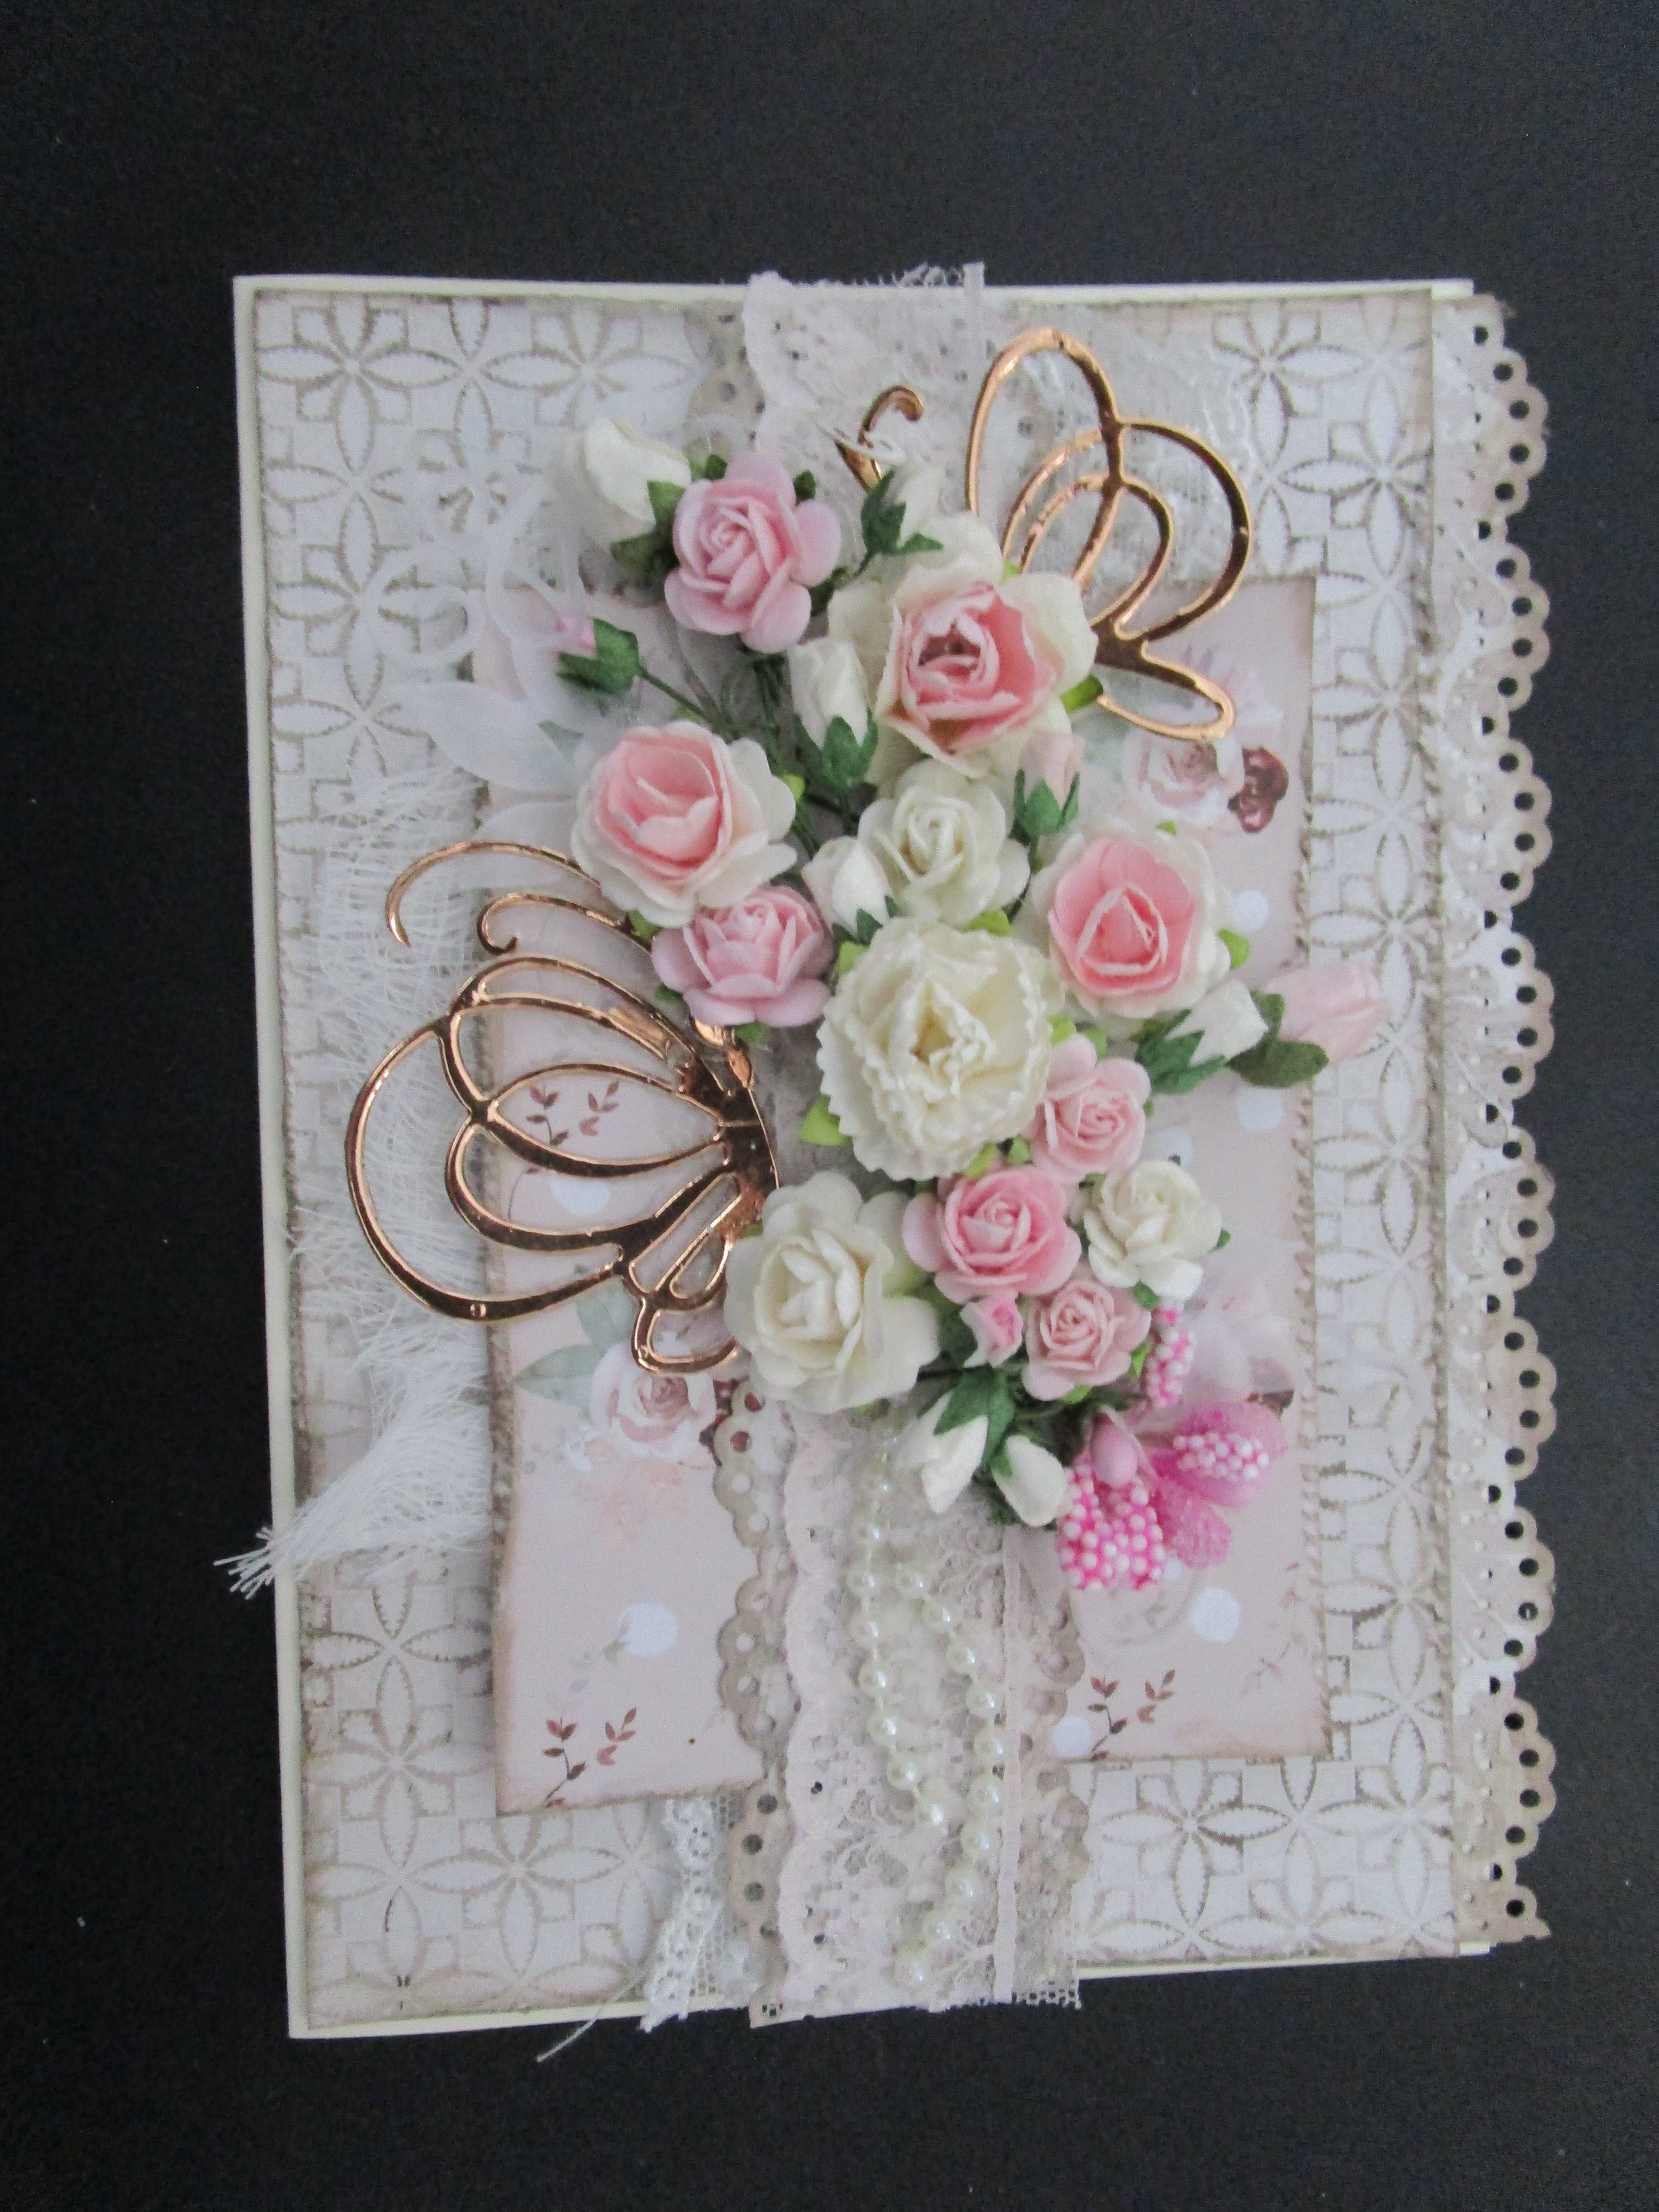
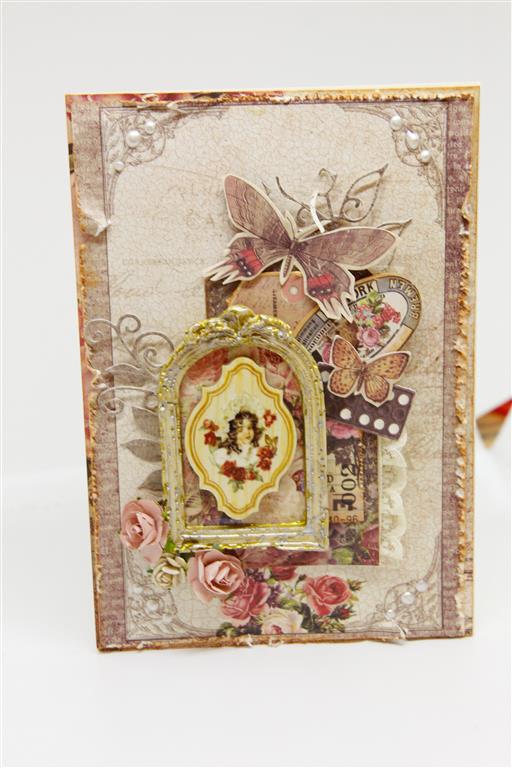
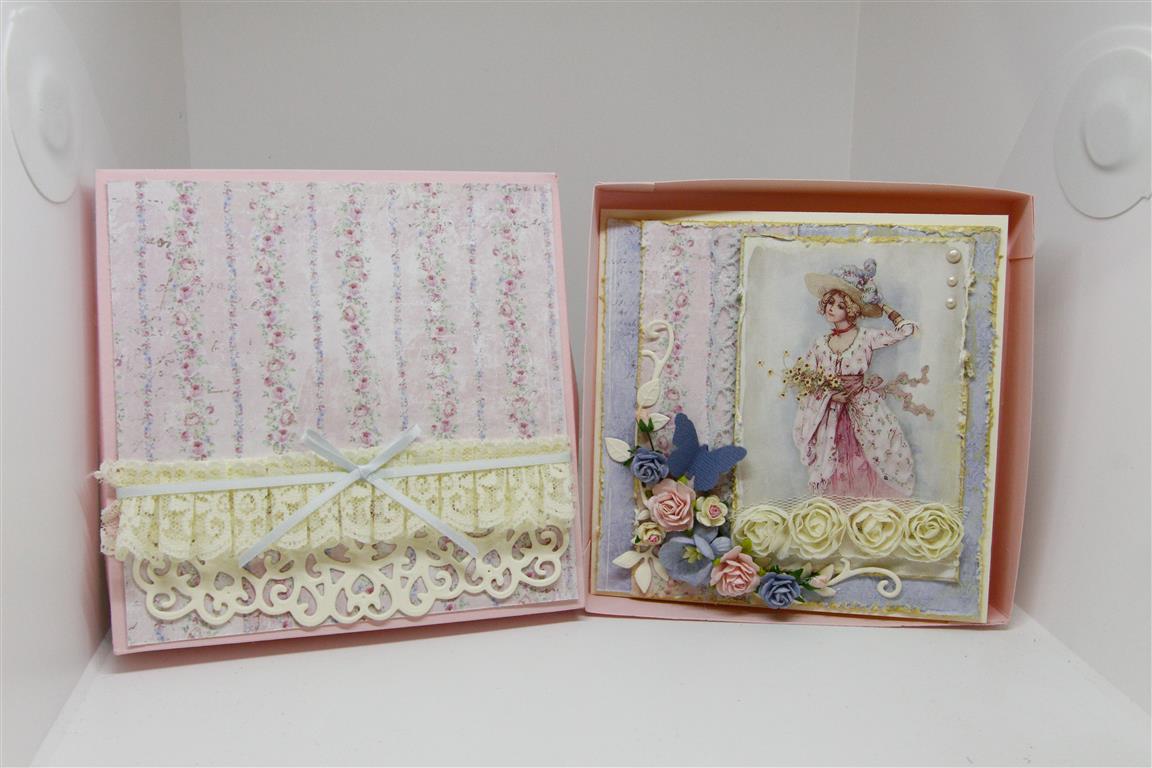 At paper Flourish we have discovered some new designer paper Companies, and Maja Design is one of them. This card and box is made from the Sofiero range. Their papers ( along with Pion designs, Lemoncraft, and Mintay ) are perfect for Shabby style and vintage and I have been having so much fun creating with them all! As I said todays card is made with Maja Designs Sofiero and I have layered papers, with distresses and inked edges onto a cream card base, and added lots and lots of gorgeous flowers along with a couple of die cut leaf flourishes , a punched butterfly, some lace and pearls. Once done I realised it would never survive an envelope so made a box and did a quick bit of decorating on the lid. I have since discovered the benefits of cutting an aperture in the lid and backing with Acetate, which I have shown you on a previous post. That’s it for today…I have a trip to the dentist later but I am going to take my mind off that in the meantime by heading into the craft room! Til tomorrow…..
 I made these two shabby chic style cards with an old Prima range that I found in the craft room,lots of layering of the matching empheria and a die cut gate…I think that was a stampin Up die, a few flowers and some of the frames and swirls that I made with silicone molds and No More Gaps ( from the local hardware shop!) I painted them with some Prima Alchemy paints. A day off today, so i have done my grocery shopping, planned what we are having for tea, and now time to think about some November lessons! Til tomorrow…..
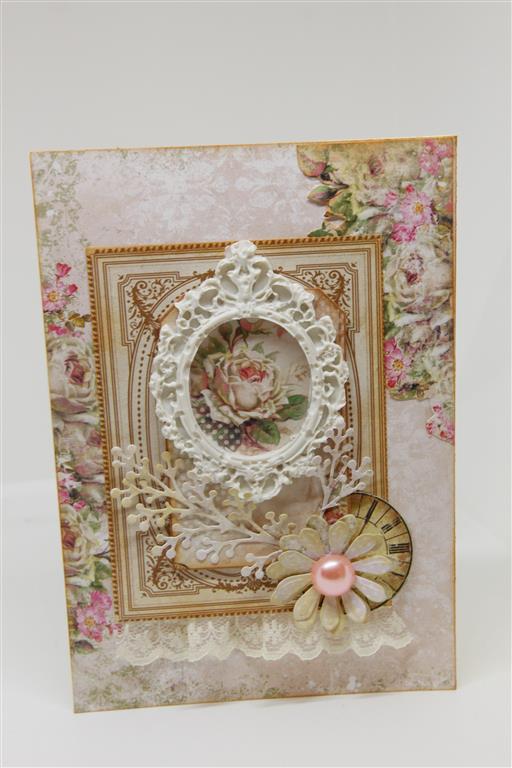 One of the classes I teach at paper Flourish is called Not So Shabby because although I love the shabby chic look I still haven’t mastered the genre and so have created my own take on it.I also need a fair bit of practise so that I can stay one step in front of my pupils so you will be seeing my progress here. This is a card I made with a paper collection called House of Roses by a company called Lemoncraft. lemoncraft have the most amazing shabby style papers and also A4 sheets full of fussy cutting options, both of which I have used on this card. I did a little die cutting ,fussy cutting, added some lace and the focal point on my card is the resin frame which I made with a silicone mold and No More gaps ( available at your local hardware store!). I didn’t paint this one , it is as it came out of the mold. It has been a busy morning full of housework, Roast is in the oven and after lunch I plan to relax in the craft room – can not wait!! Til tomorrow….
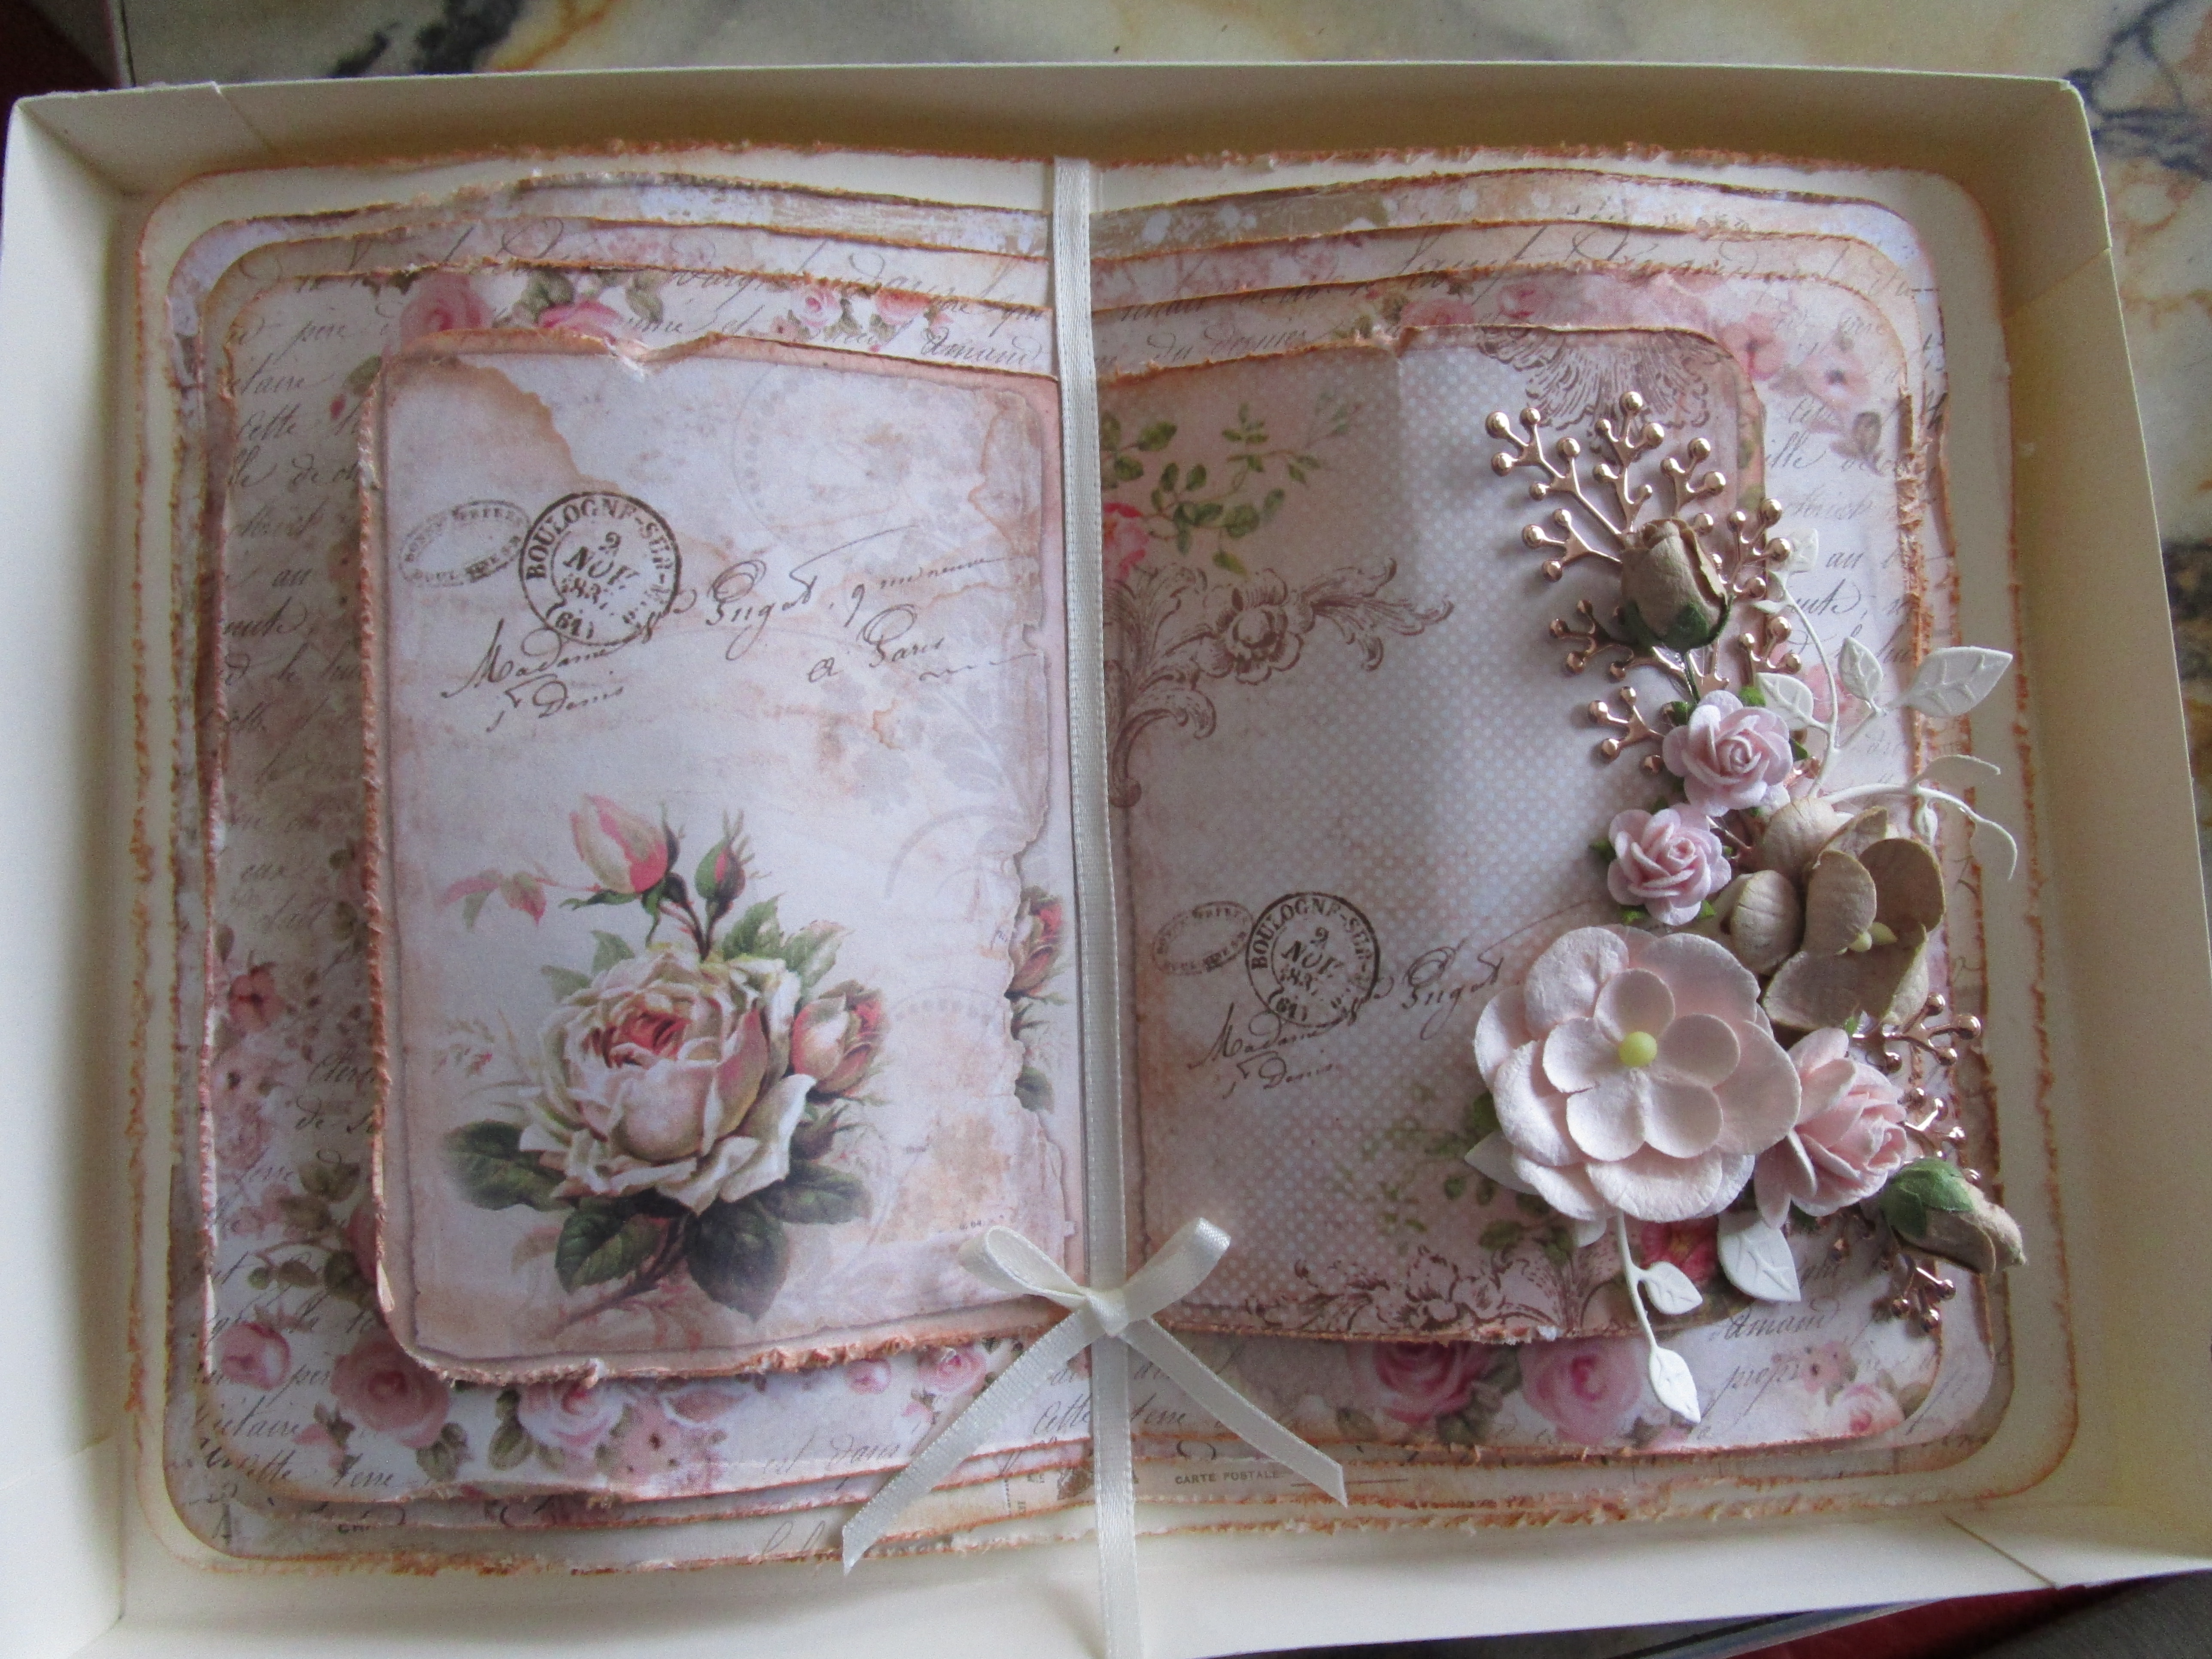
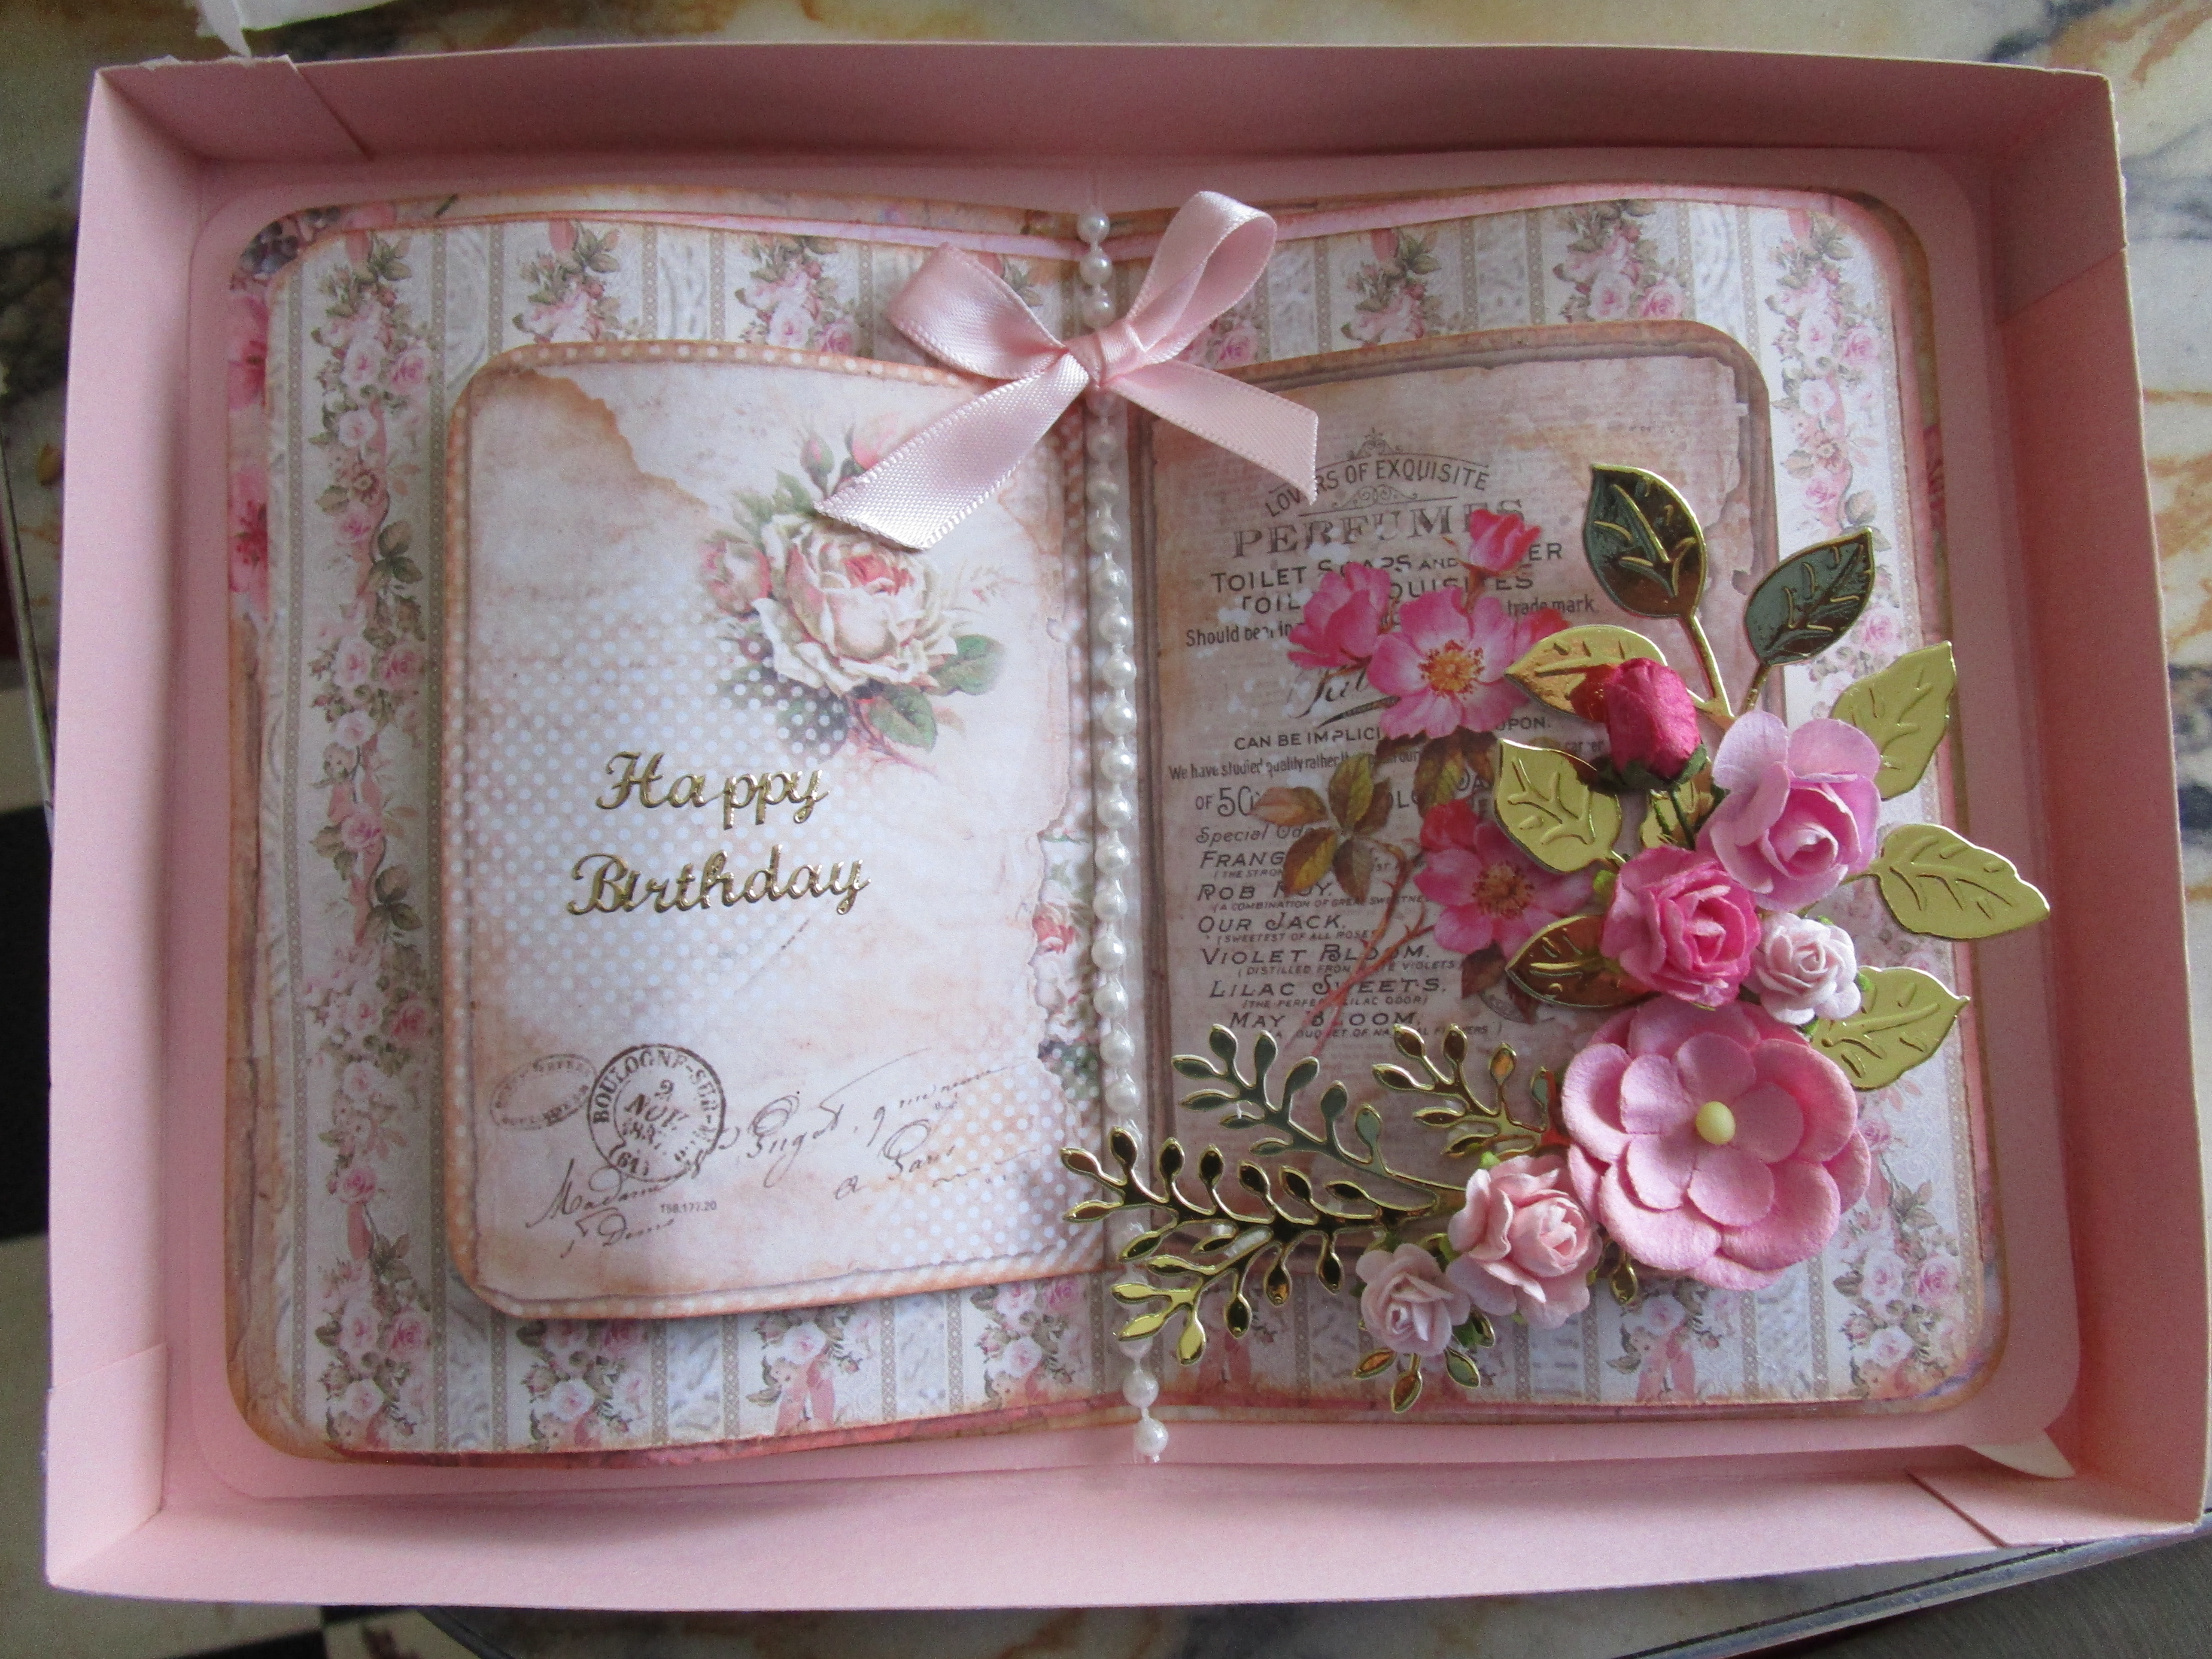
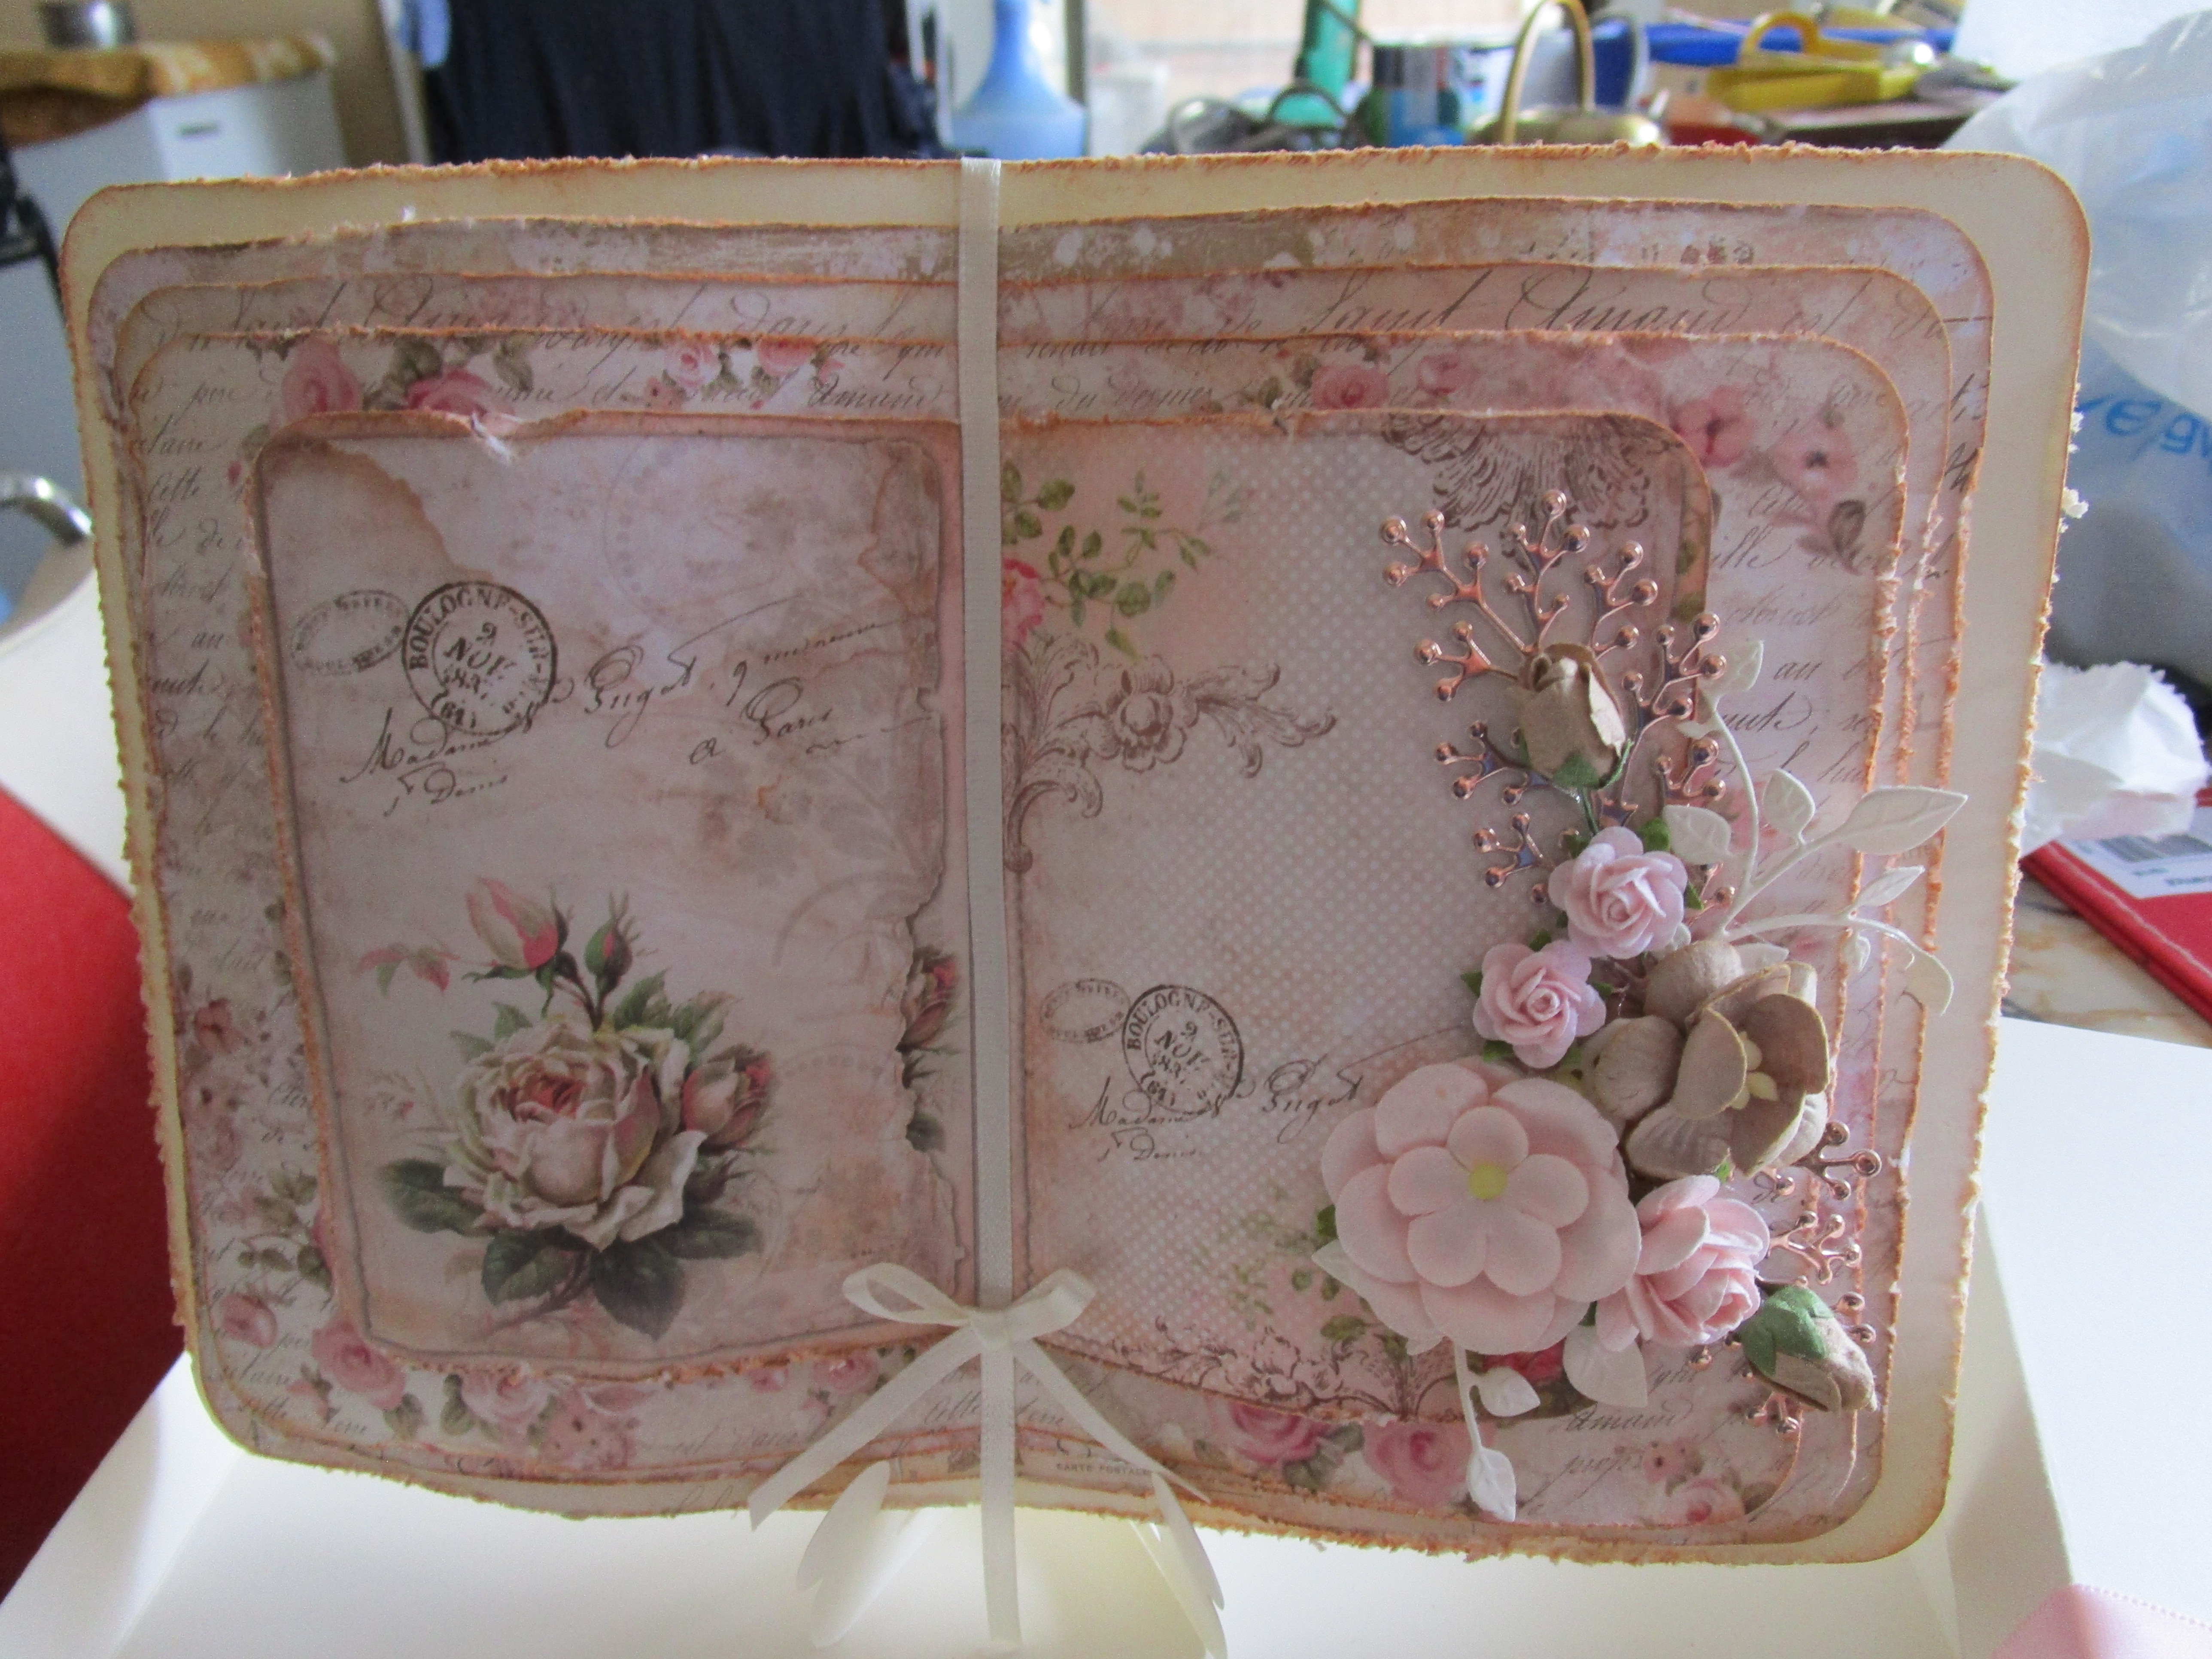 This week I have been making book cards. These are my new favourite thing to make ,but a word of warning …they use a lot of paper! I didn’t come up with this design, although I did modify it a little bit, one of our talented teachers at paper Flourish taught something similar this week to a group of ladies. I have also made boxes to pop the finished product in and decorated the box as well, and I have included in the box a die cut card stand to stand the book up on for display. now to the nitty gritty… there are 5 layers of card and paper, the bottom layer the card and then 4 layers of papers, getting smaller by a centimetre for each layer. I have done them in a shabby chic style so I distressed and inked all my edges with tea dye distress ink, once the papers are cut and inked I folded them in the centre and then bowed out the pages to curl them. I stuck the layers through the centre fold and put 3d mounting foam on the page edges . It was then just a matter of decoration with ribbon, flowers and various die cutting of leaves and flourishes!. The papers I have used here are from two companies – I have just discovered them and their papers are gorgeous so you will see more of them on my blog. they are Lemoncraft ( the papers here were from their range House of Roses, ) and Stamperia. The bottom photo gives you a better idea of the card upright. For now I am off to teach a retirement village calss, til tomorrow….
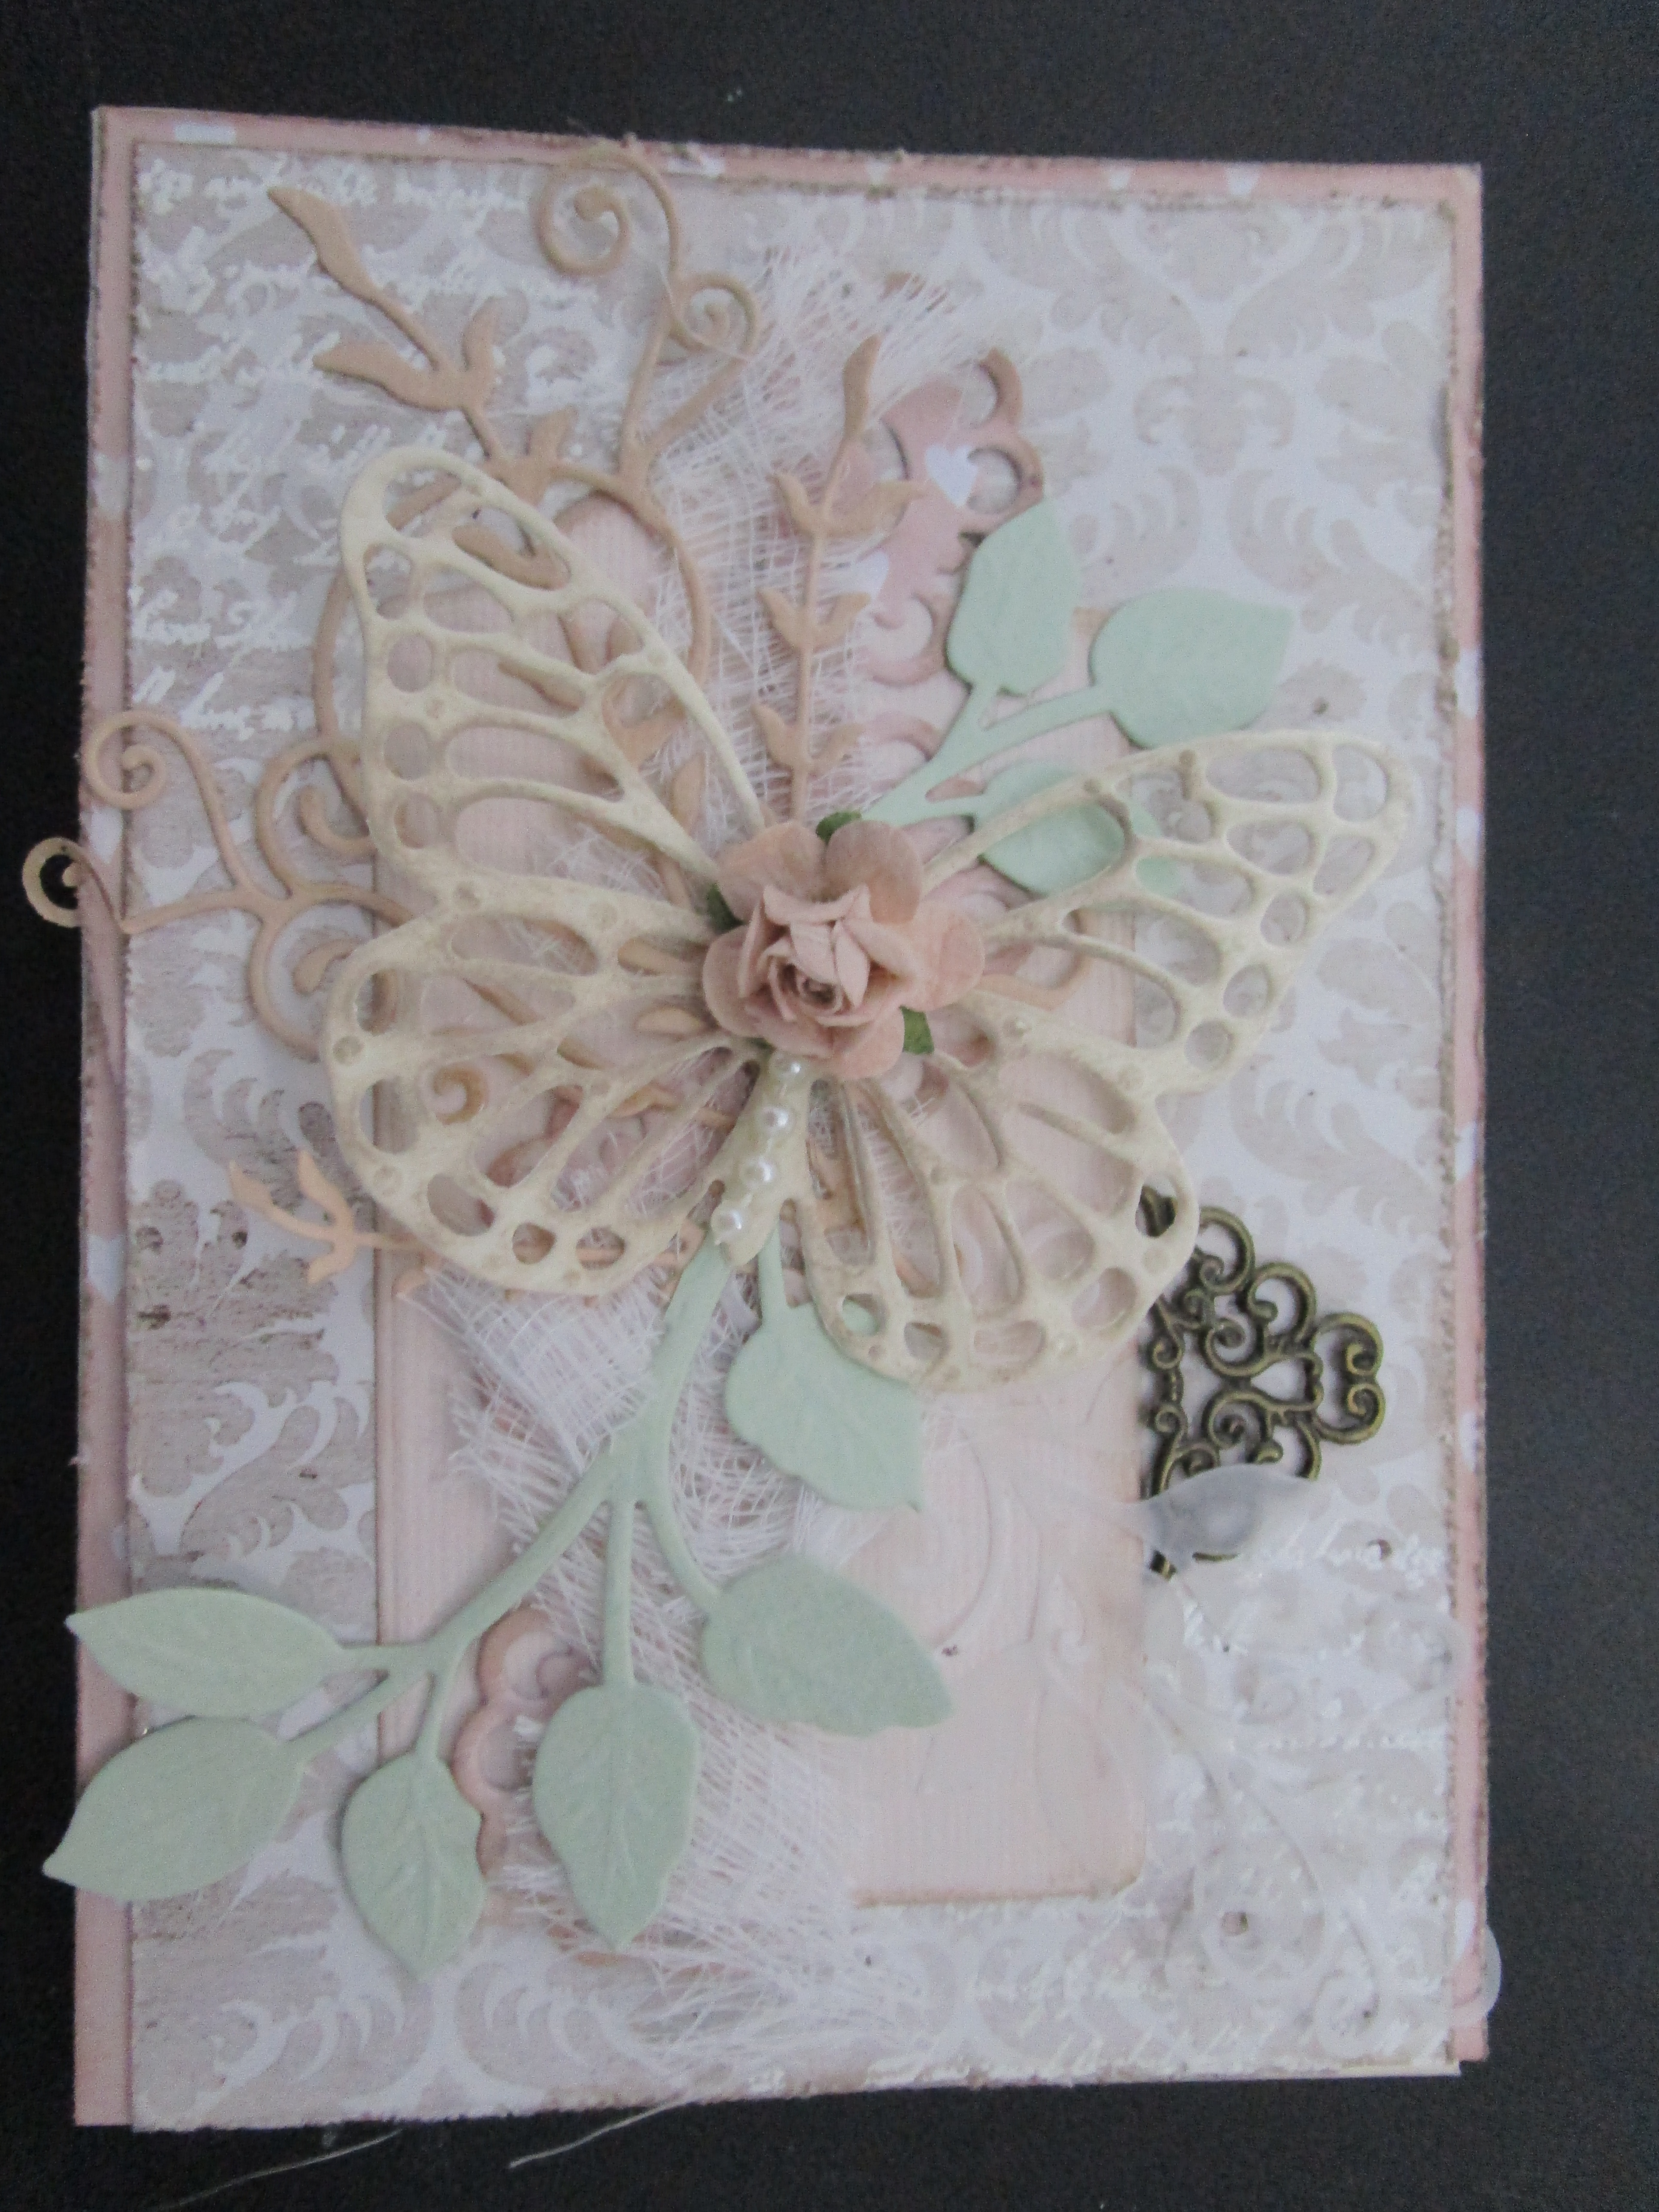
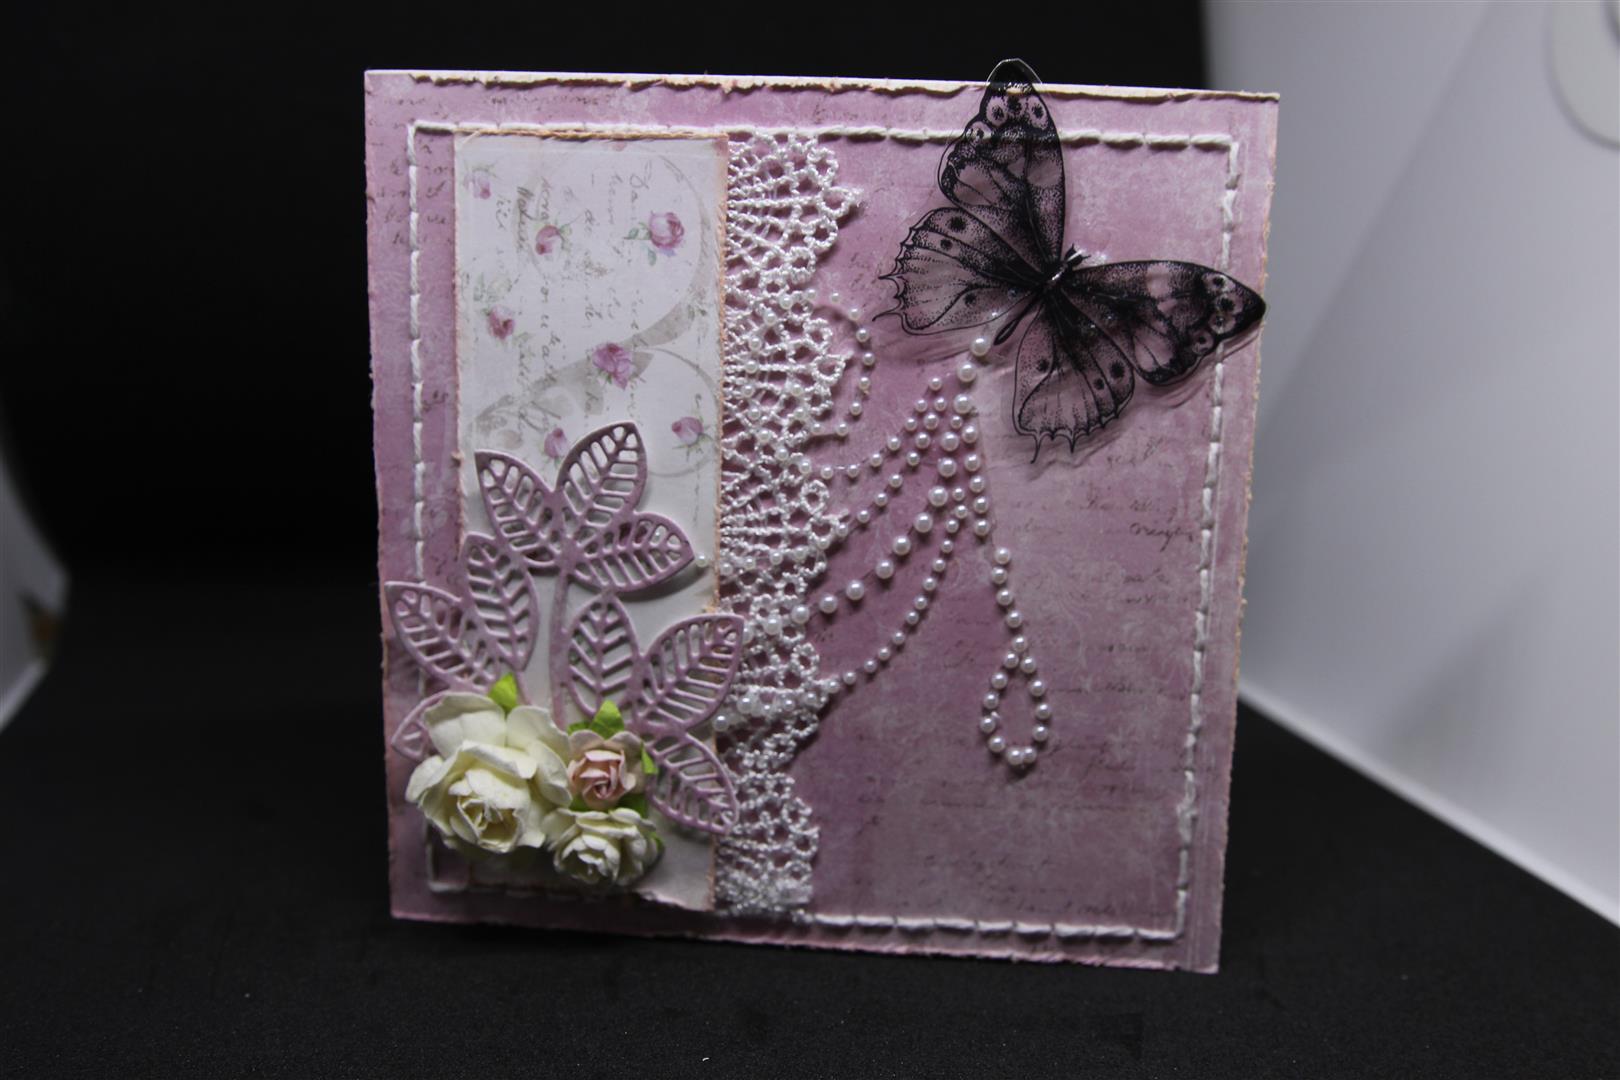
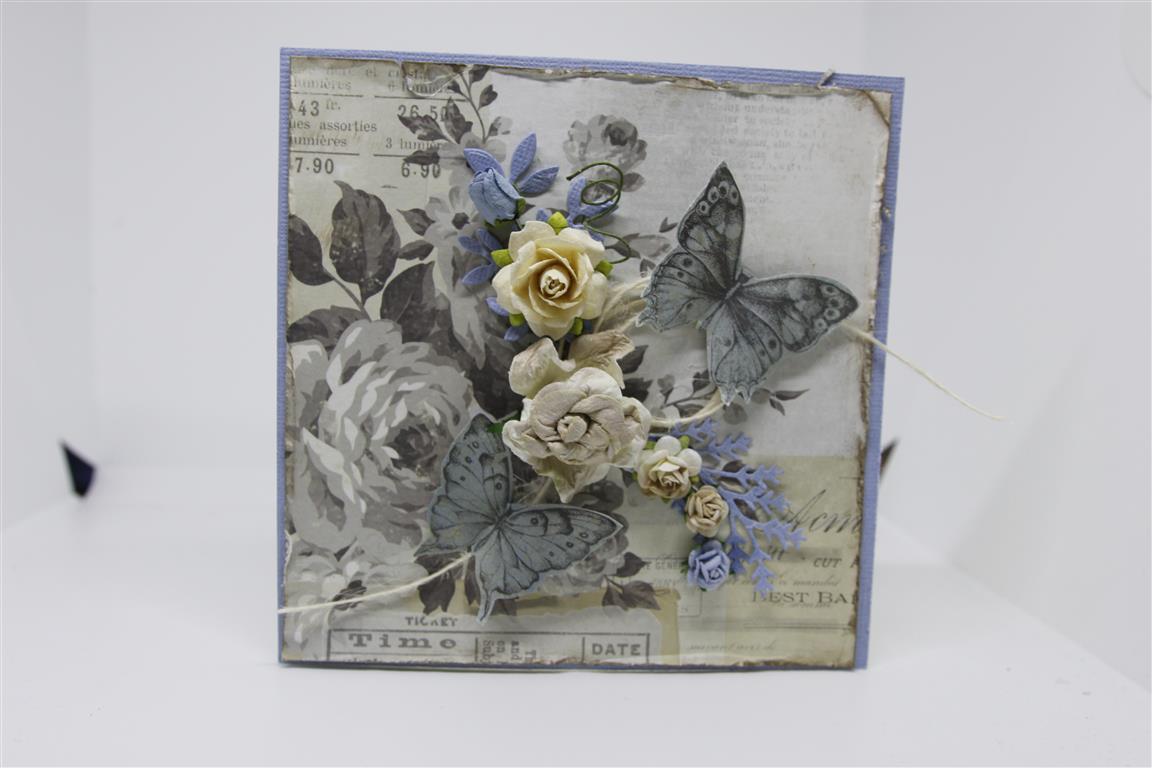 This is the second Shabby Chic card i taught in my recent class. we distressed and inked, and die cut and added lots of lovely flowers! We did also colour our flowers with some distress re inker watered down in a spray bottle and sprayed our butterflies too. If I remember correctly the paper collection is from Kaisercraft called pen and ink.
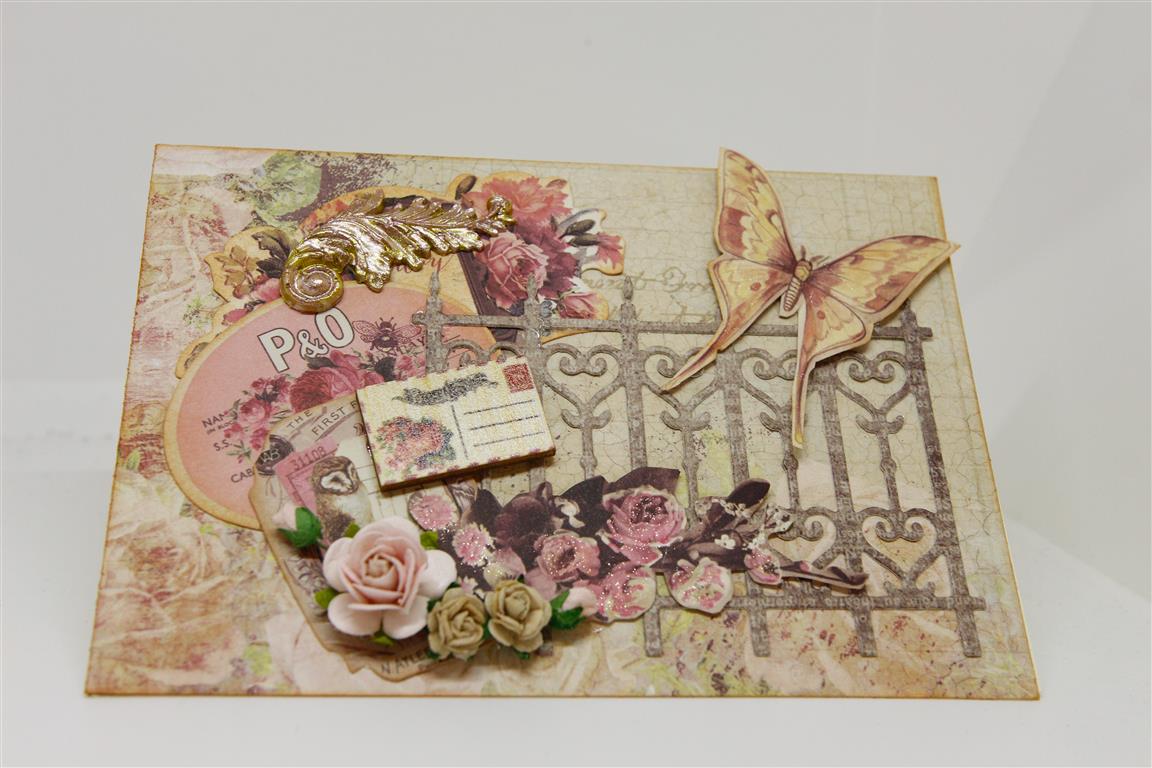
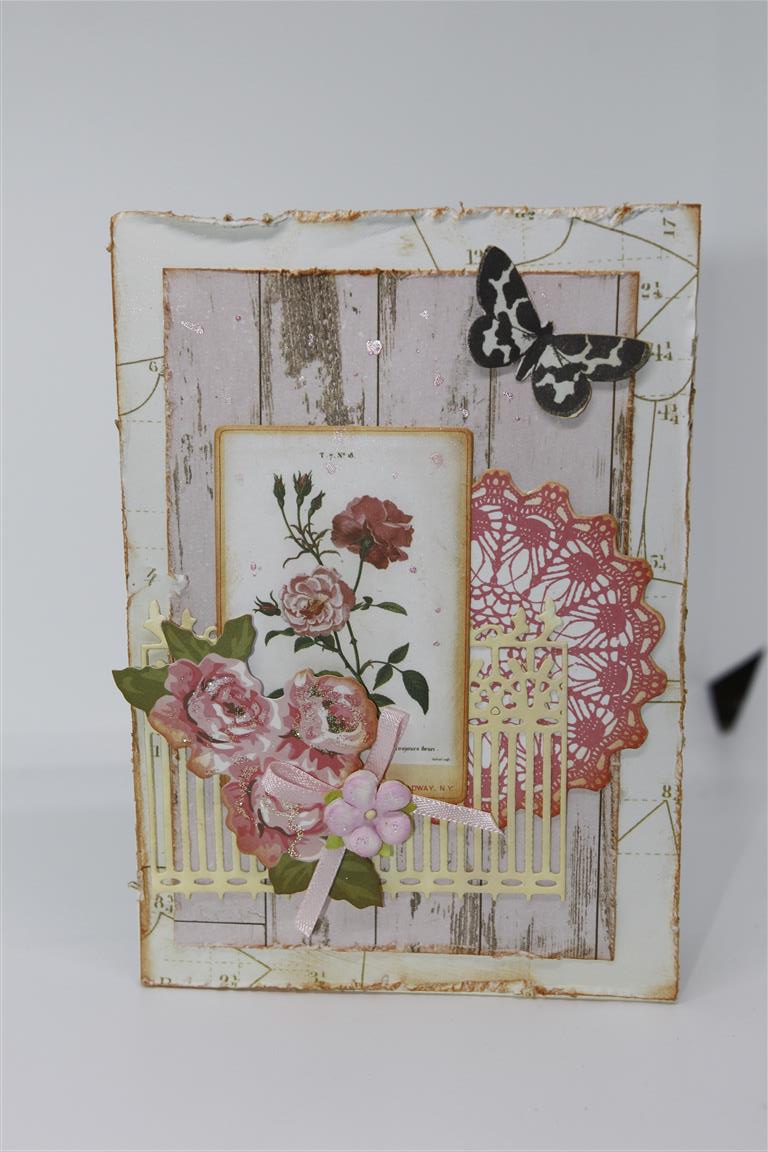 The second card made with kaisercraft Miss Betty collection! Here I have used some of the 12 x 12 sheets, and the matching collectables. The die cut fence is a couture creations die and I inked around all my distressed edges with tea dye ink and added a ribbon bow and little flower. This week has been hugely busy at work putting out all the new pre orders and I must admit I have a few new things to play and experiment with including the new Go Press and foil foil,emboss and cut dies ( which do all that in one step!). They are on my dining table ready to go in about 5 minutes!! til tomorrow….
