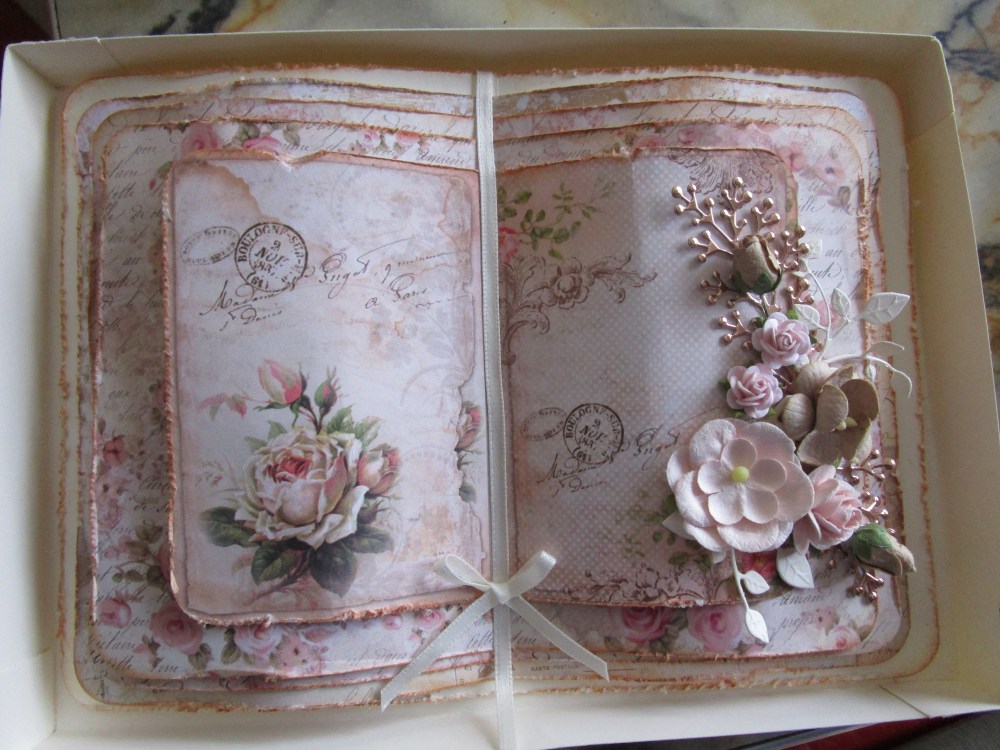
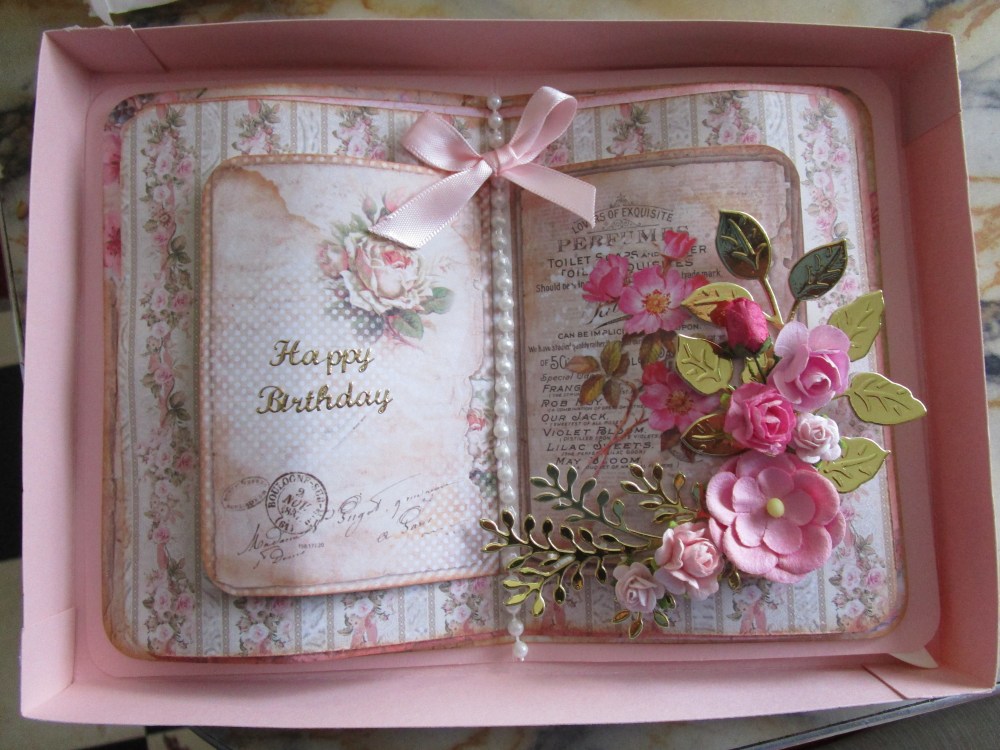
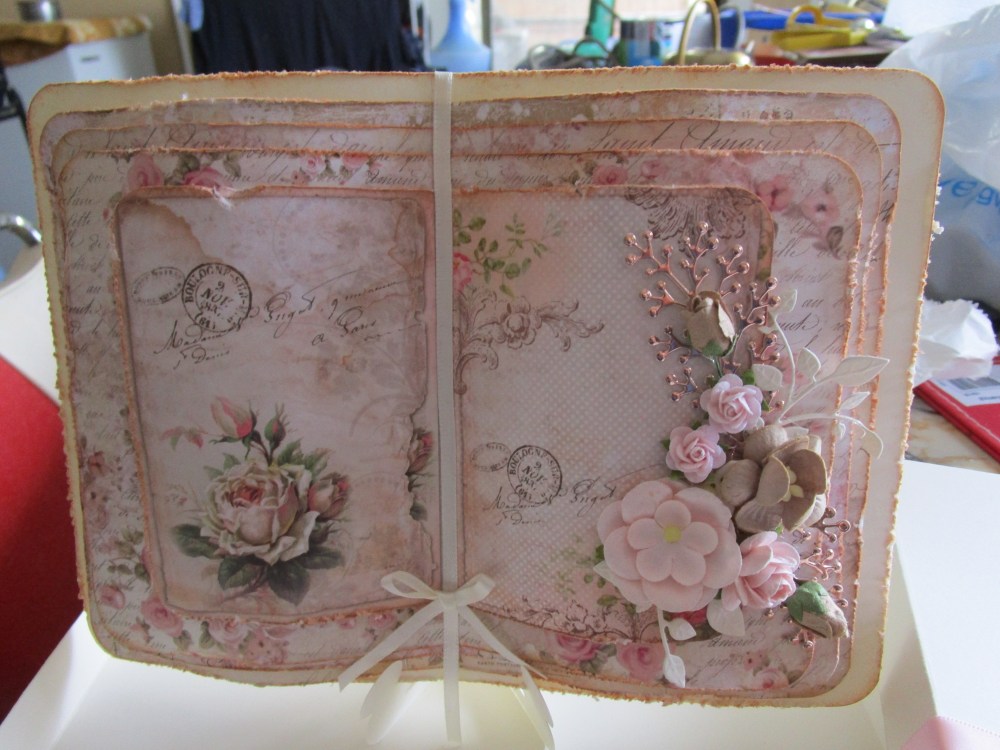
 This week I have been making book cards. These are my new favourite thing to make ,but a word of warning …they use a lot of paper! I didn’t come up with this design, although I did modify it a little bit, one of our talented teachers at paper Flourish taught something similar this week to a group of ladies. I have also made boxes to pop the finished product in and decorated the box as well, and I have included in the box a die cut card stand to stand the book up on for display. now to the nitty gritty… there are 5 layers of card and paper, the bottom layer the card and then 4 layers of papers, getting smaller by a centimetre for each layer. I have done them in a shabby chic style so I distressed and inked all my edges with tea dye distress ink, once the papers are cut and inked I folded them in the centre and then bowed out the pages to curl them. I stuck the layers through the centre fold and put 3d mounting foam on the page edges . It was then just a matter of decoration with ribbon, flowers and various die cutting of leaves and flourishes!. The papers I have used here are from two companies – I have just discovered them and their papers are gorgeous so you will see more of them on my blog. they are Lemoncraft ( the papers here were from their range House of Roses, ) and Stamperia. The bottom photo gives you a better idea of the card upright. For now I am off to teach a retirement village calss, til tomorrow….
- Comment
- Reblog
-
Subscribe
Subscribed
Already have a WordPress.com account? Log in now.

beautiful card, its a great idea to shabby chick the edges as every time i do those cards you always see my uneven cutting line