 Here are the last two cards in my Safari Adventure ( graphic 45 ) series for now.For both cards i have used the 12 x 12 shet that has the card fronts printed on it, which makes for very quick and easy cards. I have added some kaisercraft chipboard pieces on both cards,and some fussy cut pieces and a punched border on the top card.Today is a lazy day in the craft room, after I have organised my teaching bag for my class on Thursday, which I am looking forward to very much! Til tomorrow….
Tag: simple cards to make
graphic 45 safari adventure 5 and 6 ..birds..
 two more bird cards made with graphic 45 Safari Adventure papers.The top card has a fair bit of fussy cutting, with a bow and bling, while the bottom card is so simple. I loved the background paper and didn’t want to cut into it or hide it so I just added a little tag in the bottom corner, with some fussy cut flowers layered onto that for a bit of height, and a kaisercraft starlet at the top of the tag.Busy in the craft room today doing some orders, and some more mens cards for Fathers day, the weather is lovely today so I will enjoy sitting out in the sun too! Til tomorrow….
graphic 45 safari adventure 3 and 4..
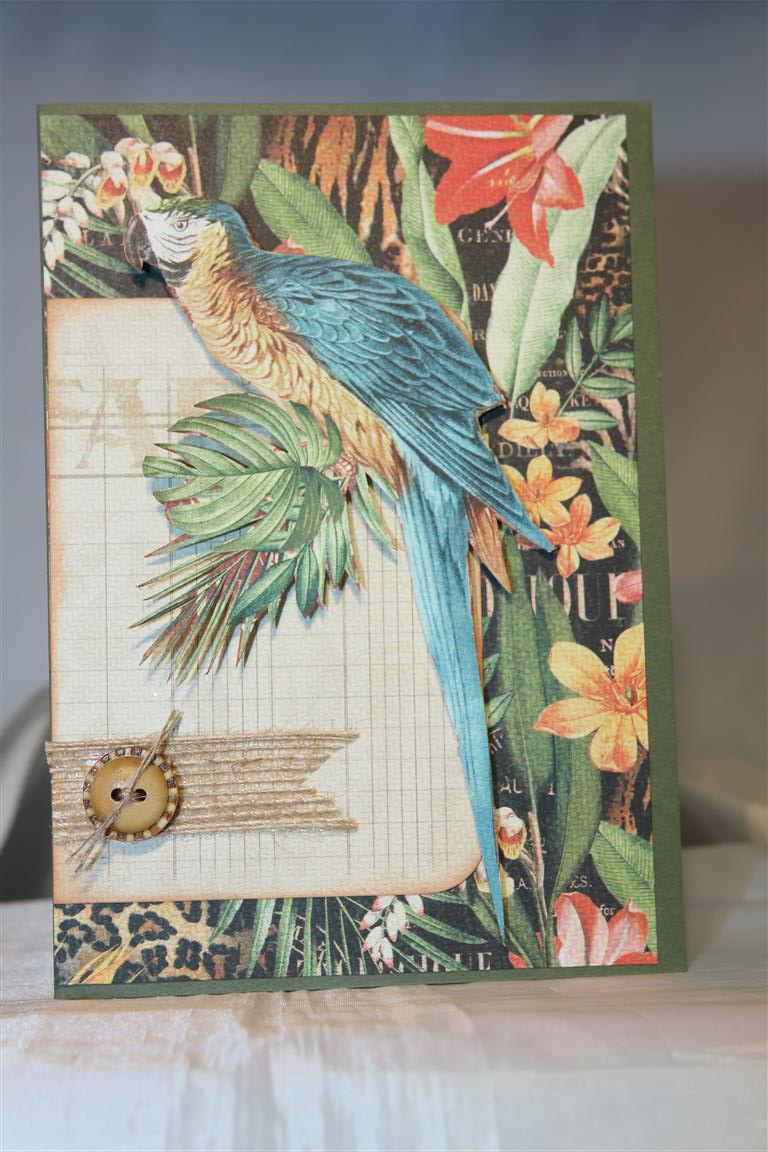
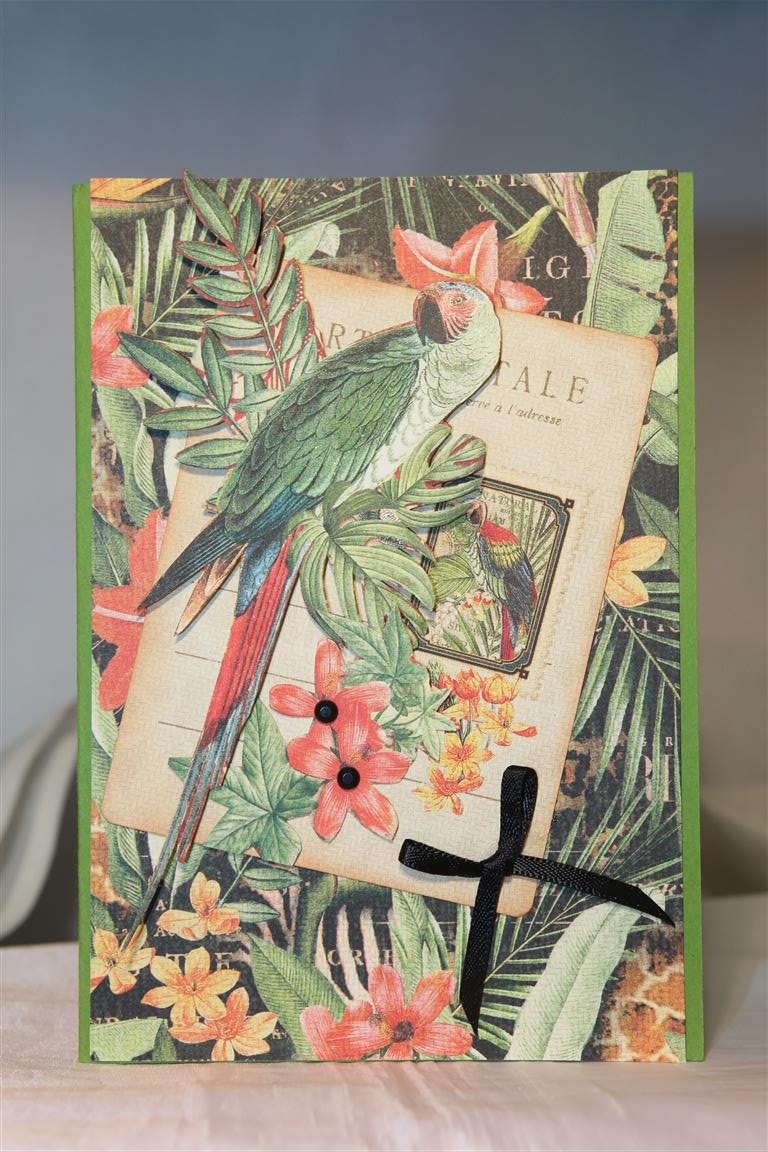
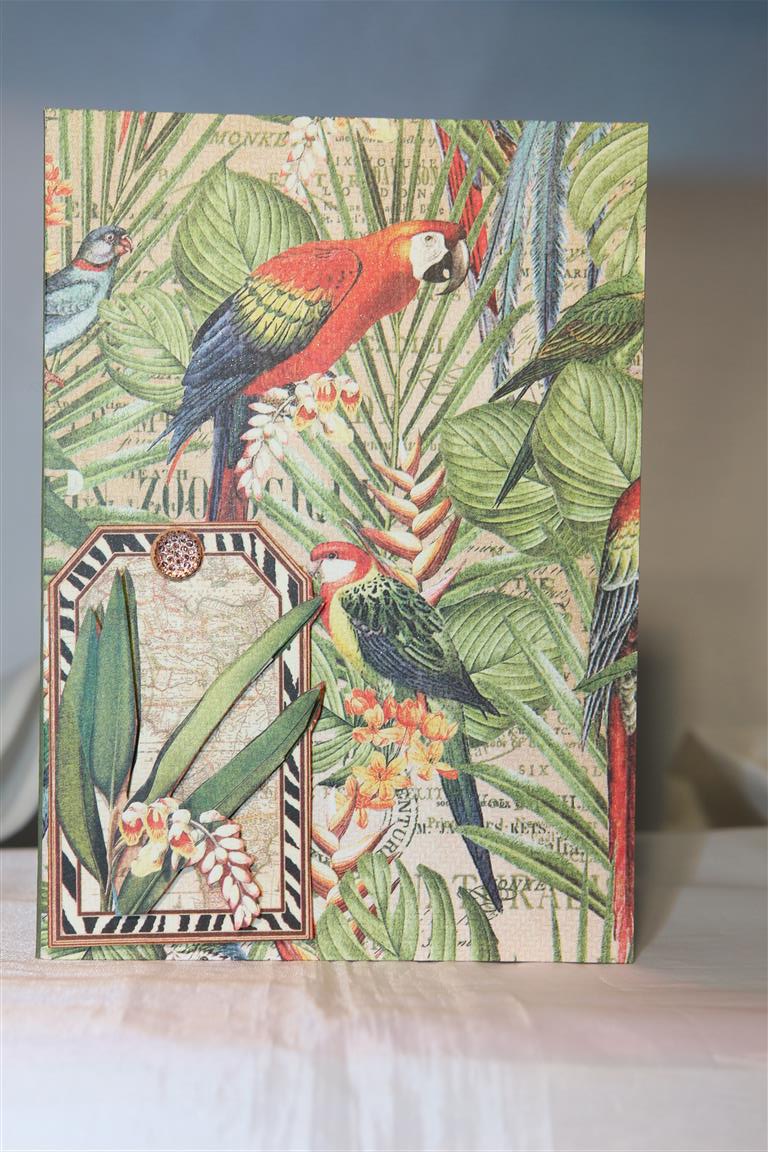
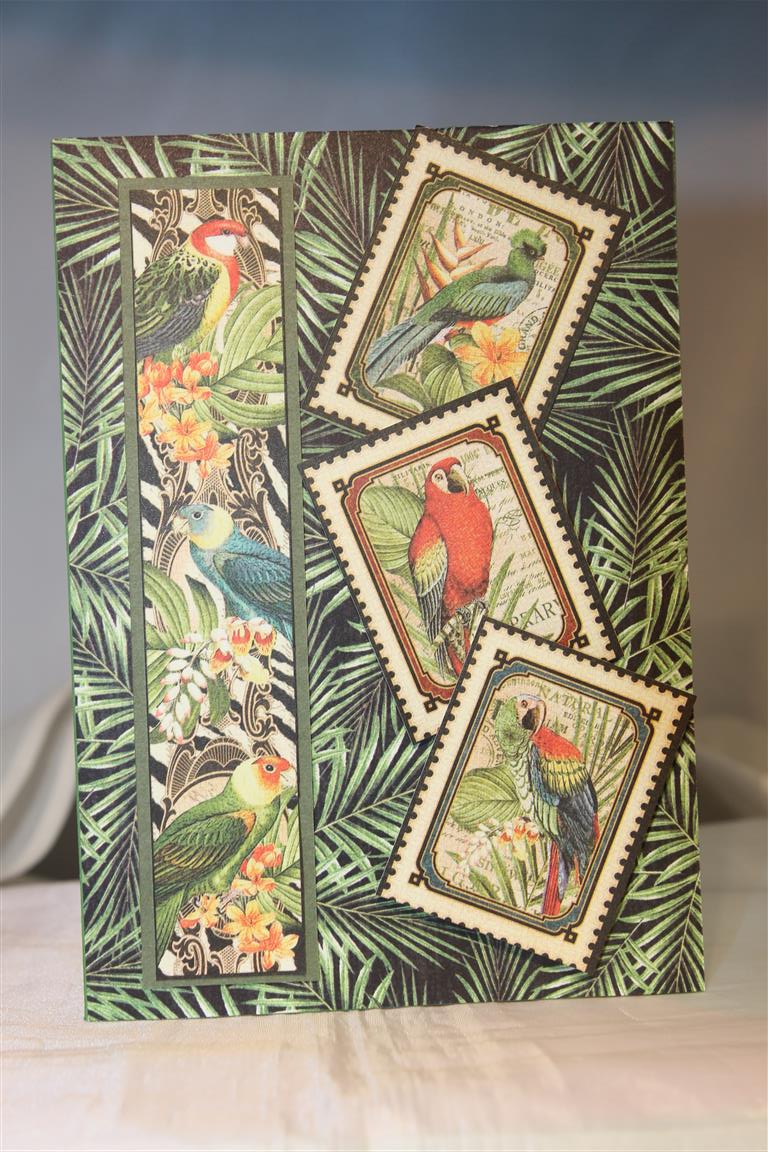 Graphic 45 Safari adventure isn’t all about animals, there are some gorgeous images of birds in this collection too.On the top card I did a little fussy cutting, and layering, and added some hessian and a button. The bottom card is straight forward layering, with the postage stamps cut from some of the patterned paper. I matted the border on the left hand side on some plain cardstock for definition.No other embellishing on this one!Til tomorrow…..
Graphic 45 safari adventure 2…
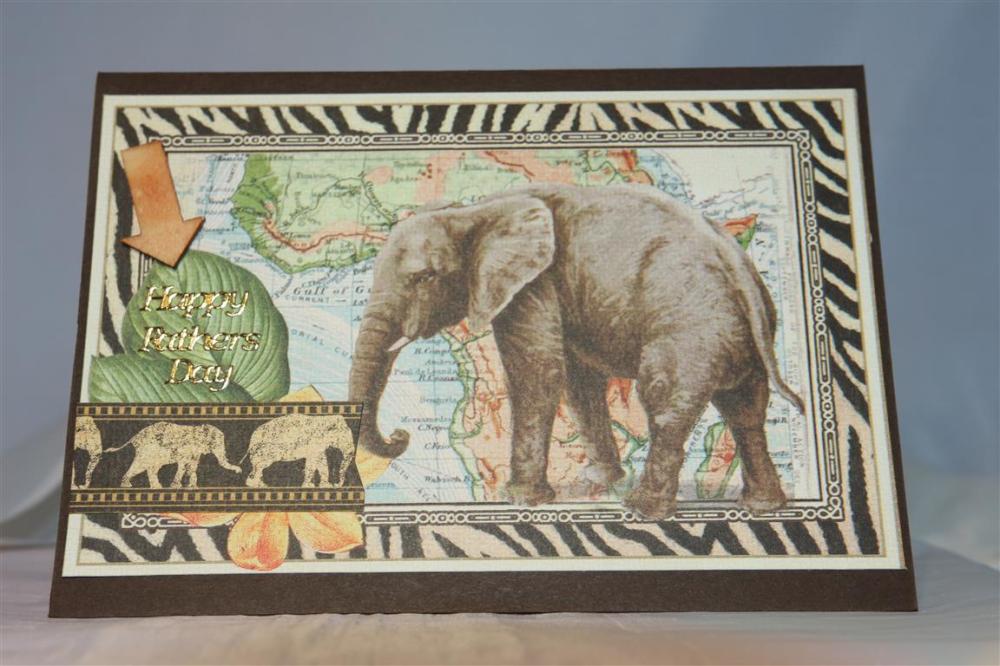
 Quick post today, Graphic 45 Safari Adventure.I layered a piece of the green patterned paper from the collection onto my card base, trimmed back the image, fussy cut a tag from another piece of the collection,and stuck on a button ( which looking at the photo appears to have slipped down a bit – will have to check that!Meanwhile imagine the button on the top of the tag!!)Til tomorrow….
Graphic 45 Safari Adventure.1.
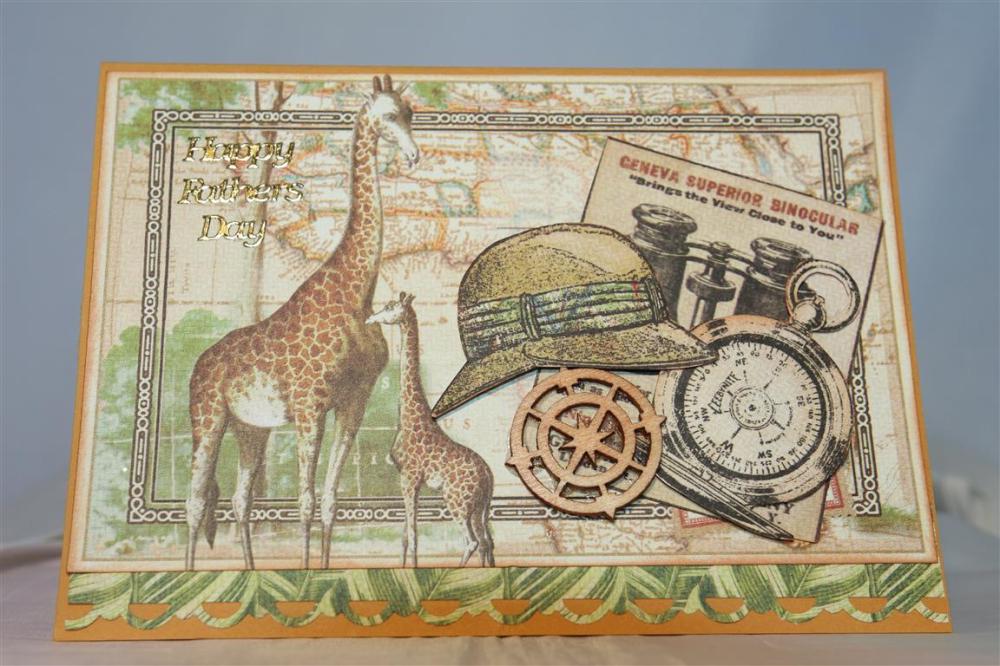
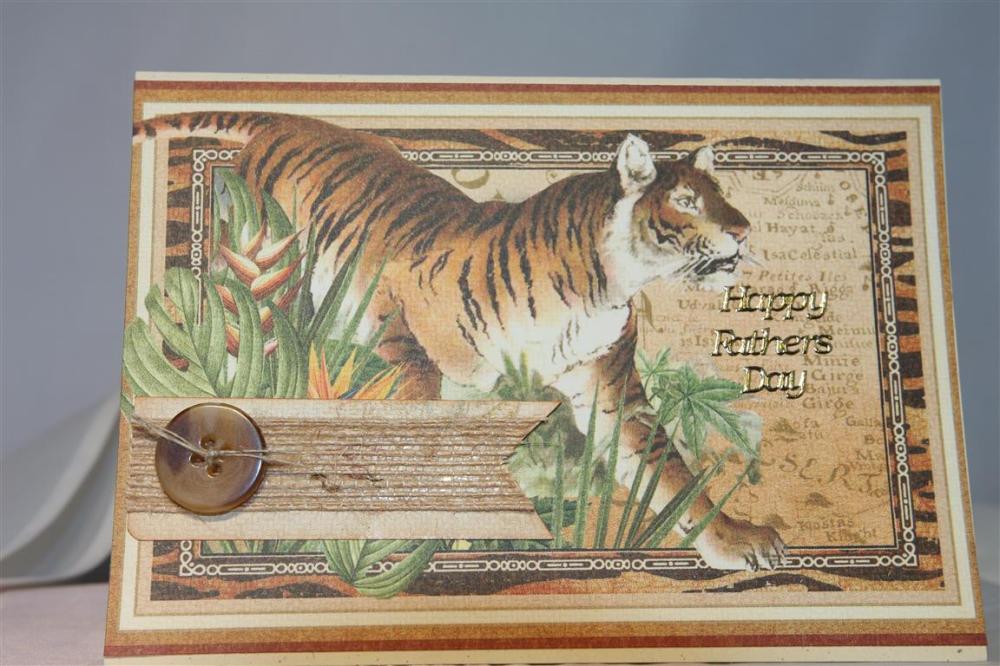 Today we start a new series! Graphic 45 Safari Adventure. Graphic 45 have made it really easy to make cards with this collection.A lot of the images cover the whole card ( like this one) and I just added a flag pennant, hessian strip and button for some texture.I have a couple of tiger fanatics in the family so I will be putting some of the tiger cards I make aside for birthdays.After a marathon session I have made the prototypes for my cruise classes, I am all carded out, and I am looking forward to sitting down with a good book!Til tomorrow…
Stampin Up Tuscan Vineyard continued..

 Here are the other two cards I made with all stampin up supplies, and the Tuscan Vineyard stamp set.The top card has an interesting background – I created an oval mask and then rolled over the vanilla cardstock with suede ink and a sponge roller. The resulting background looks like a sandstone wall which fits in perfectly with the theme of the card.Quick post today as I have just accepted a job on a cruise ship for a 7 day trip as an arts/crafts instructor and I have to plan out the lessons. Great excitement here, but will have to wait until March for the trip!Til tomorrow…
Tuscan Vineyard stampin up set..

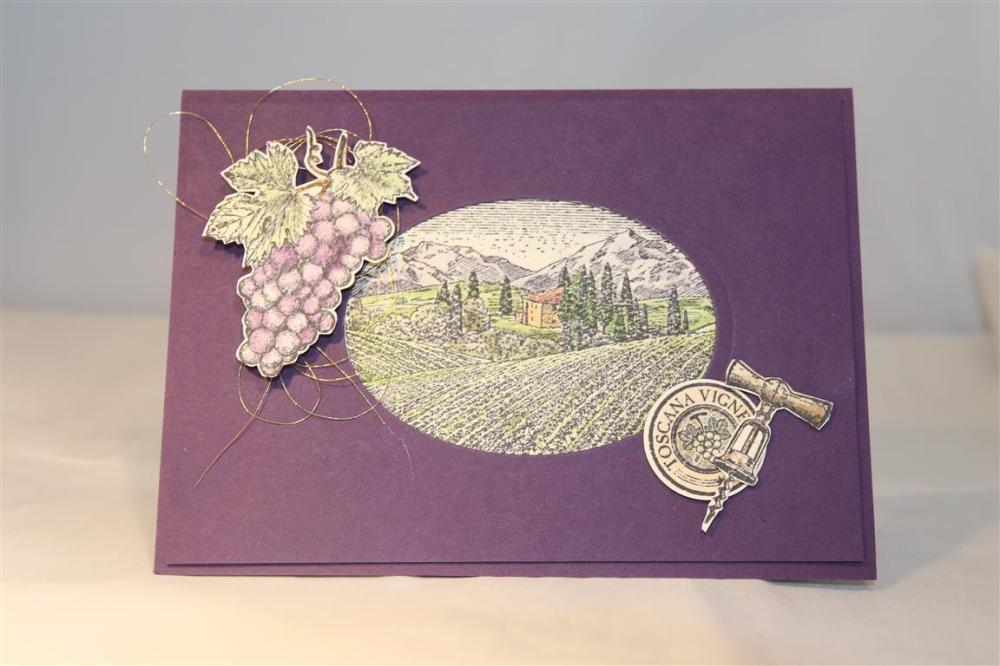
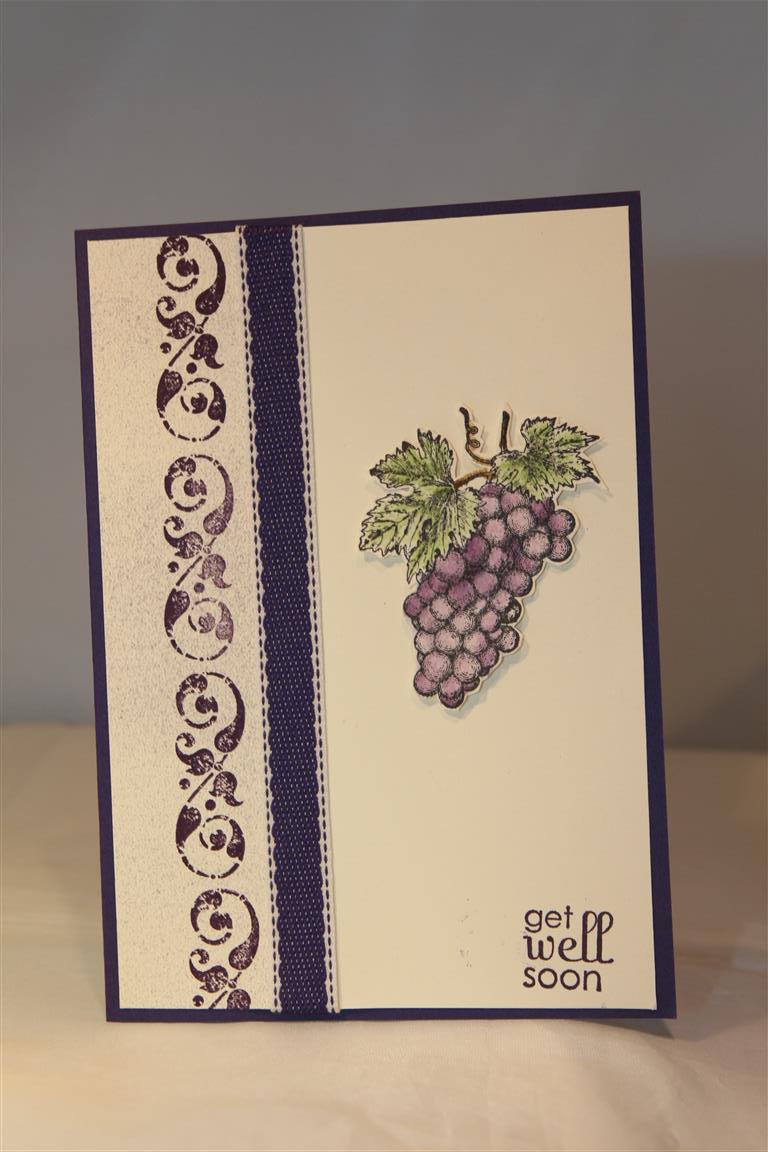 I think I mentioned the other day that I would post some stamped cards, here are a couple of them and we will continue with them next post as well. All of these cards are made with one stamp set from Stampin up called Tuscan Vineyard, and all supplies used are by Stampin Up as well.The top card….I die cut a circle in some vanilla cardstock, and die cut the scenery stamp as well – the scenery stamp is actually shaped in an oval, so made that decision super easy! I coloured the scene with inks and an aquabrush, and stamped the swirls in the corners to finish. The lower card….I stamped the grapes on watercolour cardstock, coloured with inks and an aquabrush and fussy cut.Stamped the swirl down the outer edge of vanilla cardstock, wrapped a ribbon around, and attached all to card base.( the sentiment is from an older stampin up stamp set). This afternoon I am in the craft room working on september lessons and it’s all about Christmas! Have you started your Christmas cards yet? Time is flying and it will be upon us before we know it! Til tomorrow….
Kaisercraft mademoiselle 2..
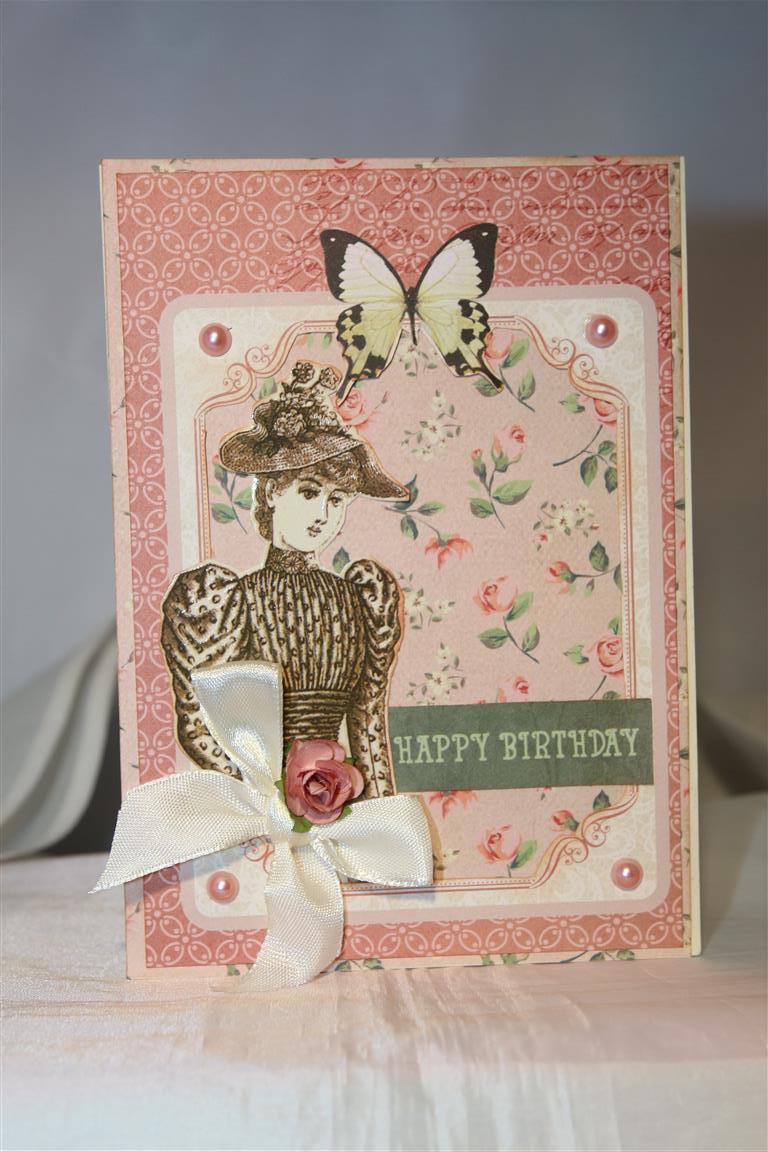 I know I mentioned some stamped cards in my previous post,but Nathan did some Photoing, and there was one Kaisercraft mademoiselle card in the group,so I wanted to put it up with yesterdays card, so that we aren’t jumping all over the place!For this card i have used some of the 12 x 12 papers. The frame is from the 12 x 12 card front sheets. There was some words in the centre, but I didn’t want to use them, so I cut the inside of the frame away and backed it instead with some 12 x 12 paper. With this collection there is a specialty sheet covered with lots of lovely images which I sat and fussy cut out one evening, and that’s where the lady came from!All I needed then was a kaisercraft flower, ribbon bow and some pearls to finish. Til tomorrow…
Kaisercraft Mademoiselle..
 The Kaisercraft Mademoiselle paper collection is gorgeous, so much so that I have used it for my August class at Paper Flourish!For this card I have used the 6″ paper pad,and a couple of the collectables.The trim is by Prima, and the butterfly is fussy cut from another of the papers in the pad.The secret to this vintage style paper is to ink around all your edges…I have used Tea Dye distress ink.We will continue this collection after Nathan has photoed the cards I have since made up, meanwhile tomorrow we will have a look at some stamped cards I recently worked on. Til tomorrow…..
Bo Bunny Butterfly Kisses number 5…
 Hello and welcome to my new subscribers! Today we are looking at the last of my Bo Bunny Butterfly Kisses cards ( for now..I love this paper collection and will be re visiting it soon, but for now I have to make some Fathers day cards). This one is my favourite of the series because I have gone back to basics, relying on the paper to do all the work! The base is stampin up cardstock, and the first layer is a piece cut from one of the 12 x 12 sheets. The next piece is from the matching noteworthy pack, and I fussy cut some pink / apricot frondy bits from more paper and added a butterfly collectable and ribbon bow. Today i am teaching a class over at the retirement village,so i must go and remind myself what we are actually doing and gather all my bits and pieces together! Til tomorrow….
