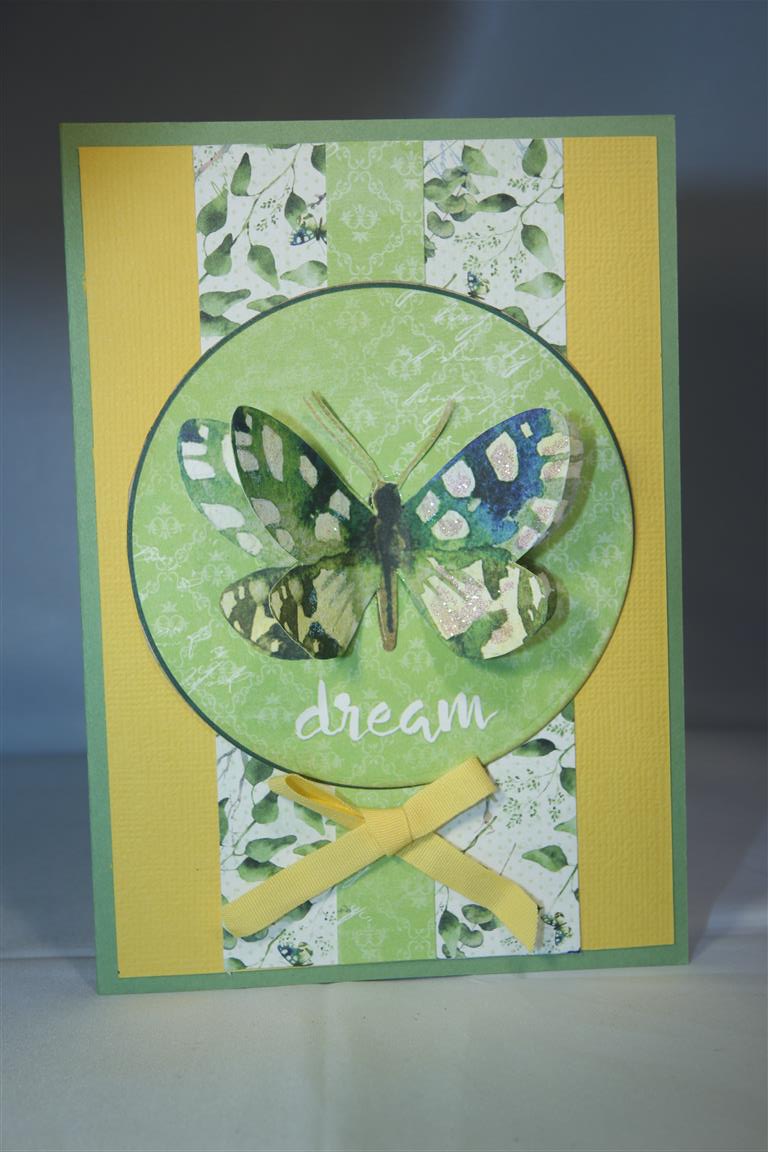
 I have only made the one card with this paper collection so far, as I have been distracted with new toys. It is a gorgeous paper range with lots of birds and lovely colours, but this card uses one of the card fronts with the butterfly. There were two images of the butterfly so I fussy cut the second one and popped it on top of the first. I had very good news this morning..I am teaching card making on a cruise to Tasmania in February. I taught on this cruise this year and thoroughly enjoyed the experience, so I was thrilled when the cruise company asked if I would be interested again this season. Over the next few weeks I will be organising my classes for that. My sister will come along to lend a helping hand and will be a big help getting everything ready.Meantime, I have a few projects on the go in the craft room, so will clear those this weekend if I get the chance! Til tomorrow….
Category: bo bunny collections
Bo Bunny Petal Lane 5…
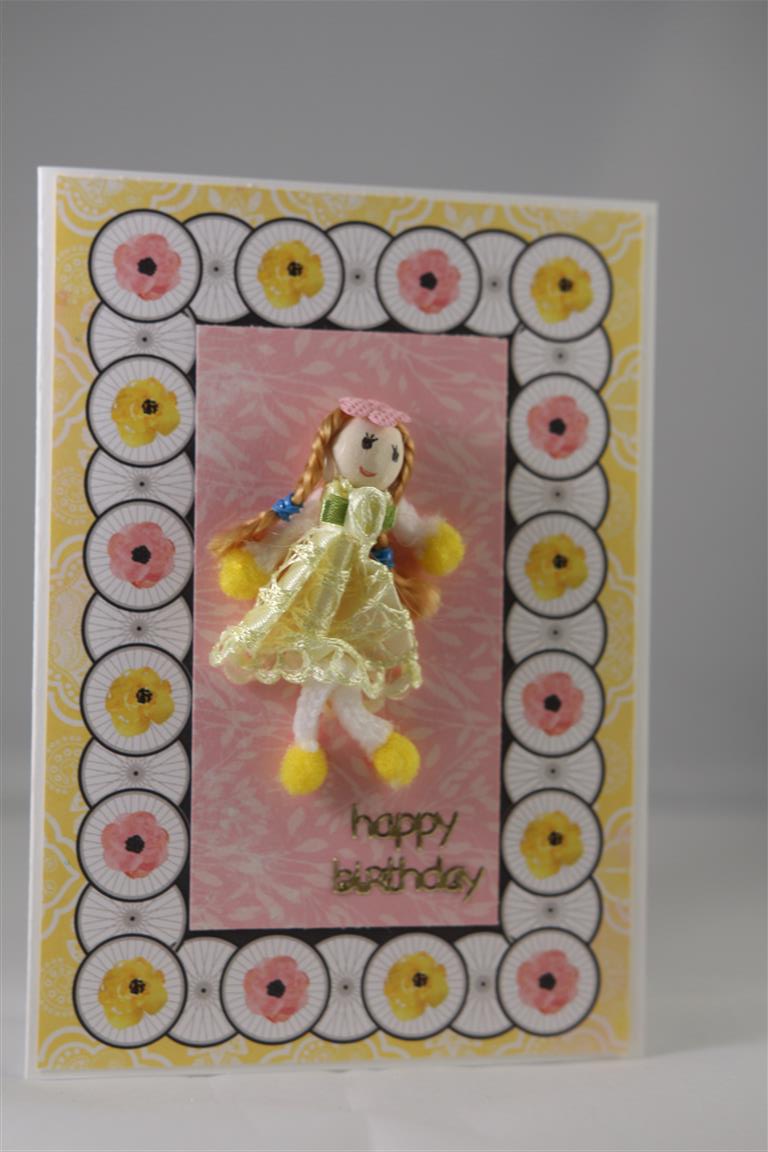 This is the last in my Petal Lane ( bo bunny) series for now,and it was a really simple card to make. The background piece was from the 12 x 12 card fronts sheet and I layered a piece of the pink patterned paper on top as I thought the black centre was too harsh for the little doll I stuck on the front. These little dolls are from our local cheap shop and they make great toppers for little girl cards. It has been very hot here today, (37C) so I have been taking things a little slowly and even managed to do some “me” crafting in the craft room as I have now organised all my classes for the next 2 months! Ahh! Til tomorrow….
Bo Bunny petal lane 3,4..
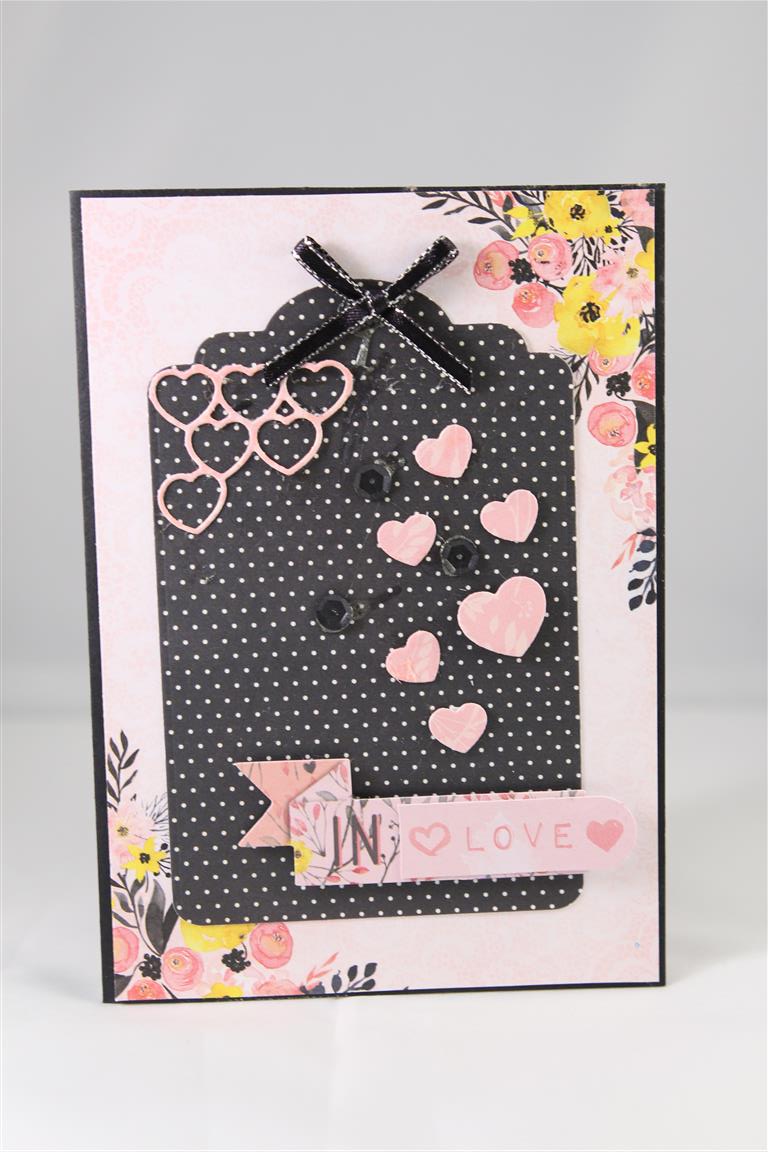
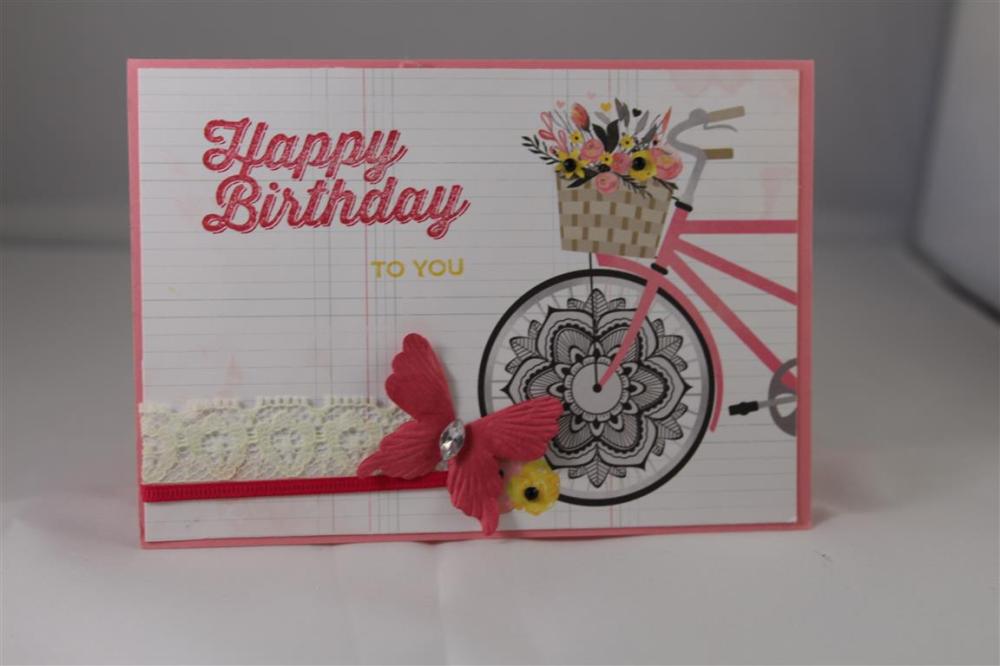 Todays cards are still made from the Bo Bunny petal lane range of papers, I have always been partial to pink and lemon together so I do really like this paper, so much so that one of my May classes use it!The top card has a tag and a couple of bits from the noteworthys pack in the same range, and the hearts are a die cut by kaisercraft, I used only a little bit of the frame and the inner hearts on this card, so I still have lots left over to use on another card.The bottom card uses apiece of the 12 x 12 paper with the bike image on it, a stampin Up sentiment stamp and honestly just some bits that were on my desk. Til tomorrow…..
Bo Bunny Petal lane 1 and 2..
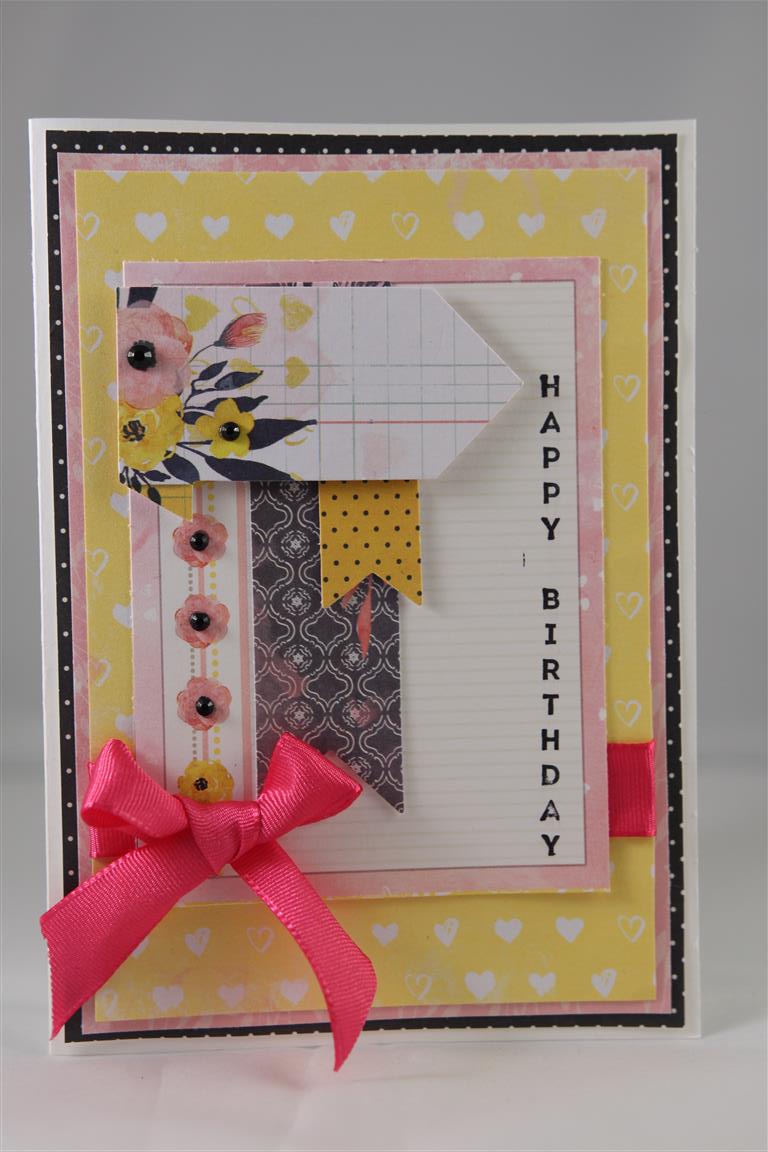
 Sorry I have been missing for a few days, I have been settling into my new job and setting up a new routine,but I have a day off today so thought i would catch up on some crafting! We start a new group of cards today, made with Bo Bunny 12 x 12 papers and their matching collectables ( which I think Bo Bunny call Notables …should have paid attention to that!) The top card makes good use of the flag shaped ones, I layered them, added some black bling and stamped a vertical sentiment ( one of my new stampin up stamps). The bottom card focuses more on the background paper with a gorgeous flower collectable, some black sequins,bling,ribbon bow and a sentiment cut from one of the 12 x 12 papers.I will be back tomorrow with some more from this lovely collection, meantime I am off to the craft room! til tomorrow….
Bo Bunny Butterfly Kisses number 5…
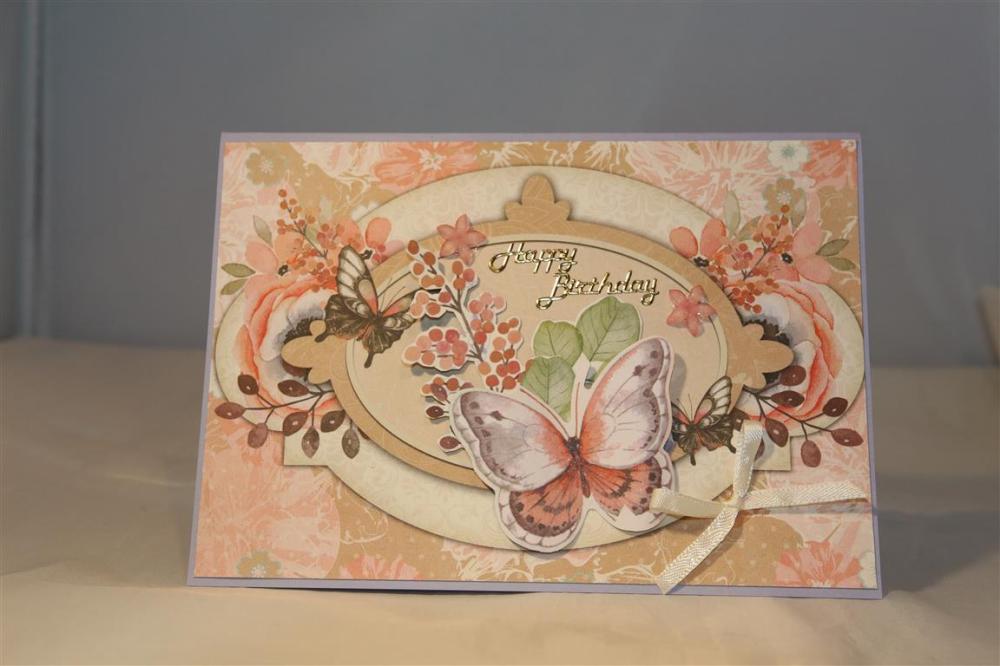 Hello and welcome to my new subscribers! Today we are looking at the last of my Bo Bunny Butterfly Kisses cards ( for now..I love this paper collection and will be re visiting it soon, but for now I have to make some Fathers day cards). This one is my favourite of the series because I have gone back to basics, relying on the paper to do all the work! The base is stampin up cardstock, and the first layer is a piece cut from one of the 12 x 12 sheets. The next piece is from the matching noteworthy pack, and I fussy cut some pink / apricot frondy bits from more paper and added a butterfly collectable and ribbon bow. Today i am teaching a class over at the retirement village,so i must go and remind myself what we are actually doing and gather all my bits and pieces together! Til tomorrow….
Bo Bunny Butterfly kisses number 4…
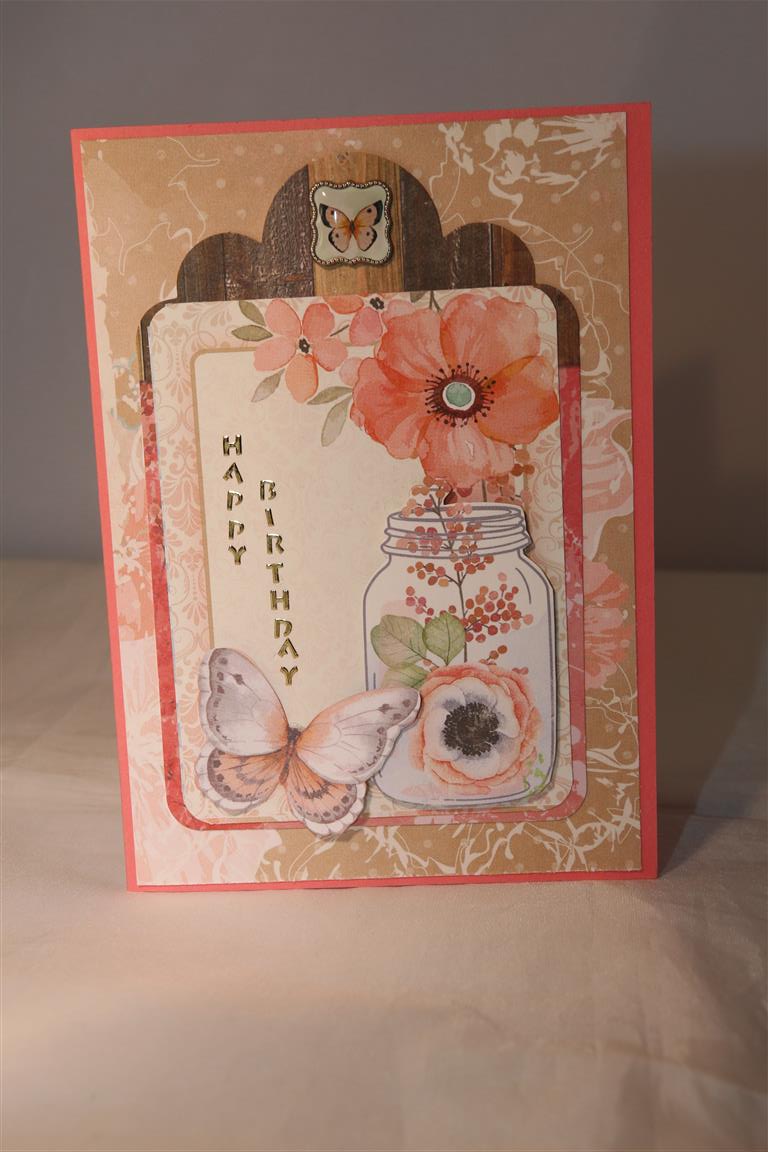
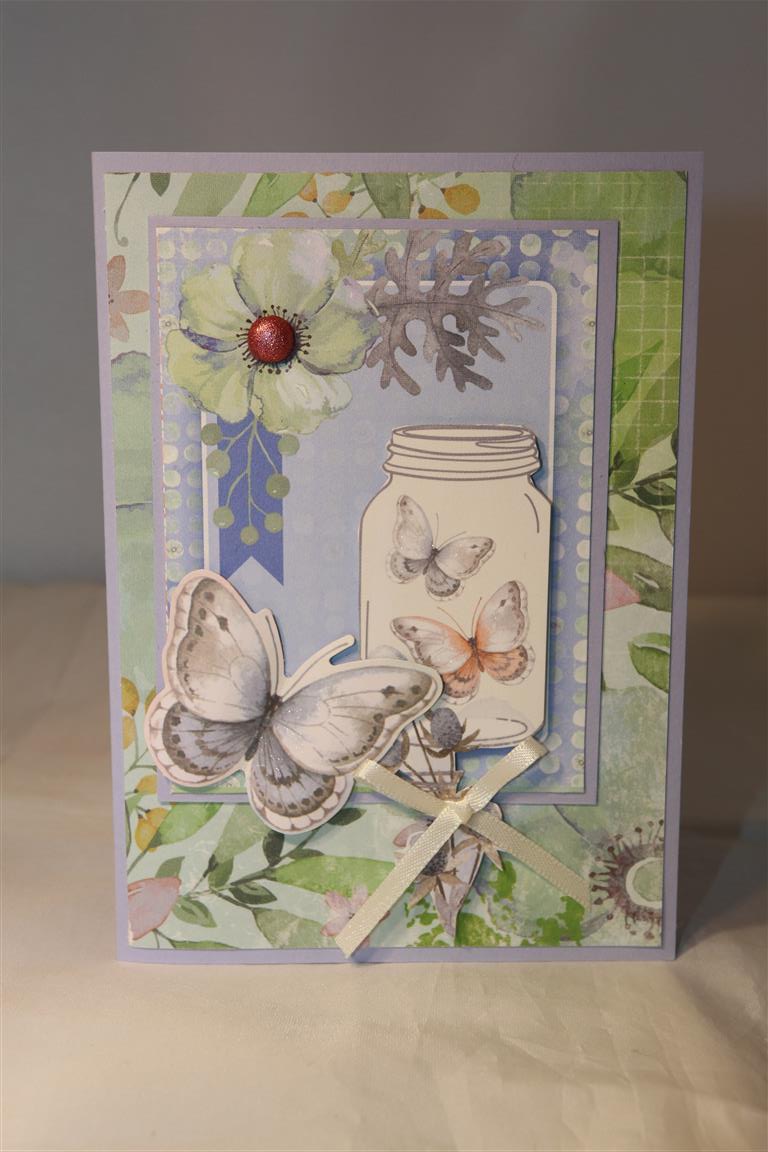 Bo Bunny Butterfly Kisses paper collection…in the collection is a sheet with lots of mason jars printed on it,so I fussy cut them out and this is one of the cards I made with the result. I added a butterfly from the collectables pack and the brad on the flower at the top was from the collection of brads that came with the collection. I think I said it before..the brads are gorgeous! A bit of layering and a ribbon bow ( of course) and this one was finished! day off today, shopping done, tea prepared and I am off to the craft room! Til tomorrow….
Bo Bunny Butterfly kisses 2 and 3..
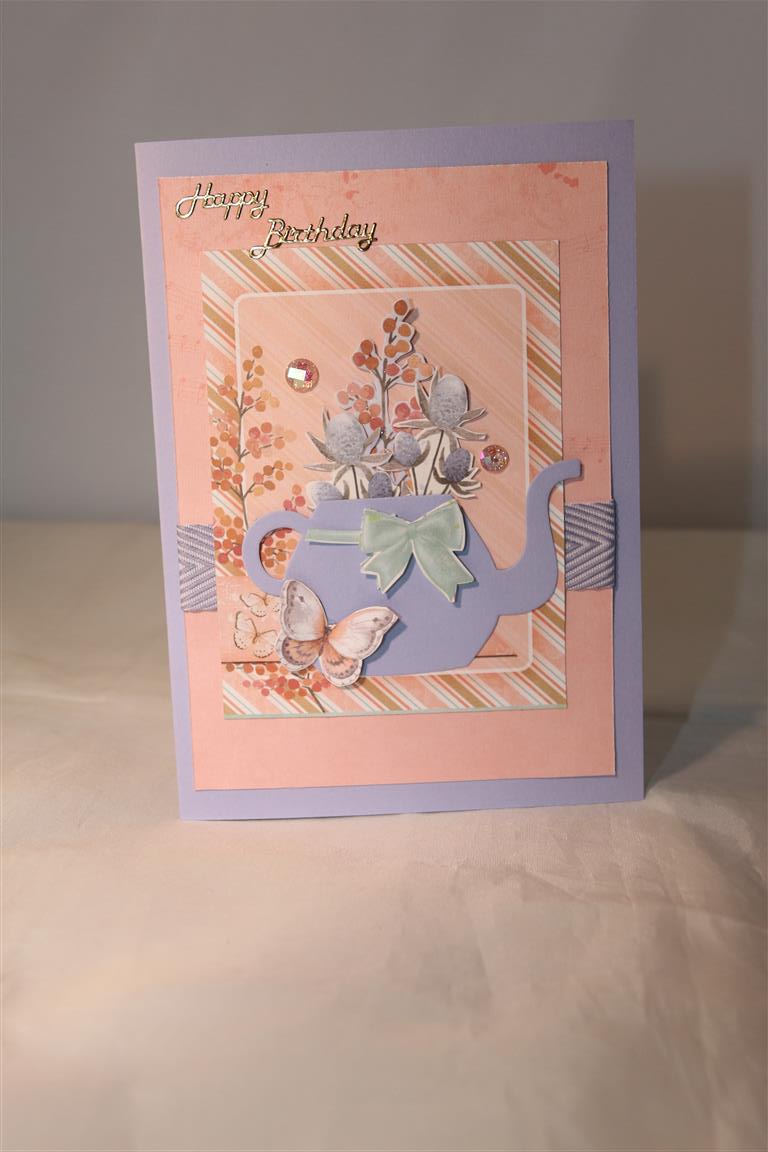
 Cards 2 and 3 in my Bo Bunny Butterfly kisses series, and the top card continues on the theme set with the first card,using another die from the stampin up tea time set. This time I used the tea pot die, and filled it with fussy cut flowers from the bo bunny paper.The cardstock and ribbon is from Stampin Up.The bottom card uses all bo bunny papers, variously cut from 12 x 12 sheets. I fussy cut the butterfly and the gorgeous brad is also from Bo bunny, the brads that came with this collection are amazing!. The cardstock is from stampin up. Til tomorrow….
Z fold flap card
 This is the third card the ladies made at last months village lesson.I have put it up separately because I want to spend a little time explaining the measurements. I cut a piece of cardstock 10.5 cm wide and 30 cms long, folded it in half, and folded the front back on itself.I then cut a piece of cardstock 8cm wide by 20cm long and folded it in half. this is the flap that gets stuck on the back of the base card.After that it just a matter of decorating. I have used an older paper collection here from Stampin up,but I have done this style again with some Bo Bunny paper, and I have found that 4 different patterns within the paper range works best – a big design on the back, stripes down the folded card front, a smaller matching design on the front flap and very plain inside for writing on. This one below is the Bo Bunny card using the new secret garden range. Til tomorrow….
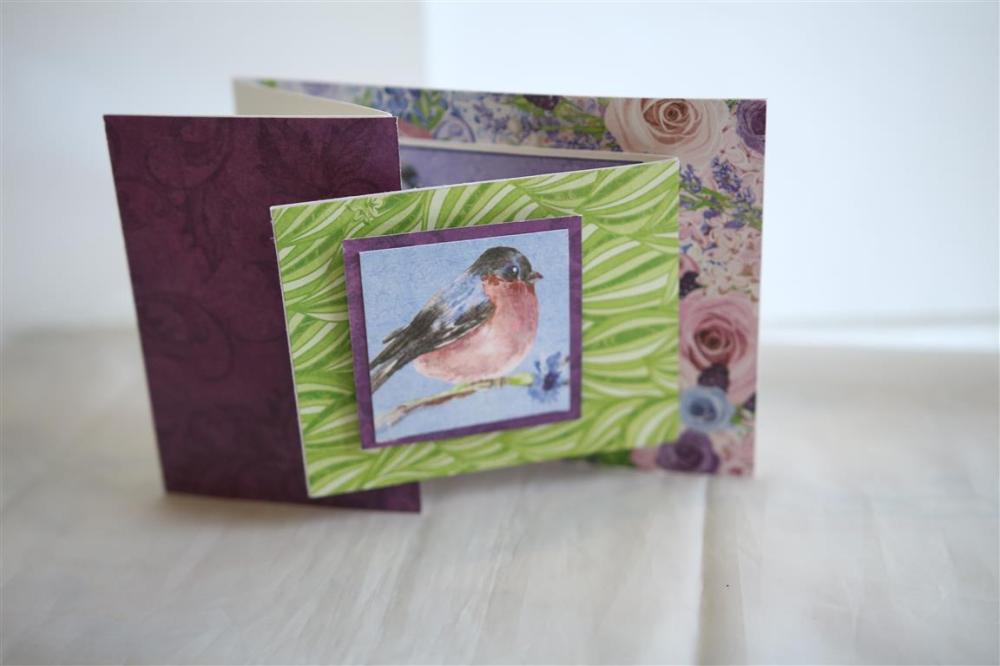
Merry Christmas to all my Blog friends!
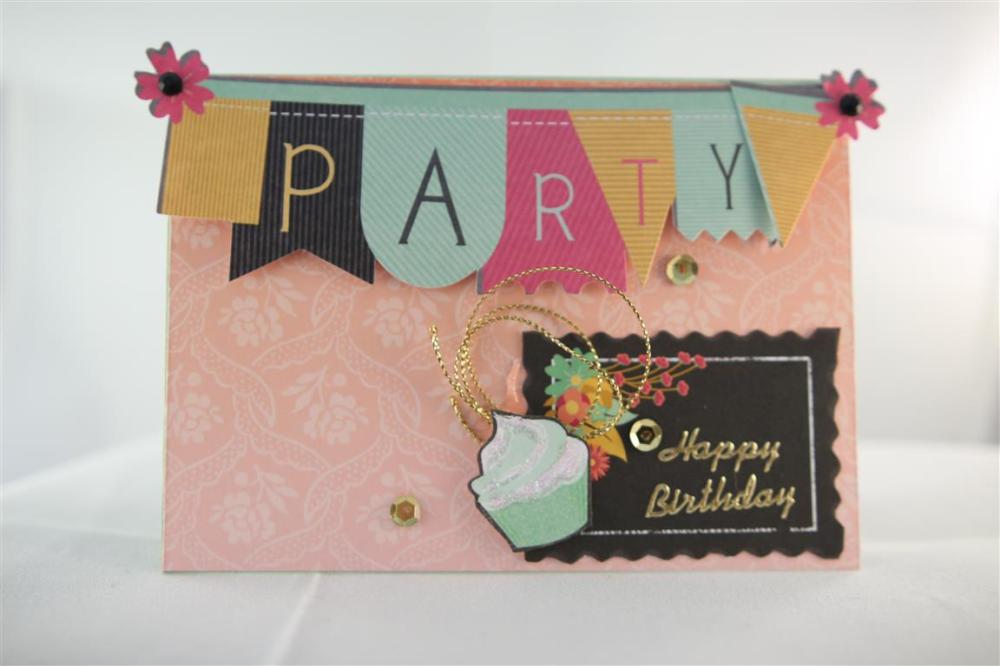
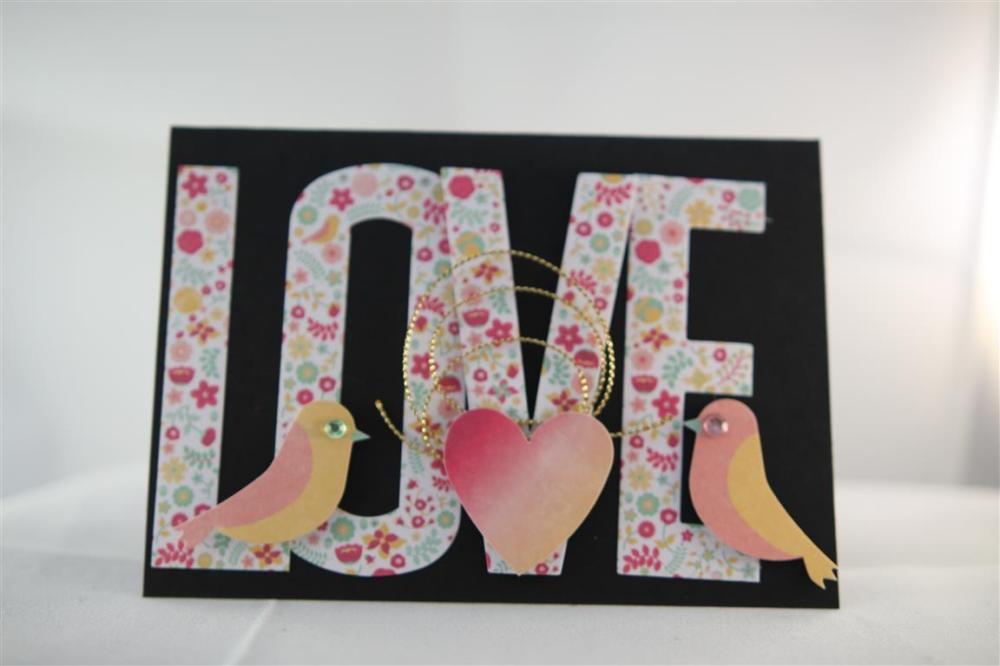
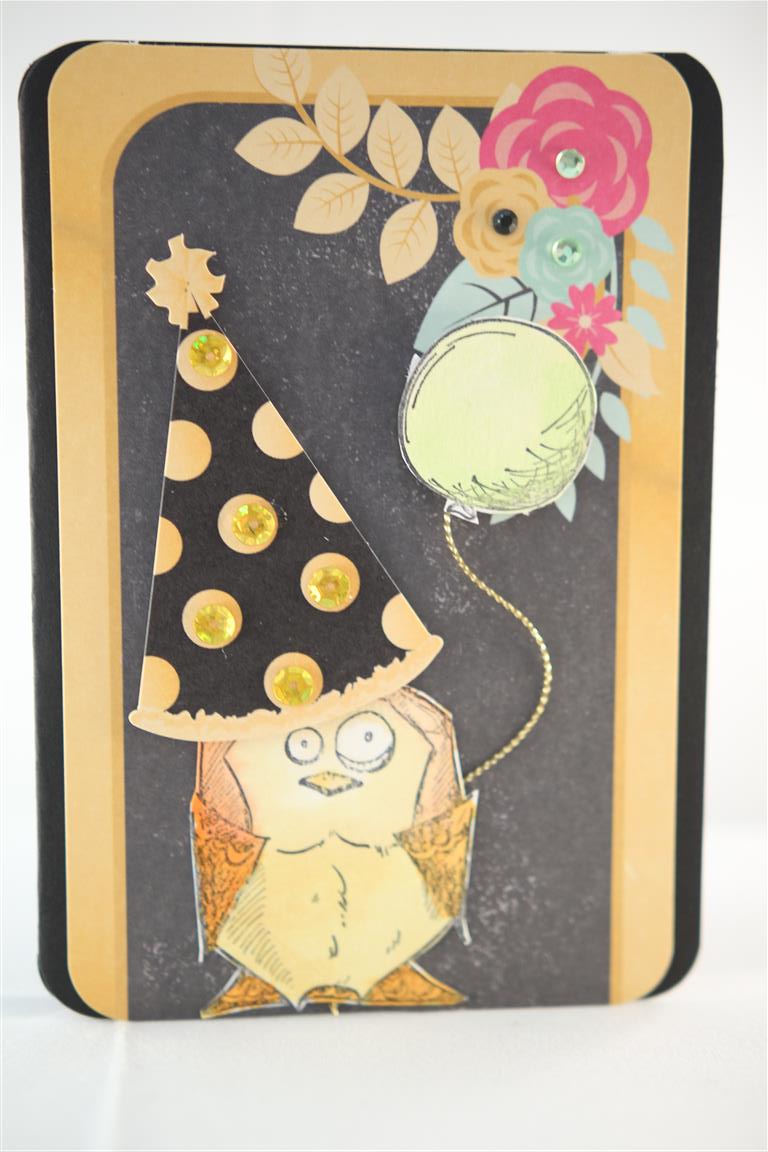 Three cards today, all made with Bo bunny You’re Invited paper collection and matching collectables.I made good use of my gold twine, which was purchased for xmasd cards but has found it’s way to most of the cards I have made lately ( love using it!)and sequins, and the bottom card has a stamped bird crazy stamp by Tim holtz, because I love them too – they make me smile!A day off today, how lucky that I got xmas eve off, and so Nathan and I were over at the shops super early ( about 7am) to do our grocery and fruit and veg shopping to beat the last minute shoppers, and that worked a treat. It is now only mid morning and all my chores for the day are done.I wish you all a safe and merry Christmas,fun with loved ones, and I will see you all back here in a day or so! Happy holidays, Love helen x
Bo bunny Madeleleine 3 and a conversation about scissors
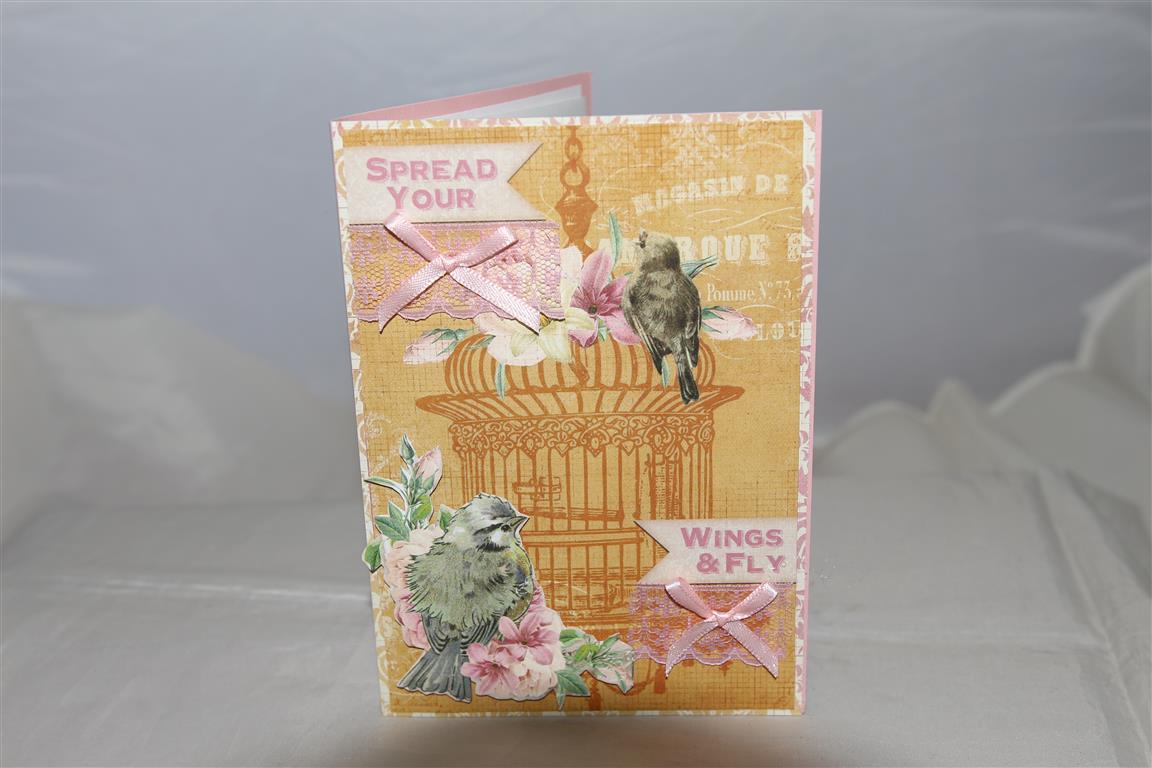 Bo Bunny madeleine collection, fussy cut bird detail and some strategically placed ribbon bows and lace!. I was asked an interesting question today by a blog visitor, and I thought I would take some time to answer and add some tips as well. I use Fiskars scissors when I am fussy cutting – not your normal fingers through the holes type scissors though, I use the squeeze type, mainly because I don’t get tennis elbow with these type of scissors. I was suffering badly from tennis elbow with the amount of fussy cutting I do when I used the normal style scissors. My scissors are not cheap, but I am only on my second pair in over ten years of fussy cutting, so value for money I think. Other scissor related facts – I have my one pair for fussy cutting, I have a pair of surgical scissors( very sharp) for ribbon, lace and material, and a pair of very cheap normal scissors for cutting anything sticky. other cutting tools… my fiskars trimmer which has been with me from the very beginning is in my take everywhere craft bag, and my stampin up trimmer and making Memeories rotary trimmer are on my desk in the craft room. The rotary trimmer is for cutting my cardstock as I make all my own card bases and I have had it for about 7 years now and never had to replace a blade, and the stampin up trimmer is for everything else. I like it because I can also score on it and it has handy measurements on it which almost makes my ruler redundant! hope this helps … til tomorrow….
