
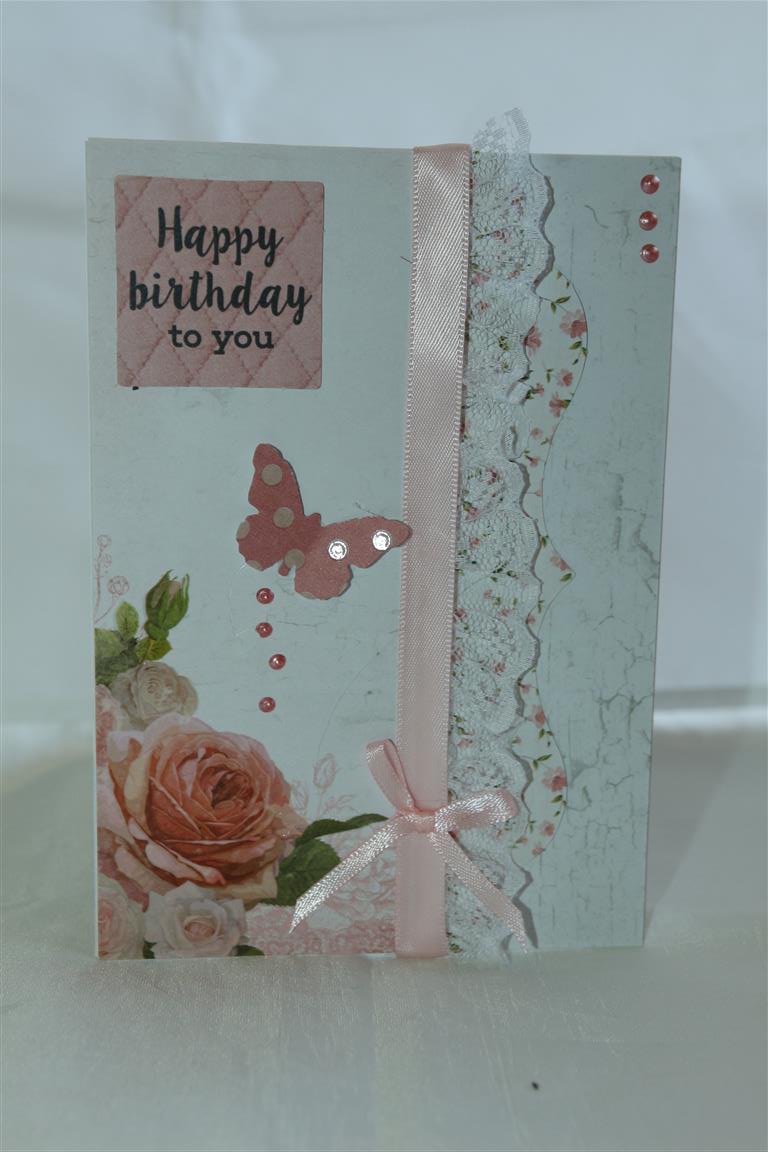
 The cards today are still in my Kaisercraft cottage rose series, this time a thinking of you card, and a birthday card.I kept the thinking of you card very simple, with just a punched butterfly and ribbon bow. the papers on both cards are from the 6″ pad in the collection, and the sentiments are also from the pad.For the birthday card I added some lace and ribbon,liquid pearls and another punched butterfly using my Tim holtz butterfly punch. I have done a marathon grocery shop today, I am working full time hours next week for stocktake, so I am planning to cook a lot of meals on the weekend to save some time during the week! In the meantime, if I miss a couple of posts next week you will all know why! til tomorrow…
Tag: birthday
Graphic 45 raining cats and dogs
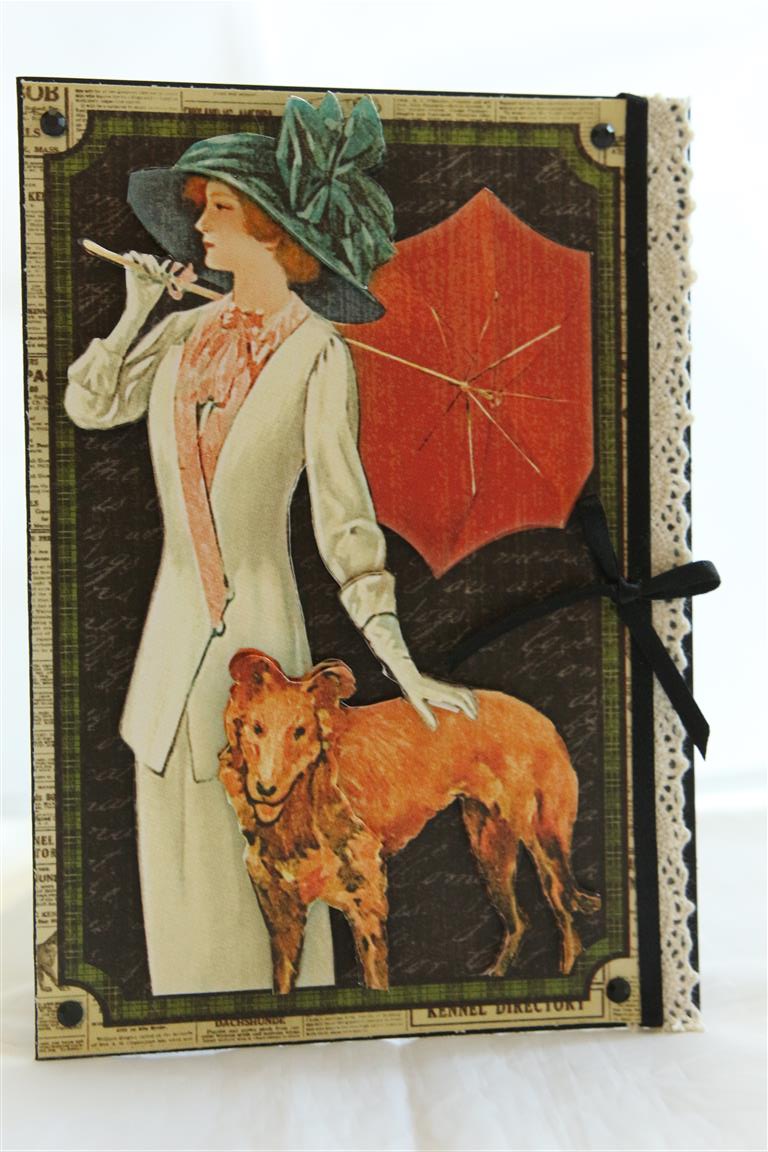 While I had my graphic 45 raioning Cats and dogs paper out to make the bendy card ( previous Post) I made one last card with it before putting all the leftovers into a bag for the craft fair sale. I had a couple of this image, so I used one for the base, and then cut into the second image to make some 3d layers. I added ribbon, lace and bling to finish. A day off today, shopping done, and now i am heading into the craft room to relax a bit! til tomorrow….
Two more fresh from my desk
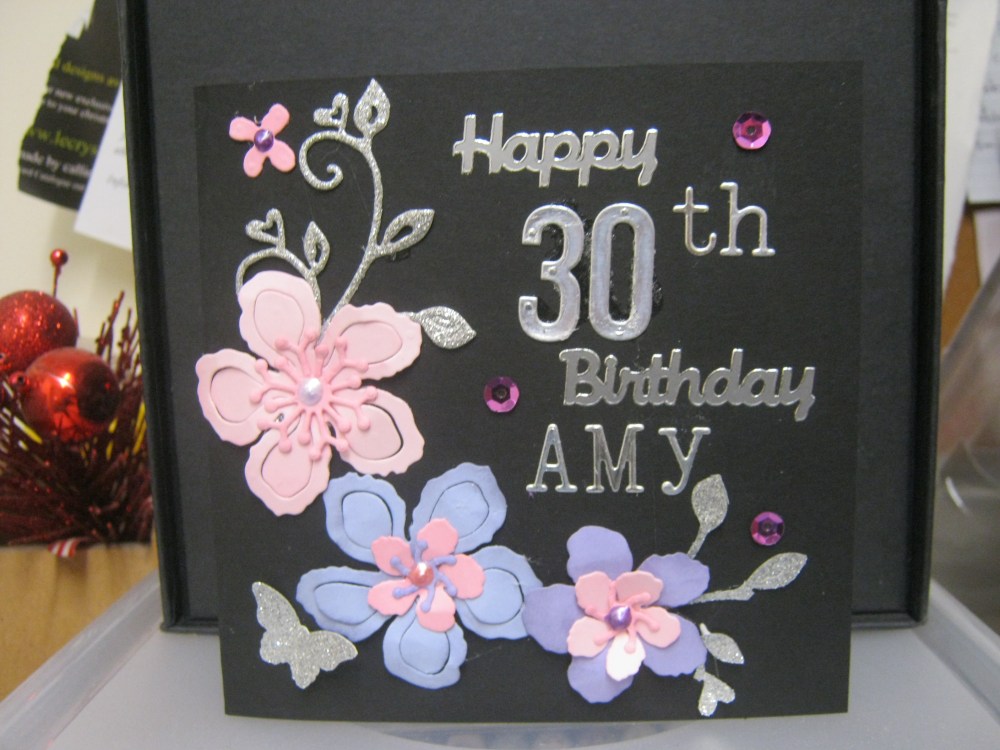
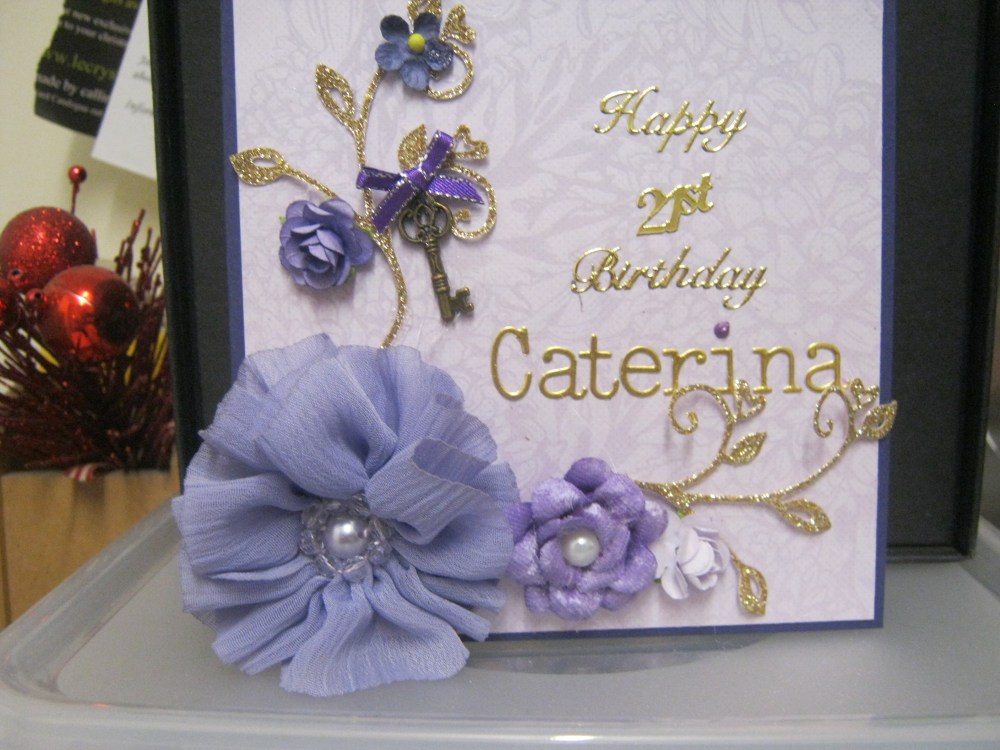 I finished my orders yesterday, and here are two of them,the top card is being posted, so had to stay quite flat. I used Stampin Up botanical blooms dies and stampin up cardstock for this one, and die cut some glitter flourishes, punched a glitter butterfly, and added liquid pearls and sequins. the bottom card was much more textured with lots of flowers,more glitter flourishes, and key and ribbon bow. I am caught up with my orders now, but no crafting today, I am taking Mum out to spend her Mothers day money at Paper Flourish and we will visit spotlight too – we are on the hunt for very very fine paint brushes for dad, I found them on-line but they are very expensive and he goes through so many so we will have a look around locally.Til tomorrow….
On my desk this morning…
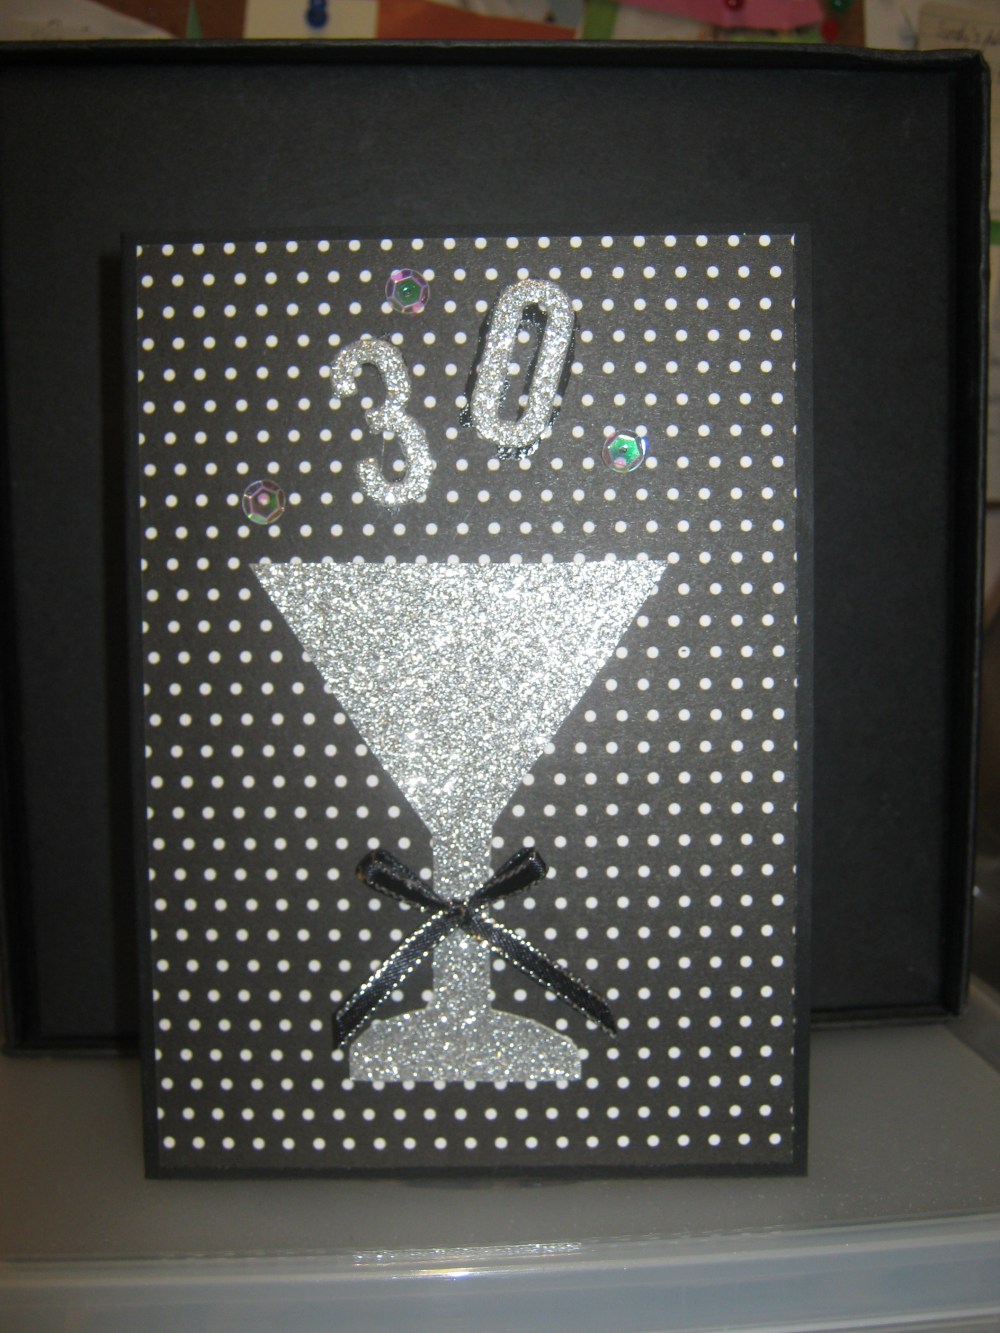
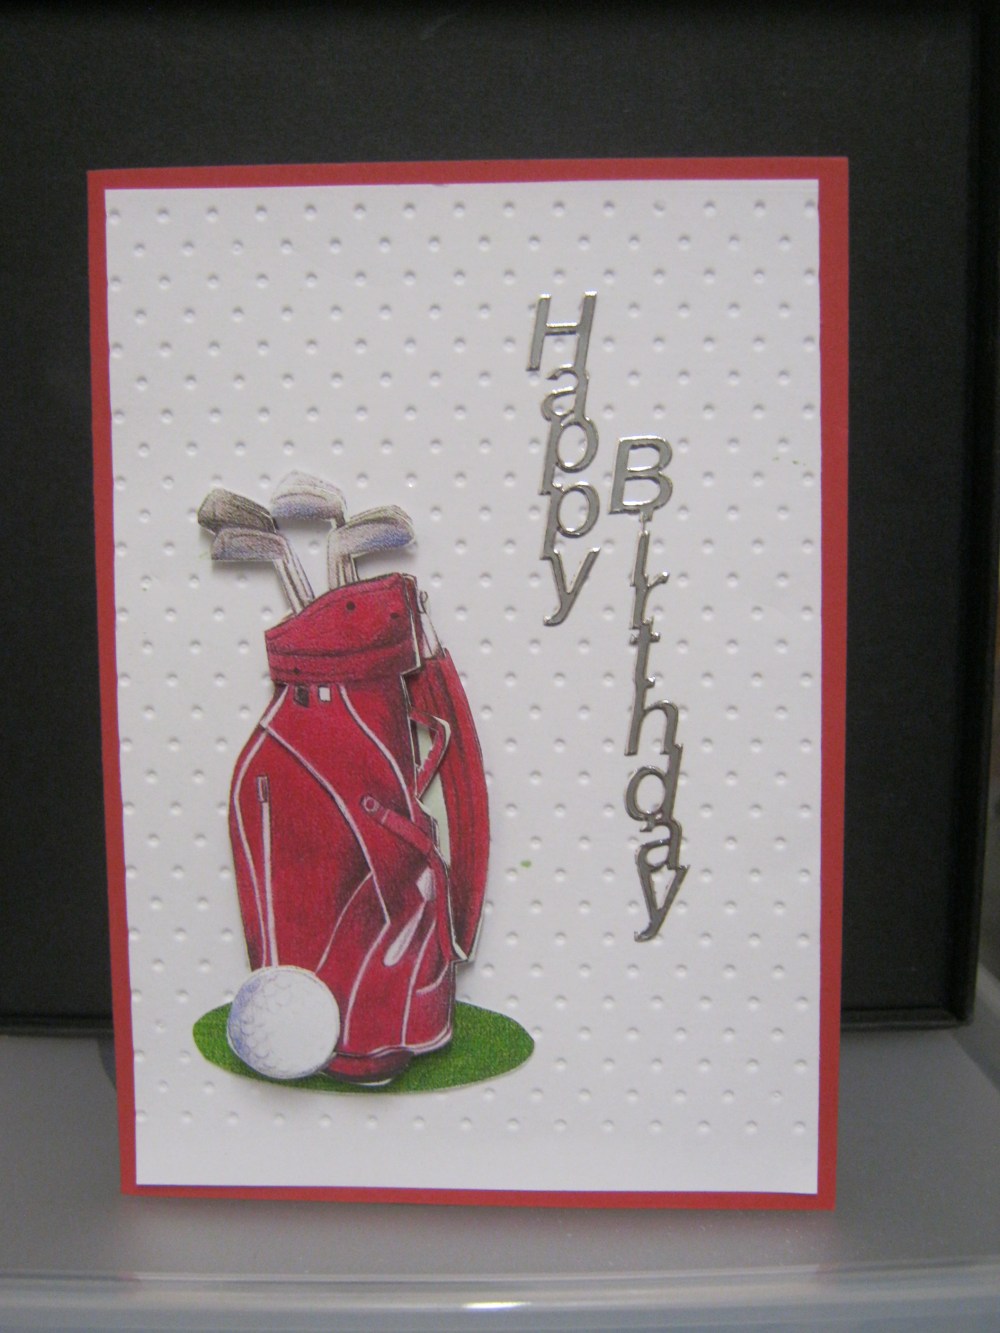
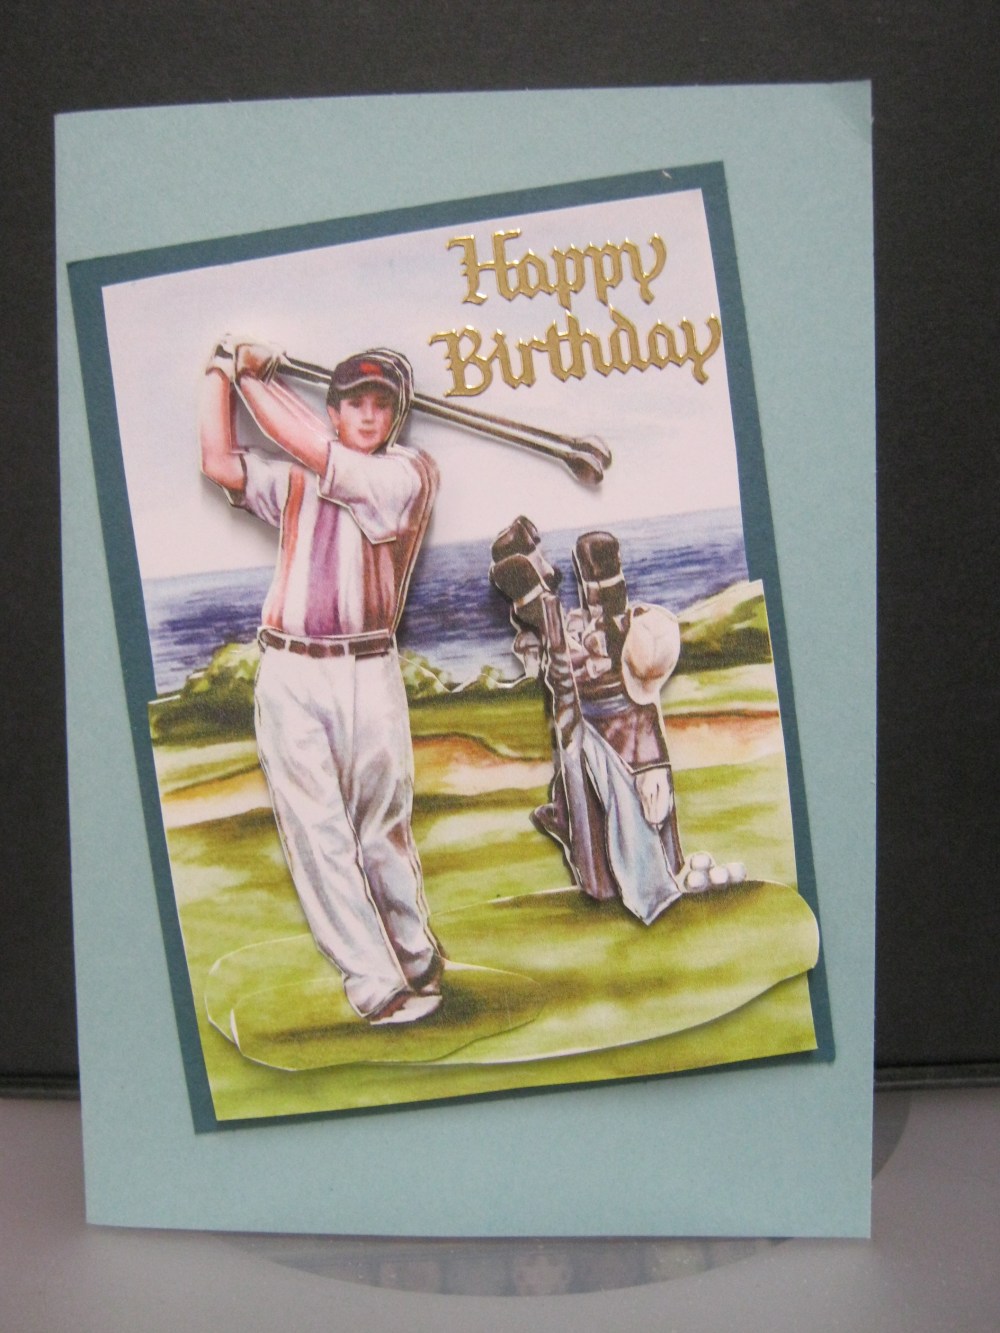 Cards in real time this morning! I made these this morning after I had done my housework, an early start because I have 6 orders, and I also needed a card for a friend who is celebrating her 30th birthday tonight. Her card is the top card, I drew the wine glass,and cut it out of glitter card -( this glitter card is new from Kaisercraft and it doesn’t shed glitter everywhere,feels lovely ..I like it a lot and available in so many gorgeous colours – great for xmas cards) added some sequins and ribbon bow.the other two are for an order for golf cards. Both cards are made with 3D images. I started cardmaking 10 years ago doing 3d cards, and I still have many folders of 3D sheets and they come in very handy when asked for specific cards that I may not have stamps or papers for.The top card has some white cardstock embossed with my swiss dots folder, but stuck on the card on the debossed side to mimic a golf ball.i will be off now, 2 21st cards and 2 30th cards still to do! Til tomorrow….
Final 2 mens cards for now…
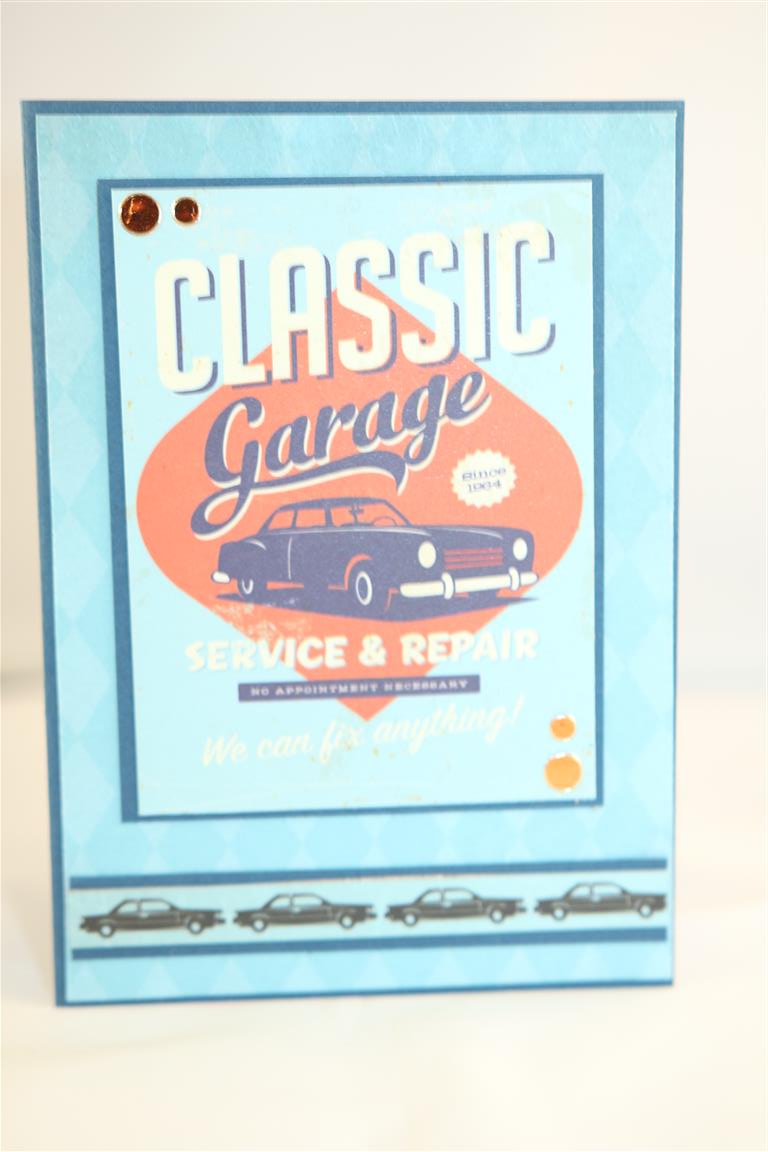
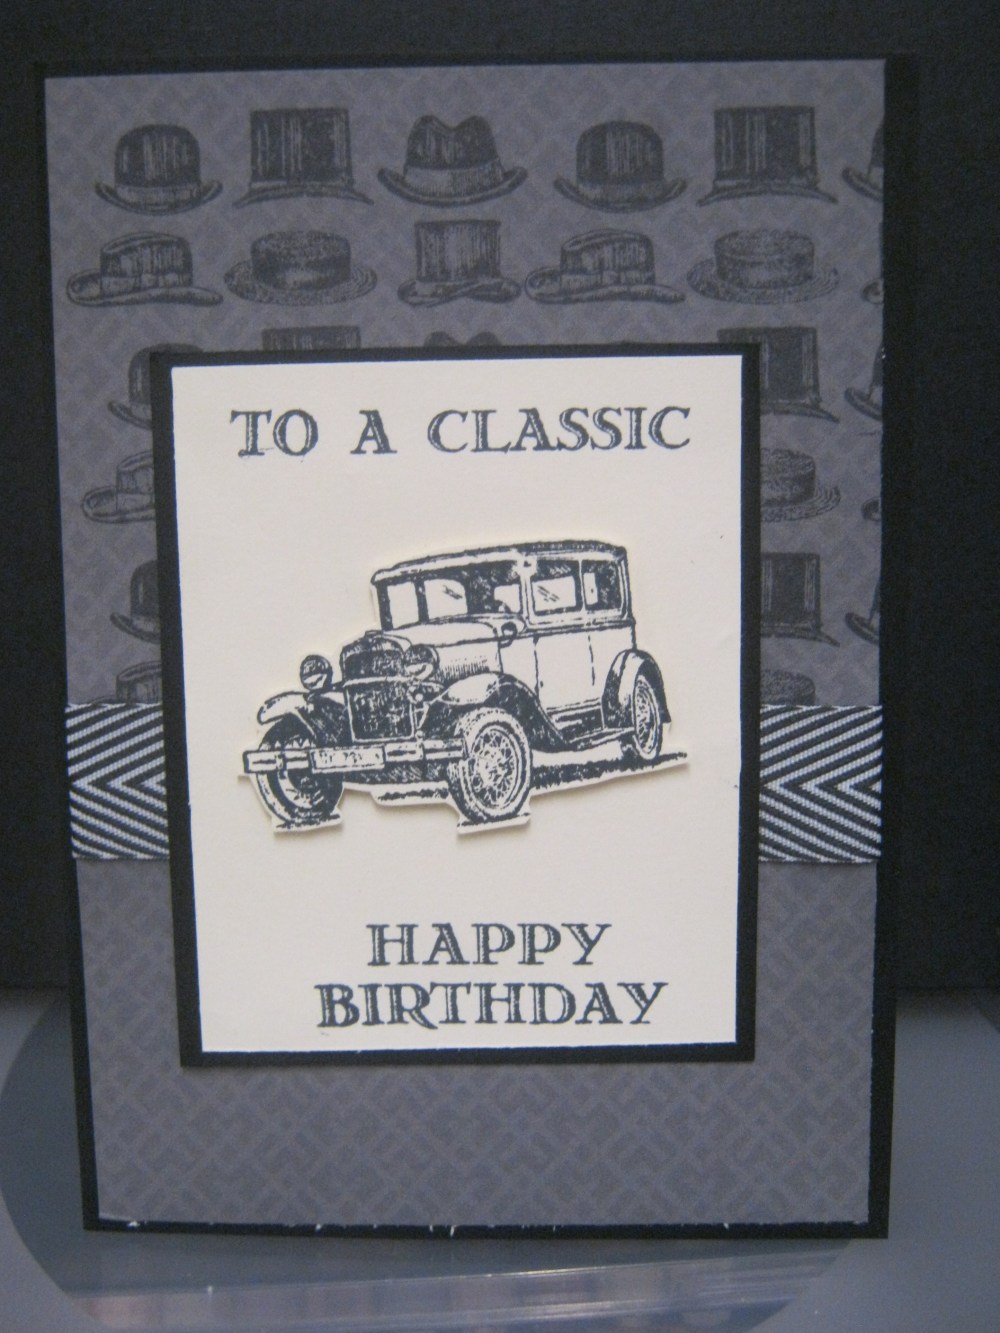
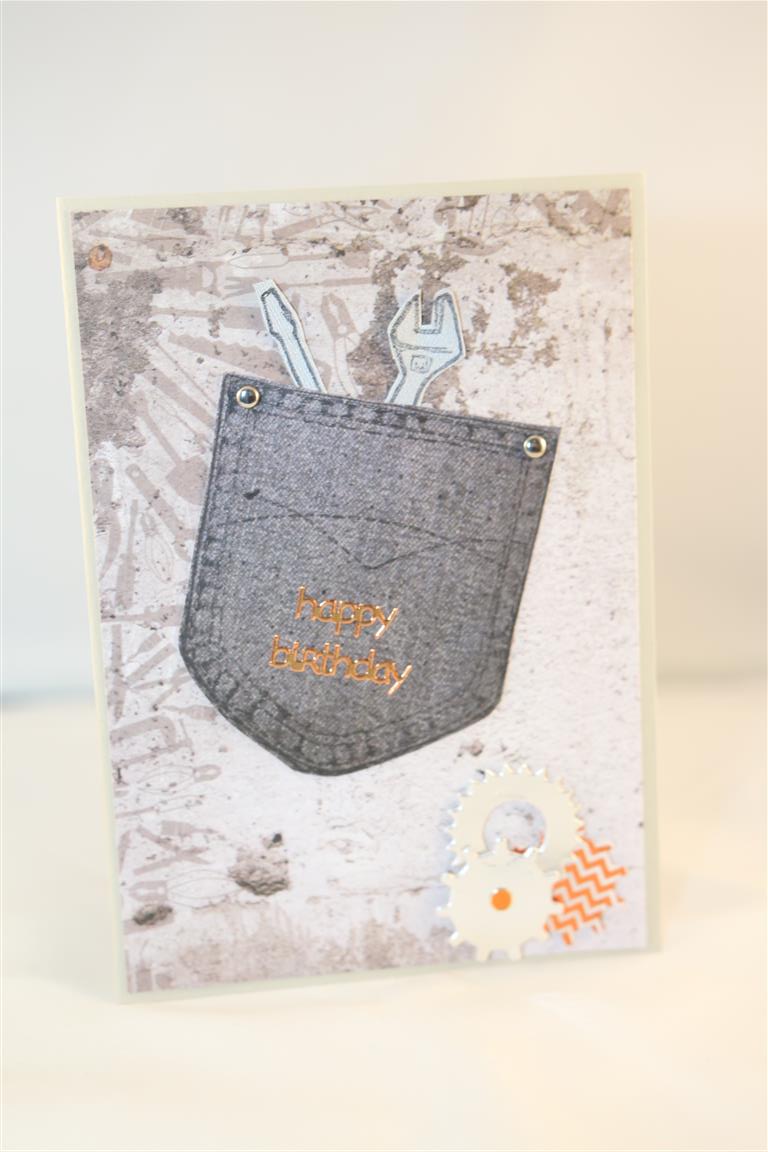 Well. That was a very quick Mens card series! Truth is I got distracted with pretty paper for Mothers day cards, but I will have to make an effort and make some more before my craft fair in June.After I have finished playing with the new Kaisercraft mermaids tail papers. have you all seen that collection yet? the colours are amazing!Anyway, on to todays cards, made with kaisercraft garage days paper. the top card is very simple, I cut an image from one of the 12 x 12 papers, and layered. The strip at the bottom is from the identity strip that you find on the bottom of your 12 x 12 papers. The bottom card still uses the kaisercraft garage days papers, and I stamped a Kaszazz pocket stamp on to some of the denim paper and fussy cut it out. Spellbinders cogs dies die cut from silver card in the bottom right corner. Stamped tools with my stampin Up tools set stamp, and tucked them into the pocket. Today Mum and I are off to visit my sister who is still bedridden after her ankle operation, thankfully she only has a couple of weeks left confined to bed then she has to start some physiotherapy to get all the muscles working again.Til tomorrow…
Tool Box side stepper card
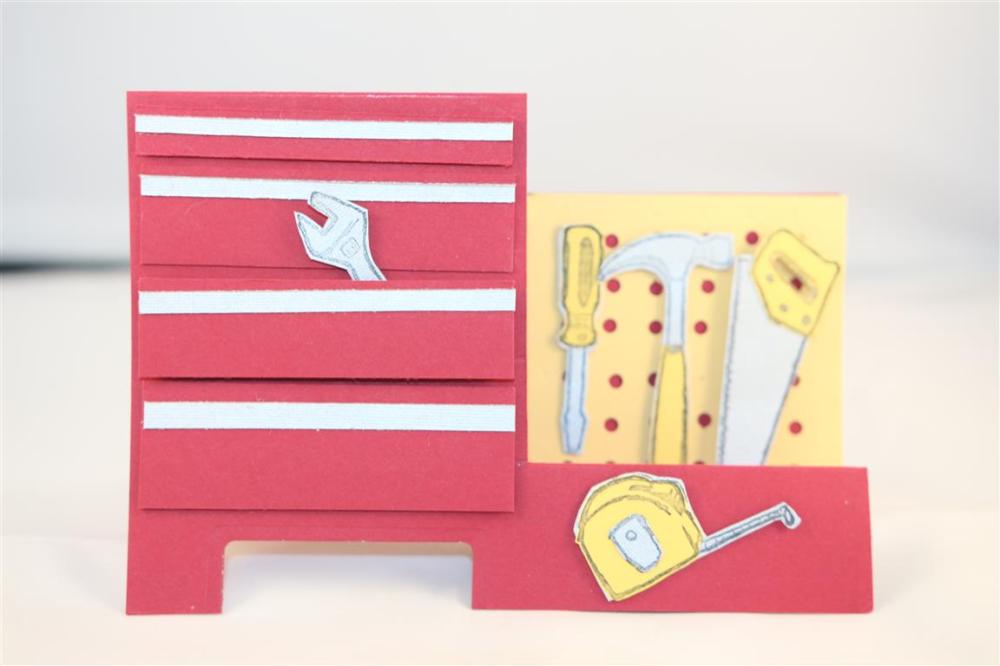 I had the idea for this tool box card,and spent a little time working out the cuts and folds, it is a basic side stepper card,with only one side step – usually you have a couple of steps on the right hand side, but this one only has the one valley fold. I cut matching cardstock for the drawers on the left hand side, and added a fine strip of silver cardstock to the tops of the drawers. On the right hand side i cut a piece of yellow cardstock and punched holes to resemble pegboard, then it was just a matter of stamping ( stampin up tools stamps) my tools.Really pleased with how this one worked out and hopefully find some time to make a couple more before my craft fair in June! This morning I dropped our little puppy Luna off at the vet for her desexing operation, and I feel terrible!I hope she forgives me! the house is very quiet without her and I can’t wait to pick her up this afternoon.I am heading into the craft room to take my mind off it all…til tomorrow….
Time for some Mens cards!
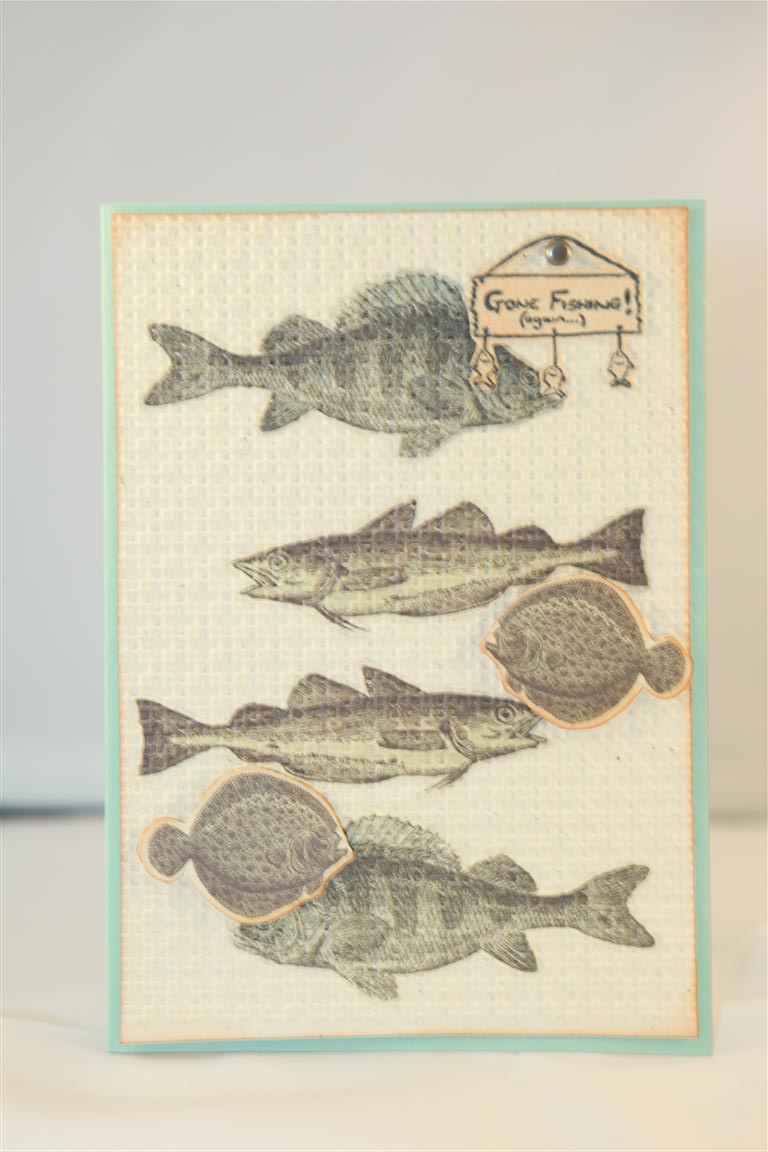
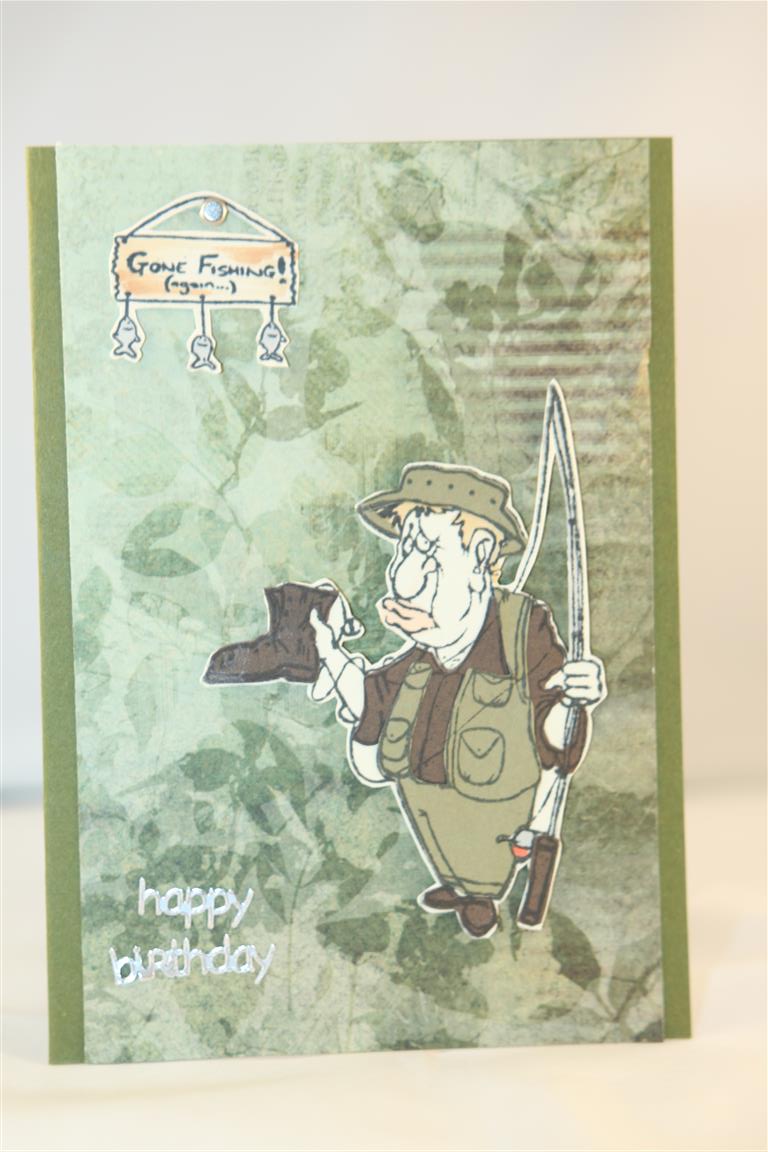 After all the lacy, frilly, flowery cards I have been sharing lately I thought it was time to show you some Mens cards which I have recently made. The papers I have used are from Kaisercraft called Hunt and gather and they were a release from a couple of years ago! I don’t have much left so thought I should just use it and finish with it On the top card I fussy cut the fish images from the paper, stuck them on some cardstock, and ran that through my big shot in an embossing folder ( stampin up). This is a technique called embedded embossing and I love the effect, you will notice it quite often on my cards. For the second card I stamped my fisherman onto a variety of patterned and coloured papers, then cut out bits and pieces of him, and stuck him all together again – I also like doing this technique because I can give him a patterned shirt etc doing it this way instead of colouring the image.Til tomorrow….
Yesterdays Retirement Village lesson…
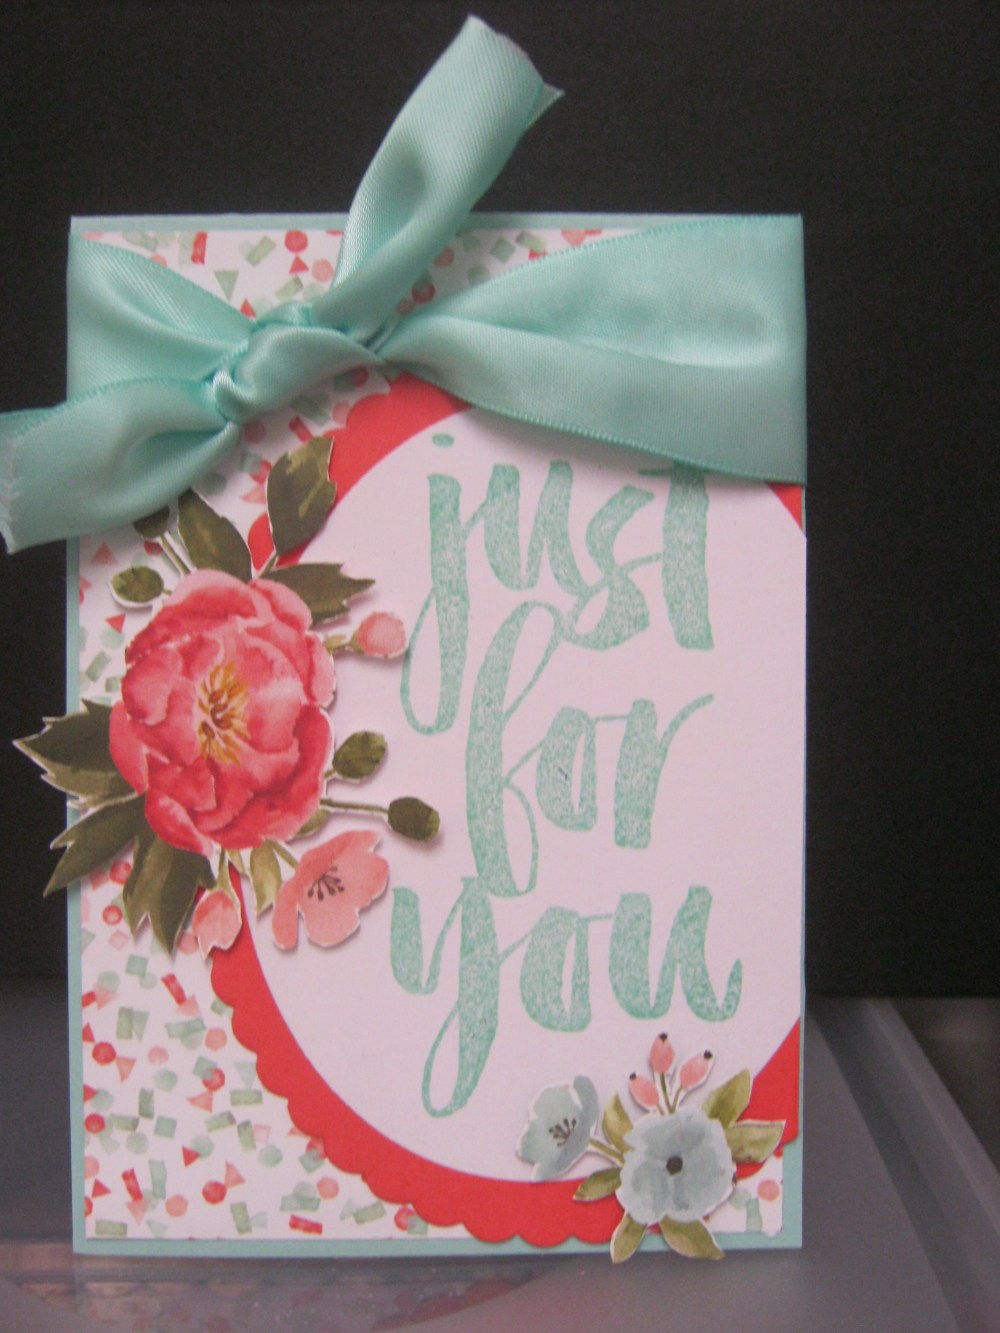
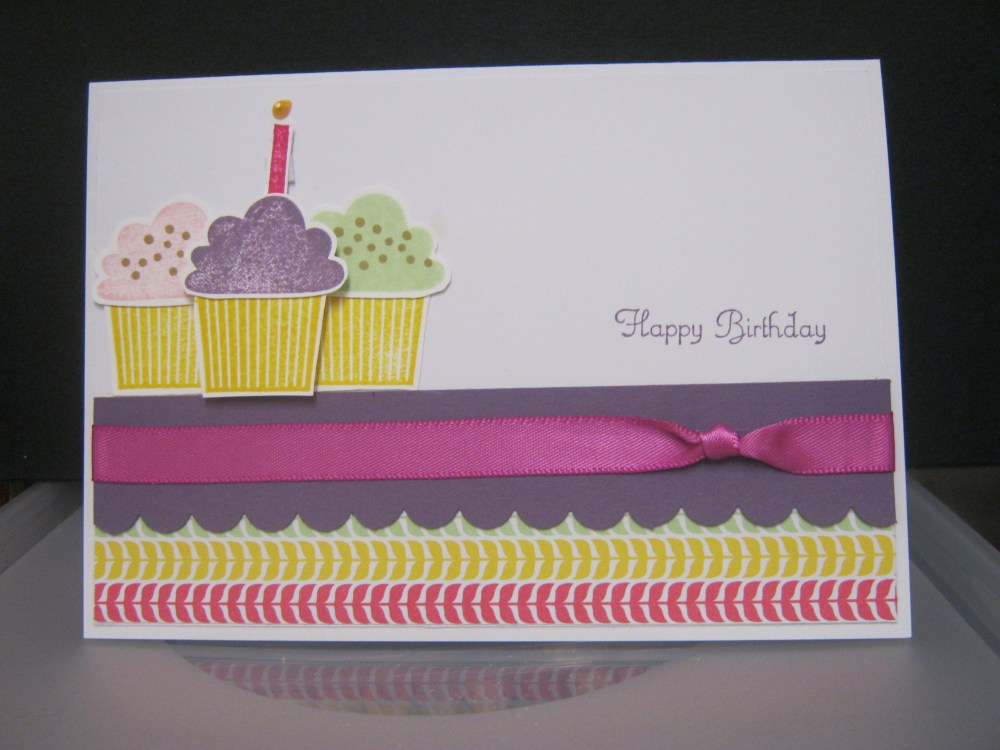
 Todays cards are the cards my ladies made over at the retirement village.Everything used ( except the ribbons on the top two cards) are Stampin Up supplies, and I admit I cheated on these ones taking inspiration from Pinterest! The colours I used on the top card was totally decided by the ribbon – I had it in my stash and was just waiting for a reason to use it- I love it! I always try to do three completely different cards for the ladies, and always include one male card, mainly because they avoid making them,so try to show them different ways of making and enjoying the process! this weekend my crafting mojo has finally reappeared, after going AWOL for a couple of weeks and I have been spending every spare minute in the craft room, so many ideas, so little time! Lots of wedding cards , they are a best seller over at the florists , luckilyn i love making wedding cards almost as much as baby cards! til tomorrow…..
Kaisercraft coastal escape 1,2 and 3

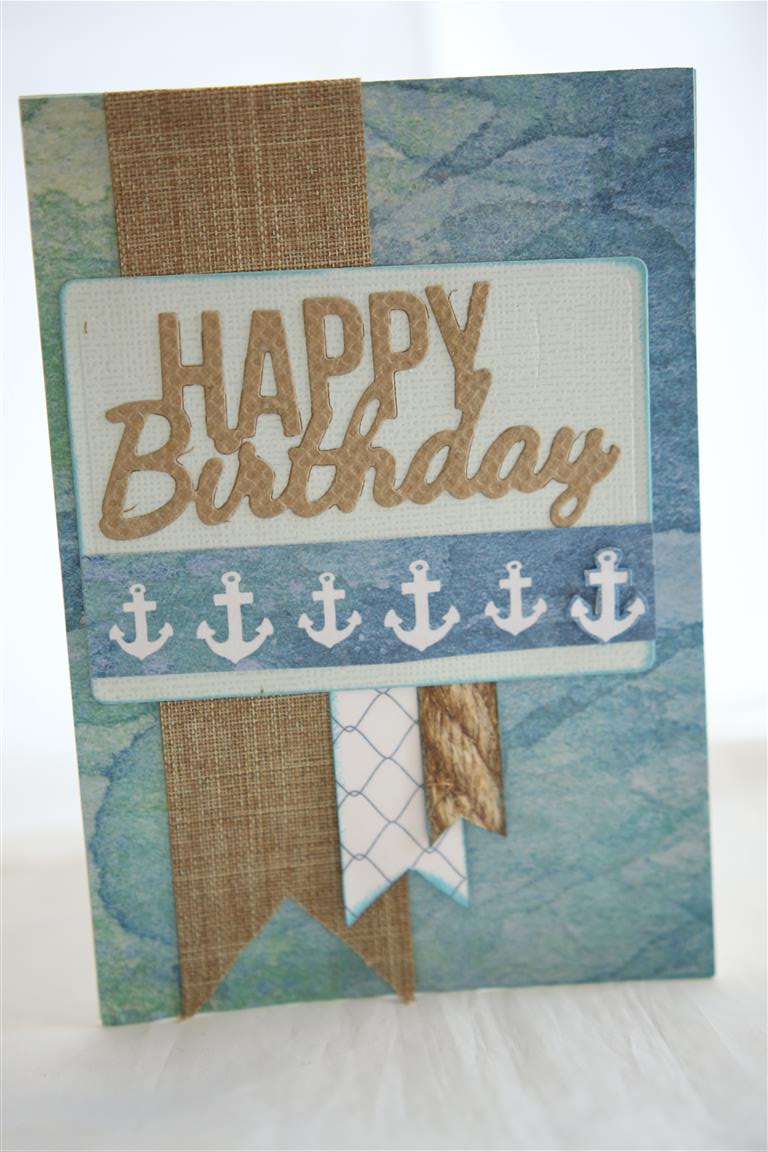
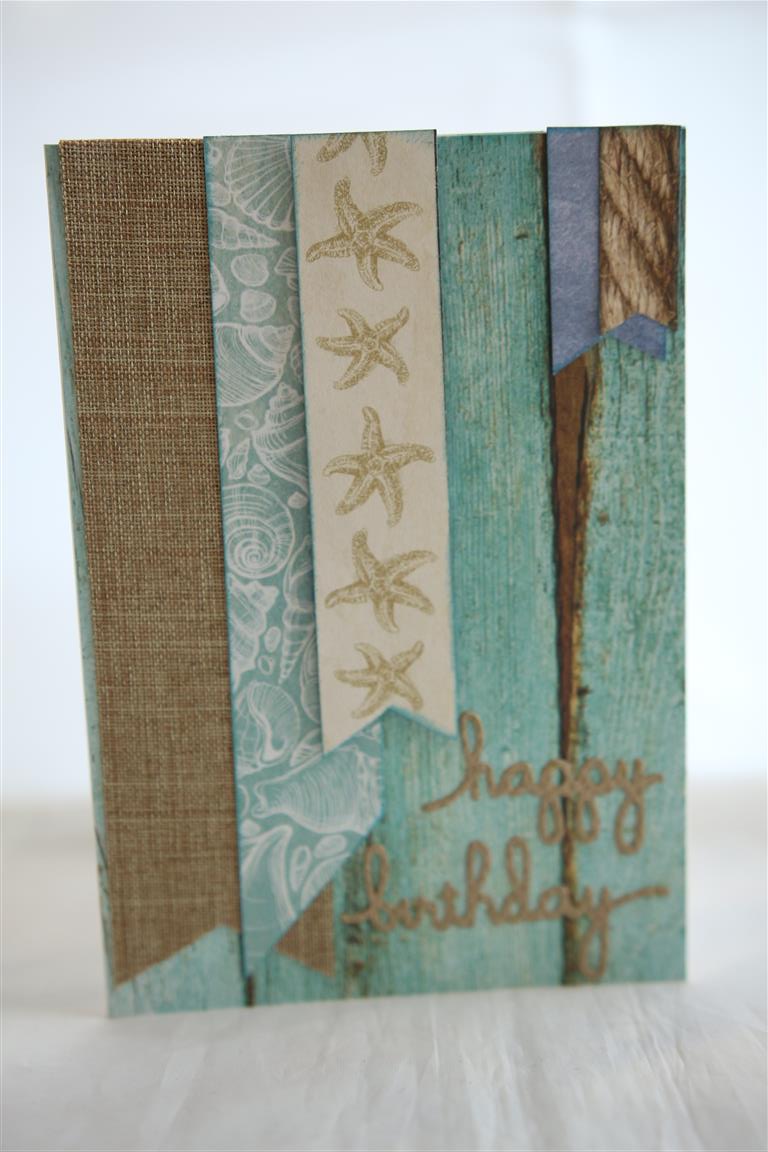 A beach theme today with the wonderful papers from Kaisercraft – coastal escape.All the cards here are made with just a couple of the 12 x 12 sheets, and they were a lesson I taught a couple of months ago at paper Flourish.The trim is by Green tara, and the large happy birthday die is from kaisercraft, the smaller one is by spellbinders.The bottom card is a great sketch idea to use up those little strips we always have left over!My voice has come back, and I am starting to feel more like normal again,just a s well really, I need a ll my energy to chase after that puppy who has developed an obssession with my balls of wool. No amount of telling off will put her off, and yesterday she had unravelled 3 balls all through the house.I must invest in a zip up bag that she can’t get into! Til tomorrow…..
embossing and die cutting
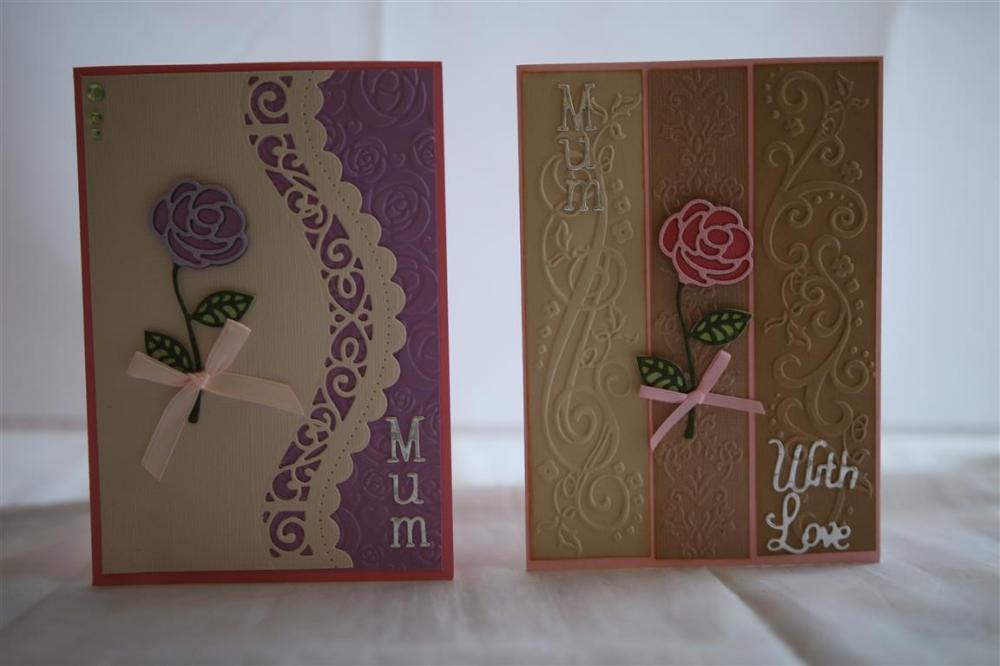 The rose die that I used on these two cards was a freebie on the front of a card making magazine.On both cards I die cut the rose, then stuck it on contrasting card and fussy cut around it to give the two tone effect. I have some border embossing folders so they are the ones I used on the card on the right, and I used my Kaisercraft rose embossing folder on the left card – that folder is becoming a favourite! the fancy edge on the left card was die cut with spellbinders borders dies.Both cards were finished off with ribbon bows.The “with love” is another freebie die,and I die cut the letters on the other card to spell Mum.Quick post today, til tomorrow…..
