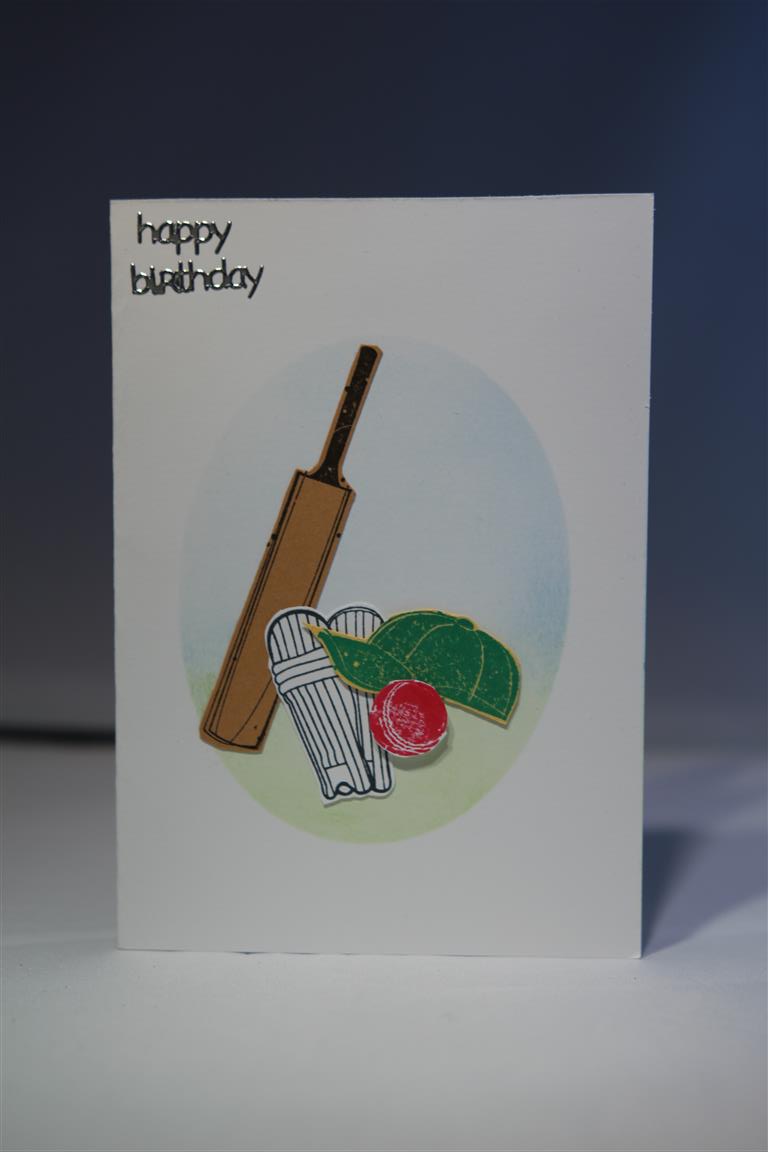
 I made this card for an order..I die cut an oval and using the waste part I inked through it onto the base card with green and blue inks. I stamped a stampin up cricket set onto various scraps of cardstock and fussy cut the images, and stuck them onto the base card . I kept it all very simple as that is what my customer wanted, and I really like this one!Back to work this week after my holidays, and taking things very easy with my shoulder! til tomorrow….
Category: stampin up stamp sets
Stampin Up Star of light
 The third and Final Village card was one made with almost all Stampin Up supplies. The Stamp set is Star of light and I also used the matching die set. I stamped little stamps in blue sky ink before running the layer through a stampin up embossing folder. This one is a very simple card with very little embellishment. I have managed to make a few cards over the last couple of days, pacing myself and staying right away from the die cutting machine!Thank goodness for Kaisercraft ooh La La paper collection – no need for dies with this collection! Til tomorrow….
Stampin Up Tuscan Vineyard continued..

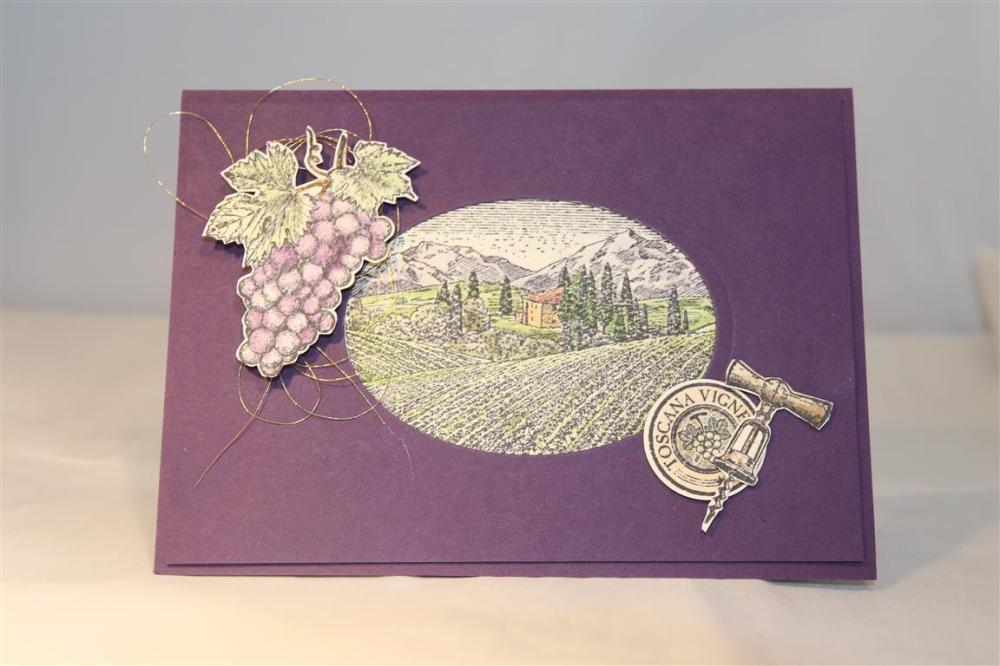 Here are the other two cards I made with all stampin up supplies, and the Tuscan Vineyard stamp set.The top card has an interesting background – I created an oval mask and then rolled over the vanilla cardstock with suede ink and a sponge roller. The resulting background looks like a sandstone wall which fits in perfectly with the theme of the card.Quick post today as I have just accepted a job on a cruise ship for a 7 day trip as an arts/crafts instructor and I have to plan out the lessons. Great excitement here, but will have to wait until March for the trip!Til tomorrow…
Tuscan Vineyard stampin up set..

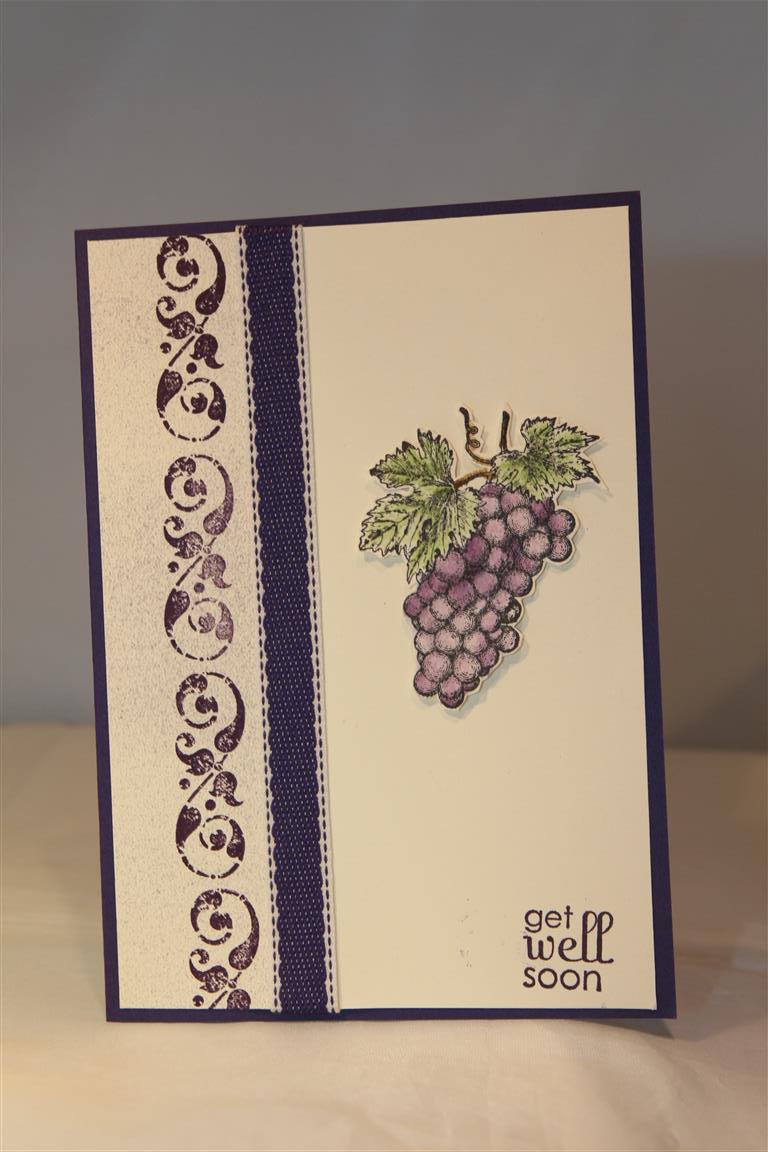 I think I mentioned the other day that I would post some stamped cards, here are a couple of them and we will continue with them next post as well. All of these cards are made with one stamp set from Stampin up called Tuscan Vineyard, and all supplies used are by Stampin Up as well.The top card….I die cut a circle in some vanilla cardstock, and die cut the scenery stamp as well – the scenery stamp is actually shaped in an oval, so made that decision super easy! I coloured the scene with inks and an aquabrush, and stamped the swirls in the corners to finish. The lower card….I stamped the grapes on watercolour cardstock, coloured with inks and an aquabrush and fussy cut.Stamped the swirl down the outer edge of vanilla cardstock, wrapped a ribbon around, and attached all to card base.( the sentiment is from an older stampin up stamp set). This afternoon I am in the craft room working on september lessons and it’s all about Christmas! Have you started your Christmas cards yet? Time is flying and it will be upon us before we know it! Til tomorrow….
My sisters birthday card..
 Yesterday was my sister’s birthday,and I had made her card a little while ago, but recently I coloured this stamp ( stampin Up peacock ) with ink pads and an aquabrush, and then I purchased some of Stampin up ‘s new colour cardstock which went so well with the peacock I had just coloured that I changed my mind and gave her this card instead as she loves peacocks, and the card I prepared earlier is in a box ready for next year!Meanwhile today I taught a class over at paper Flourish, and we had a lovely time! I have done my shopping, and now I am off to prepare some tea! Til tomorrow…
Yesterdays Retirement Village lesson…
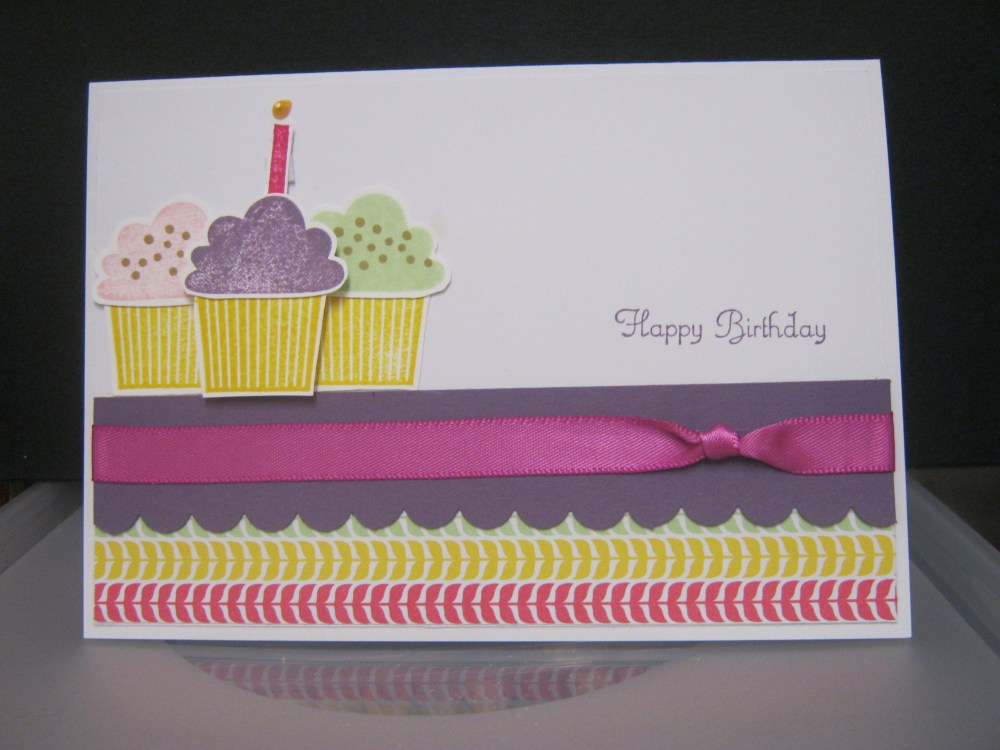
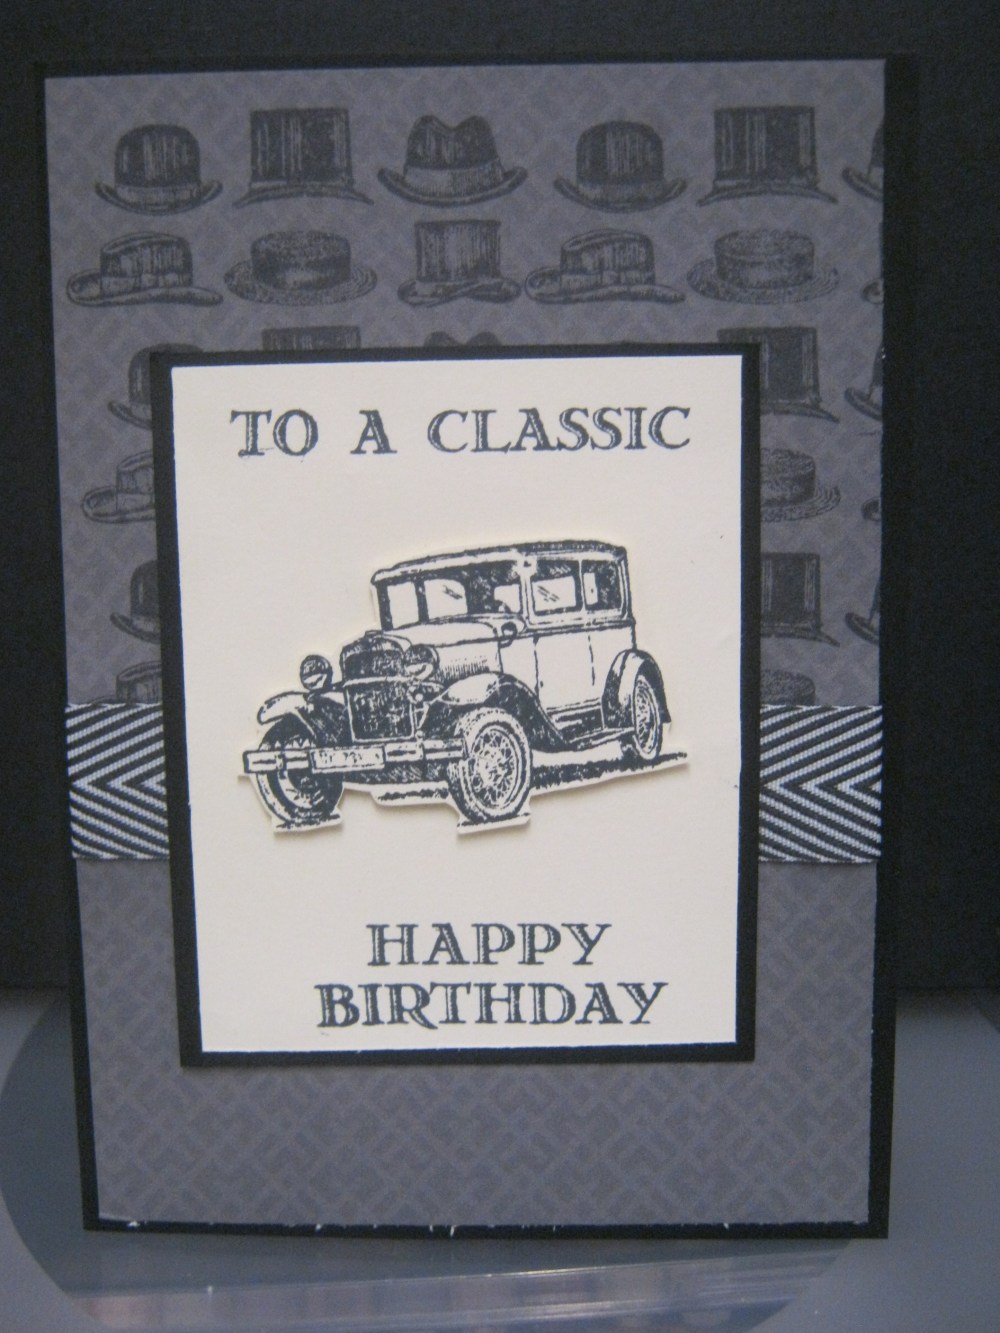 Todays cards are the cards my ladies made over at the retirement village.Everything used ( except the ribbons on the top two cards) are Stampin Up supplies, and I admit I cheated on these ones taking inspiration from Pinterest! The colours I used on the top card was totally decided by the ribbon – I had it in my stash and was just waiting for a reason to use it- I love it! I always try to do three completely different cards for the ladies, and always include one male card, mainly because they avoid making them,so try to show them different ways of making and enjoying the process! this weekend my crafting mojo has finally reappeared, after going AWOL for a couple of weeks and I have been spending every spare minute in the craft room, so many ideas, so little time! Lots of wedding cards , they are a best seller over at the florists , luckilyn i love making wedding cards almost as much as baby cards! til tomorrow…..
Village card class cards
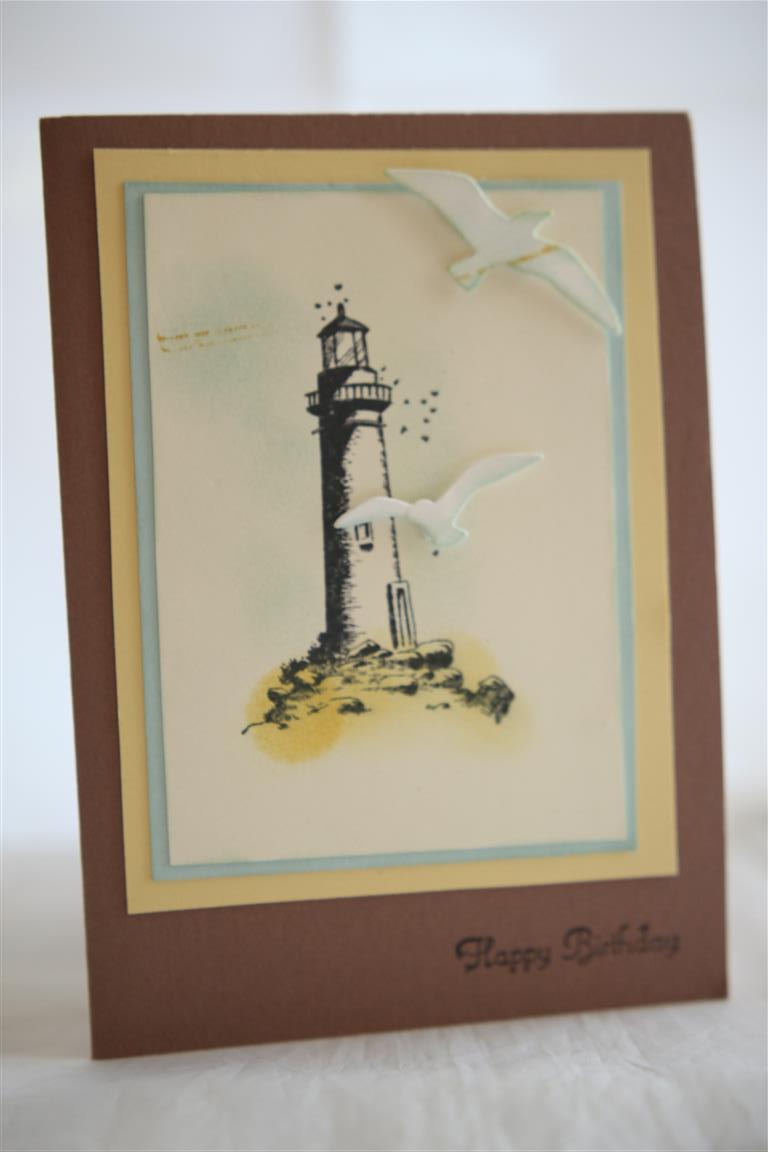
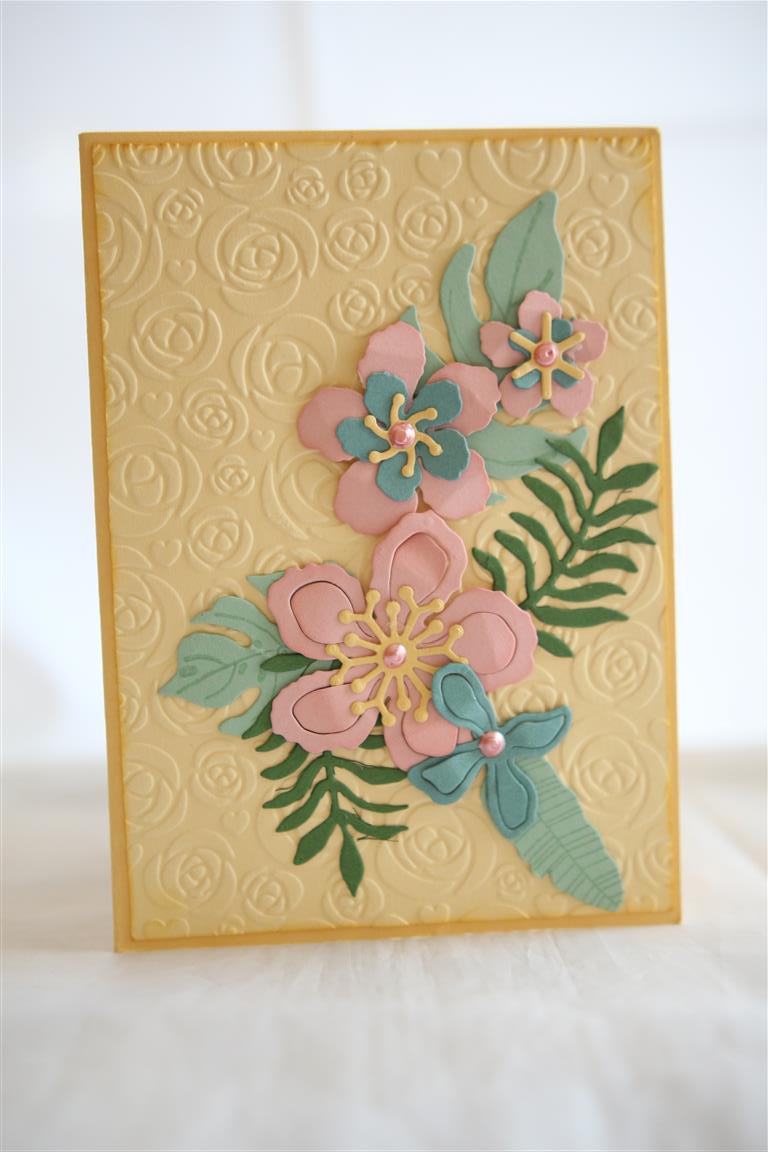 Here are two of the cards ladies made last month in my class. I will show the third one tomorrow.The top card uses a Kaszazz lighthouse stamp which we lightly sponged ink around rather than colouring, and matted a couple of times onto stampin up cardstock. The seagulls are a Kaisercraft die which we also lightly inked so that they were distinct from the background. The lower card is a favourite of mine – we used the dies and stamps from stampin up botanical blooms sets. the best way I find to use these dies is to just die cut a big pile of different sizes from all your scraps then spend a lovely afternoon putting them all together on cards!. the background embossing is a kaisercraft rose embossing folder.Just a note – I only used the matching stamps from this set to stamp the veins on the leaves). Today was meant to be a village lesson, but with no voice it just wouldn’t work, and I really don’t want my ladies to catch this one. Til tomorrow…..
stampin up birthday blooms, the second..
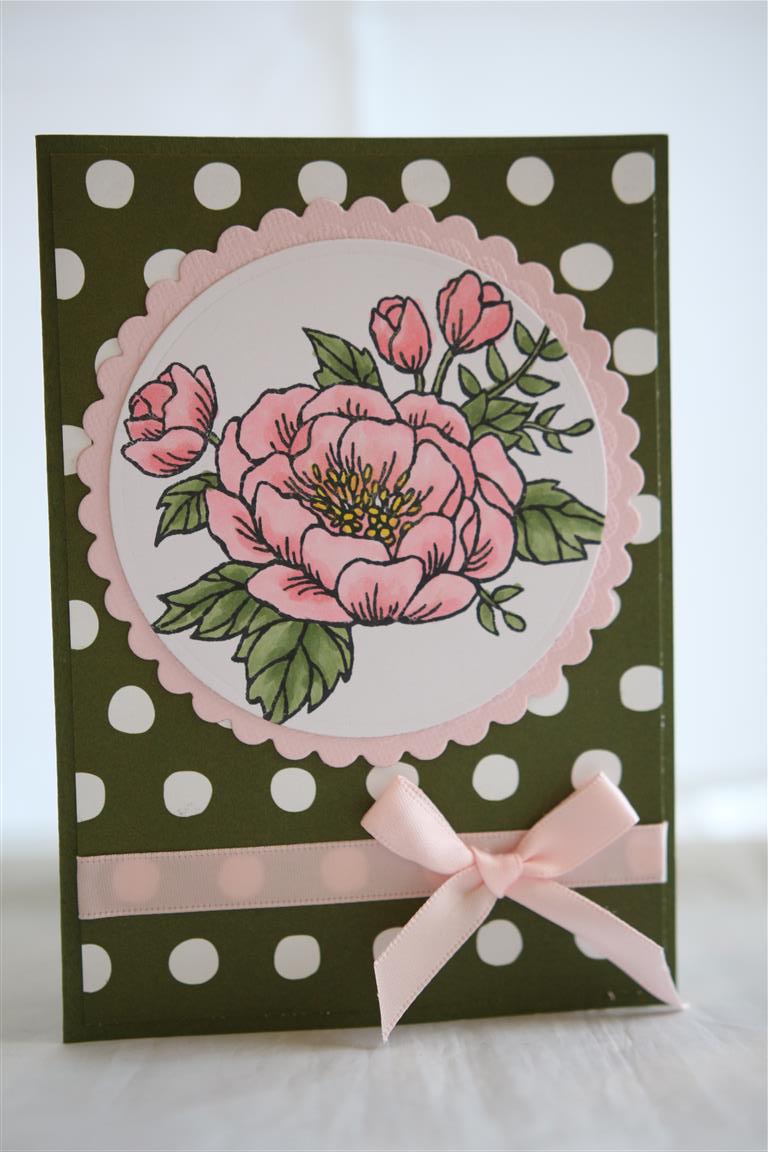 Here is the other card I have made with Stampin Up Birthday Blooms stamp set. Again, I coloured the image with copics,and used stampin up cardstock for my card blank.The paper is from stampin up botanical blooms designer paper ( has anyone noticed I have real trouble mixing my paper companies?)spellbinders scalloped die, and ribbon from my ribbon drawer. My voice is slowly coming back, but not enough to go to work, so today I will be resting,making a big pot of spinach soup,and hanging out a little bit in the craft room – Mothers day is only 4 weeks away, so I must make some more cards.Til tomorrow….
Stampin Up birthday Blooms stamp set
 Although I have called this post stampin up birthday blooms stamp set I have only used one stamp out of the set.As I sit here looking at the set I see lots more potential for this one – it has a nice range of sentiment stamps, focal image stamps and even a cute heart border stamp so I will have to leave it out on my desk to play some more!I stamped this image with memento black ink, coloured with copics, and die cut with spellbinders scalloped circle die. The cardstock is stampin up regal rose, and I embossed the background layer with kaisercraft roses embossing folder.I popped over to Paper flourish today to pick up some papers for June classes, and found a few new dies and papers to put in my basket so can’t wait to get into the craft room, but for now I am off to the Dr to get something for my lack of voice! til tomorrow….
Two more stampin up Botanical blooms
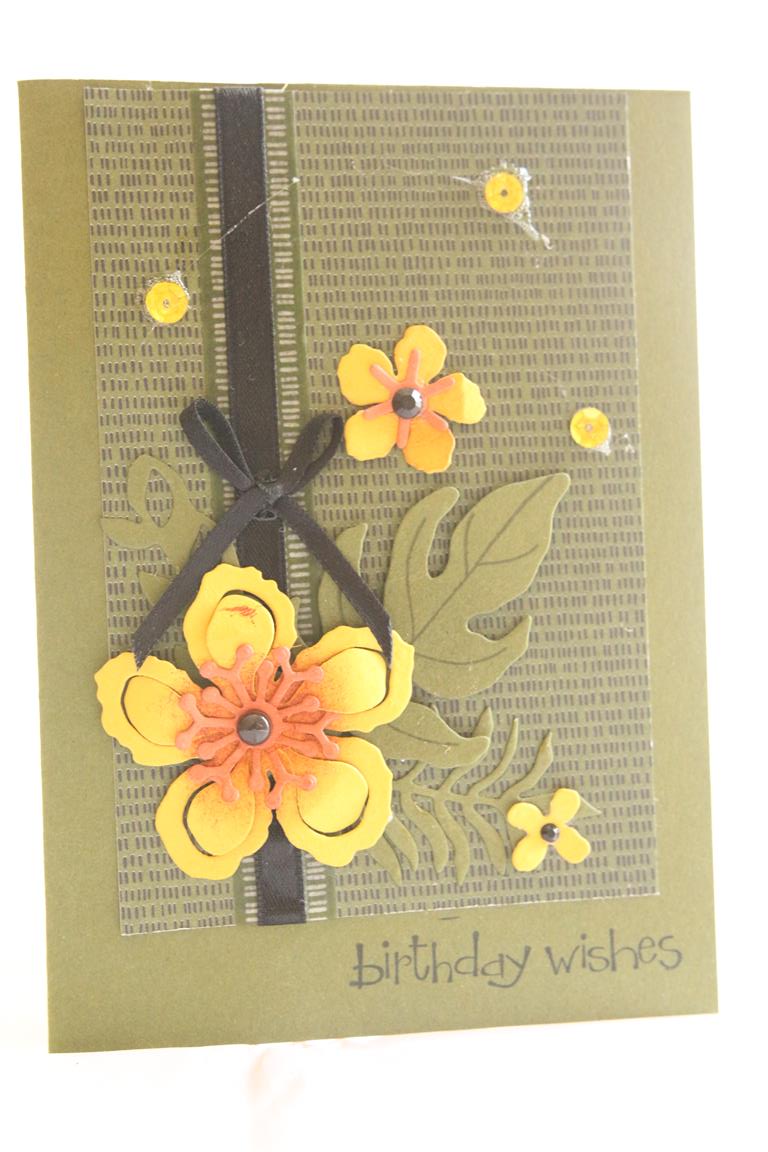
 Here are another two pinterest inspired stampin up botanical blooms cards.These creations in their original form can be found on my stampin up pinterest board. On both cards the dies , papers, and stamps are from stampin up, from their botanical blooms range. The bakers twine on the bottom card is also stampin up, the hessian strip on the bottom card is by Green Tara,and I added black ribbon to the top card – speaking of which after the photo was taken I fixed the excess amount of glue on the sequins – a big clue as to when I made these ones – on a very hot day when the glue ran very freely! After making these three card and getting a feel for the set I went out on my own and came up with some of my own designs which are waiting to be photoed, so we will see them at a later date! The tip I have for these die cut flowers is to sponge ink in the centre to give them shading ( it makes a huge difference) and to shape the petals before sticking to the card.Today is a village lesson, so I am off now to pack my box of supplies and remind myseld of what we are actually doing! Til tomorrow….
