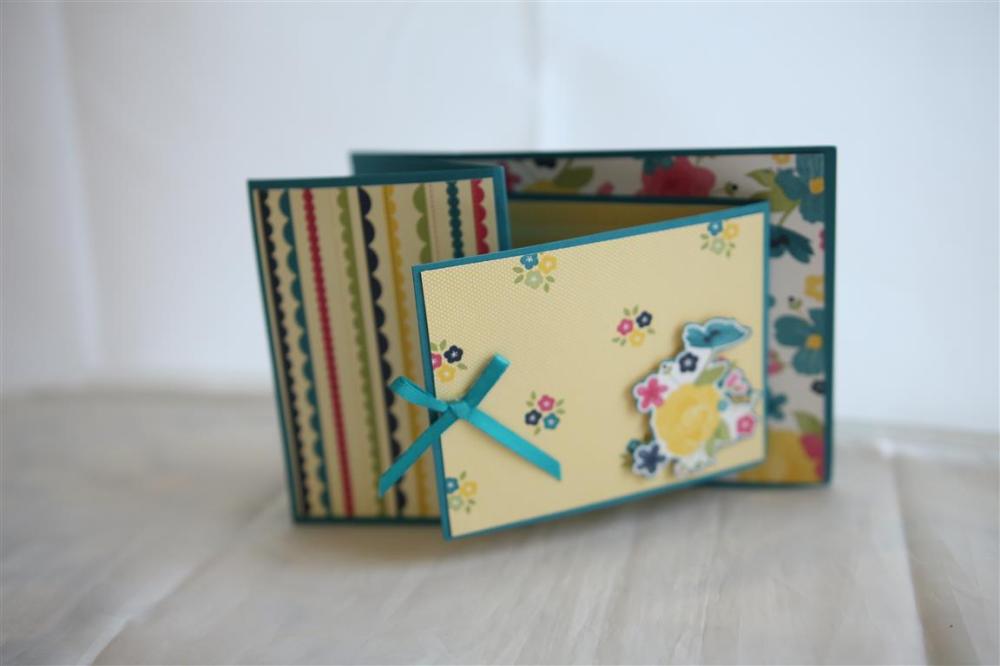
 This is the third card the ladies made at last months village lesson.I have put it up separately because I want to spend a little time explaining the measurements. I cut a piece of cardstock 10.5 cm wide and 30 cms long, folded it in half, and folded the front back on itself.I then cut a piece of cardstock 8cm wide by 20cm long and folded it in half. this is the flap that gets stuck on the back of the base card.After that it just a matter of decorating. I have used an older paper collection here from Stampin up,but I have done this style again with some Bo Bunny paper, and I have found that 4 different patterns within the paper range works best – a big design on the back, stripes down the folded card front, a smaller matching design on the front flap and very plain inside for writing on. This one below is the Bo Bunny card using the new secret garden range. Til tomorrow….
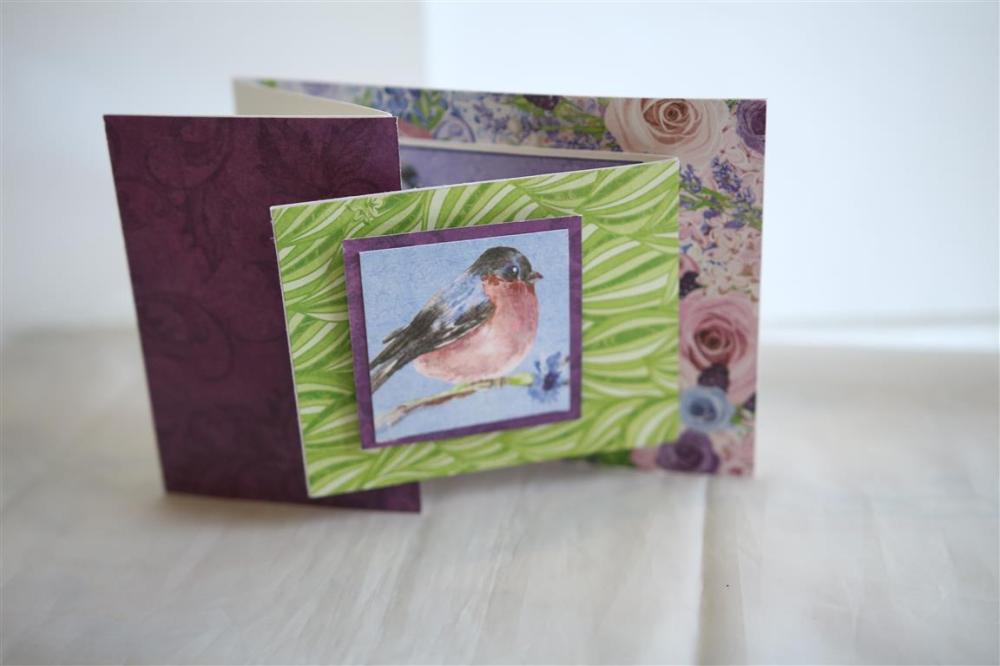
Tag: birthday
Village card class cards
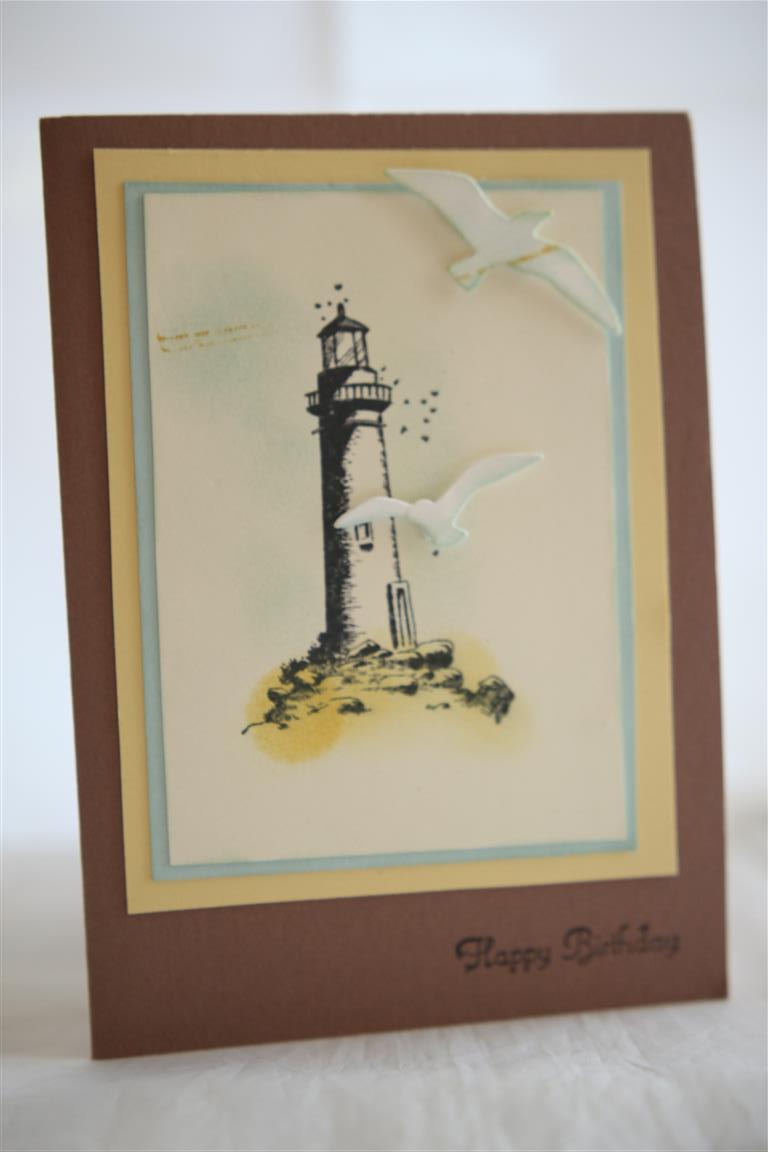
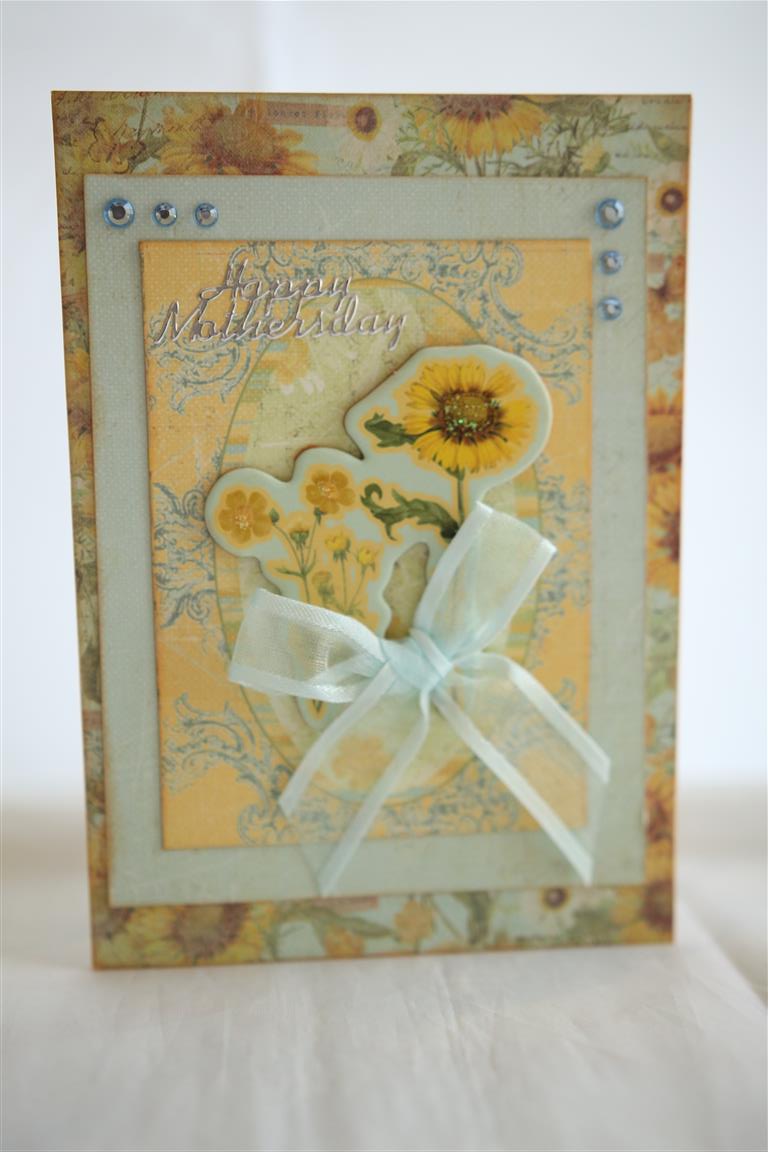
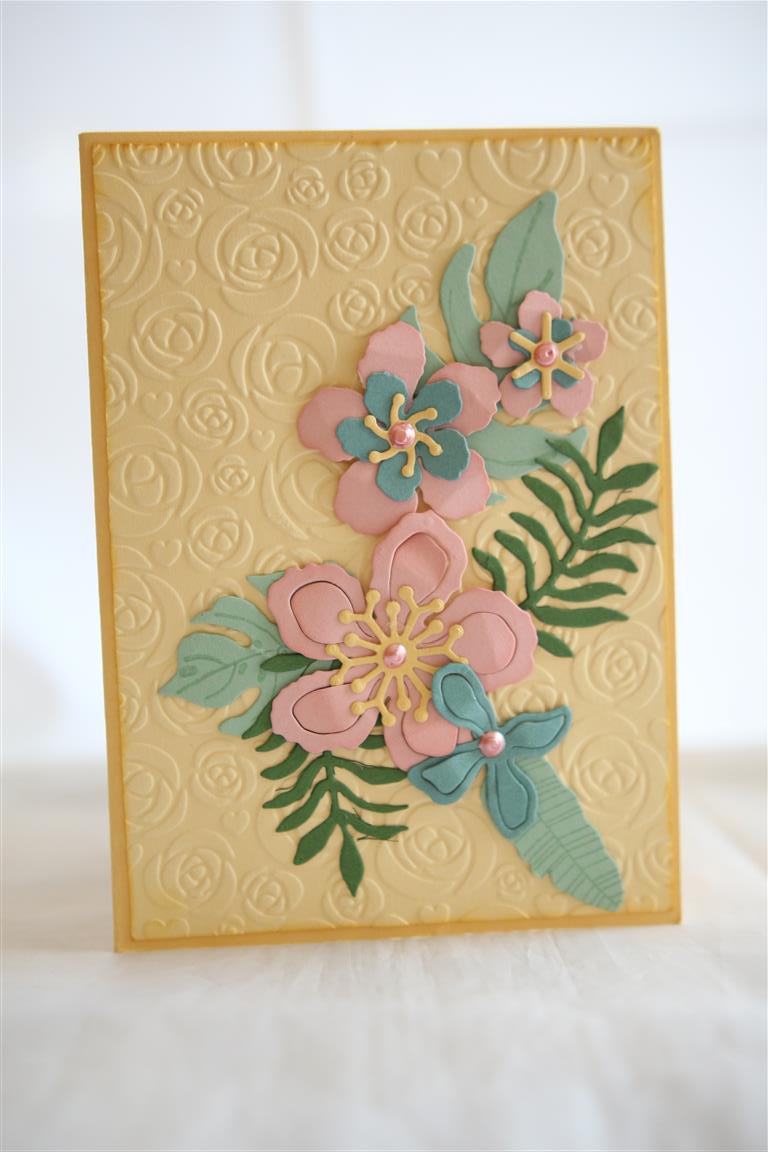 Here are two of the cards ladies made last month in my class. I will show the third one tomorrow.The top card uses a Kaszazz lighthouse stamp which we lightly sponged ink around rather than colouring, and matted a couple of times onto stampin up cardstock. The seagulls are a Kaisercraft die which we also lightly inked so that they were distinct from the background. The lower card is a favourite of mine – we used the dies and stamps from stampin up botanical blooms sets. the best way I find to use these dies is to just die cut a big pile of different sizes from all your scraps then spend a lovely afternoon putting them all together on cards!. the background embossing is a kaisercraft rose embossing folder.Just a note – I only used the matching stamps from this set to stamp the veins on the leaves). Today was meant to be a village lesson, but with no voice it just wouldn’t work, and I really don’t want my ladies to catch this one. Til tomorrow…..
stampin up birthday blooms, the second..
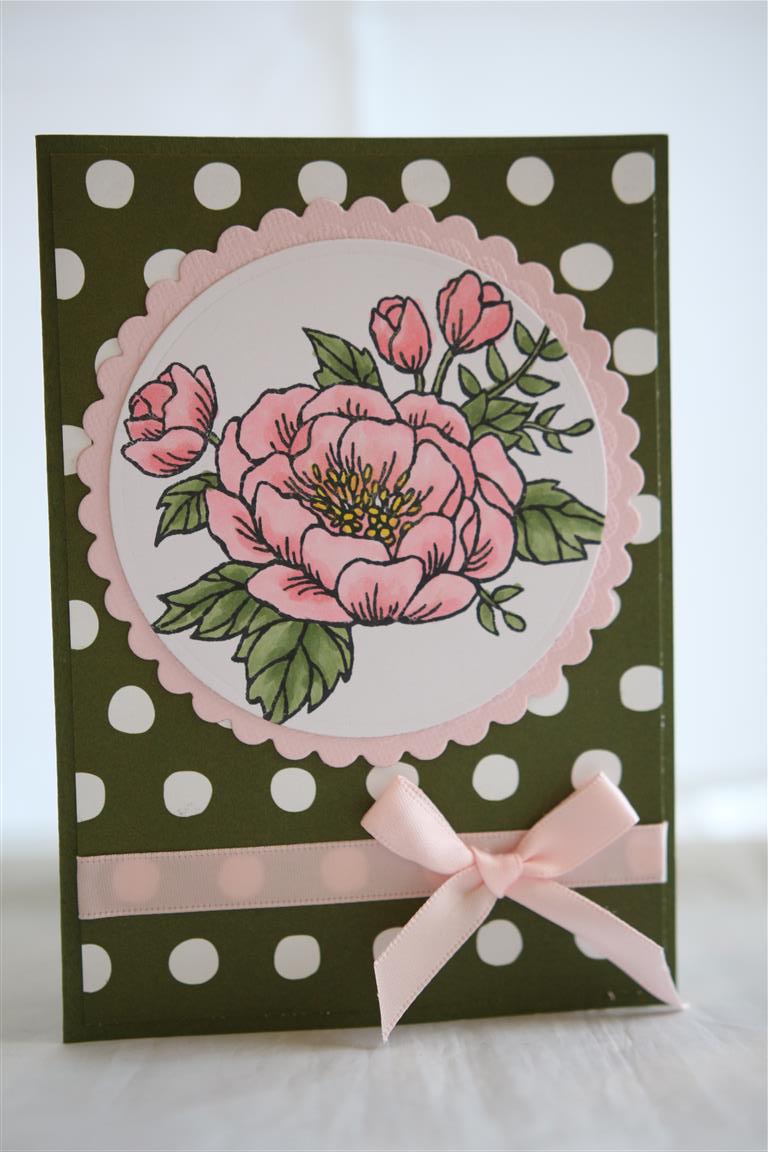 Here is the other card I have made with Stampin Up Birthday Blooms stamp set. Again, I coloured the image with copics,and used stampin up cardstock for my card blank.The paper is from stampin up botanical blooms designer paper ( has anyone noticed I have real trouble mixing my paper companies?)spellbinders scalloped die, and ribbon from my ribbon drawer. My voice is slowly coming back, but not enough to go to work, so today I will be resting,making a big pot of spinach soup,and hanging out a little bit in the craft room – Mothers day is only 4 weeks away, so I must make some more cards.Til tomorrow….
Stampin Up birthday Blooms stamp set
 Although I have called this post stampin up birthday blooms stamp set I have only used one stamp out of the set.As I sit here looking at the set I see lots more potential for this one – it has a nice range of sentiment stamps, focal image stamps and even a cute heart border stamp so I will have to leave it out on my desk to play some more!I stamped this image with memento black ink, coloured with copics, and die cut with spellbinders scalloped circle die. The cardstock is stampin up regal rose, and I embossed the background layer with kaisercraft roses embossing folder.I popped over to Paper flourish today to pick up some papers for June classes, and found a few new dies and papers to put in my basket so can’t wait to get into the craft room, but for now I am off to the Dr to get something for my lack of voice! til tomorrow….
Kaisercraft My Cherie card in a box
 Quick post today as I am back to the work routine! This is the last Kaisercraft My Cherie for now,as I said I have a lot of this paper so it will pop up again…I did a card in a box, fussy cut the butterflies from one of the 12 x 12 sheets, and stuck them on thin strips of acetate.The paper on the actual box is from the 6″ pad. Til tomorrow…..
Kaisercraft Ma Cherie 5 and 6…
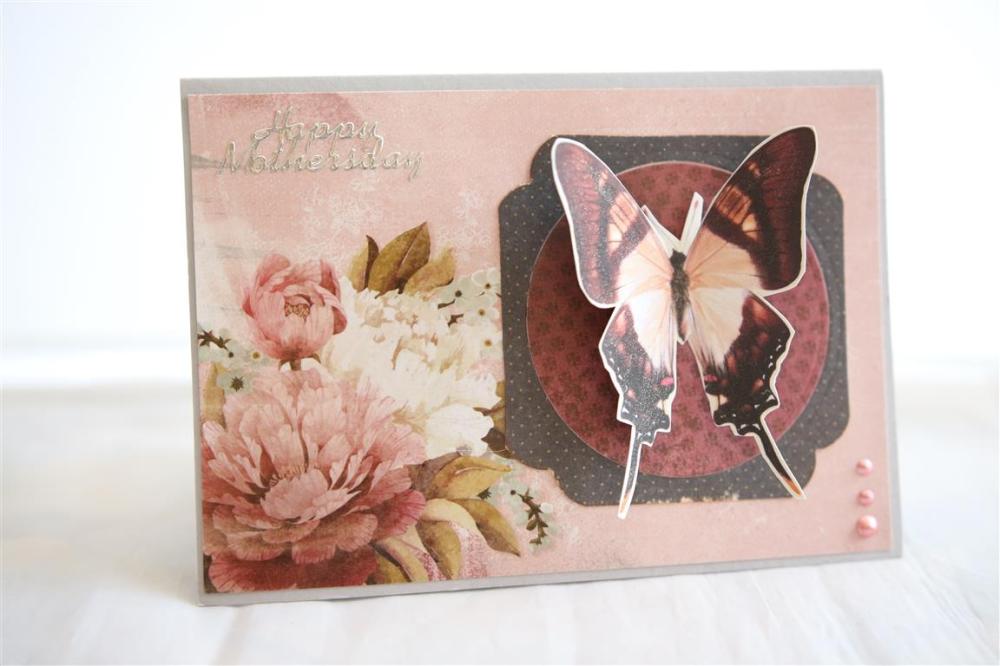
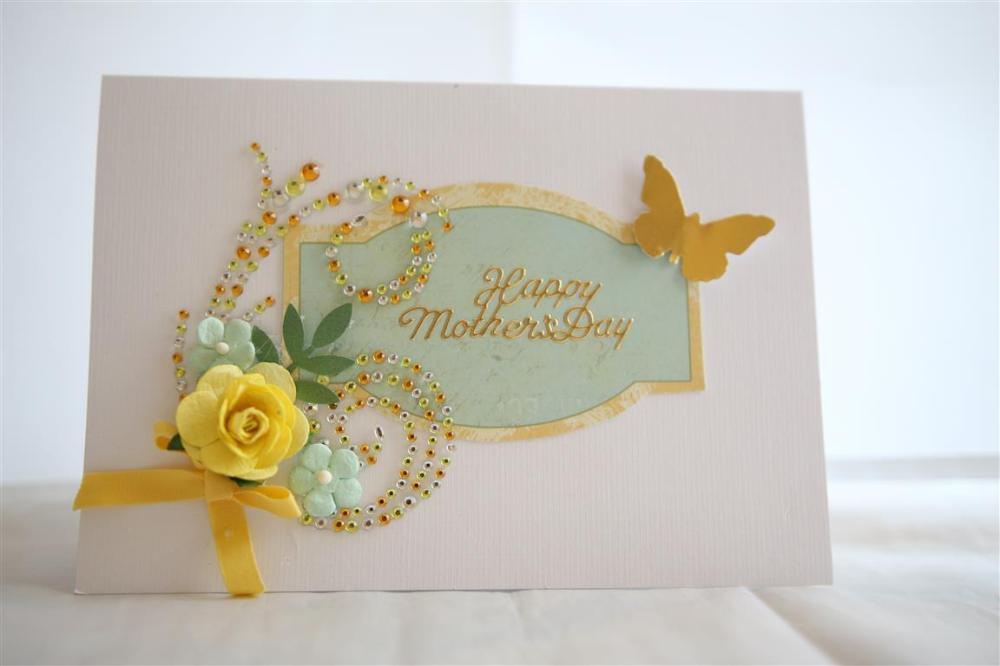
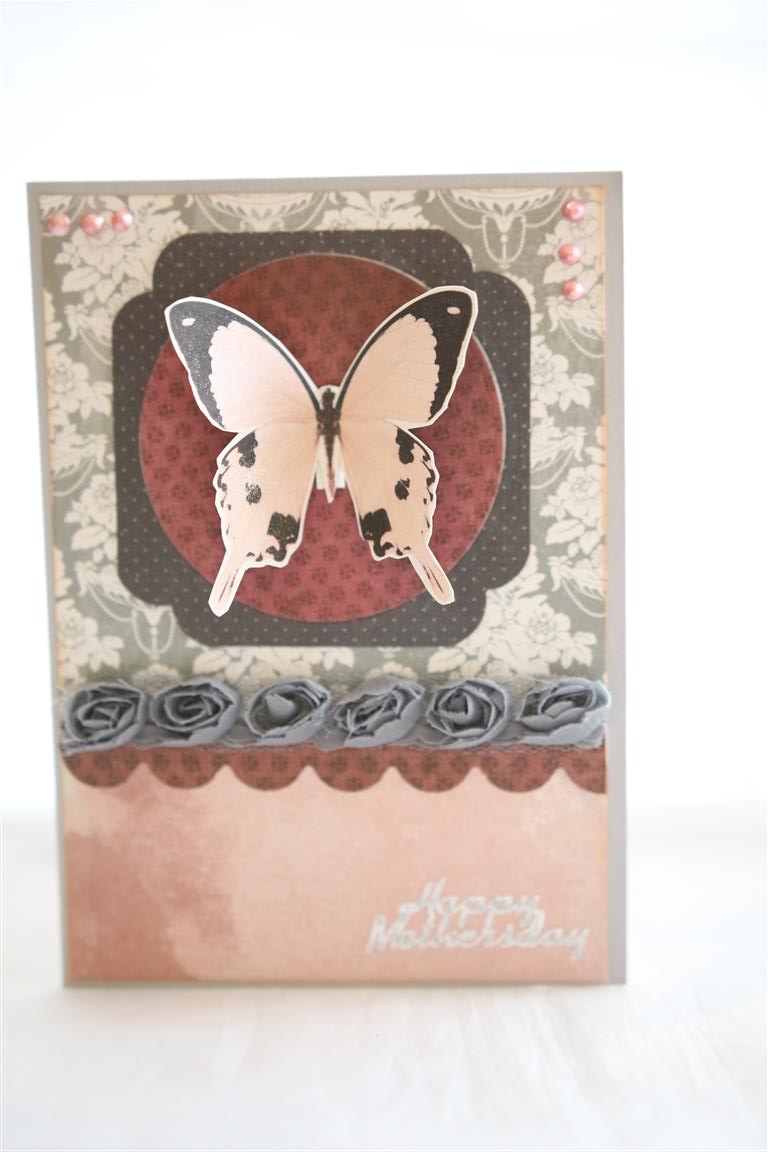 Two cards today, both with the same decoration, but one done portrait style, and one done landscape style.Background papers are from the Kaisercraft Ma Cherie 6″ pad. The interesting thing about these two cards …On yesterdays card when I die cut the printed sentiment from the 12 x 12 paper I was left with a spotted frame with a hole in the middle, so for todays’ cards I die cut a circle from more patterned paper to fit the hole,rounded the corner with a fancy corner punch from Stampin Up, and used that to create my focal point – I just had to add a fussy cut butterfly ( this collection has a whole sheet of gorgeous butterflies on it to fussy cut!), some liquid pearls on the top card and gorgeous rose trim on the bottom card.After spending my crafting time this week making mens cards I am ready to break out the lace, flowers, ribbons, pearls and create some vintage cards with my new Prima papers – can not wait!! but first Nathan and I have to go and photograph aforementioned mens cards. til tomorrow……
Kaisercraft Ma Cherie number 4
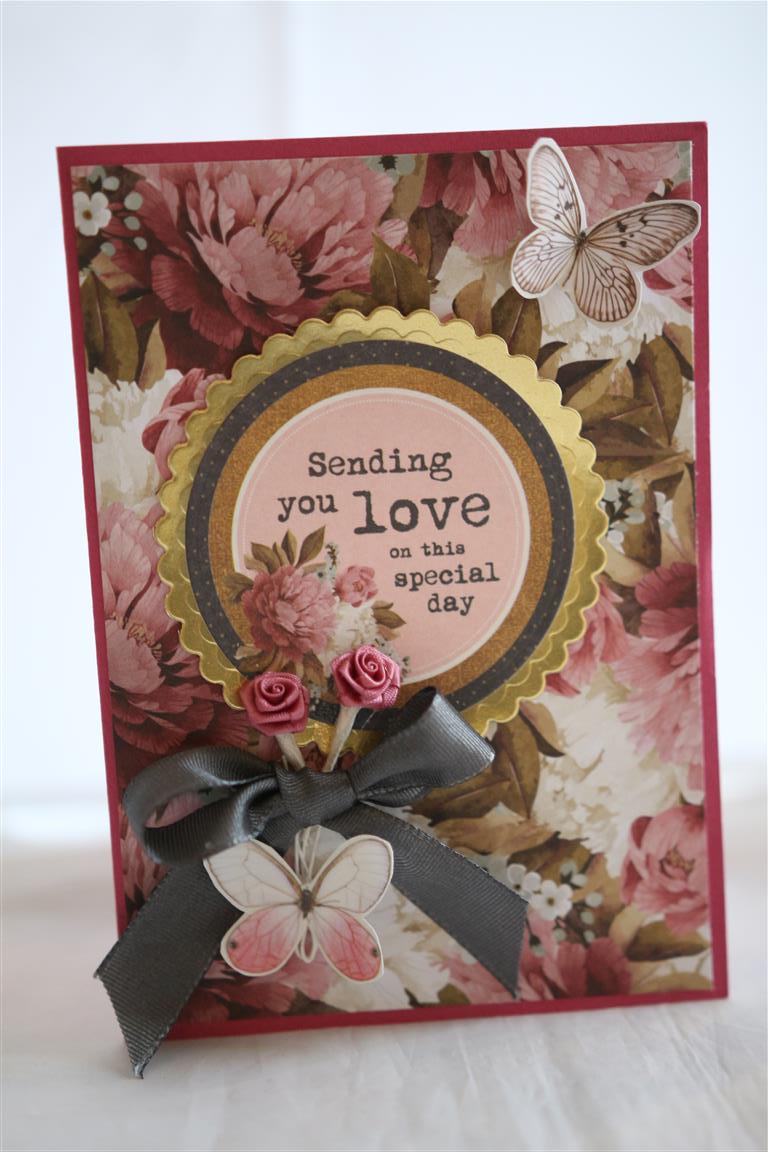 I have some more Kaisercraft Ma Cherie cards to show you. This first one is simply a panel of 12 x 12 paper on top of a card blank ( stampin up cardstock), and I die cut a piece of the card front 12 x 12 papers with a circle die, die cut a scalloped circle ( spellbinders classic scalloped circles) and added flowers, ribbon and a couple of fussy cut betterflies. I knew I had bought this paper, but I searched high and low and couldn’t find it so I bought it all over again, then found the original purchase! I now have lots of this paper,luckily its a beautiful paper range and since making this group of cards I have pulled it out again and it is currently on my desk ready for new ideas this weekend!Til tomorrow….
The last Prima sun kiss cards
 Here are the last two cards I made with prima Sun Kiss paper and chipboard pieces before I officially retired this collection! the bottom card uses the rest of the Prima bling ( I used bits of it on previous cards)and I punched a butterfly out of gold card with my Tim Holtz butterfly punch.Today i went into Forget-me-not florist at Hollywood plaza ( my local shopping centre) to buy flowers for Mum and Dads wedding anniversary, got talking to lovely lady there, and she is going to stock my cards!! I am off now to prepare a box for her, I will start off with a small amount and see how they go. Til tomorrow….
Prima Sunkiss 1.
 This is an old paper collection from Prima. I found it in my shelves and thought I would make a few last cards with it before putting it on the for sale pile! This card makes use of the matching chipboard pieces, a punched butterfly and some ribbon and bling.I spent a lovely afternoon yesterday in the craft room preparing may lessons ( I know.. May already!)and will head back there in a minute to finish them.The retirement village lessons take a little longer as some of my ladies are a bit too shakey for the stamping, or not strong enough for the cuttlebug so I have to work out how many ladies I am stamping for, and how many ladies I am die cutting for and prepare that beforehand. It’s all worth it though, just to get together with a lovely, enthusiastic, funny group of ladies who always supply lovely homemade goodies for afternoon tea! Til tomorrow….
Graphic 45 Le’Amour number 11
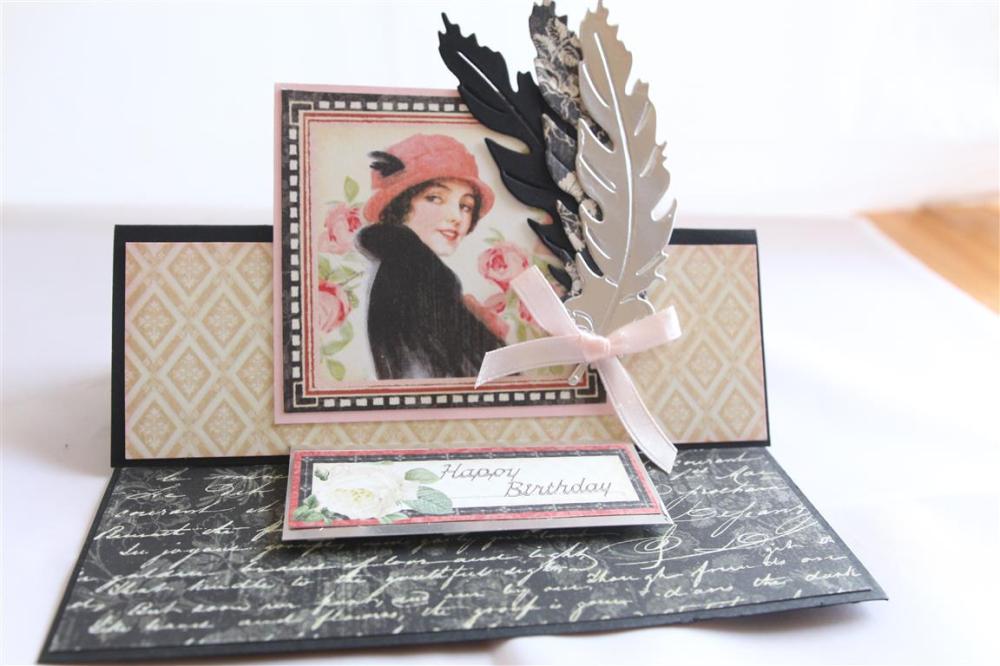 For the final card in my graphic 45 Le’Amour series I have made an easel card,and used a feather die that I got free on the front of a magazine.It cuts beautifully,and I love the shape of it.Just layering and minimal embellishing on this one. tomorrow we will start a new series – as much of a surprise to me as it will be to you because I can’t remember what we have coming up!The good news is I found my baby papers, the bad news is my pink buttons are still missing!No doubt they will turn up when I am not looking for them! Til tomorrow….
